By Jonah Wang, Alibaba Cloud Solutions Architect
Identity and access management (IAM) is a framework of policies and technologies to ensure the correct people have the appropriate access to the IT resources and job roles in the organization, including hardware and applications. IAM typically contains authorization and authentication features and capabilities, such as:
When an organization has multiple web and mobile apps deployed on the cloud, it becomes necessary to leave the authentication, authorization, and user management processes to a centralized IAM system for better consistency, maintainability, and security.
This article explains how to set up an IAM system for your application to integrate with on Alibaba Cloud. We will use Keycloak as the IAM solution to walk you through the steps to deploy a simple IAM system on Alibaba Cloud.
Keycloak is an open-source Identity and Access Management solution for modern Applications and Services. Keycloak provides a customizable user interface and supports use cases, such as Single Sign-On (SSO), user registration, and user federation. It supports multiple protocols, such as SAML 2.0, OAuth 2.0, and OpenID Connect. It can also store user credentials locally or via an LDAP or AD. You can also set up Keycloak to delegate authentication to third-party identity providers. The features of Keycloak include:
You need an Alibaba Cloud ECS general-purpose instance with at least 8 GB memory and 2 vCPUs. The Keycloak server can run on any operating system that runs Java. We will use Ubuntu 20.04 in this example.
We will use a simpler network structure in this example to simplify the explanation and troubleshooting. We will assign public IP to the ECS instance and ensure port 22 and 8080 are open in the security group.
Ensure Java 8 or 11 are installed on the ECS instance
tar -xzvf keycloak-16.1.1.tar.gz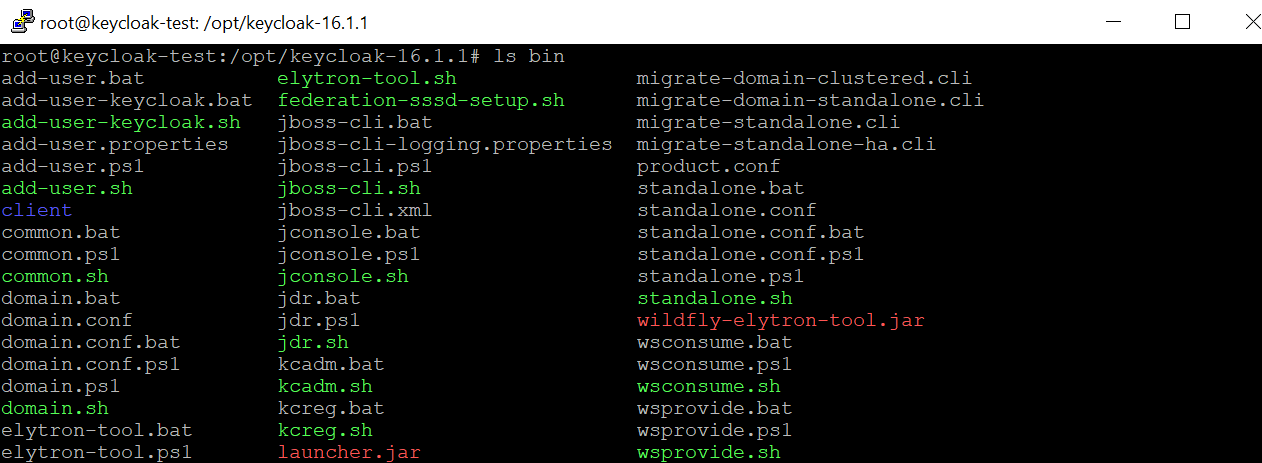
./add-user-keycloak.sh -r master -u admin -p password./standalone.sh -b=0.0.0.0 &http://<Public_IP>:8080/, where the “Public_IP” is the public IP address of the ECS instance. You should be able to see the Keycloak console page: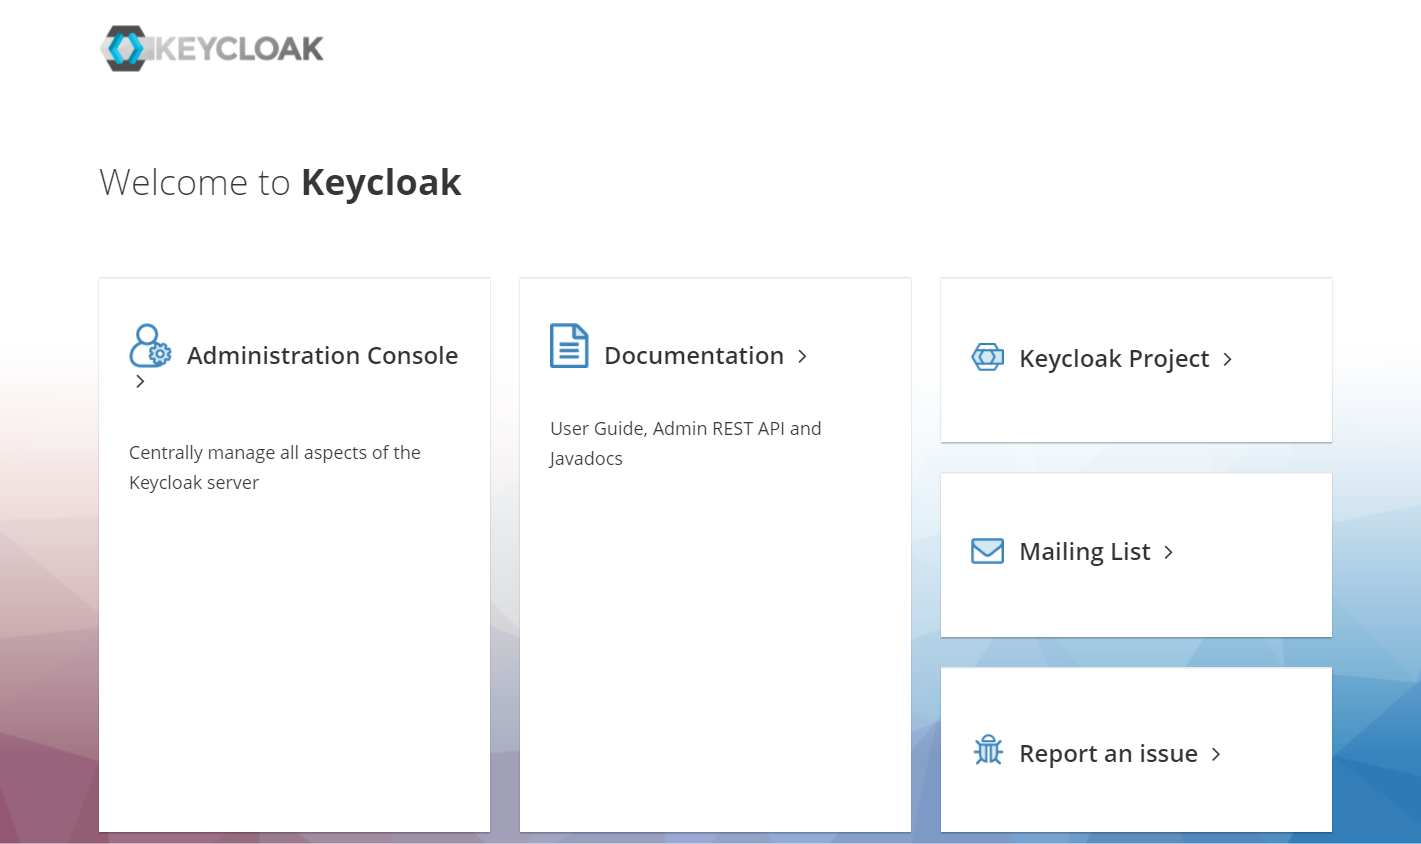
The Keycloak server console requires local access or SSL for security concerns by default. We will disable the SSL Mode here for demonstration purposes.
./kcadm.sh config credentials --server http://localhost:8080/auth --realm master --user admin
Logging into http://localhost:8080/auth as user admin of realm master
Enter password: *************

./kcadm.sh update realms/master -s sslRequired=NONEAfter setting up the Keycloak server on the ECS instance, we can proceed with the IAM setup:
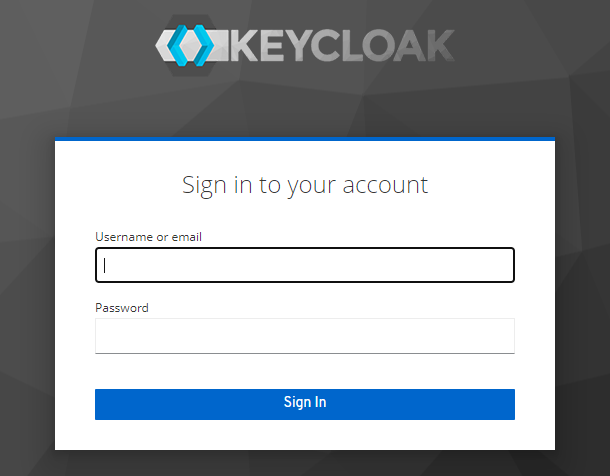
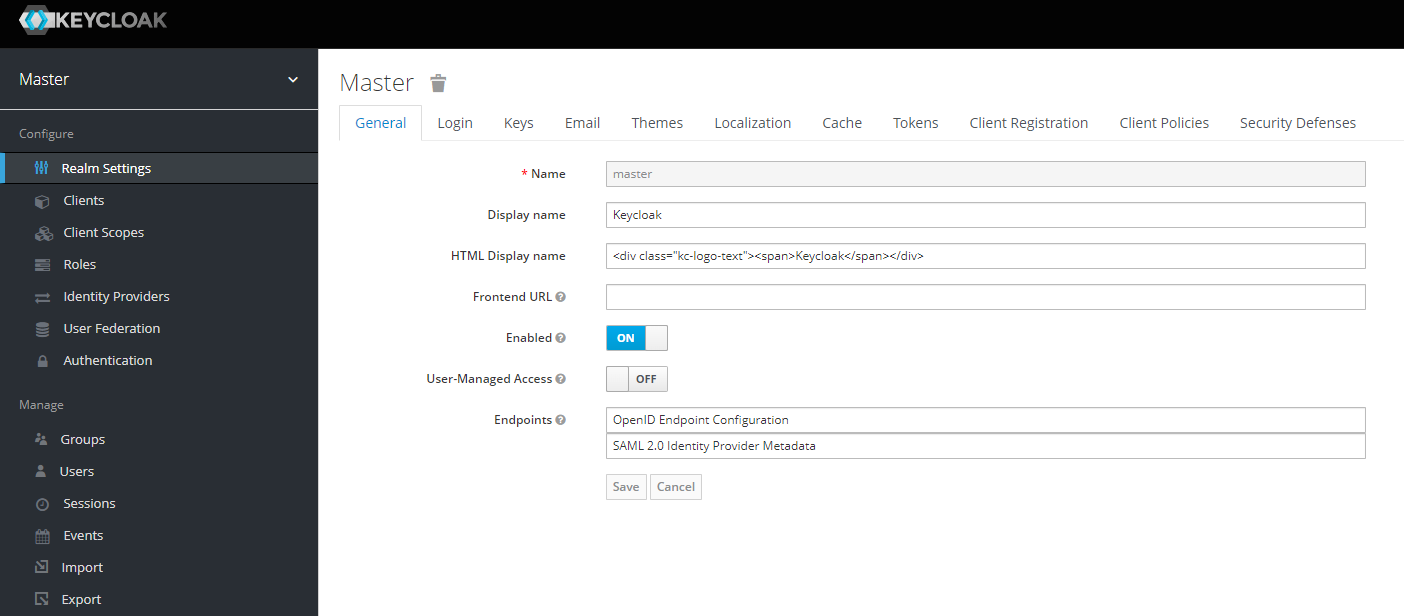
Keycloak provides a list of comprehensive IAM processes. This article focuses on the basic processes: realm setup, client setup, and user setup.
A realm is a space where you manage objects, including users, applications, roles, and groups. When you boot Keycloak for the first time, Keycloak creates a pre-defined realm for you. This initial realm is the master realm. It is the highest level in the hierarchy of realms. We do not recommend using the master realm to manage the users and applications. The master realm is normally reserved for super admin purposes. If you want to create a new realm:
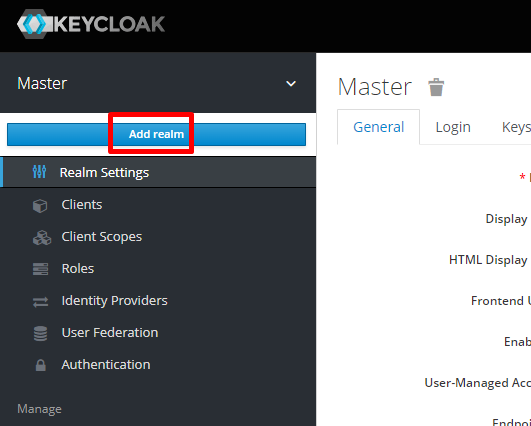

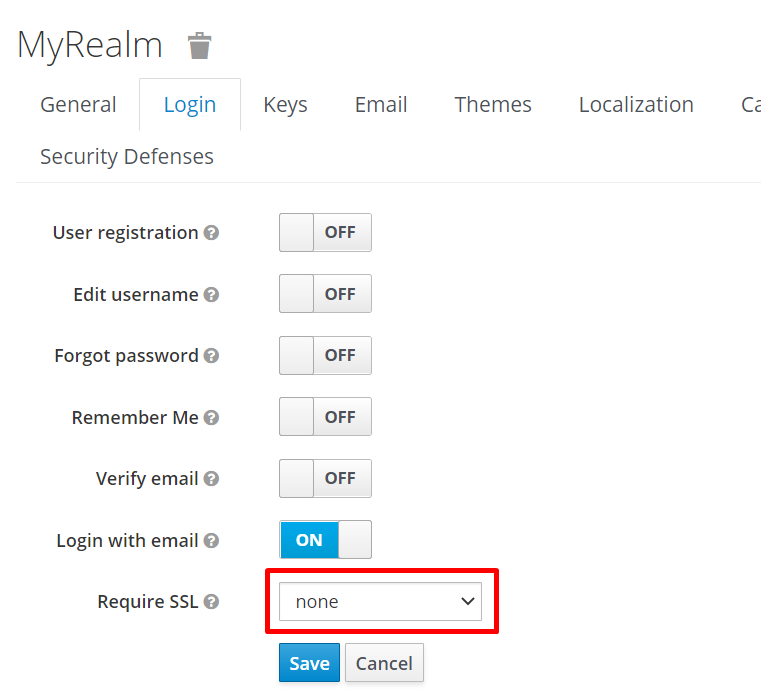
Clients are entities that can request Keycloak to authenticate a user. Most often, clients are applications and services that want to use Keycloak to secure themselves and provide a single sign-on solution. If you want to create a new client:

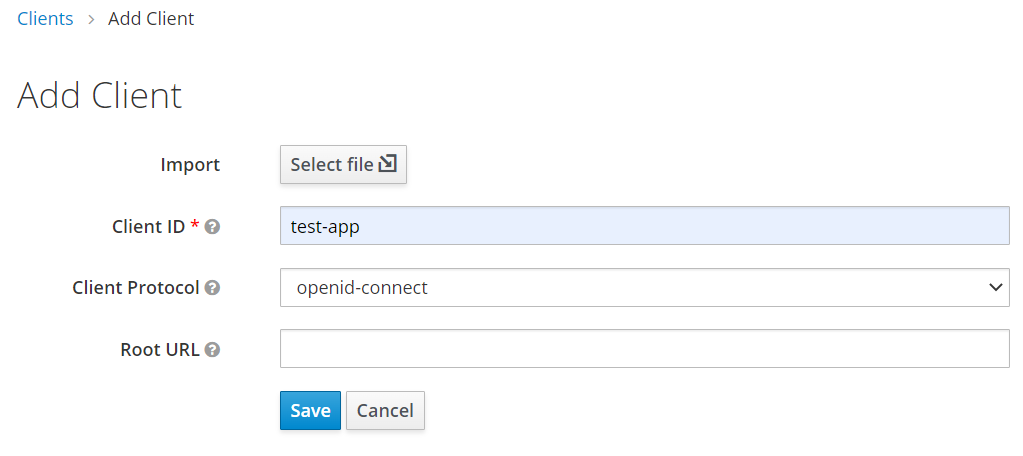
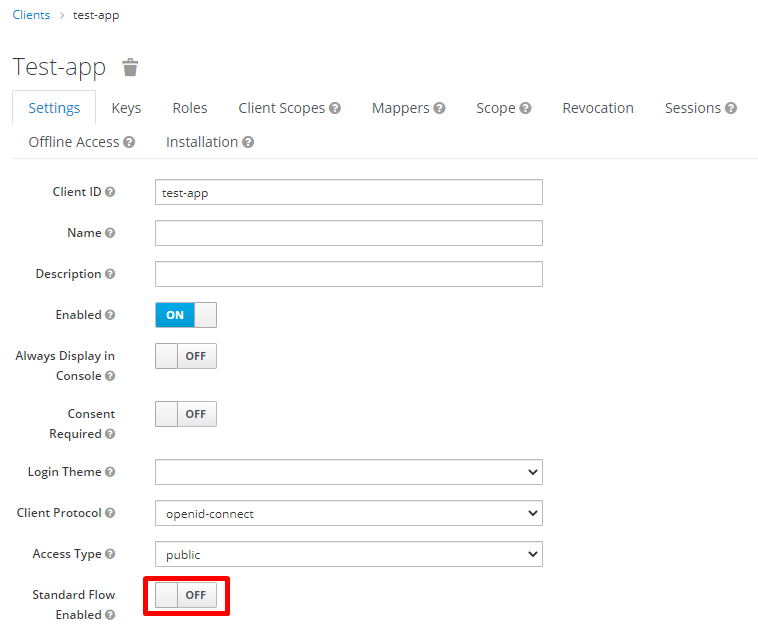
Normally, enterprise applications can use RESTful API to add users and manage user authentication. We will use the Keycloak console to create the test user in this demonstration. If you want to create a new user:
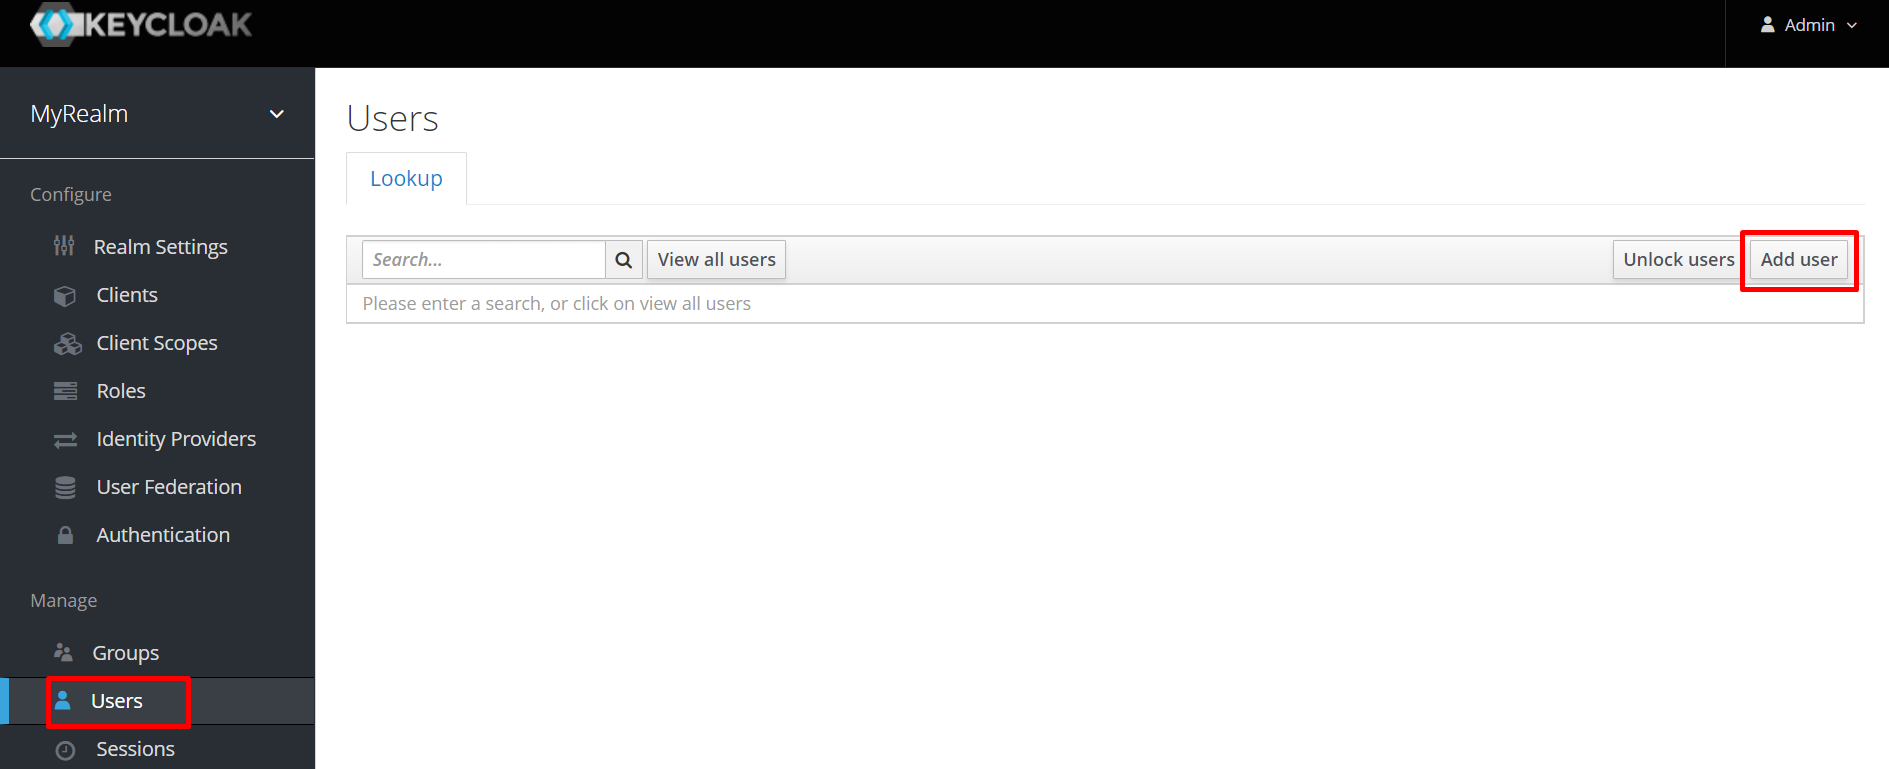
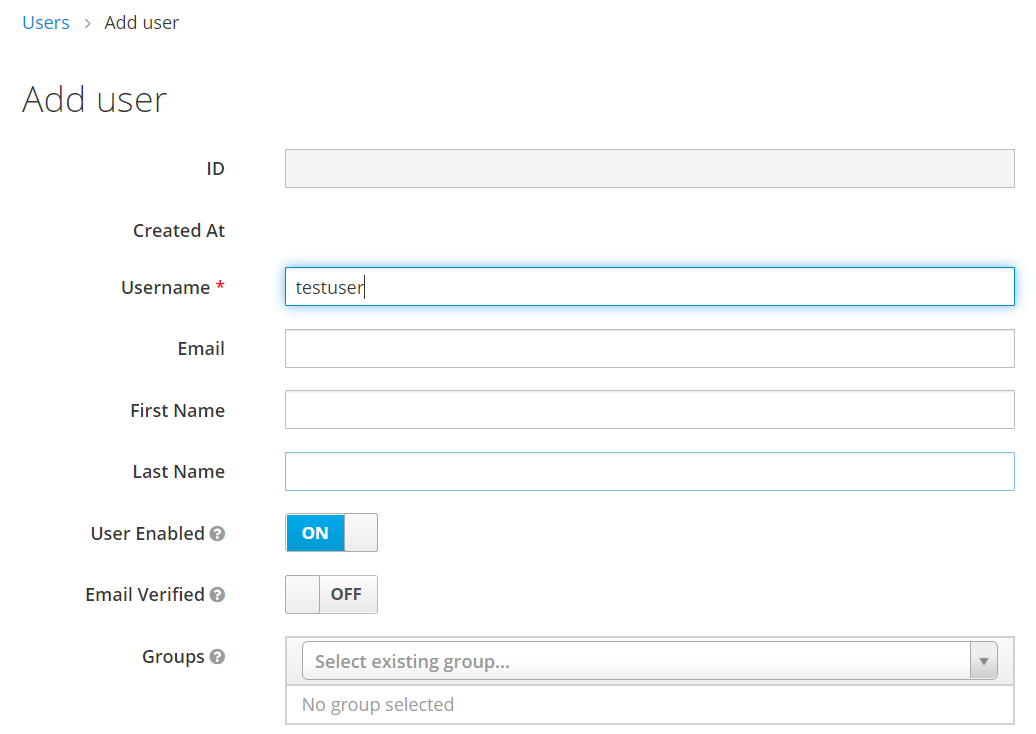
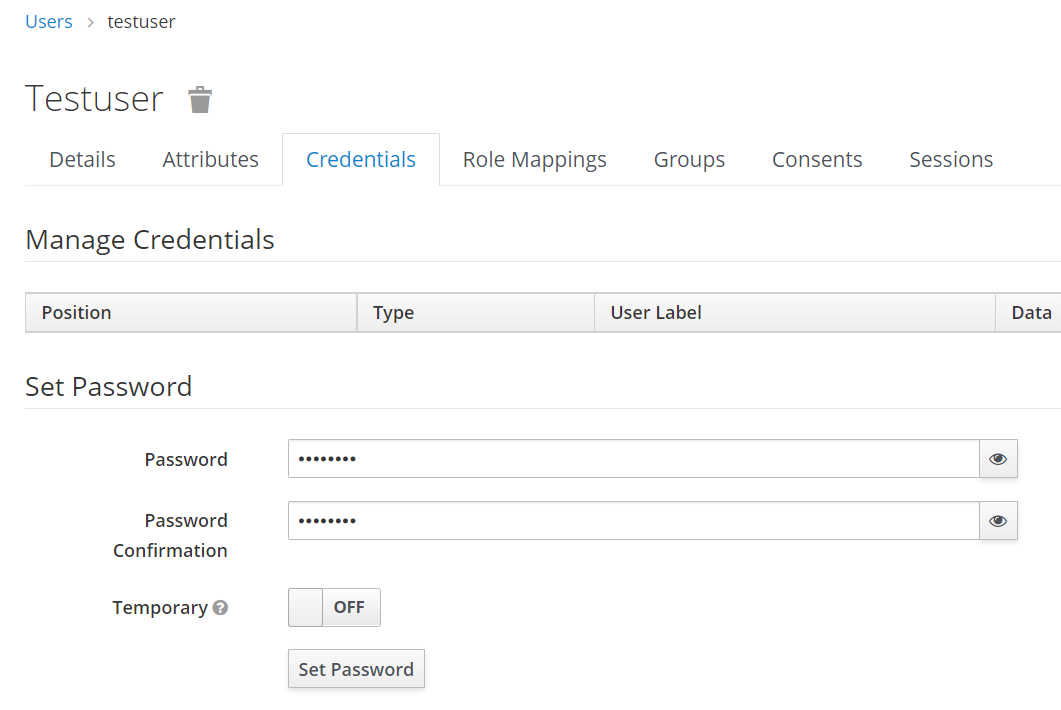
The testing data is set up, and we can test the IAM process on the console:


We will test integrating with Keycloak IAM interfaces from the application client. The sample code below is written in Python using python-keycloak library. It can be installed from this link.
The same code is provided below. The shall be replaced with the public IP address of the ECS instance, and the value of client_id, realm_name, username, and password are based on the value setup from the previous steps. After running the code, you can authenticate the user through the Keycloak IAM interface using OpenID protocol and use the token returned for access control.
from keycloak import KeycloakOpenID

# Configure client
keycloak_openid = KeycloakOpenID(server_url="http://<Public_IP>:8080/auth/",
                    client_id="test-app",
                    realm_name="MyRealm")
# Get Token
token = keycloak_openid.token("testuser", "password")
print(token)

user = keycloak_openid.userinfo(token['access_token'])
print(user)This use case in this demonstration skipped the comprehensive authentication flows supported by Keycloak. Please click this link for more details about using Keycloak to manage and configure authentication
Instead of the standalone mode executed in this demonstration, we recommend running the Keycloak server in a cluster with higher system availability and fault tolerance. You can find more details at this link.
Keycloak comes with its own embedded Java-based relational database called H2 in the default setup. We recommend connecting Keycloak to a more reliable and scalable cloud-native database during production implementation, such as Alibaba Cloud ApsaraDB RDS for MySQL. Please refer to this link to connect to the external relational database.
Olympic Broadcasting in the Cloud Delivers Efficiency, Innovation and Inclusiveness
Application and Change-Based Delivery Model - Alibaba DevOps Practice Part 16

1,311 posts | 462 followers
FollowAlibaba Cloud Security - July 9, 2020
Alibaba Clouder - December 23, 2020
Nick Patrocky - November 28, 2022
CloudSecurity - December 9, 2025
Alibaba Clouder - December 23, 2020
Alibaba Clouder - December 30, 2020

1,311 posts | 462 followers
Follow IDaaS
IDaaS
Make identity management a painless experience and eliminate Identity Silos
Learn More ZOLOZ Real ID
A Digital and Remote Online Solution for eKYC
Learn More Backup and Archive Solution
Alibaba Cloud provides products and services to help you properly plan and execute data backup, massive data archiving, and storage-level disaster recovery.
Learn More Black Friday Cloud Services Sale
Get started on cloud with $1. Start your cloud innovation journey here and now.
Learn MoreMore Posts by Alibaba Cloud Community