在OpenClaw接入阿里雲 Token Plan 團隊版。OpenClaw(原名Moltbot/Clawdbot)是一個開源的個人 AI 助手平台,支援通過多種訊息渠道與 AI 互動。
安裝 OpenClaw
Qwen Code 引導安裝
OpenClaw 安裝依賴於 Node.js 環境,手動安裝可能會遇到環境配置問題。可以使用 Qwen Code 來完成安裝和驗證。
-
安裝並配置Qwen Code。
-
在終端輸入以下命令啟動 Qwen Code。
qwen -
在 Qwen Code 對話方塊中輸入以下指令。
-
授權允許 Qwen Code 執行命令,直至完成安裝。
-
輸入
/exit退出Qwen Code。/exit
手動安裝
-
安裝或更新 Node.js
-
檢查目前的版本:在終端運行以下命令查看:
Node.js的版本(需 v22.0 或更高版本)。如果提示“找不到命令”,說明未安裝;如果顯示版本號碼低於 v22.0,說明需要更新。進入終端的方法:Mac 系統開啟"終端"應用,Windows 系統開啟"終端"、"PowerShell"或"cmd"。
node -v -
下載並安裝:訪問Node.js,在頁面中選擇“LTS” 且
版本號碼 >= 22.x.x,並根據系統下載安裝包。下載完安裝即可。例如:Windows 系統找到並下載 Windows Installer(.msi),Mac 系統找到並下載 macOS Installer(.pkg)。
-
-
執行以下命令開始安裝OpenClaw。
-
macOS/Linux:
按鍵盤上的 Command + Space(空格)按鍵組合, 輸入終端並斷行符號,開啟終端後運行以下命令:
curl -fsSL https://openclaw.ai/install.sh | bash -
Windows:
在工作列搜尋方塊裡輸入
PowerShell,選擇以管理員身份運行,在PowerShell中運行以下命令:iwr -useb https://openclaw.ai/install.ps1 | iex
-
-
安裝結束後會自動出現提示資訊,請根據提示資訊完成 OpenClaw 配置,參考配置如下:
配置項
配置內容
I understand this is powerful and inherently risky. Continue?
選擇 ”Yes”
Onboarding mode
選擇 “QuickStart”
Model/auth provider
選擇 “Skip for now”,後續可以配置
Filter models by provider
選擇 “All providers”
Default model
使用預設配置
Select channel (QuickStart)
選擇 “Skip for now”,後續可以配置
Configure skills now? (recommended)
選擇 “No”,後續可以配置。
Enable hooks?
按空格鍵選中 “Skip for now”,按斷行符號鍵進入下一步。
How do you want to hatch your bot?
選擇 “Hatch in TUI”。
在 OpenClaw 中配置 Token Plan 團隊版
-
建議參考方式一通過AI Agent(如Qwen Code)引導完成配置。如果熟悉OpenClaw配置,也可以採用方式二直接修改設定檔。
方式一:通過 Qwen Code 引導配置
-
安裝並配置Qwen Code。
-
在終端輸入以下命令啟動 Qwen Code。
qwen -
在 Qwen Code 對話方塊中輸入以下指令。
-
授權允許 Qwen Code 執行命令,直至完成配置。
-
配置完成後,Qwen Code 會輸出
openclaw models list的結果。若bailian/qwen3.6-plus等模型都標記為 configured 表示配置成功。
方式二:直接修改設定檔
通過終端修改設定檔
-
在終端執行以下命令開啟設定檔。
nano ~/.openclaw/openclaw.json -
首次配置:複製以下內容到設定檔。將
YOUR_API_KEY替換為Token Plan 團隊版專屬 API Key。已有配置:若需保留已有配置,請勿直接全量替換,詳見已有配置如何安全修改
{ "models": { "mode": "merge", "providers": { "bailian": { "baseUrl": "https://token-plan.ap-southeast-1.maas.aliyuncs.com/compatible-mode/v1", "apiKey": "YOUR_API_KEY", "api": "openai-completions", "models": [ { "id": "qwen3.6-plus", "name": "qwen3.6-plus", "reasoning": false, "input": ["text", "image"], "cost": { "input": 0, "output": 0, "cacheRead": 0, "cacheWrite": 0 }, "contextWindow": 1000000, "maxTokens": 65536, "compat": { "thinkingFormat": "qwen" } }, { "id": "MiniMax-M2.5", "name": "MiniMax-M2.5", "reasoning": false, "input": ["text"], "cost": { "input": 0, "output": 0, "cacheRead": 0, "cacheWrite": 0 }, "contextWindow": 196608, "maxTokens": 32768 }, { "id": "glm-5", "name": "glm-5", "reasoning": false, "input": ["text"], "cost": { "input": 0, "output": 0, "cacheRead": 0, "cacheWrite": 0 }, "contextWindow": 202752, "maxTokens": 16384, "compat": { "thinkingFormat": "qwen" } }, { "id": "deepseek-v3.2", "name": "deepseek-v3.2", "reasoning": false, "input": ["text"], "cost": { "input": 0, "output": 0, "cacheRead": 0, "cacheWrite": 0 }, "contextWindow": 163840, "maxTokens": 16384, "compat": { "thinkingFormat": "qwen" } } ] } } }, "agents": { "defaults": { "model": { "primary": "bailian/qwen3.6-plus" }, "models": { "bailian/qwen3.6-plus": {}, "bailian/MiniMax-M2.5": {}, "bailian/glm-5": {}, "bailian/deepseek-v3.2": {} } } }, "gateway": { "mode": "local" } } -
儲存檔案並退出,運行以下命令來使配置生效。
openclaw gateway restart
通過網頁瀏覽器修改設定檔
-
在終端執行以下命令,瀏覽器將自動開啟 OpenClaw 的操作介面(地址通常為
http://127.0.0.1:xxxx),可以在該頁面進行對話和配置。openclaw dashboard -
在左側功能表列中選擇(或)。
-
首次配置:複製以下內容到Raw JSON5輸入框,替換已有內容。
已有配置:若需保留已有配置,請勿直接全量替換,詳見已有配置如何安全修改
-
將
YOUR_API_KEY替換為Token Plan 團隊版專屬 API Key。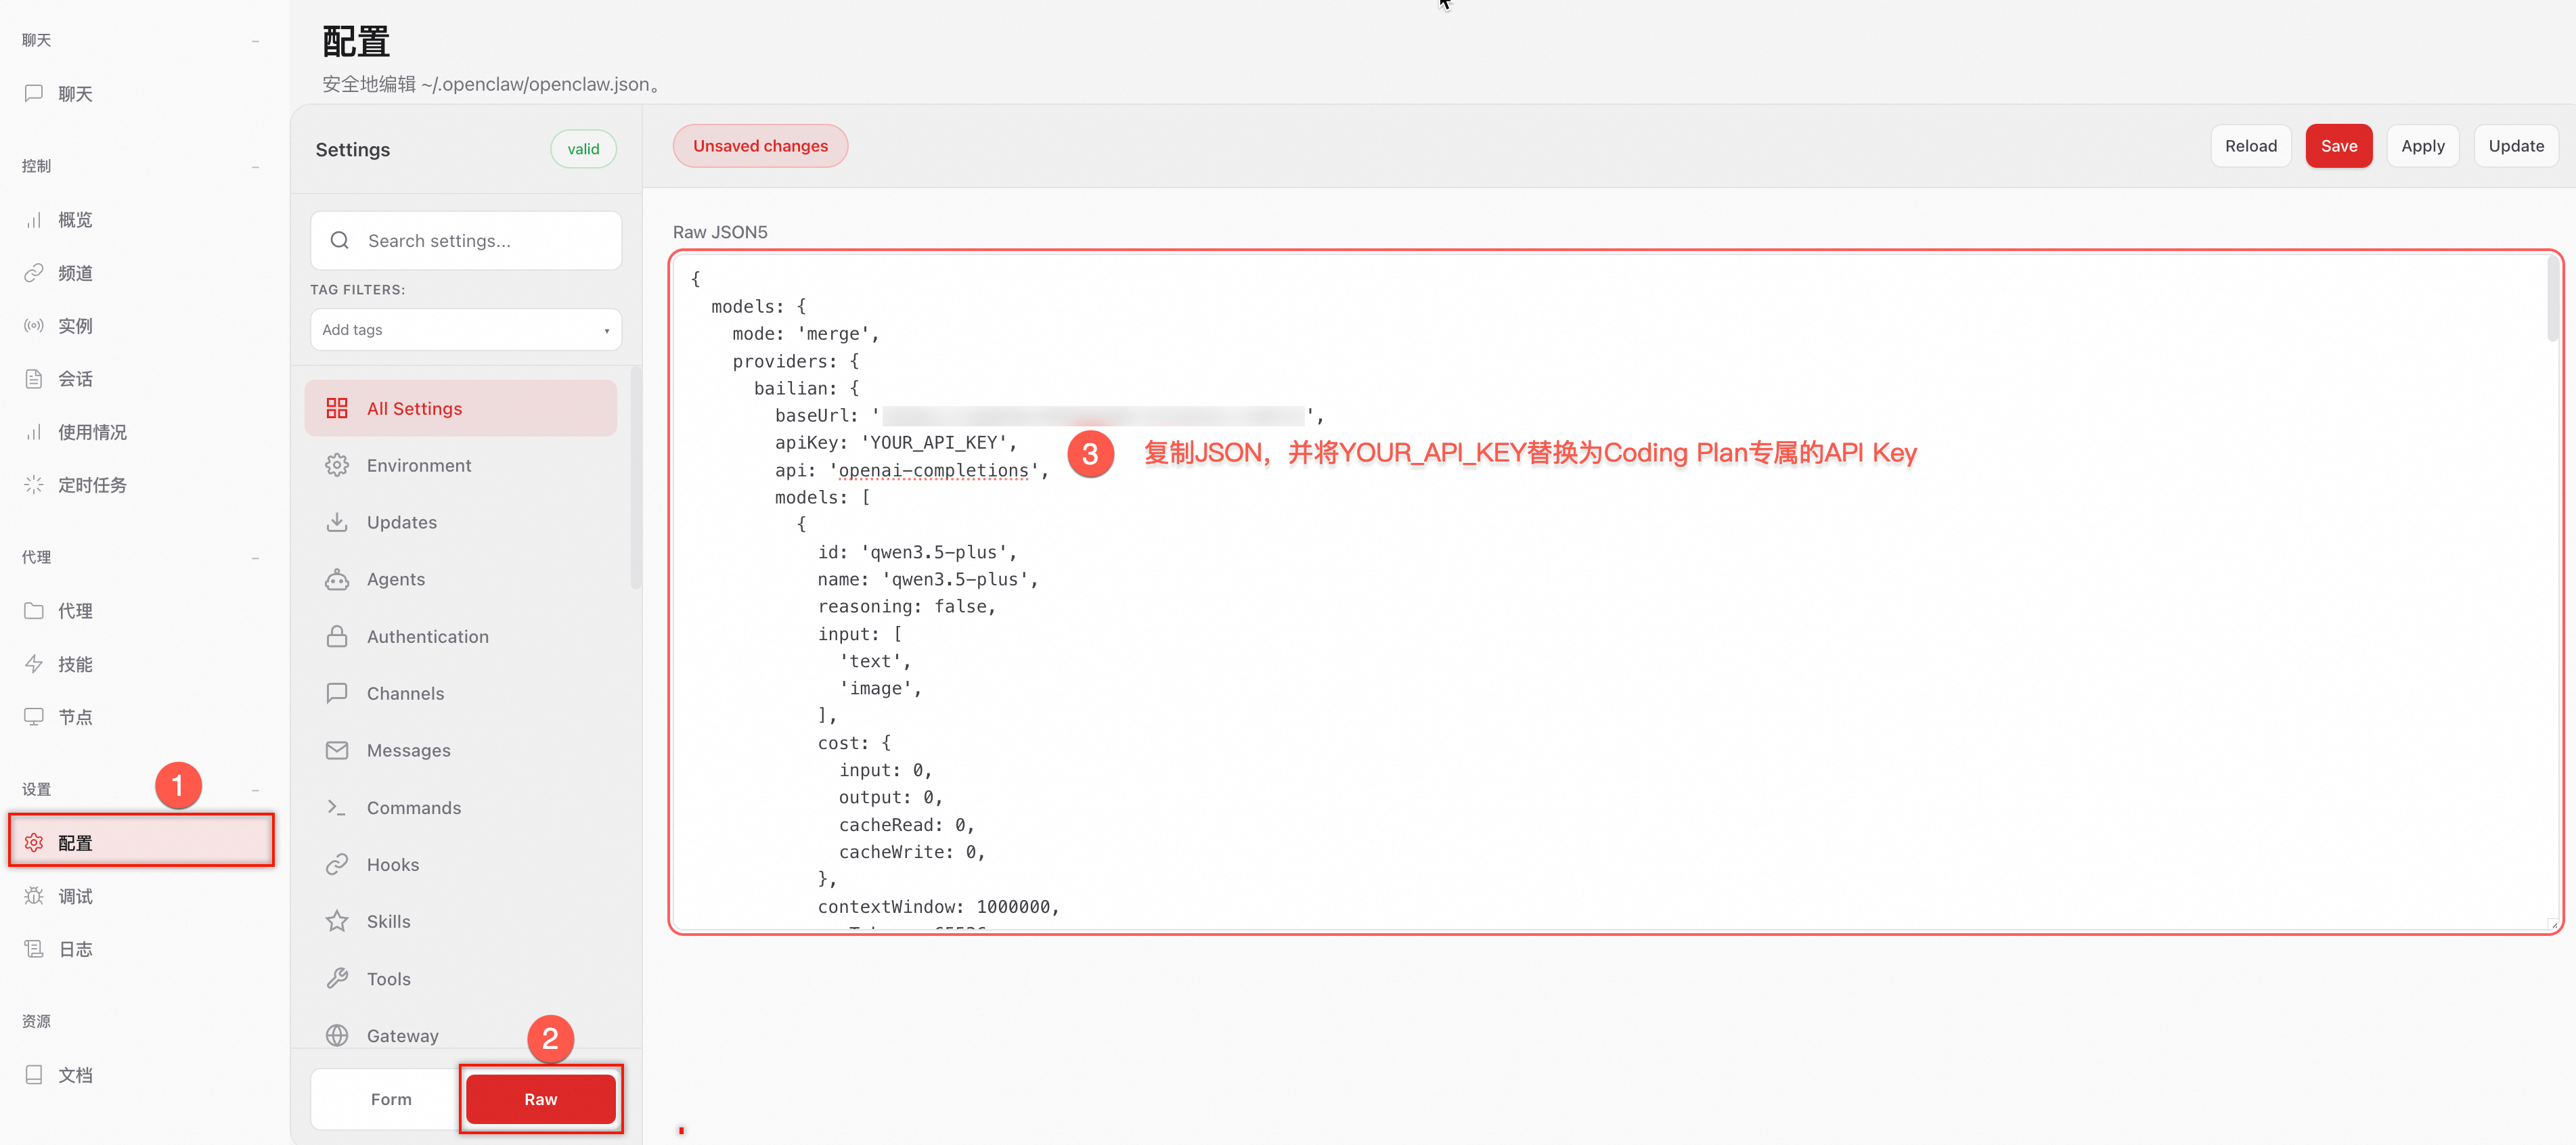
{ "models": { "mode": "merge", "providers": { "bailian": { "baseUrl": "https://token-plan.ap-southeast-1.maas.aliyuncs.com/compatible-mode/v1", "apiKey": "YOUR_API_KEY", "api": "openai-completions", "models": [ { "id": "qwen3.6-plus", "name": "qwen3.6-plus", "reasoning": false, "input": ["text", "image"], "cost": { "input": 0, "output": 0, "cacheRead": 0, "cacheWrite": 0 }, "contextWindow": 1000000, "maxTokens": 65536, "compat": { "thinkingFormat": "qwen" } }, { "id": "MiniMax-M2.5", "name": "MiniMax-M2.5", "reasoning": false, "input": ["text"], "cost": { "input": 0, "output": 0, "cacheRead": 0, "cacheWrite": 0 }, "contextWindow": 196608, "maxTokens": 32768 }, { "id": "glm-5", "name": "glm-5", "reasoning": false, "input": ["text"], "cost": { "input": 0, "output": 0, "cacheRead": 0, "cacheWrite": 0 }, "contextWindow": 202752, "maxTokens": 16384, "compat": { "thinkingFormat": "qwen" } }, { "id": "deepseek-v3.2", "name": "deepseek-v3.2", "reasoning": false, "input": ["text"], "cost": { "input": 0, "output": 0, "cacheRead": 0, "cacheWrite": 0 }, "contextWindow": 163840, "maxTokens": 16384, "compat": { "thinkingFormat": "qwen" } } ] } } }, "agents": { "defaults": { "model": { "primary": "bailian/qwen3.6-plus" }, "models": { "bailian/qwen3.6-plus": {}, "bailian/MiniMax-M2.5": {}, "bailian/glm-5": {}, "bailian/deepseek-v3.2": {} } } }, "gateway": { "mode": "local" } } -
-
點擊右上方 Save 儲存,然後點擊 Update使配置生效。
儲存成功後,apiKey將顯示為“__OPENCLAW_REDACTED__”。脫敏保護,僅用於前端介面隱藏,不影響實際調用。
使用 OpenClaw
支援通過網頁瀏覽器和終端命令列的方式使用 OpenClaw。
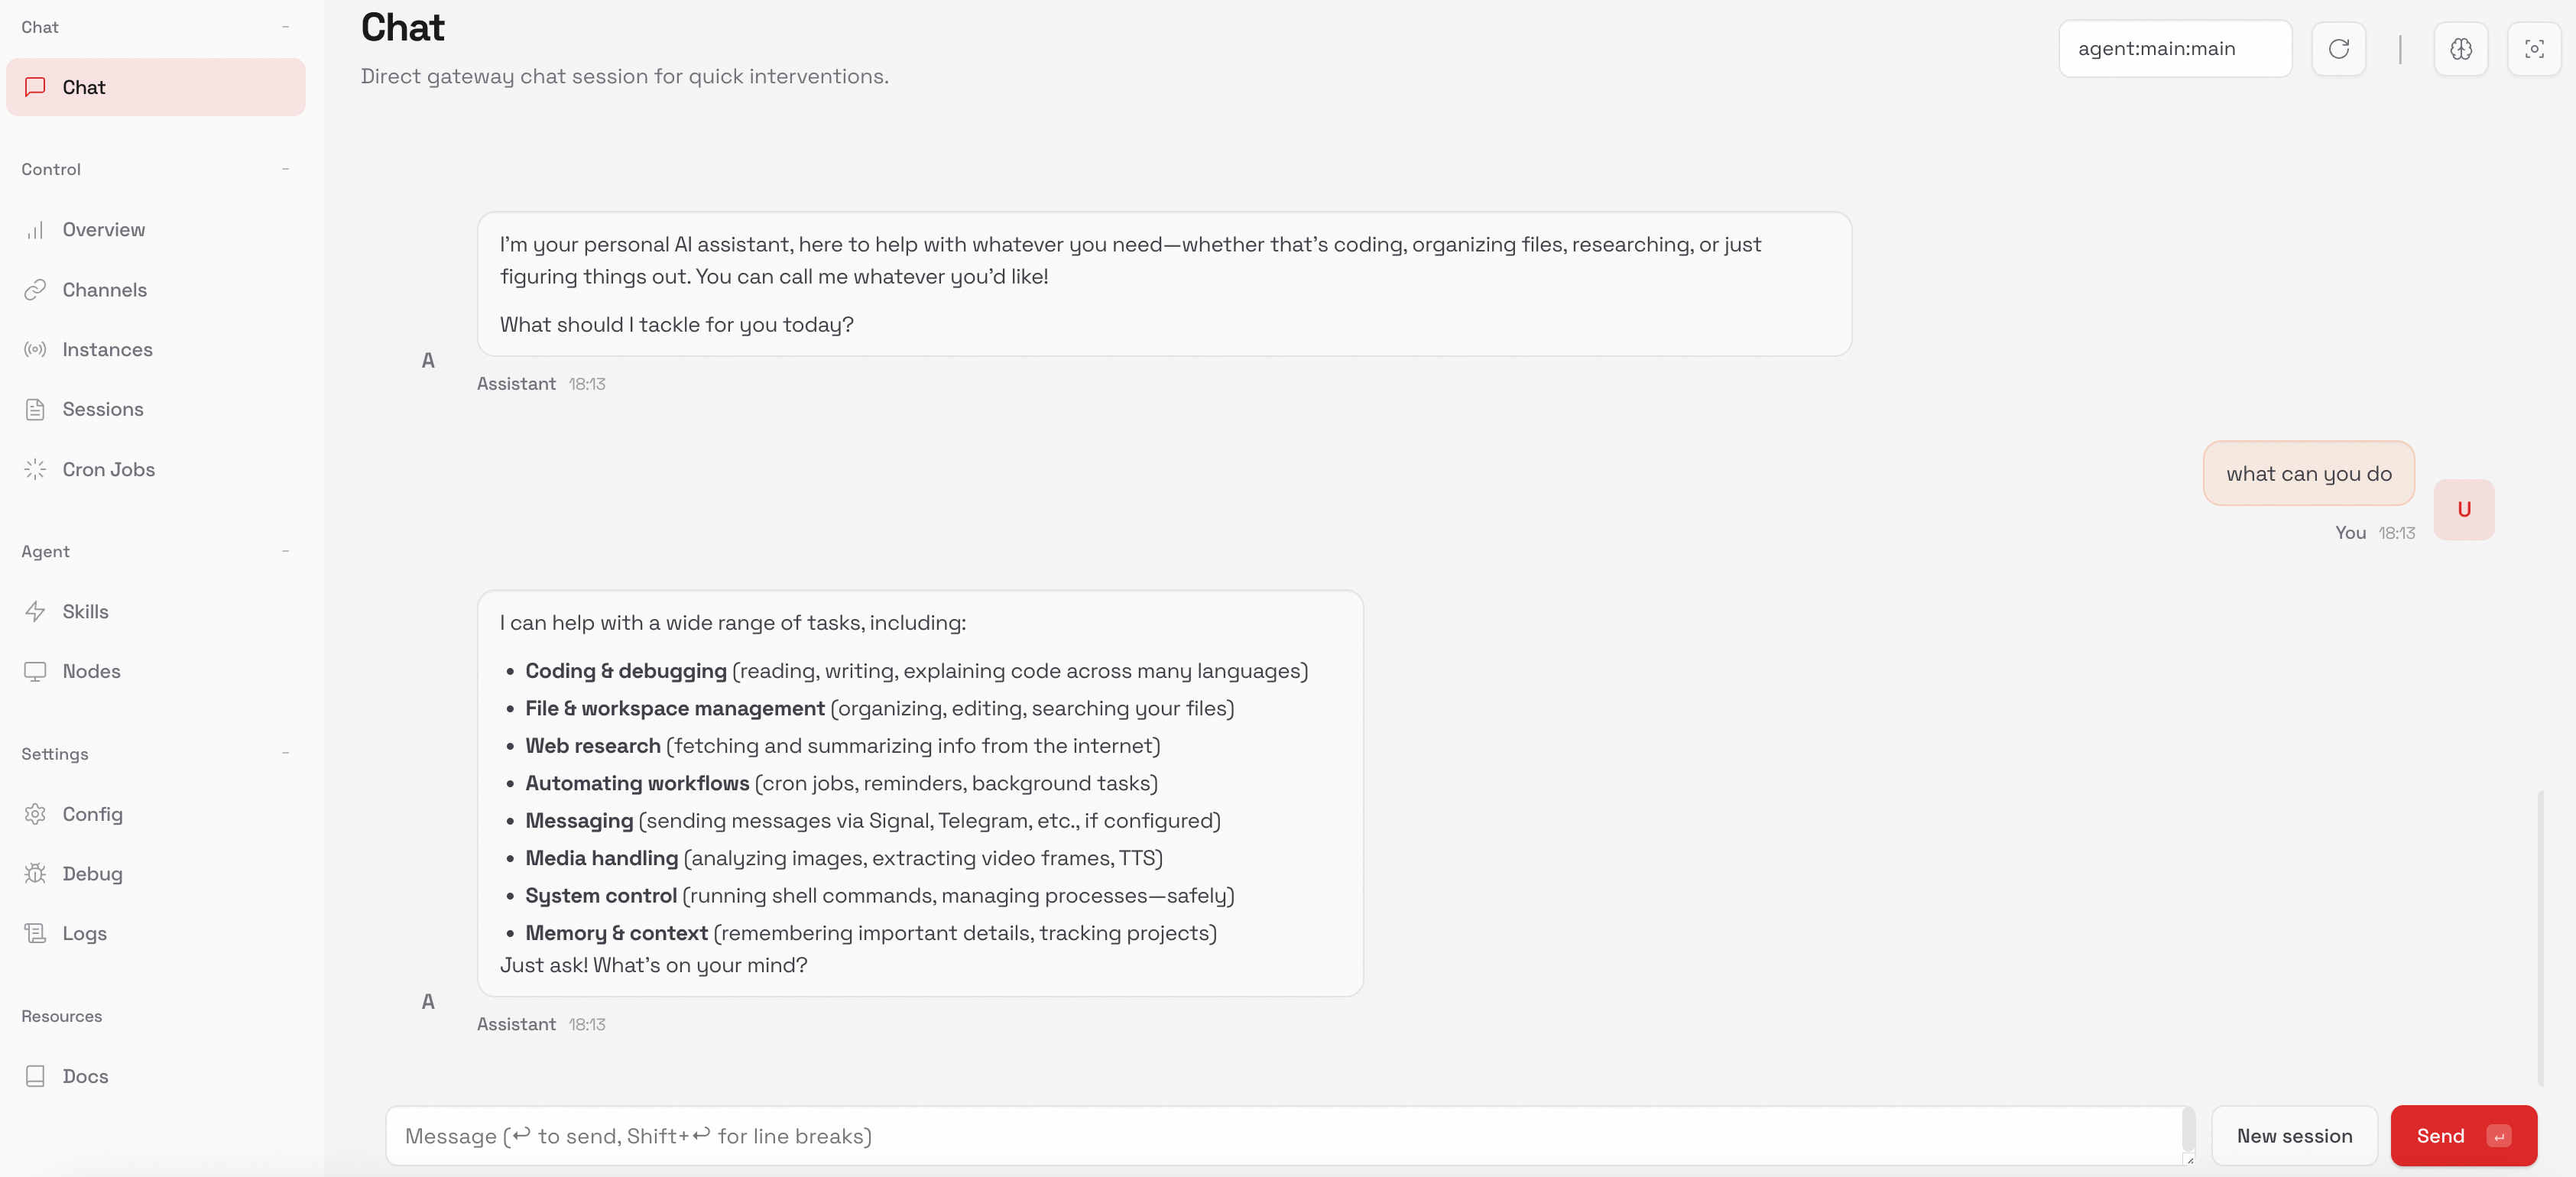
網頁瀏覽器
-
新開一個終端,運行以下命令,瀏覽器將自動開啟 OpenClaw 的操作介面。
openclaw dashboard -
開始對話。
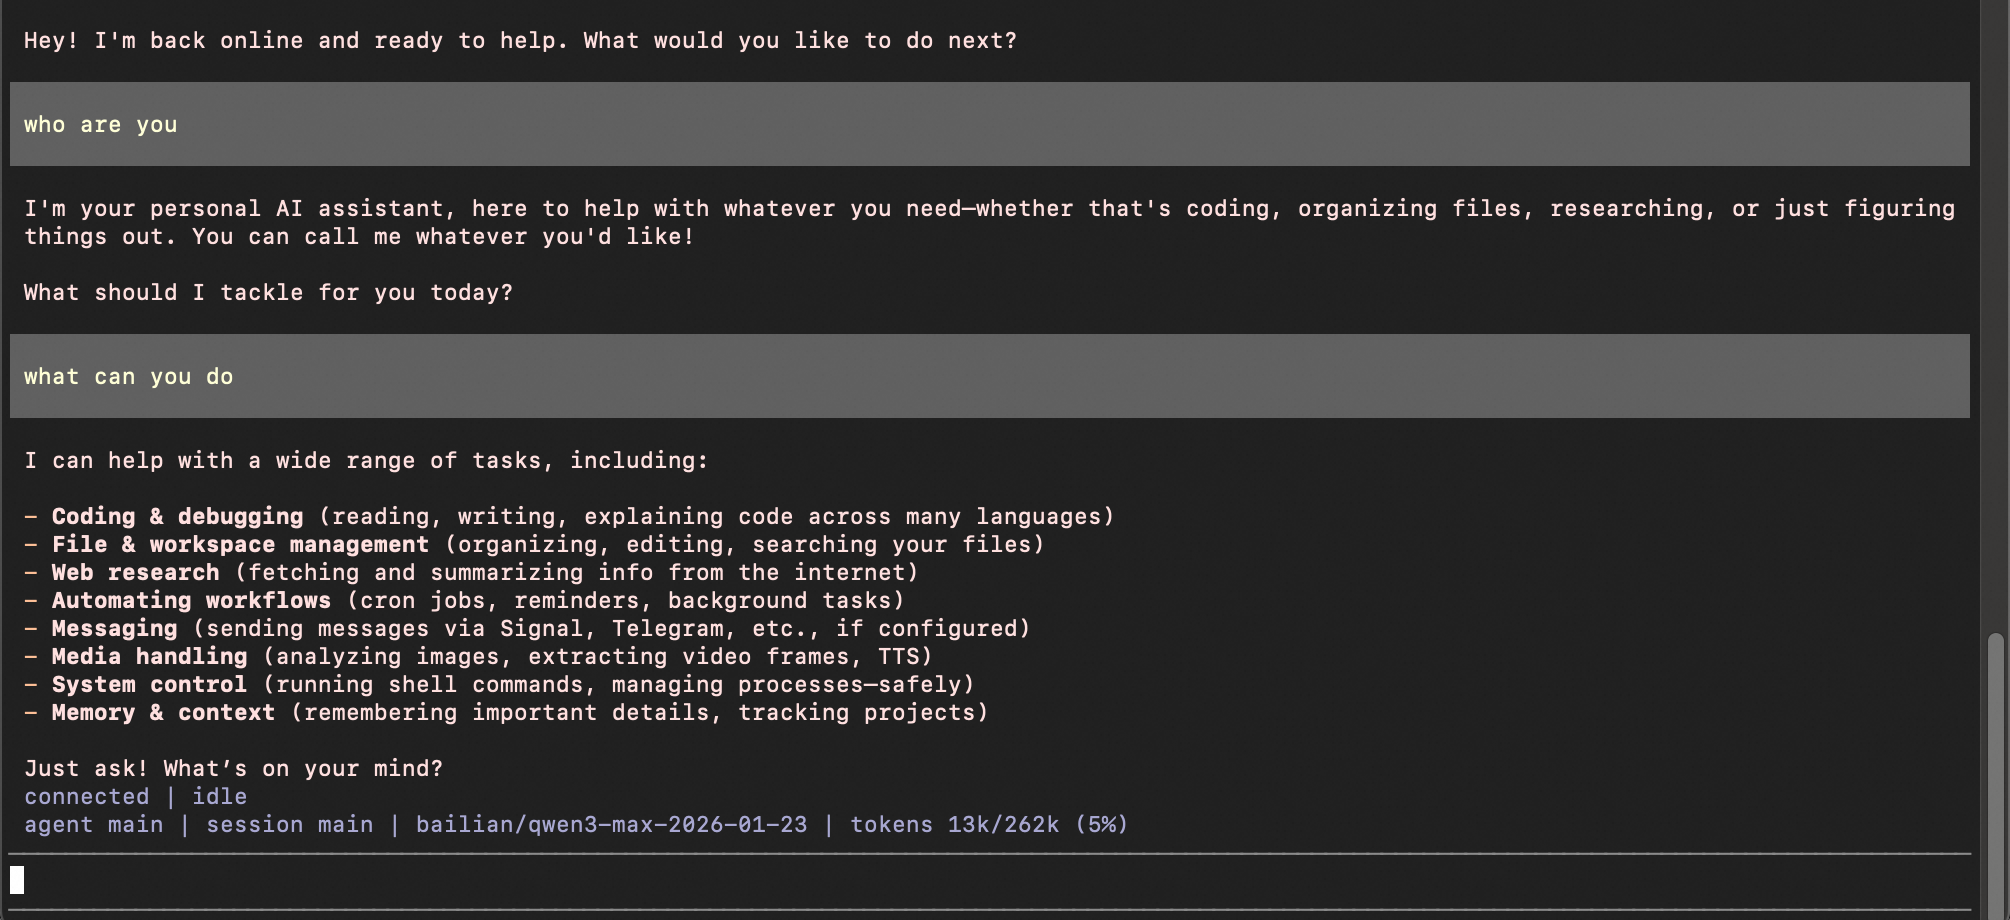
終端命令列
-
新開一個終端,運行以下命令。
openclaw tui -
開始對話。
常見命令
|
命令 |
說明 |
樣本 |
|
/help |
顯示可用命令的快速摘要。 |
/help |
|
/status |
查看當前模型、會話、網關等狀態資訊。 |
/status |
|
/model <模型名稱> |
切換當前會話使用的模型。 |
/model qwen3.6-plus |
|
/new |
開始一個新會話。 |
/new |
|
/compact |
壓縮對話歷史,釋放上下文視窗空間。 |
/compact |
|
/think <層級> |
設定思考(推理)深度層級,可選 off、low、medium、high 等。 |
/think high |
|
/skills |
展示全部可用的 Skill。 |
/skills |
切換模型
-
在當前會話切換模型(臨時有效)
在終端輸入
openclaw tui,進入 OpenClaw 終端命令列,使用/model <模型名稱>在當前會話中切換模型。/model qwen3.6-plus介面返回提示”model set to qwen3.6-plus” 即表示生效。
-
切換預設模型(永久有效)
如需在每次新會話中使用指定模型,修改
agents.defaults.model.primary欄位為目標模型。請參考修改設定檔。{ "agents": { "defaults": { "model": { "primary": "bailian/qwen3.6-plus" } } } }
文本模型(如 qwen3.6-plus、glm-5 等)可直接使用。映像產生模型需通過自訂 Skill 接入,參見接入多模態產生模型。
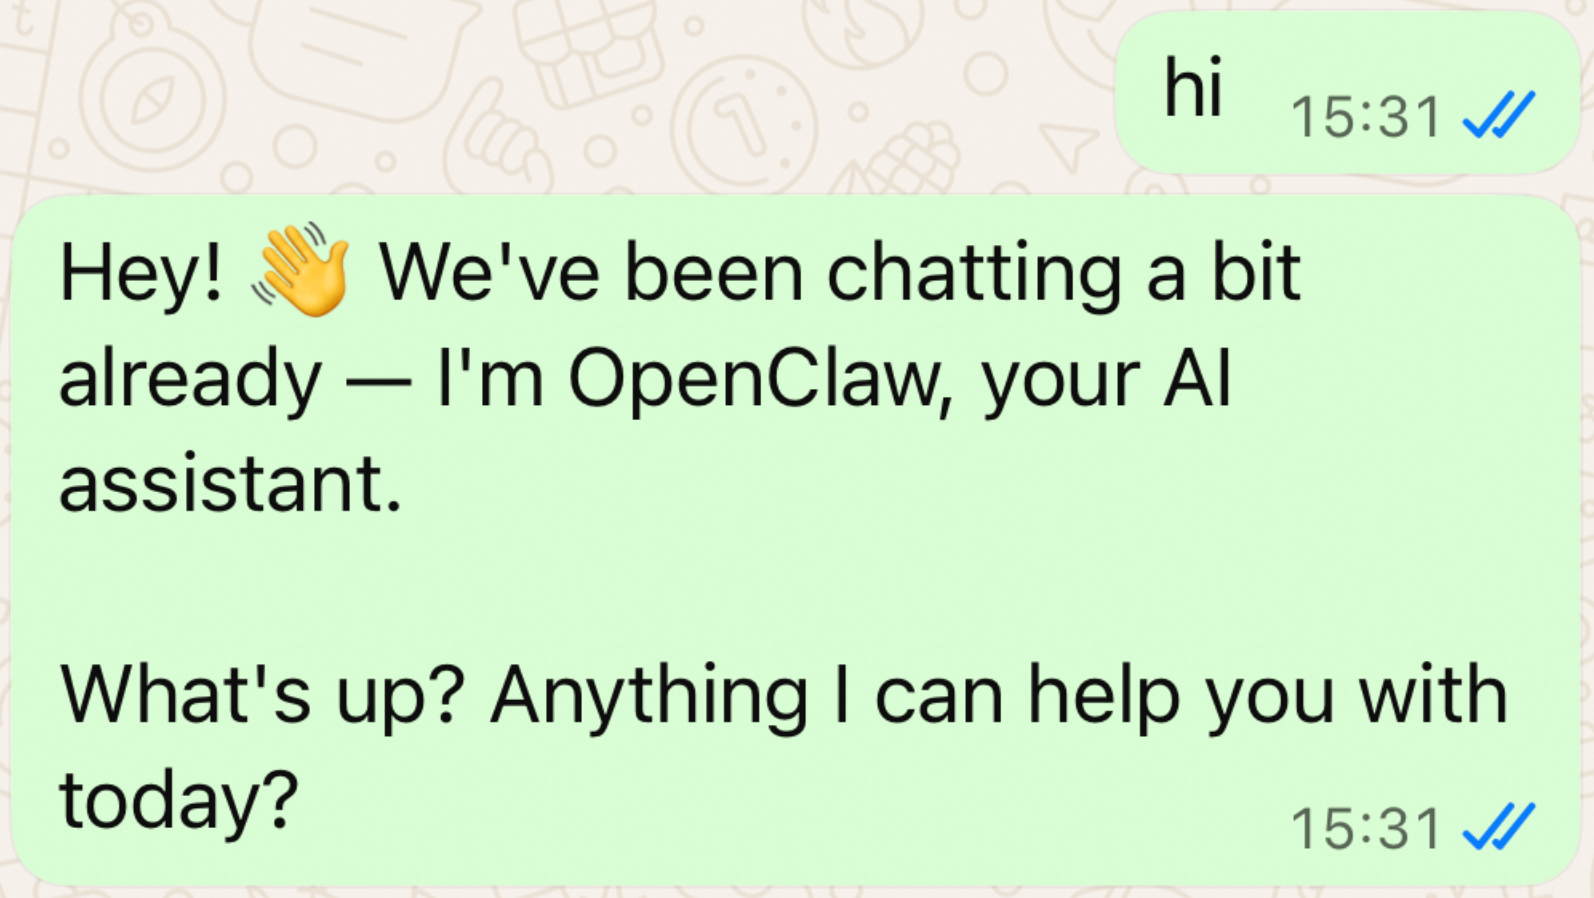
接入訊息渠道
步驟一:安裝 WhatsApp 外掛程式
WhatsApp 渠道通過外掛程式方式接入,執行以下命令安裝外掛程式:
openclaw plugins install @openclaw/whatsapp步驟二:配置 WhatsApp 渠道
在 OpenClaw 對話中輸入以下內容,OpenClaw 會詢問手機號碼(需使用 E.164 格式,即 + 號加國家代碼加手機號),然後自動將號碼填入配置並完成設定。
請幫我配置 WhatsApp 渠道。請先詢問My Phone號碼,然後將號碼自動填入以下配置中的 allowFrom 和 groupAllowFrom 欄位,完成配置。
{
  "channels": {
    "whatsapp": {
      "dmPolicy": "pairing",
      "allowFrom": ["<phone_number>"],
      "groupPolicy": "allowlist",
      "groupAllowFrom": ["<phone_number>"]
    }
  }
}
建議使用單獨的手機號運行 WhatsApp 渠道,避免機器人響應日常聊天中的訊息。如果使用日常聊天的手機號,可在 OpenClaw 對話中輸入開啟 selfChatMode,機器人將僅在給自己發訊息的對話中響應,不影響其他聊天。
步驟三:關聯 WhatsApp
-
執行以下命令啟動 WhatsApp 關聯流程,終端會顯示二維碼。
openclaw channels login --channel whatsapp -
開啟手機 WhatsApp,掃描終端中的二維碼完成關聯。
-
重啟網關。
openclaw gateway restart
步驟四:測試
-
執行以下命令檢查 WhatsApp 渠道狀態。
openclaw status在 Channels 部分,WhatsApp 應顯示為
ON且狀態為OK。 -
在 WhatsApp 中給自己發送一條訊息,驗證機器人是否正常響應。
Telegram
步驟一:配置 Telegram 機器人
-
通過 BotFather 建立機器人
發送
/newbot命令,按提示輸入機器人名稱和使用者名稱(使用者名稱必須以bot結尾),複製並儲存返回的 Bot Token(格式為:123456789:ABCdefGHIjklMNOpqrsTUVwxyz)。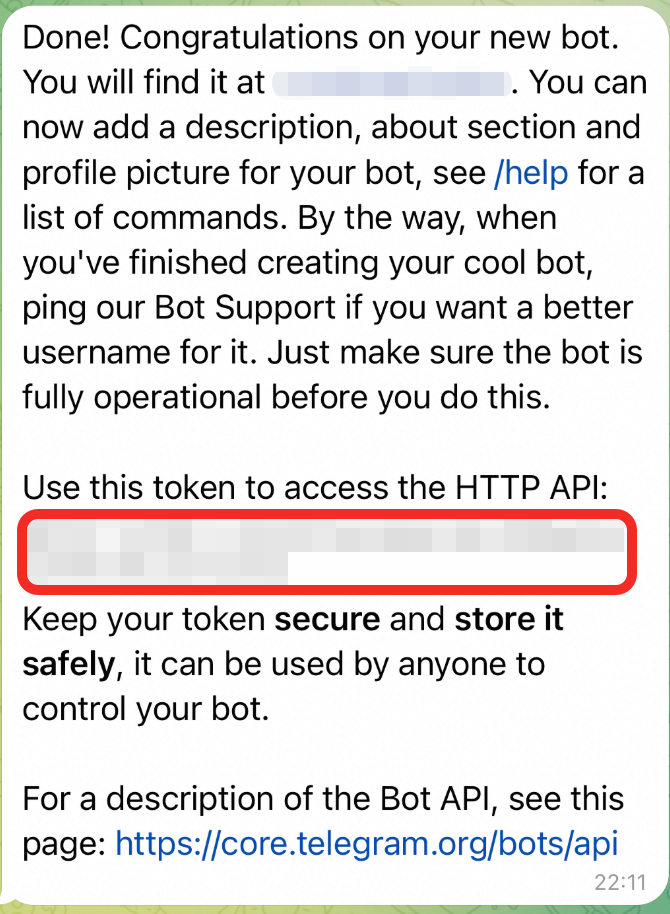
-
在 OpenClaw 對話中輸入如下內容,並將 xxxx 替換為實際的 Bot Token。OpenClaw 會自動完成配置。
請幫我配置Telegram,配置項如下,我的Bot Token是xxxx。 { "channels": { "telegram": { "enabled": true, "botToken": "xxxx", "dmPolicy": "pairing" } } } -
配置完成後,重啟網關。
openclaw gateway restart -
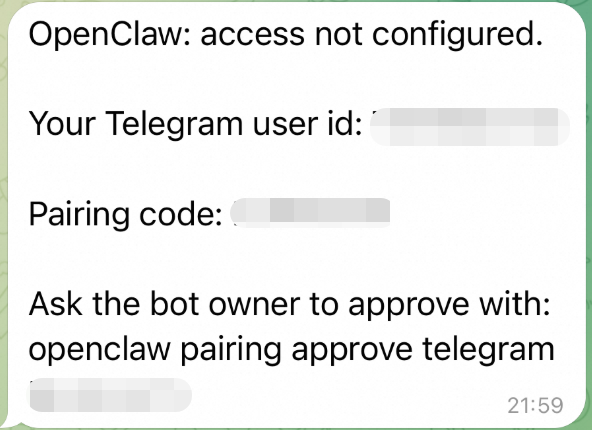
在 Telegram 中發送訊息給機器人,首次發送訊息會收到配對碼。
-
在終端執行以下命令,將 xxx 替換為實際的配對碼。
openclaw pairing approve telegram xxx
Discord
步驟一:建立 Discord 應用和機器人
-
建立 Discord 應用
進入 Discord Developer Portal,點擊 New Application,輸入應用程式名稱,然後點擊 Create。
-
建立機器人並開啟許可權
-
在左側導覽列點擊 Bot,設定機器人使用者名稱。
-
在 Bot 頁面向下滾動到 Privileged Gateway Intents,開啟以下許可權:
-
Message Content Intent
-
Server Members Intent
-
Presence Intent
完成後點擊 Save Changes。
-
-
-
擷取 Bot Token
在 Bot 頁面頂部,點擊 Reset Token 產生令牌,複製並妥善儲存。此令牌僅顯示一次。
-
添加機器人到伺服器
-
在左側導覽列點擊 OAuth2,向下滾動到 OAuth2 URL Generator。
-
在 Scopes 中勾選
bot和applications.commands。 -
在下方出現的 Bot Permissions 中勾選以下許可權:
-
View Channels
-
Send Messages
-
Read Message History
-
Embed Links
-
Attach Files
-
-
複製頁面底部產生的 URL,在瀏覽器中開啟,選擇目標伺服器並點擊 Continue 完成添加。
-
步驟二:在 OpenClaw 中配置 Discord
-
在運行 OpenClaw 的機器上,設定 Bot Token 環境變數。
export DISCORD_BOT_TOKEN="YOUR_BOT_TOKEN" -
執行以下命令完成 Discord 配置。
openclaw config set channels.discord.token --ref-provider default --ref-source env --ref-id DISCORD_BOT_TOKEN openclaw config set channels.discord.enabled true --strict-json -
重啟網關使配置生效。
openclaw gateway restart
步驟三:配對與測試
-
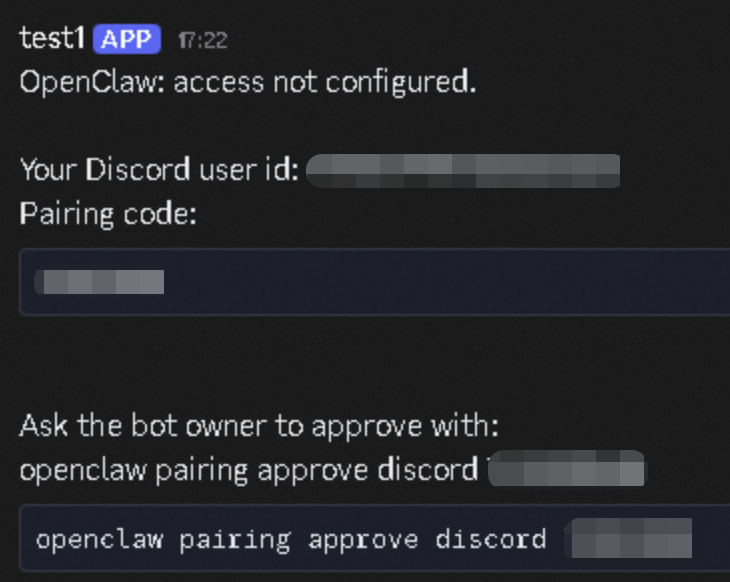
在 Discord 中向機器人發送私信,首次發送會收到配對碼(Pairing Code)。
-
在終端執行以下命令完成配對,將 xxx 替換為實際的配對碼。
openclaw pairing approve discord xxx配對碼有效期間為 1 小時,到期需重新發送訊息擷取新的配對碼。
-
執行以下命令檢查 Discord 渠道狀態。
openclaw status在 Channels 部分,Discord 應顯示為
ON且狀態為OK。 -
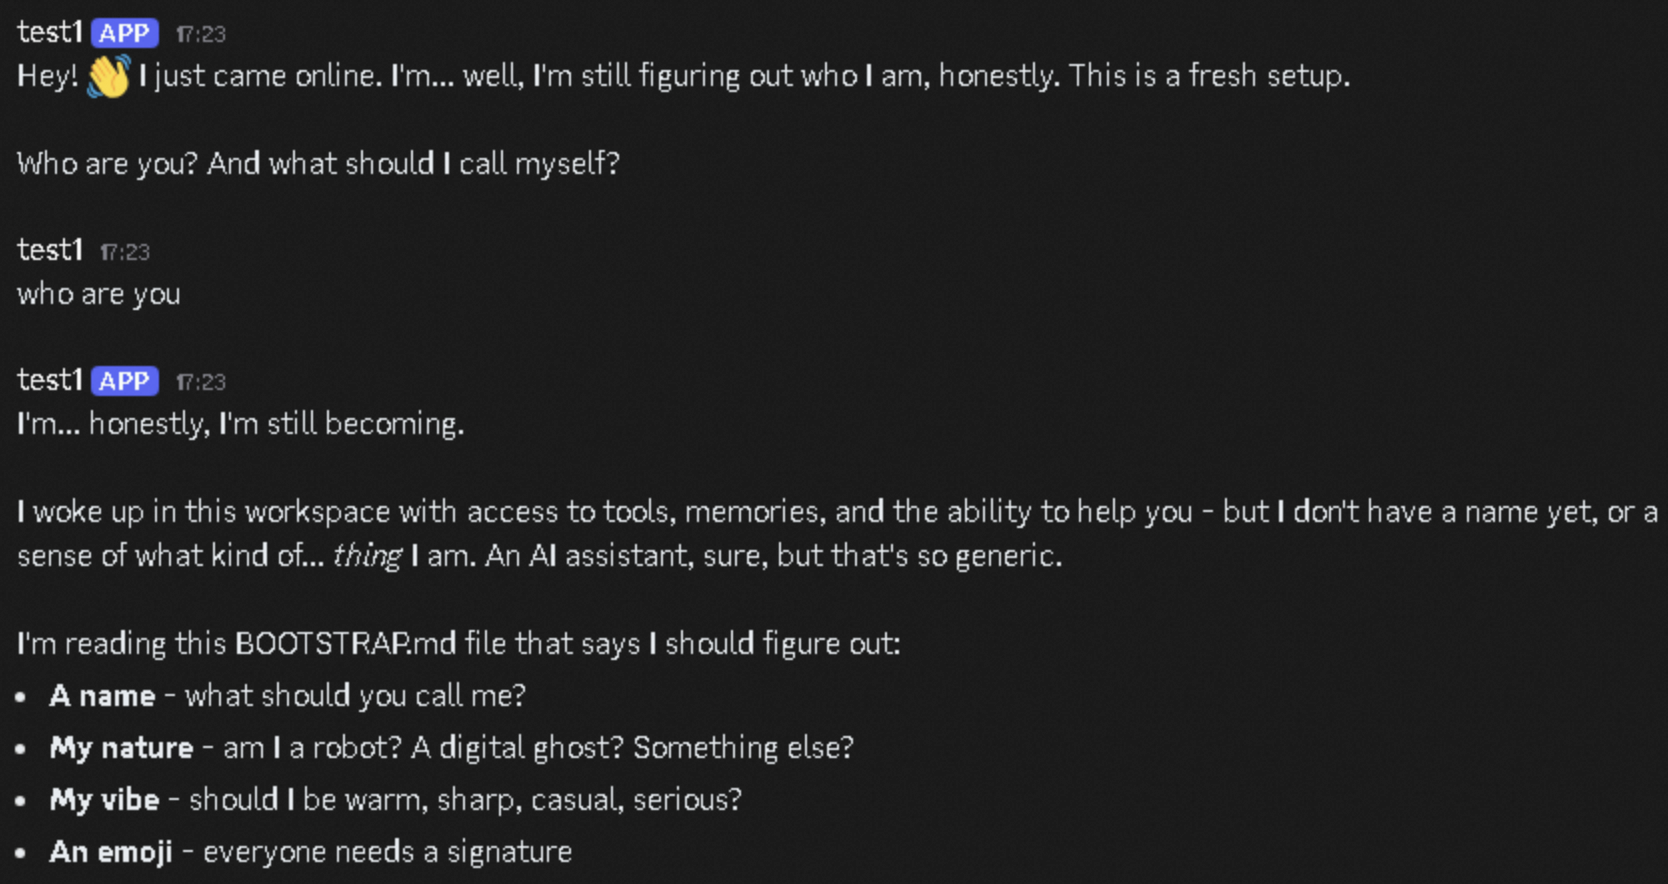
在 Discord 中發送訊息進行測試。
使用案例
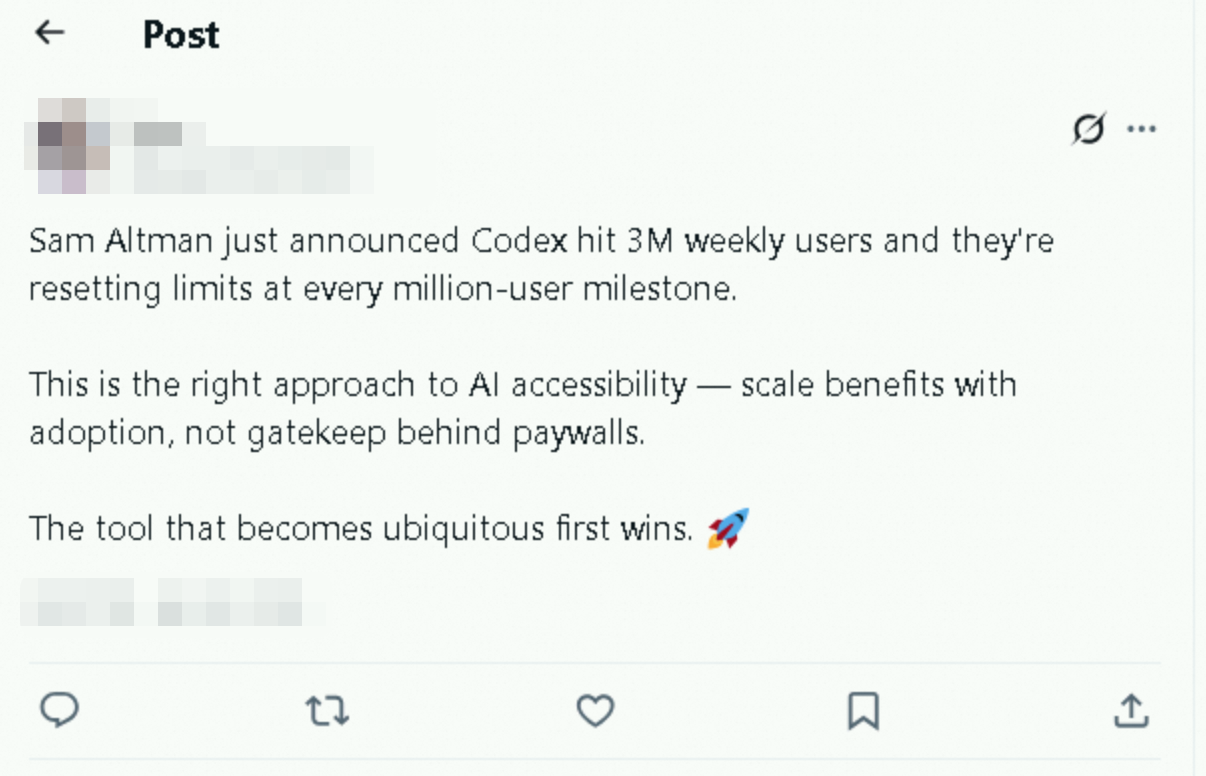
案例一:X(Twitter)自動營運
通過 OpenClaw 可自動化營運 X (Twitter) 帳號,支援發帖、回複、搜尋、時間軸瀏覽等操作。
在 OpenClaw 對話中輸入查看 Sam Altman 最近的推文,總結要點後幫我發一條推文談談我的看法,OpenClaw 會自動擷取動態、分析內容並發布。
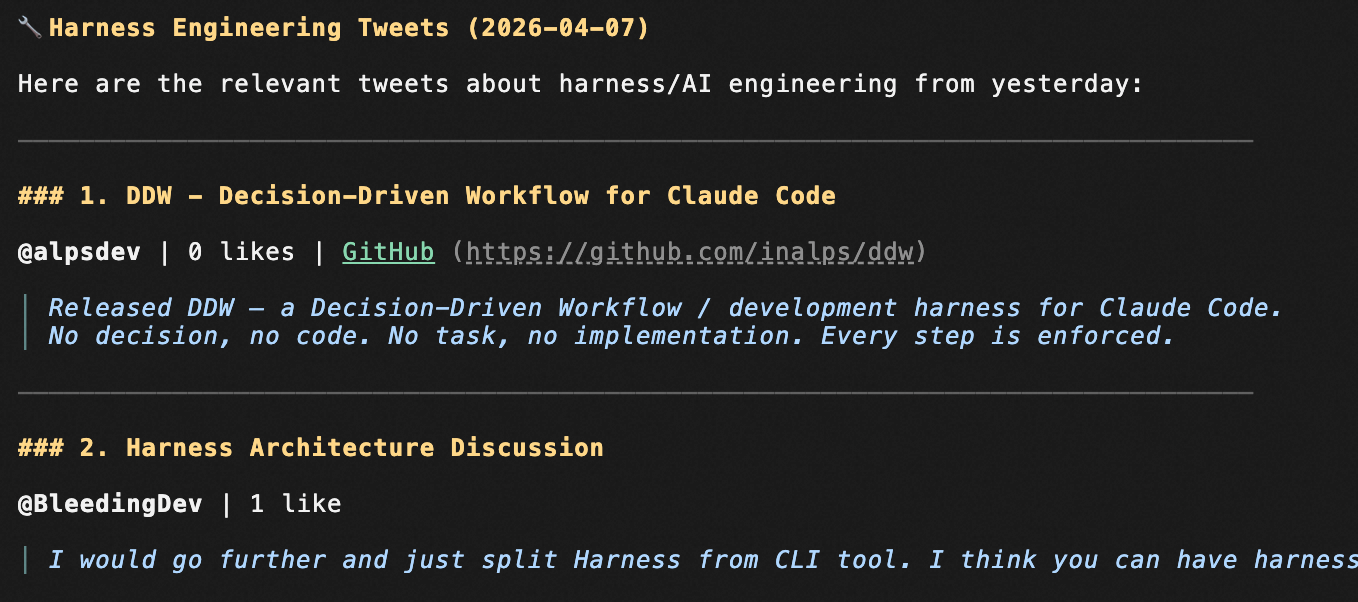
輸入幫我搜尋昨天關於 harness engineering 的推文,OpenClaw 會搜尋相關推文並總結要點。
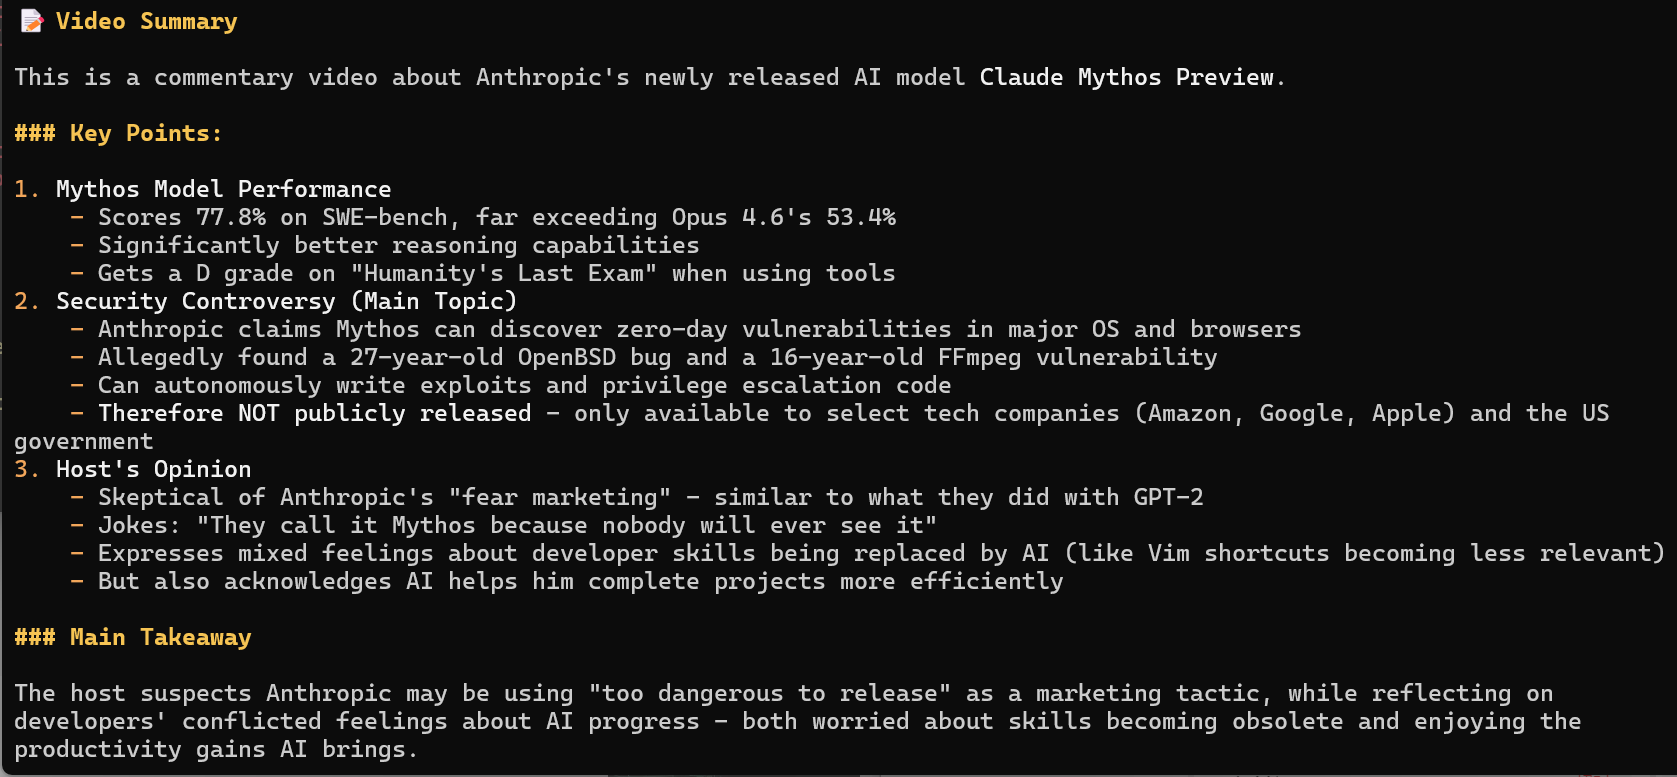
案例二:YouTube 視頻分析與下載
通過OpenClaw 可以搜尋 YouTube 視頻、提取視頻資訊並下載視頻,支援按關鍵詞搜尋、按日期排序、批量擷取視頻中繼資料等操作。
在 OpenClaw 對話中輸入幫我總結這個視頻的主要內容:https://www.youtube.com/watch?v=XRgGFQ0EgM0,OpenClaw 會提取視頻資訊並產生內容摘要。
在 OpenClaw 對話中輸入幫我下載這個視頻:https://www.youtube.com/watch?v=XRgGFQ0EgM0,OpenClaw 會調用 yt-dlp 將視頻下載到本地。

案例三:定時推送 AI 新聞
通過 OpenClaw 的 Cron 定時任務功能,每天自動抓取最新 AI 新聞並推送到 WhatsApp。

案例四:股市監控與分析
讓 OpenClaw 分析股票走勢,並提供技術面分析和投資建議。
AI 產生內容僅供參考,不構成實際的投資建議或決策依據。
瞭解更多
Skill
Skill 是可擴充的能力模組,Agent 會根據請求自動匹配並載入對應的 Skill。OpenClaw 支援查看和啟用內建 Skill,從 ClawHub安裝社區 Skill,或建立自訂 Skill。
查看已有 Skill
-
執行以下命令查看已安裝的 Skill 及其狀態。
# 列出已安裝的 Skill openclaw skills list # 查看 Skill 狀態(已啟用、已禁用、缺少依賴等) openclaw skills check # 查看特定 Skill 的詳細資料 openclaw skills info <skill-name> -
內建 Skill 預設未啟用,需在
~/.openclaw/openclaw.json中通過skills.allowBundled白名單啟用,只有列在其中的內建 Skill 才會被載入。{ "skills": { "allowBundled": [ "github", "weather", "summarize", "coding-agent", "clawhub", "nano-pdf", "google-web-search", "image-lab" ] } }部分內建 Skill需要配置對應的第三方 API Key 才能使用,請在
~/.openclaw/openclaw.json的skills.entries中配置,具體請參考 Skills 配置文檔。
尋找更多 Skill
可以通過以下兩種方式尋找並安裝更多 Skill。
-
通過 ClawHub 搜尋安裝
ClawHub 提供 3,000+ 個社區 Skill,可以在網站上瀏覽,也可以通過命令列搜尋。
# 按關鍵詞搜尋
npx clawhub search [關鍵詞]

# 瀏覽最新動向的 Skill
npx clawhub explore
找到合適的 Skill 後,執行以下命令安裝,安裝完成後重啟網關即可使用。
npx clawhub install <skill-name> -
直接在 OpenClaw 中提問
在對話中直接描述需求,例如
幫我找一個可以查天氣的 Skill,OpenClaw 會自動搜尋並安裝。
建立自訂 Skill
-
建立 Skill 目錄。
mkdir -p ~/.openclaw/workspace/skills/my-custom-skill -
在該目錄下建立
SKILL.md檔案。檔案由 YAML 前置中繼資料和 Markdown 指令兩部分組成,其中name和description為必要欄位。Agent 根據description判斷是否載入該 Skill,請確保描述準確。--- name: my-custom-skill description: 簡短描述 --- # My Custom Skill 當使用者請求 XXX 時,執行以下操作: 1. 使用 bash 工具運行 xxx 命令 2. 解析輸出結果 3. 以表格形式返回給使用者 -
重啟網關使 Skill 生效。
# 重啟網關
openclaw gateway restart

# 查看 Skill 是否生效
openclaw skills list
更多 Skill 配置說明請參考OpenClaw 官方文檔。
常見問題
更多問題請參考常見問題。