このトピックでは、Terraform を使用して VPC に Alibaba Cloud Container Service for Kubernetes クラスターをデプロイし、クラスター内に WordPress をデプロイする方法について説明します。
前提条件
開始する前に、以下の操作が完了していることを確認してください。
Alibaba Cloud Container Service をアクティブ化します。 詳細については、「Alibaba Cloud Container Service for Kubernetes」をご参照ください。
Terraform を使用するために、Alibaba Cloud アカウントと AccessKey ペア(AccessKey ID と AccessKey シークレット)を準備します。 Alibaba Cloud コンソールの セキュリティ管理 ページに移動して、AccessKey ペアを作成または表示できます。
Terraform をインストールして構成します。 詳細については、「Terraform をインストールして構成する」をご参照ください。
手順 1: Container Service for Kubernetes 用の Terraform テンプレートをダウンロードする
GitHub から Kubernetes クラスターを作成するための Terraform テンプレートをダウンロードできます。 テンプレートには、次のファイルが含まれています。
main.tf
Terraform のメインファイルであり、デプロイするリソースを定義します。このテンプレートは、条件を使用して既存のネットワークリソースを参照し、複数の Kubernetes クラスターを同時に作成します。このファイルでは、次のリソースを定義します。
リージョン
リソースが作成されるリージョンを定義します。
provider "alicloud" {
  access_key = "${var.alicloud_access_key}"
  secret_key = "${var.alicloud_secret_key}"
  region = "${var.region}"
}

data "alicloud_zones" "default" {
  available_instance_type = data.alicloud_instance_types.default.instance_types[0].id
}
インスタンスタイプ
data "alicloud_instance_types" "default" {
  cpu_core_count = var.cpu_core_count
  memory_size    = var.memory_size
}
VPC
vpc_id を指定することで、既存の VPC を使用できます。
resource "alicloud_vpc" "vpc" {
  count      = var.vpc_id == "" ? 1 : 0
  cidr_block = var.vpc_cidr
  name       = var.vpc_name == "" ? var.example_name : var.vpc_name
}
vSwitch
vswitch_ids を指定することで、既存の vSwitch を使用できます。
resource "alicloud_vswitch" "vswitches" {
  count             = length(var.vswitch_ids) > 0 ? 0 : length(var.vswitch_cidrs)
  vpc_id            = var.vpc_id == "" ? join("", alicloud_vpc.vpc. *.id) : var.vpc_id
  cidr_block        = element(var.vswitch_cidrs, count.index)
  availability_zone = data.alicloud_zones.default.zones[count.index % length(data.alicloud_zones.default.zones)]["id"]
  name = var.vswitch_name_prefix == "" ? format(
    "%s-%s",
    var.example_name,
    format(var.number_format, count.index + 1),
    ) : format(
    "%s-%s",
    var.vswitch_name_prefix,
    format(var.number_format, count.index + 1),
  )
}
NAT ゲートウェイ
new_nat_gateway を指定することで、テンプレートで定義された VPC に NAT ゲートウェイを作成するかどうかを決定できます。
resource "alicloud_nat_gateway" "default" {
  count  = var.new_nat_gateway == "true" ? 1 : 0
  vpc_id = var.vpc_id == "" ? join("", alicloud_vpc.vpc. *.id) : var.vpc_id
  name   = var.example_name
}
ENI
resource "alicloud_eip" "default" {
  count     = var.new_nat_gateway == "true" ? 1 : 0
  bandwidth = 10
}
ENI のアタッチ
resource "alicloud_eip_association" "default" {
  count         = var.new_nat_gateway == "true" ? 1 : 0
  allocation_id = alicloud_eip.default[0].id
  instance_id   = alicloud_nat_gateway.default[0].id
}
SNAT エントリ
テンプレートで定義された NAT ゲートウェイに SNAT エントリを追加できます。
resource "alicloud_snat_entry" "default" {
  count         = var.new_nat_gateway == "false" ? 0 : length(var.vswitch_ids) > 0 ? length(var.vswitch_ids) : length(var.vswitch_cidrs)
  snat_table_id = alicloud_nat_gateway.default[0].snat_table_ids
  source_vswitch_id = length(var.vswitch_ids) > 0 ? split(",", join(",", var.vswitch_ids))[count.index % length(split(",", join(",", var.vswitch_ids)))] : length(var.vswitch_cidrs) < 1 ? "" : split(",", join(",", alicloud_vswitch.vswitches. *.id))[count.index % length(split(",", join(",", alicloud_vswitch.vswitches. *.id)))]
  snat_ip = alicloud_eip.default[0].ip_address
}
Kubernetes クラスター
k8s_number を指定することで、複数の Kubernetes クラスターを同時に作成できます。
resource "alicloud_cs_kubernetes" "k8s" { count = var.k8s_number name = var.k8s_name_prefix == "" ? format( "%s-%s", var.example_name, format(var.number_format, count.index + 1), ) : format( "%s-%s", var.k8s_name_prefix, format(var.number_format, count.index + 1), ) vswitch_ids = [length(var.vswitch_ids) > 0 ? split(",", join(",", var.vswitch_ids))[count.index % length(split(",", join(",", var.vswitch_ids)))] : length(var.vswitch_cidrs) < 1 ? "" : split(",", join(",", alicloud_vswitch.vswitches. *.id))[count.index % length(split(",", join(",", alicloud_vswitch.vswitches. *.id)))]] new_nat_gateway = false master_instance_types = [var.master_instance_type == "" ? data.alicloud_instance_types.default.instance_types[0].id : var.master_instance_type] worker_instance_types = [var.worker_instance_type == "" ? data.alicloud_instance_types.default.instance_types[0].id : var.worker_instance_type] worker_numbers = [var.k8s_worker_number] master_disk_category = var.master_disk_category worker_disk_category = var.worker_disk_category master_disk_size = var.master_disk_size worker_disk_size = var.master_disk_size password = var.ecs_password pod_cidr = var.k8s_pod_cidr service_cidr = var.k8s_service_cidr enable_ssh = true install_cloud_monitor = true depends_on = [alicloud_snat_entry.default] }説明~/.kube/config
kube_config = "~/.kube/config"を指定することで、kube config コンテンツをダウンロードし、 ファイルに保存できます。
outputs.tf
このファイルは、出力パラメーターを定義します。これらの出力パラメーターは、ROS テンプレートで指定された出力パラメーターと同様に、実行の一部として作成されたリソースから生成されます。たとえば、Kubernetes クラスターをデプロイするためのテンプレートには、クラスター ID やその他のリソースパラメーターなどの次の出力パラメーターが含まれている必要があります。
// VPC の出力
output "vpc_id" {
  description = "VPC の ID です。"
  value       = alicloud_cs_kubernetes.k8s[0].vpc_id
}

output "vswitch_ids" {
  description = "vSwitch の ID リストです。"
  value       = [alicloud_cs_kubernetes.k8s. *.vswitch_ids]
}

output "nat_gateway_id" {
  value = alicloud_cs_kubernetes.k8s[0].nat_gateway_id
}

// Kubernetes リソースの出力
output "cluster_id" {
  description = "Kubernetes クラスターの ID です。"
  value       = [alicloud_cs_kubernetes.k8s. *.id]
}

output "security_group_id" {
  description = "Kubernetes クラスターのデプロイに使用されるセキュリティグループの ID です。"
  value       = alicloud_cs_kubernetes.k8s[0].security_group_id
}

output "worker_nodes" {
  description = "クラスターのワーカーノードのリストです。"
  value       = [alicloud_cs_kubernetes.k8s. *.worker_nodes]
}

output "master_nodes" {
  description = "クラスターのマスターノードのリストです。"
  value       = [alicloud_cs_kubernetes.k8s. *.master_nodes]
}
variables.tf
このファイルには、main.tf に転送できる変数が含まれています。これらの変数は、環境のカスタマイズに役立ちます。
# 共通変数
variable "availability_zone" {
  description = "ECS インスタンスとその他のリソースを起動するために使用可能なゾーンです。"
  default     = ""
}

variable "number_format" {
  description = "出力に使用される数値形式です。"
  default     = "%02d"
}

variable "example_name" {
  default = "tf-example-kubernetes"
}

# インスタンスタイプ変数
variable "cpu_core_count" {
  description = "インスタンスタイプを取得するために使用される CPU コア数です。"
  default     = 2
}

variable "memory_size" {
  description = "インスタンスタイプを取得するために使用されるメモリサイズです。"
  default     = 4
}

# VPC 変数
variable "vpc_name" {
  description = "'vpc_id' が指定されていない場合に新しい VPC を作成するために使用される VPC 名です。デフォルトは変数 `example_name` です。"
  default     = ""
}

variable "vpc_id" {
  description = "複数の vSwitch とその他のリソースを作成するために使用される既存の VPC ID です。"
  default     = ""
}

variable "vpc_cidr" {
  description = "'vpc_id' が指定されていない場合に新しい VPC を起動するために使用される CIDR ブロックです。"
  default     = "10.1.0.0/21"
}

# vSwitch 変数
variable "vswitch_name_prefix" {
  description = "複数の新しい vSwitch を作成するために使用される vSwitch 名のプレフィックスです。デフォルトは変数 `example_name` です。"
  default     = ""
}

variable "vswitch_ids" {
  description = "既存の vSwitch ID のリストです。"
  type        = list(string)
  default     = []
}

variable "vswitch_cidrs" {
  description = "'vswitch_ids' が指定されていない場合に複数の新しい vSwitch を作成するために使用される CIDR ブロックのリストです。"
  type        = list(string)
  default     = ["10.1.2.0/24"]
}

variable "new_nat_gateway" {
  description = "新しい NAT ゲートウェイを作成するかどうかです。このテンプレートでは、新しい NAT ゲートウェイを作成すると、NAT ゲートウェイ、EIP、およびサーバー SNAT エントリが作成されます。"
  default     = "true"
}

# クラスターノード変数
variable "master_instance_type" {
  description = "マスターノードの起動に使用される ECS インスタンスタイプです。デフォルトはインスタンスタイプデータソースです。"
  default     = ""
}

variable "worker_instance_type" {
  description = "ワーカーノードの起動に使用される ECS インスタンスタイプです。デフォルトはインスタンスタイプデータソースです。"
  default     = ""
}

variable "master_disk_category" {
  description = "1 つ以上のマスターノードの起動に使用されるシステムディスクカテゴリです。"
  default     = "cloud_efficiency"
}

variable "worker_disk_category" {
  description = "1 つ以上のワーカーノードの起動に使用されるシステムディスクカテゴリです。"
  default     = "cloud_efficiency"
}

variable "master_disk_size" {
  description = "1 つ以上のマスターノードの起動に使用されるシステムディスクサイズです。"
  default     = "40"
}

variable "worker_disk_size" {
  description = "1 つ以上のワーカーノードの起動に使用されるシステムディスクサイズです。"
  default     = "40"
}

variable "ecs_password" {
  description = "インスタンスのパスワードです。"
  default     = "Abc12345"
}

variable "k8s_number" {
  description = "Kubernetes クラスターの数です。"
  default     = 1
}

variable "k8s_worker_number" {
  description = "各 Kubernetes クラスターのワーカーノードの数です。"
  default     = 3
}

variable "k8s_name_prefix" {
  description = "複数の Kubernetes クラスターを作成するために使用される名前のプレフィックスです。デフォルトは変数 `example_name` です。"
  default     = ""
}

variable "k8s_pod_cidr" {
  description = "Kubernetes ポッドの CIDR ブロックです。VPC または vSwitch の CIDR ブロックと同じにすることはできず、それらの中に含めることもできません。"
  default     = "172.20.0.0/16"
}

variable "k8s_service_cidr" {
  description = "Kubernetes サービスの CIDR ブロックです。VPC、vSwitch、またはポッドの CIDR ブロックと同じにすることはできず、それらの中に含めることもできません。"
  default     = "172.21.0.0/20"
}
ステップ 2: Kubernetes Terraform スクリプトを実行する
上記のファイルが保存されているパスで、terraform init コマンドを実行してワークスペースを初期化します。
$ terraform init

Initializing the backend...

Initializing provider plugins...
- Checking for available provider plugins...
- Downloading plugin for provider "alicloud" (hashicorp/alicloud) 1.62.0...

The following providers do not have any version constraints in configuration,
so the latest version was installed.

To prevent automatic upgrades to new major versions that may contain breaking
changes, it is recommended to add version = "..." constraints to the
corresponding provider blocks in configuration, with the constraint strings
suggested below.

* provider.alicloud: version = "~> 1.62"

Terraform has been successfully initialized!
terraform apply コマンドを実行して、Kubernetes クラスターを作成します。
$ terraform apply

data.alicloud_instance_types.default: Refreshing state...
data.alicloud_zones.default: Refreshing state...

An execution plan has been generated and is shown below.
Resource actions are indicated with the following symbols:
  + create

Terraform will perform the following actions:
...

Plan: 7 to add, 0 to change, 0 to destroy.

Do you want to perform these actions?
  Terraform will perform the actions described above.
  Only 'yes' will be accepted to approve.

  Enter a value: yes

alicloud_vpc.vpc: Creating...
...

Apply complete! Resources: 7 added, 0 changed, 0 destroyed.

Outputs:

cluster_id = [
    c0f2e04c77e234******
]
......
vswitch_ids = [
    vsw-bp1c3hfcd6l80izqc3tbx
]
terraform apply コマンドを実行すると、クラスター ID とその他のパラメーターが表示され、kube config ファイルが ~/.kube ディレクトリに保存されます。
これで、コンテナサービス コンソールにログインして、Terraform から作成された Kubernetes クラスターと、関連するクラスター、ノード、ログ、およびコンテナーの情報を表示できます。
ステップ 3: WordPress の Terraform テンプレートをダウンロードする
Kubernetes クラスタを作成し、kube 構成ファイルをダウンロードしたら、Kubernetes に WordPress をデプロイできます。GitHub から WordPress を作成するための Terraform テンプレートをダウンロードできます。このテンプレートは、Kubernetes クラスタに WordPress を作成するためのリソースと構成を定義します。Terraform Kubernetes の詳細については、「Kubernetes ドキュメント」をご参照ください。
このテンプレートには、次のファイルが含まれています。
localvolumes.tf
このファイルは、MySQL 永続データを格納するための永続ボリュームを定義します。
resource "kubernetes_persistent_volume" "mysql" {
  metadata {
    name = "local-pv-mysql"
    labels {
      type = "local"
    }
  }
  spec {
    capacity {
      storage = "20Gi"
    }
    access_modes = ["ReadWriteOnce"]
    persistent_volume_source {
      host_path {
        path = "/tmp/data/pv-mysql"
      }
    }
  }
}
mysql.tf
このファイルは、MySQL の管理者パスワードを格納するためのシークレットの作成方法と、MySQL のデプロイ方法を定義します。
シークレット
resource "kubernetes_secret" "mysql" {
  metadata {
    name = "mysql-pass"
  }

  data {
    password = "${var.mysql_password}"
  }
}
デプロイメント
resource "kubernetes_service" "mysql" {
  metadata {
    name = "wordpress-mysql"
    labels {
      app = "wordpress"
    }
  }
  spec {
    port {
      port = 3306
    }
    selector {
      app = "wordpress"
      tier = "${kubernetes_replication_controller.mysql.spec.0.selector.tier}"
    }
    cluster_ip = "None"
  }
}

resource "kubernetes_replication_controller" "mysql" {
  metadata {
    name = "wordpress-mysql"
    labels {
      app = "wordpress"
    }
  }
  spec {
    selector {
      app = "wordpress"
      tier = "mysql"
    }
    template {
      container {
        image = "mysql:${var.mysql_version}"
        name  = "mysql"

        env {
          name = "MYSQL_ROOT_PASSWORD"
          value_from {
            secret_key_ref {
              name = "${kubernetes_secret.mysql.metadata.0.name}"
              key = "password"
            }
          }
        }

        port {
          container_port = 3306
          name = "mysql"
        }

        volume_mount {
          name = "mysql-persistent-storage"
          mount_path = "/var/lib/mysql"
        }
      }

      volume {
        name = "mysql-persistent-storage"
        persistent_volume_claim {
          claim_name = "${kubernetes_persistent_volume_claim.mysql.metadata.0.name}"
        }
      }
    }
  }
}
wordpress.tf
このファイルは、WordPress のデプロイ方法を定義します。
resource "kubernetes_service" "wordpress" {
  metadata {
    name = "wordpress"
    labels {
      app = "wordpress"
    }
  }
  spec {
    port {
      port = 80
    }
    selector {
      app = "wordpress"
      tier = "${kubernetes_replication_controller.wordpress.spec.0.selector.tier}"
    }
    type = "LoadBalancer"
  }
}

resource "kubernetes_replication_controller" "wordpress" {
  metadata {
    name = "wordpress"
    labels {
      app = "wordpress"
    }
  }
  spec {
    selector {
      app = "wordpress"
      tier = "frontend"
    }
    template {
      container {
        image = "wordpress:${var.wordpress_version}-apache"
        name  = "wordpress"

        env {
          name = "WORDPRESS_DB_HOST"
          value = "wordpress-mysql"
        }
        env {
          name = "WORDPRESS_DB_PASSWORD"
          value_from {
            secret_key_ref {
              name = "${kubernetes_secret.mysql.metadata.0.name}"
              key = "password"
            }
          }
        }

        port {
          container_port = 80
          name = "wordpress"
        }

        volume_mount {
          name = "wordpress-persistent-storage"
          mount_path = "/var/www/html"
        }
      }

      volume {
        name = "wordpress-persistent-storage"
        persistent_volume_claim {
          claim_name = "${kubernetes_persistent_volume_claim.wordpress.metadata.0.name}"
        }
      }
    }
  }
}
outputs.tf
このファイルは、出力パラメータを定義します。Server Load Balancer (SLB) インスタンスのパブリック IP アドレスを使用して、デプロイされた WordPress アプリケーションにアクセスできます。
output "slb_ip" {
  value = "${kubernetes_service.wordpress.load_balancer_ingress.0.ip}"
}
variables.tf
このファイルには、MySQL と WordPress をデプロイするためのパラメータが含まれています。
variable "wordpress_version" {
  description = "The version of wordpress. Default to 4.7.3."
  default = "4.7.3"
}
variable "mysql_password" {
  description = "Please input mysql password."
}
variable "mysql_version" {
  description = "The version of mysql which wordpress used. Default to 5.6."
  default = "5.6"
}
手順 4: WordPress Terraform スクリプトを実行する
/root/terraform/kuberneters-wordpress など、上記のファイルが保存されているディレクトリを見つけます。terraform apply コマンドを実行して、作成された Kubernetes クラスタに MySQL と WordPress をデプロイします。変数ファイルにはデフォルト値が定義されていないため、コマンドで mysql_password 変数を指定する必要があります。
$ terraform apply -var 'mysql_password=Abc1234'

実行計画が生成され、以下に示されています。
リソース操作は、次の記号で示されます。
  + 作成

Terraform は、次の操作を実行します。
...

計画: 9 を追加、0 を変更、0 を破棄。

これらの操作を実行しますか?
  Terraform は、上記で説明した操作を実行します。
  承認するには、「yes」のみが受け入れられます。

  値を入力してください: yes

kubernetes_secret.mysql: 作成中...
  data.%:                      "" => "1"
  data.password:               "<sensitive>" => "<sensitive>"
  metadata.#:                  "" => "1"
  metadata.0.generation:       "" => "<computed>"
  metadata.0.name:             "" => "mysql-pass"

......

適用完了! リソース: 9 個追加、0 個変更、0 個破棄。

出力:

slb_ip = 47.99.xx.xx
ステップ 5: WordPress にアクセスする
ブラウザに SLB インスタンスのパブリック IP アドレスを入力して、デプロイされた WordPress アプリケーションにアクセスします。
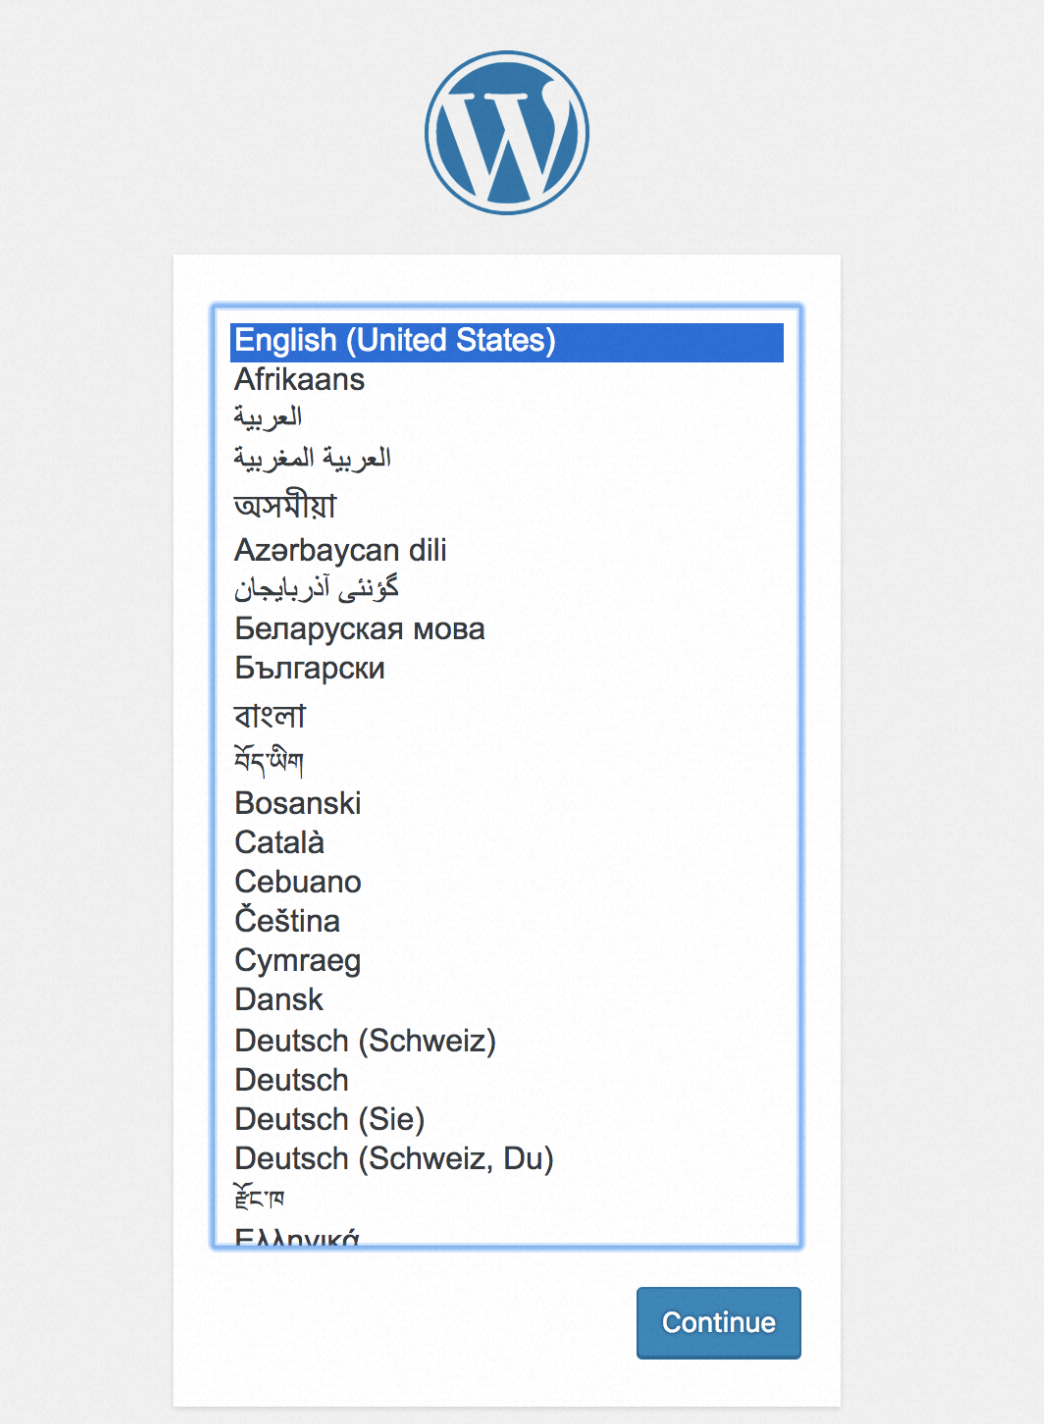
WordPress のウェルカムページに移動します。言語を選択し、[続行] をクリックします。
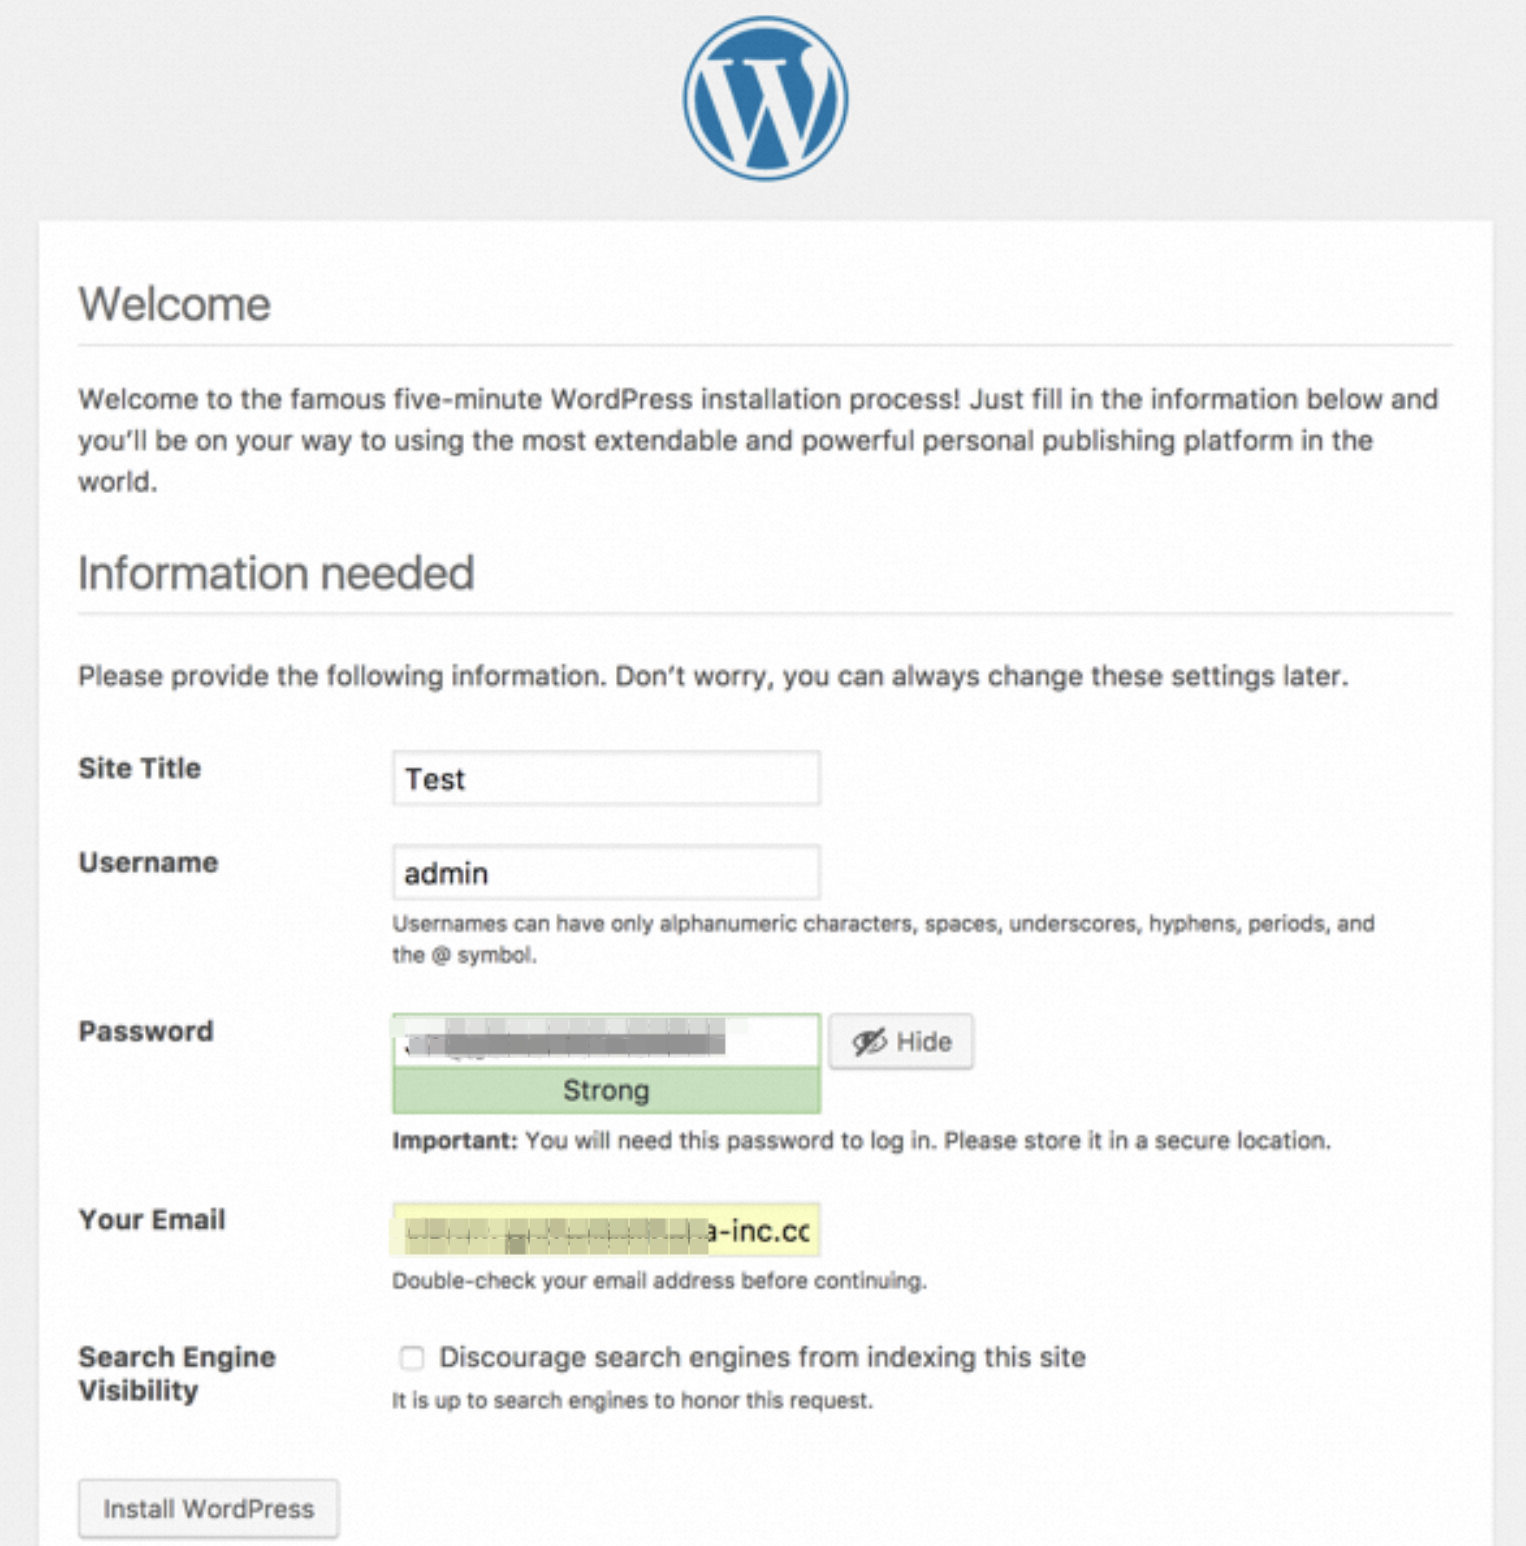
サイト名、管理者ユーザー名、およびパスワードを入力します。 [WordPress をインストール] をクリックします。
WordPress をインストールした後、[ログオン] をクリックします。管理者ユーザー名とパスワードを入力して WordPress にアクセスします。
