This topic describes how to integrate the Anti-Bot SDK into iOS apps. In this topic, the Anti-Bot SDK is referred to as the SDK. Before you enable the app protection feature of Web Application Firewall (WAF) for your iOS apps, you must integrate the SDK into your iOS apps.
Limits
Your iOS apps must use iOS 9.0 or later. If the iOS version is earlier than 9.0, you cannot integrate the SDK into your iOS apps.
Prerequisites
The app protection feature is purchased and enabled.
For more information, see Procedure to enable app protection.
The SDK for iOS apps is obtained.
To obtain the SDK for iOS apps, submit a ticket to obtain technical support.
The SDK supports two versions: Identifier for Advertising (IDFA) and non-IDFA. The following SDK files are provided for the versions:
AliTigerTally_IDFA.framework
AliTigerTally_NOIDFA.framework
If you use the IDFA version, we recommend that you integrate the SDK of the AliTigerTally_IDFA version into your iOS apps. If you use the non-IDFA version, we recommend that you integrate the SDK of the AliTigerTally_NOIDFA version into your iOS apps.
The SDK authentication key, namely the
app key, is obtained.To obtain the app key, log on to the Web Application Firewall console and choose . On the Bot Management tab of the Website Protection page, turn on App Protection and click Obtain and Copy Appkey. The SDK authentication key is used to send SDK initialization requests. The key must be included in the integration code.
NoteEach Alibaba Cloud account has a unique
app key, which can be used for all the domain names in your WAF instance. You can use theapp key, regardless of whether you integrate the SDK into Android apps or iOS apps.
Authentication key example:
****OpKLvM6zliu6KopyHIhmneb_****u4ekci2W8i6F9vrgpEezqAzEzj2ANrVUhvAXMwYzgY_****vc51aEQlRovkRoUhRlVsf4IzO9dZp6nN_****Wz8pk2TDLuMo4pVIQvGaxH3vrsnSQiK****
Background information
The SDK is used to sign requests that are sent by app clients. WAF verifies the request signatures to detect and block malicious requests.
(Optional) Create a test iOS project
You can integrate the SDK into an actual iOS project. You can also integrate the SDK into a test iOS project to learn about integration operations before you integrate the SDK in an actual iOS project.
In this example, Xcode is used to create a test iOS project.
The following figure shows a test project named TigerTally_sdk_test.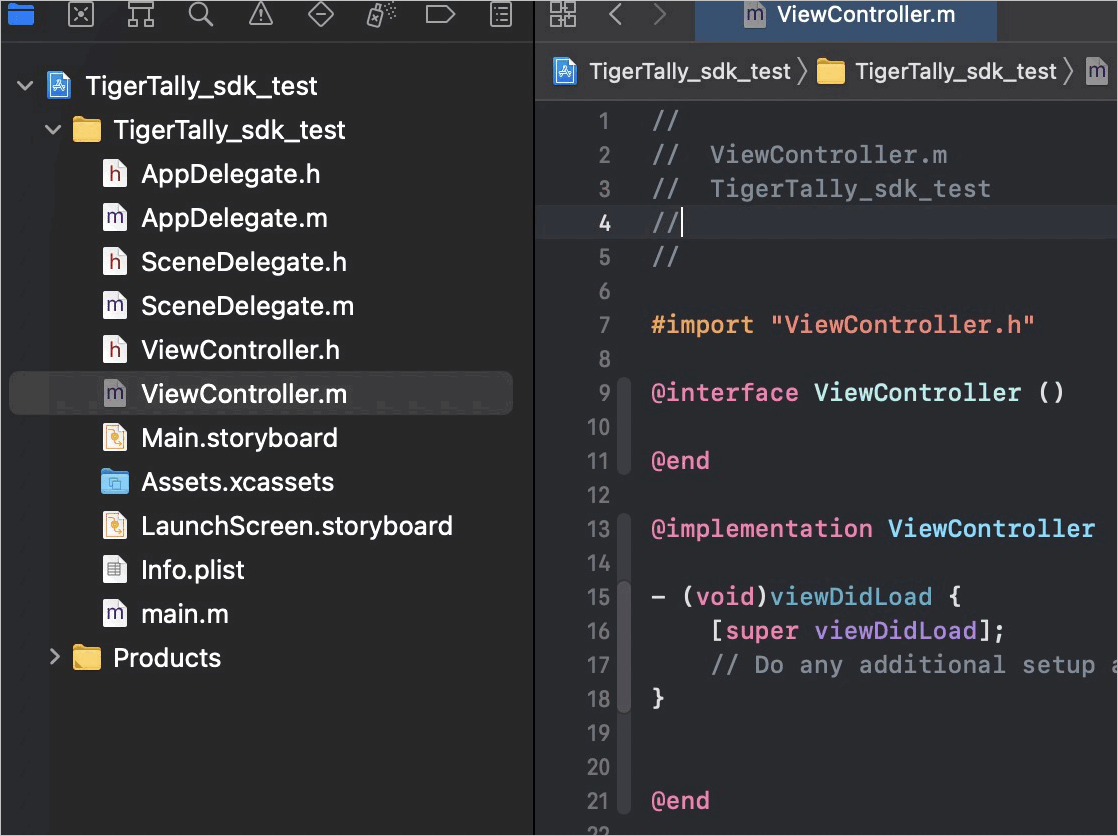
Procedure
Use Xcode to open the test iOS project and enter the file directory.
Copy the SDK to the project.
Add dependency libraries to the project.
Dependent library
Required for Non-IDFA version
Required for IDFA version
libc++.tbd
Yes
Yes
CoreTelephony.framework
Yes
Yes
libresolv.9.tbd
Yes
Yes
AdSupport.framework
No
Yes
Click the Build Settings tab and add the -ObjC linker flag to the Other Linker Flags setting.
Add the integration code.
Add a header file to the source file to which you want to integrate the SDK.
Sample code:
Objective-C
// Non-IDFA version
#import <AliTigerTally_NOIDFA/AliTigerTally.h>

// IDFA version
#import <AliTigerTally_IDFA/AliTigerTally.h>
Swift
// Create a header file.
#ifndef TigerTally_sdk_Swift_h
#define TigerTally_sdk_Swift_h

// Non-IDFA version
#import <AliTigerTally_NOIDFA/AliTigerTally.h>
// IDFA version
#import <AliTigerTally_IDFA/AliTigerTally.h>

#endif /* TigerTally_sdk_Swift_h */
Add the header file that you created to the Objective-C Bridging Header option in Build Settings.
Specify a user ID.
Syntax:
-(void)setAccount:(NSString*)accountDescription: specifies a user ID that you want to include in requests. This way, you can configure WAF protection policies in a more efficient manner.
Parameter: <account>, which specifies the user ID. Data type: NSString*. We recommend that you enter a masked user ID.
Return value: none.
Sample code:
Objective-C
// In this example, testAccount is used as the user ID.
// You do not need to call the setAccount function to specify a user ID for a guest user. You can directly call the initialize function to initialize the SDK.
[[AliTigerTally sharedInstance] setAccount:@"testAccount"];
Swift
// In this example, testAccount is used as the user ID.
// You do not need to call the setAccount function to specify a user ID for a guest user. You can directly call the initialize function to initialize the SDK.
AliTigerTally.sharedInstance().setAccount("testAccount")
Initialize the SDK.
Syntax:
-(bool)initialize:(NSString*)appKeyDescription: initializes the SDK and collects terminal information. If you want to recollect terminal information, call the initialize function.
Parameter: <appKey>, which specifies the SDK authentication key. Data type: NSString*.
Return value: A value of the BOOLEAN type is returned. Valid values: true and false. The value true indicates that the initialization is successful. The value false indicates that the initialization failed.
Sample code:
Objective-C
NSString *appKey=@"****OpKLvM6zliu6KopyHIhmneb_****u4ekci2W8i6F9vrgpEezqAzEzj2ANrVUhvAXMwYzgY_****vc51aEQlRovkRoUhRlVsf4IzO9dZp6nN_****Wz8pk2TDLuMo4pVIQvGaxH3vrsnSQiK****";
if([[AliTigerTally sharedInstance]initialize:appKey]){
    NSLog(@"The initialization is successful.");
 }else{
     NSLog(@"The initialization failed.");
}
Swift
let binit = AliTigerTally.sharedInstance().initialize("****OpKLvM6zliu6KopyHIhmneb_****u4ekci2W8i6F9vrgpEezqAzEzj2ANrVUhvAXMwYzgY_****vc51aEQlRovkRoUhRlVsf4IzO9dZp6nN_****Wz8pk2TDLuMo4pVIQvGaxH3vrsnSQiK****")
if(binit){
    NSLog("The initialization is successful.");
}else{
    NSLog("The initialization failed.");
}
Sign requests.
Syntax:
-(NSString*)vmpSign:(NSData*)inputBodyDescription: signs the input data and returns a signature string.
Parameter: <inputBody>, which specifies the data to sign. Data type: NSData*.
Valid values:
Return value in common scenarios: A signature string is returned. Data type: NSString*.
Return value in abnormal scenarios:
Return value
Description
Solution
you must call initializeThe
initializefunction is not called.Call the
initializefunction to initialize the SDK. Then, call thevmpSignfunction.you must input bodyThe data to sign is not specified.
When you call the
vmpSignfunction, configure the <inputBody> parameter to specify the data to sign.NULLThe initialization is not complete and data failed to be signed.
Call the
vmpSignfunction again.
Sample code:
NoteIn the following sample code, the signature string is defined as wToken.
Objective-C
if(![[AliTigerTally sharedInstance]initialize:@"****OpKLvM6zliu6KopyHIhmneb_****u4ekci2W8i6F9vrgpEezqAzEzj2ANrVUhvAXMwYzgY_****vc51aEQlRovkRoUhRlVsf4IzO9dZp6nN_****Wz8pk2TDLuMo4pVIQvGaxH3vrsnSQiK****"])
{
        NSLog(@"The initialization failed.");
        return;
}
NSString *signBody =@"hello";
NSString *wToken= [[AliTigerTally sharedInstance] vmpSign:[signBody dataUsingEncoding:NSUTF8StringEncoding]];
NSLog(@"wToken== %@",wToken);
Swift
if(!AliTigerTally.sharedInstance().initialize("****OpKLvM6zliu6KopyHIhmneb_****u4ekci2W8i6F9vrgpEezqAzEzj2ANrVUhvAXMwYzgY_****vc51aEQlRovkRoUhRlVsf4IzO9dZp6nN_****Wz8pk2TDLuMo4pVIQvGaxH3vrsnSQiK****")){
    NSLog("The initialization failed.");
   return
}
let signBody = "hello"
var token = AliTigerTally.sharedInstance().vmpSign(signData)
NSLog(token);
Add the signature string to the protocol headers and send requests to the server of your iOS apps.
The signature string is submitted to the server in business-critical events, such as requests for client logon events. WAF receives requests that are sent to the server, parses the signature string wToken to identify and block malicious requests, and then forwards normal requests to the server.
Sample code:
Objective-C
NSURL * url = [NSURL URLWithString:@"https://xxxxxx/test?id=123"];
NSMutableURLRequest *request=[NSMutableURLRequest requestWithURL:url cachePolicy:NSURLRequestUseProtocolCachePolicy timeoutInterval:10];
[request setValue: wToken forHTTPHeaderField: @"wToken"];
request.HTTPMethod=@"post";
request.HTTPBody=[signBody dataUsingEncoding:NSUTF8StringEncoding];
NSURLSessionDataTask *dataTask = [[NSURLSession sharedSession] dataTaskWithRequest:request completionHandler:^(NSData * _Nullable data, NSURLResponse * _Nullable response, NSError * _Nullable error) {
    if(error){
        NSLog(@"The data failed to be sent.%@", error);
    }else
    {
        NSLog(@"The data is sent.");
    }
}];
[dataTask resume];
Swift
guard let url = URL(string: "https://xxxxxx/test?id=123") else { return }
var request = URLRequest(url: url)
request.httpMethod = "POST"
request.addValue(token, forHTTPHeaderField: "wToken")
let session = URLSession.shared
session.dataTask(with: request) { (data, response, error) in
    if let data = data {
        do {
            print("OK")
        } catch {
            print("ERROR")
            print(error)
        }
    }

}.resume()
}