You can use a prefix list to group frequently used IP address ranges and reference them in the security group rules and route entries of your current or other accounts. When you modify a prefix list, the changes are automatically applied to all referencing resources.
Common use cases include:
Centrally manage company egress IPs: A company needs to access multiple Elastic Compute Service (ECS) instances from the Internet. Normally, you add the company’s egress IP address to the security group rules of each ECS instance. If this egress IP changes frequently, you must update every security group rule each time, which is time-consuming and prone to errors. By using a prefix list to manage egress IPs, you only need to update the prefix list. All security group rules that reference the prefix list are updated automatically. This improves efficiency and simplifies management.
Centrally maintain partner IP ranges: When your business needs to connect to partner networks, you often add the same routes to multiple route tables. Using a prefix list to centrally manage your partners' IP ranges removes this repeated configuration. When a partner's IP range changes, update the prefix list and all referencing route tables are updated automatically. This makes your network easier to scale and maintain.

Limitations
Gateway route tables and Basic Edition Transit Routers cannot reference a prefix list.
Prefix lists are regional resources. They can only be used, referenced, or shared within the region where they are created.
A prefix list cannot contain both IPv4 and IPv6 CIDR blocks.
You must specify the maximum number of entries when you create a prefix list.
When a prefix list is referenced, it consumes quota on the referencing resource.
For a virtual private cloud (VPC) route table or an ECS security group, quota consumption is based on the maximum number of entries of the prefix list.
For a transit router (TR) route table, quota consumption is based on the actual number of entries in the prefix list.
For example, if you create a prefix list with a maximum of 50 entries but it only contains 20 entries, it consumes a quota of 50 routes in a VPC route table or 50 rules in a security group. However, it only consumes a quota of 20 routes when referenced in a TR route table.
When you create a gateway endpoint for a cloud service in a region for the first time, a system prefix list is automatically created. This prefix list contains the IP ranges of the corresponding cloud service. The system automatically references this list in the VPC route table, with the next hop pointing to the Gateway Endpoint. This allows the VPC to access the specific cloud service through the Gateway Endpoint. You cannot reference, modify, delete, or share this system prefix list. The console shows its Owner as ALIYUN/System Account.
Manage prefix lists
Console
Create a prefix list
Go to the VPC console - Prefix List page. In the top-left corner of the menu bar, select a Region and click Create Prefix List.
In the Create Prefix List panel:
IP Version: Select IPv4 or IPv6.
Maximum Entries: Set the maximum number of entries. This value consumes quotas in VPC route tables and security groups. You can modify this value after creation. For example, if a prefix list contains only 20 entries, it still consumes a quota of 50 routes in a VPC route table or 50 rules in a security group if the maximum number of entries is set to 50.
The default quota for custom routes in a VPC route table is 200. The default quota for rules in a security group is 200.
Prefix List Entries: Choose Entry-By-Entry Import, Batch Import, or Clone From Another List. You can clone entries across regions, but not from shared or system prefix lists.
Add or delete entries
On the Entry tab of the prefix list:
Add an entry: Click Create Prefix List.
Delete an entry: Click Delete in the Actions column, or select multiple entries, and click Delete in Batches.
View referencing resources
On the details page for the target prefix list, click the Association tab.
Delete a prefix list
On the details page of the prefix list, click Delete in the Actions column.
Before deletion, make sure that it is not referenced by other resources or being shared.
API
Call CreateVpcPrefixList to create a prefix list.
Call ModifyVpcPrefixList to add or delete entries.
Call GetVpcPrefixListAssociations to view resources that reference a prefix list.
Call DeleteVpcPrefixList to delete a prefix list.
Before deletion, ensure the prefix list is not referenced by any resources or being shared.
Terraform
Resource: alicloud_vpc_prefix_list
# Specify the region
provider "alicloud" {
  region = "cn-hangzhou"
}

# Create a prefix list
resource "alicloud_vpc_prefix_list" "example_pl" {
  prefix_list_name = "example_pl_name"
  ip_version       = "IPV4" # IP version
  max_entries      = 50     # Maximum number of entries
  entrys {
    cidr = "10.0.1.0/24" # Entry 1
  }
  entrys {
    cidr = "10.0.2.0/24" # Entry 2
  }
}
Reference a prefix list
Reference a prefix list in a VPC route table, a TR route table, or an ECS security group. When you modify the entries in the prefix list, the resources that reference the prefix list are automatically updated.
Reference in a VPC route table
You can reference a prefix list when you add a custom route to a VPC route table. Note the following points:
Avoid route conflicts with existing routes in the VPC. If a conflict occurs, you cannot reference the prefix list. If a conflict occurs after you reference the prefix list, see Resolve entry conflicts after referencing.
The maximum number of entries in the prefix list, not the actual number of entries, consumes the custom route quota for the VPC route table. You can reduce the maximum number of entries, merge adjacent IP ranges, or remove unused entries to reduce the risk of exceeding the quota.
Console
Go to the details page of the route table. On the tab, click Add Route Entry to configure the following parameters:
Destination CIDR Block: Select VPC Prefix List from the drop-down list on the left, and then select the target prefix list on the right.
Next Hop Type: Select a type and its corresponding instance.
API
Call CreateRouteEntry and set the DestinationCidrBlock parameter to the instance ID of the prefix list.
Terraform
Resources: alicloud_route_entry
# Specify the region
provider "alicloud" {
  region = "cn-hangzhou"
}

# Add a VPC route whose destination is a prefix list
resource "alicloud_route_entry" "example" {
  route_table_id        = "vtb-bp1pa1mwgfd6rqxfxxxxx"    # VPC route table ID
  destination_cidrblock = "pl-bp1fnjzxkk2m6qrwxxxxx"     # Destination CIDR block. Enter the prefix list ID.
  nexthop_type          = "Ecr"                          # Next hop type
  nexthop_id            = "ecr-assoc-stwhaft9a371nxxxxx" # Next hop instance ID
}
Reference in a TR route table
You can reference a prefix list in the route table of an Enterprise Edition TR. The system automatically adds routes for all its CIDR blocks to the route table. Note the following:
If route propagation is enabled for the TR, the system automatically propagates the routes from the prefix list to referenced network instances.
The routes corresponding to the prefix list cannot conflict with existing TR routes. If there is a conflict, you cannot reference the prefix list. For more details, see possible causes of route conflicts and resolving route conflicts.
The actual number of entries in the prefix list consumes the route quota for the TR route table. You can merge adjacent IP ranges or remove unused entries to reduce the risk of exceeding the quota.
Console
Attach a prefix list
Go to the details page of the target TR route table. Choose the Route Prefix tab and click Associate with Route Prefix:
Route Prefix ID: The ID of the prefix list to reference.
Blackhole Route:
Yes: Discards traffic matching the prefix list.
No: Forwards traffic matching the prefix list to the Next Hop.
Filter routes corresponding to a prefix list
On the details page of the target TR route table, go to the Route Entry tab and filter by Route Prefix ID to view routes from a prefix list.
Detach a prefix list
After detaching a prefix list, the system automatically revokes all related routes from the Enterprise Edition TR route table. Before you detach a prefix list, make sure that you have migrated your service traffic to prevent network interruptions.
Go to the Basic Information page of the target TR route table and click the Route Prefix tab. Find the target prefix list and click Delete in the Actions column.
API
Attach a prefix list: Call CreateTransitRouterPrefixListAssociation to reference a prefix list in the route table of an Enterprise Edition TR.
Filter routes corresponding to a prefix list: Call ListTransitRouterPrefixListAssociation. In the response, filter the routes added through the prefix list by
PrefixListId.Delete a prefix list: Call DeleteTransitRouterPrefixListAssociation to delete a prefix list referenced in the route table of an Enterprise Edition TR.
Terraform
Resources: alicloud_cen_transit_router_prefix_list_association
# Specify the region
provider "alicloud" {
  region = "cn-hangzhou"
}

# Reference a prefix list in the transit router of a Cloud Enterprise Network (CEN) instance
resource "alicloud_cen_transit_router_prefix_list_association" "example" {
  prefix_list_id          = "pl-bp1fnjzxkk2m6qrwxxxxx"  # Prefix list ID
  transit_router_id       = "tr-bp1czv20pflygguoxxxxx"  # Transit router ID
  transit_router_table_id = "vtb-bp1v7079o4dwrkgpxxxxx" # Transit router route table ID
  next_hop_type           = "BlackHole"                 # Next hop type
  next_hop                = "BlackHole"                 # Next hop instance ID
}
Reference in an ECS security group
You can reference a prefix list when you configure inbound or outbound security group rules.
Console
To add an inbound security group rule, go to the details page of the security group in the ECS console. On the Inbound tab of Rules, click Add Rule to configure the following parameters:
Source: Select Prefix List from the drop-down list on the left, and select the target prefix list from the list on the right.
Configure other parameters as needed.
API
To add an inbound security group rule, call AuthorizeSecurityGroup and set the
SourcePrefixListIdparameter to the prefix list ID.To add an outbound security group rule, call AuthorizeSecurityGroupEgress and set the
DestPrefixListIdparameter to the prefix list ID.
Terraform
Resources: alicloud_security_group, alicloud_security_group_rule
# Specify the region
provider "alicloud" {
  region = "cn-hangzhou"
}

# Specify the security group
resource "alicloud_security_group" "sg_example" {
  security_group_name = "sg_example_name"
  vpc_id              = "vpc-bp1d00iurwfx3pcxxxxx" # VPC ID
}

# Reference a prefix list when you create a security group rule
resource "alicloud_security_group_rule" "sg_rule_pl_example" {
  security_group_id = alicloud_security_group.sg_example.id
  type              = "ingress"
  ip_protocol       = "tcp"
  policy            = "accept"
  port_range        = "8080/8080"
  prefix_list_id    = "pl-bp1fnjzxkk2m6qrxxxxxx" # VPC prefix list ID
}
Resolve entry conflicts after referencing
When you update a prefix list that is referenced by a VPC or TR route table, the update will fail if a new entry conflicts with an existing route in the table.
On the Association tab of the prefix list, you can view conflict details. The Status of referenced resource with a conflict is Disassociated. Hover over the Status to view the ErrorMessage.
You can resolve the conflict in one of two ways:
Before proceeding, ensure that modifying the route entries will not impact your services.
Option 1: Modify the prefix list
Delete the conflicting entry from the prefix list. The system automatically applies the prefix list to all resources that reference it.
Option 2: Modify the route table
Delete the conflicting route. Then, manually re-apply the prefix list until the status changes from Disassociated to Associated.
To manually reapply a prefix list, perform the following:
Console
Go to the VPC console - Prefix List page. In the top navigation bar, select the target region. Then, click the instance ID of the target prefix list.
On the Association tab, find the target resource and click Retry in the Actions column.
API
Call RetryVpcPrefixListAssociation to reapply the prefix list.
Terraform
Terraform does not support reapplying a prefix list without modifying its entries.
Share prefix lists
You can share a prefix list using Alibaba Cloud's Resource Sharing service. This allows different accounts to reference the same list for centralized IP management, reducing maintenance and configuration errors.
In this process, the account that owns the prefix list is the owner, and the account that receives the share is the principal.
The owner can share their prefix list with any Alibaba Cloud account or only within a resource directory.
Console
Enable sharing
The following steps describe how to share a prefix list with any account. To share resources only within a resource directory, see Share resources only within a resource directory.
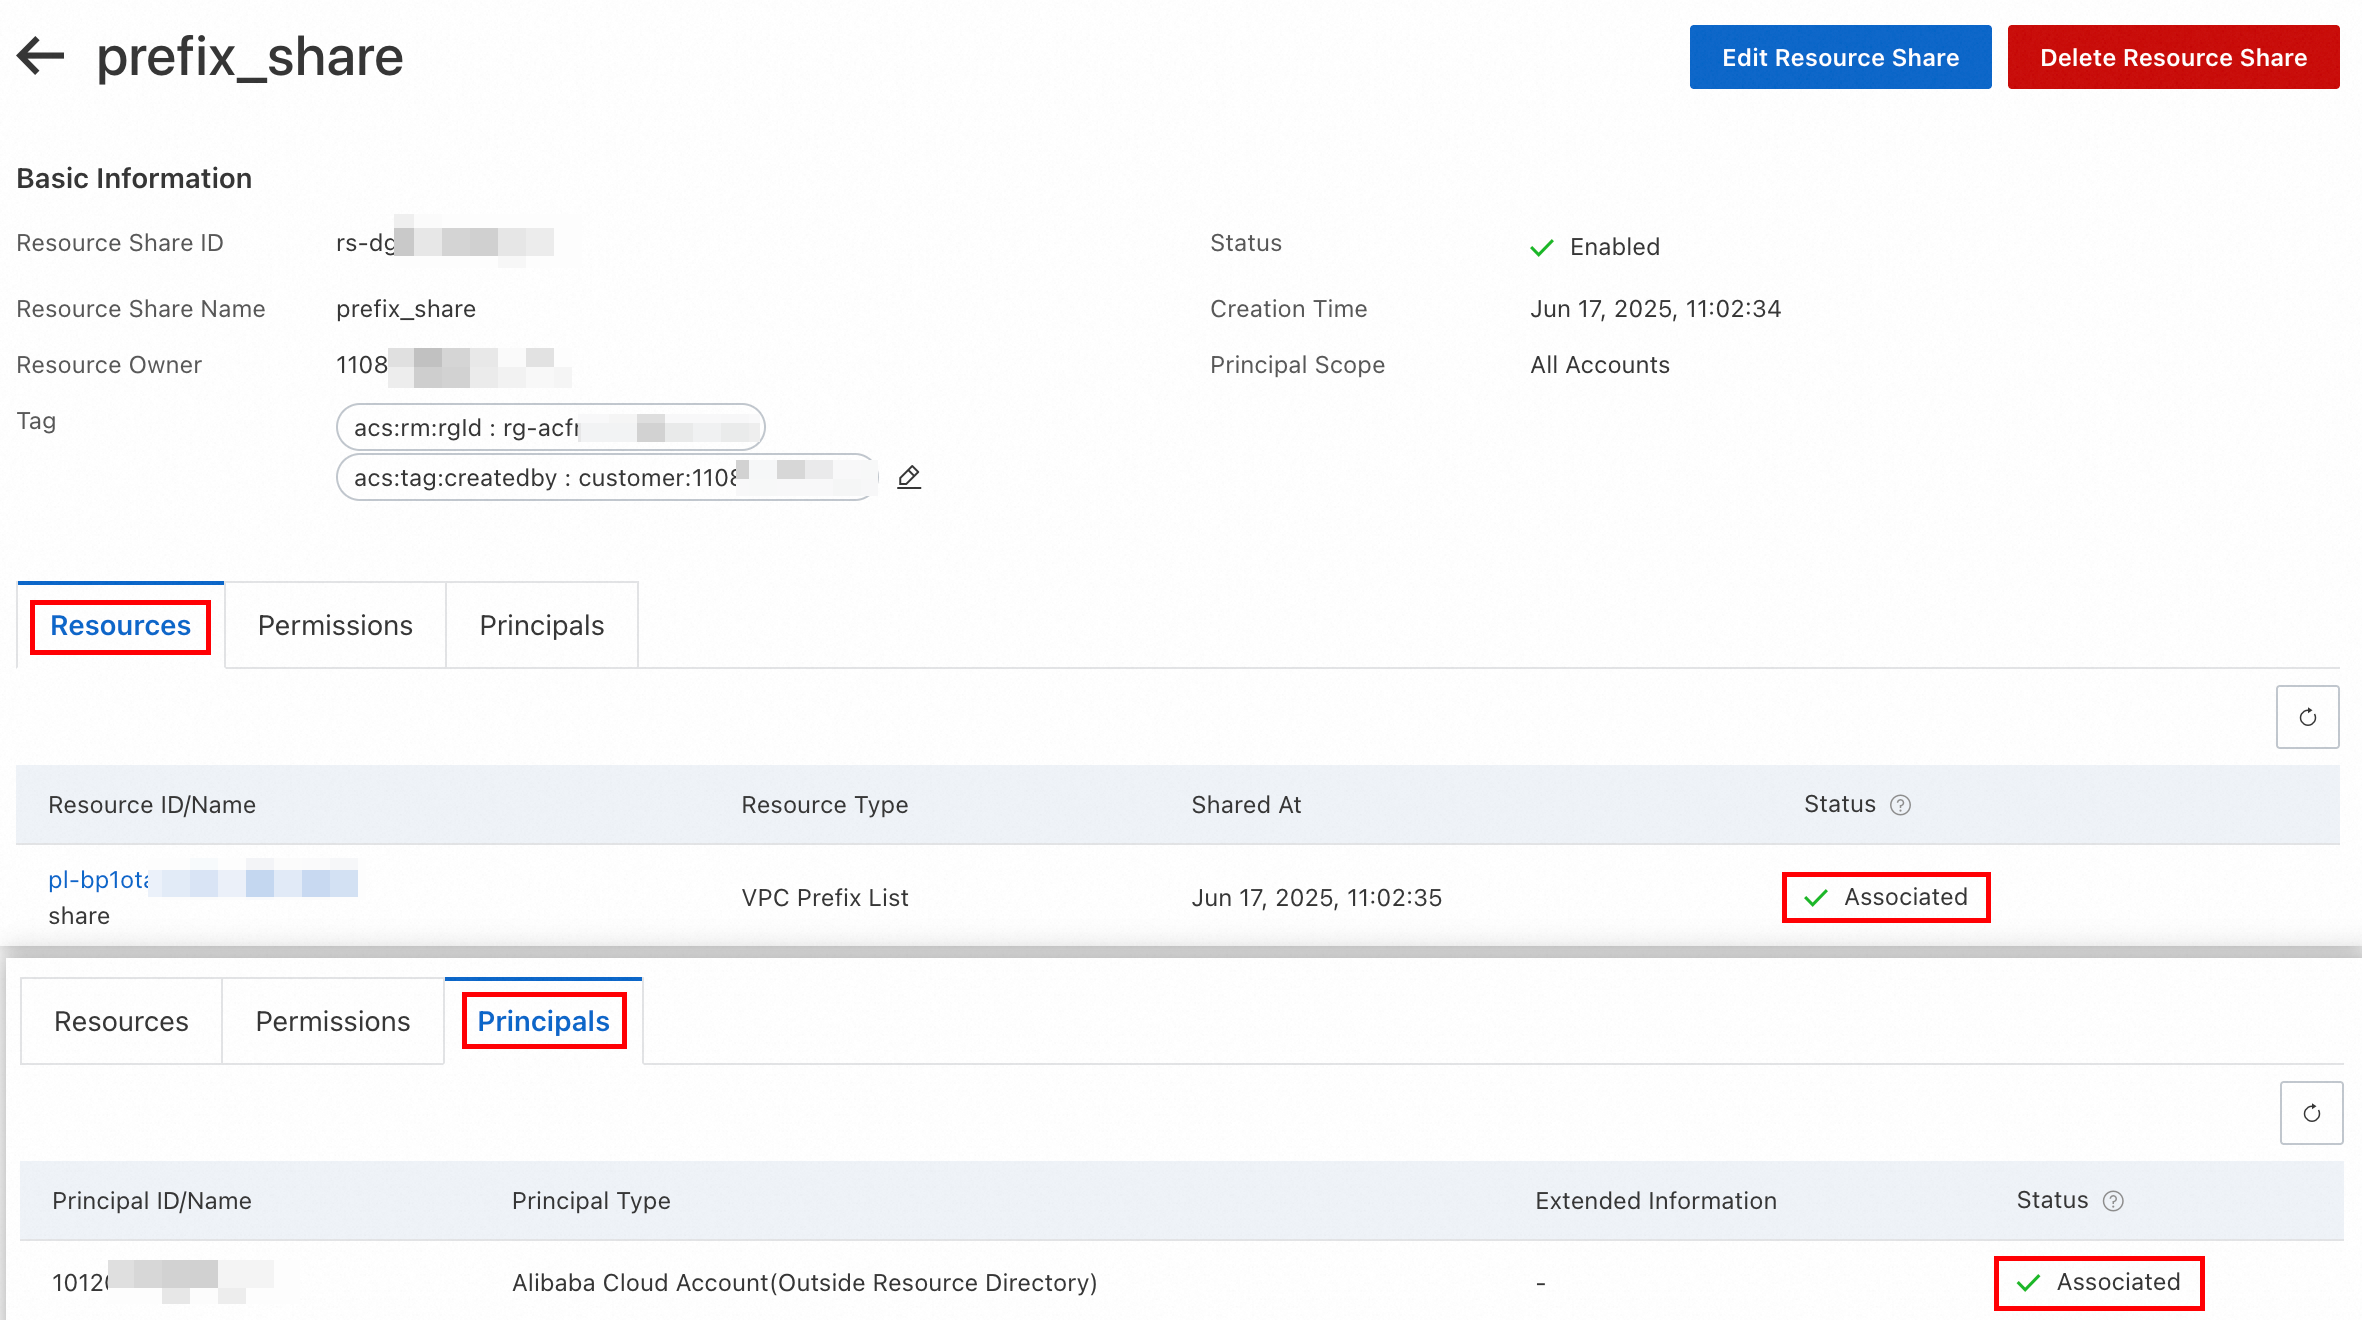
Log on to the Resource Management console using the owner account and go to the Resource Sharing - Resources I Share page. From the menu bar in the top-left corner, select the region where the shared resource is located, and click Create Resource Share. On the page that opens:
Step 1: Enter a Resource Share Name. In the Resources panel, select VPC Prefix List from the drop-down list. Then, select the prefix lists to share.
Step 2: The AliyunRSDefaultPermissionPrefixList permission is selected by default.
Step 3: Set Principal Scope to All Accounts and Method to Add Manually. Enter the Alibaba Cloud account ID of the prefix list principal, and then click Add.
Step 4: Verify the settings and click OK at the bottom of the page.
Log on to the Alibaba Cloud console using the principal account and accept the sharing invitation:
Go to the Resource Sharing - Resources Shared To Me page.
In the top-left corner of the menu bar, select the region of the shared resource, and click Accept in the Status column for the target resource share.
After accepting the invitation, you can access the shared prefix list. Invitations for subsequent shared resources added to this resource share are accepted by default.
Go to the VPC prefix list page in the VPC console. From the menu bar, select the target region to view the received prefix lists. For received prefix lists, the Owner column is marked as Shared.

Next, you can reference the prefix list in a VPC route table, TR route table, or ECS security group. For more information, see Reference a prefix list.
Manage shared prefix lists and principals
The prefix list owner can follow these steps to view, add, or delete shared prefix lists and their principals.
Log on to the Alibaba Cloud console using the account of the prefix list owner. Go to the Resource Sharing - Resources I Share page in the Resource Management console. In the top navigation bar, select the region where the shared prefix list is located.
On the Shared By Me page, you can:
View shared prefix lists: Click the Shared Resources tab.
View principals: Click the Principals tab.
On the Resource Shares tab, find the target resource share and click its ID.
Click the Resources or Principals tab to view the prefix lists and principals associated with this resource share.
On the Resources and Principals tabs, if the Status is Associated, it indicates the shared resource and the principal are successfully associated:
On the target resource share page, click Edit Resource Share in the upper-right corner. On the page that appears, you can:
Add or remove shared prefix lists: In Step 1, you can select or deselect prefix lists.
Add or remove principals from a shared prefix list: In Step 3, you can add or remove account UIDs.
On the Edit Resource Share page, in Step 4, confirm your settings and click OK.
API
Enable sharing
Method 1: Share with any account
Using the identity credentials of the prefix list owner, call CreateResourceShare to create a resource share. Set the
AllowExternalTargetsparameter toTrue.Using the identity credentials of the prefix list principal, first call ListResourceShareInvitations to query the sharing invitations. Then, call AcceptResourceShareInvitation to accept the invitation.
Method 2: Share only within a resource directory
Before you begin, ensure that the prefix list owner and principal are in the same resource directory.
Using the identity credentials of the management account of the resource directory, call EnableSharingWithResourceDirectory to enable sharing within the resource directory.
Using the identity credentials of the prefix list owner, call CreateResourceShare to create a resource share. Set the
AllowExternalTargetsparameter toFalse.
Manage shared prefix lists and principals
The prefix list owner can view the shared prefix lists and principals:
Call ListSharedResources to view shared prefix lists.
Call ListSharedTargets to view the list of principals for a shared prefix list.
The prefix list owner can manage shared prefix lists and principals within a resource share:
Call ListResourceShareAssociations to view the prefix lists or principals within a resource share.
Call AssociateResourceShare to add a shared prefix list or principal to a resource share.
Call DisassociateResourceShare to remove a shared prefix list or principal from a resource share.
Terraform
Terraform currently does not support sharing prefix lists with any account. It only supports sharing within a resource directory. Before you begin, make sure the management account of the resource directory has enabled sharing within the resource directory.
Resources: alicloud_resource_manager_resource_share, alicloud_resource_manager_shared_resource, alicloud_resource_manager_shared_target
Enable sharing using the owner identity credentials:
# Specify the region
provider "alicloud" {
  region = "cn-hangzhou"
}

# Specify the resource share name
resource "alicloud_resource_manager_resource_share" "example_unit" {
  resource_share_name = "example_unit_name"
}

# Specify the shared prefix list
resource "alicloud_resource_manager_shared_resource" "example_vsw" {
  resource_share_id = alicloud_resource_manager_resource_share.example_unit.id
  resource_id       = "pl-bp18t4lsc3e4yd6xxxxx" # ID of the prefix list to share
  resource_type     = "PrefixList"               # The resource type is PrefixList
}

# Specify the principal of the shared prefix list
resource "alicloud_resource_manager_shared_target" "example_target" {
  resource_share_id = alicloud_resource_manager_resource_share.example_unit.id
  target_id         = "101xxxxxxxxxxxxxxx" # UID of the prefix list principal
}
More information
Billing
The prefix list feature is free of charge.
Supported regions
Area | Regions |
Asia Pacific - China | China (Hangzhou), China (Shanghai), China (Nanjing - Local Region, Closing Down), China (Qingdao), China (Beijing), China (Zhangjiakou), China (Hohhot), China (Ulanqab), China (Shenzhen), China (Heyuan), China (Guangzhou), China (Chengdu), China (Hong Kong), China (Wuhan - Local Region), and China (Fuzhou - Local Region, Closing Down) |
Asia Pacific - Others | Japan (Tokyo), South Korea (Seoul), Singapore, Malaysia (Kuala Lumpur), Indonesia (Jakarta), Philippines (Manila), and Thailand (Bangkok) |
Europe & Americas | Germany (Frankfurt), UK (London), US (Silicon Valley), US (Virginia), and Mexico |
Middle East | UAE (Dubai) and SAU (Riyadh - Partner Region) |
Quotas
Quota name | Description | Default limit | Increase quota |
vpc_quota_prefixlist_num | The number of prefix lists that can be created by an Alibaba Cloud account. | 10 | Go to the Quota Management page or Quota Center to request a quota increase. |
vpc_quota_prefixlist_cidr_num_per_prefixlist | The number of CIDR entries supported by a prefix list. | 50 | |
vpc_quota_prefixlist_accept_shared_prefixlist_num | The number of shared prefix lists that a principal can accept. | 100 | |
vpc_quota_prefixlist_share_user_num_per_prefixlist | The number of principals to which a prefix list can be shared. | 10 |
For more information about resource sharing quotas, see Limits on resource sharing.