Use the MaxCompute JDBC driver to connect Tableau Desktop to a MaxCompute project and visualize your data with Tableau's drag-and-drop interface.
Prerequisites
Before you begin, ensure that you have:
A MaxCompute project. See Create a MaxCompute project.
An AccessKey ID and AccessKey secret with access to the MaxCompute project. Get them from the AccessKey Pair page.
Tableau Desktop 2019.4 or later installed. This topic uses Tableau Desktop 2021.1. For supported operating systems, see Technical specifications.
The MaxCompute JDBC driver JAR package downloaded from GitHub. Download the file whose name contains
jar-with-dependencies— other packages do not include complete dependencies. This topic uses JDBC driver V3.2.9. Version 3.0.1 or later is required.
Tableau Desktop 2019.4 does not support AccessKey secrets that end with an equal sign (=). If your AccessKey ID or secret ends with=, generate a new pair on the AccessKey Pair page.
Step 1: Install the JDBC driver
Copy the downloaded JAR package to the Tableau driver directory for your operating system:
| Operating system | Driver directory |
|---|---|
| Windows | C:\Program Files\Tableau\Drivers |
| macOS | ~/Library/Tableau/Drivers |
| Linux | /opt/tableau/tableau_driver/jdbc |
For more details on using the MaxCompute JDBC driver, see JDBC usage notes.
Step 2: Connect to your MaxCompute project
Start Tableau Desktop.
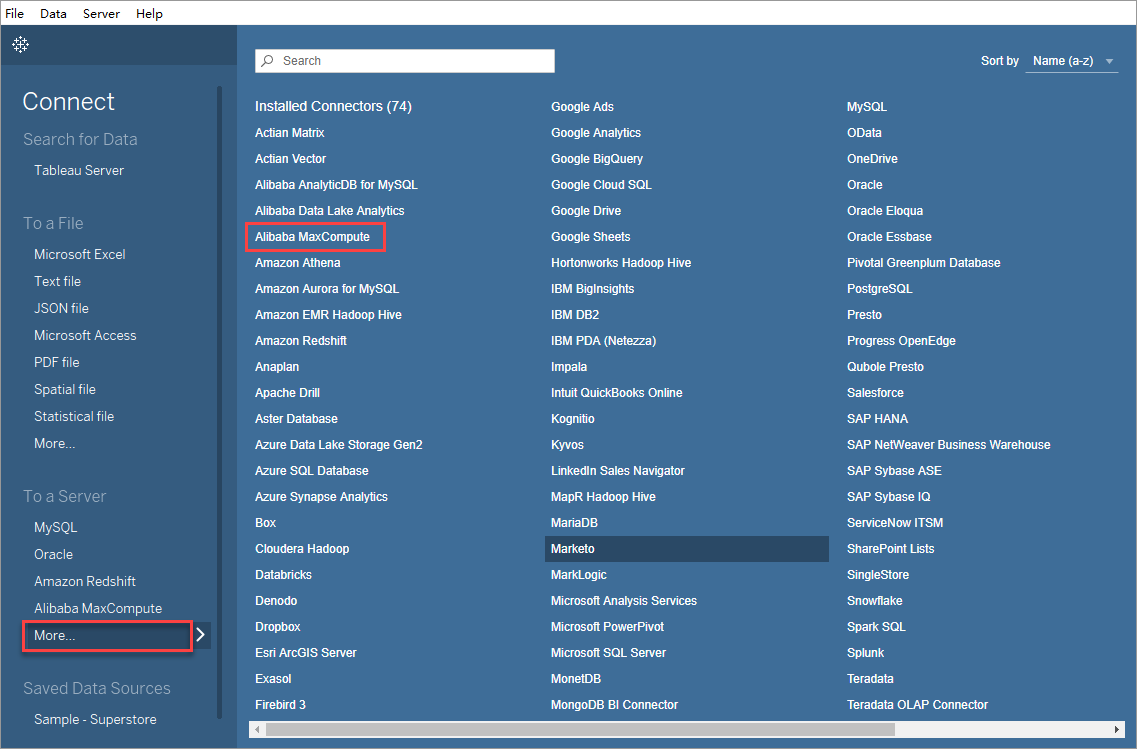
In the left navigation pane, under To a Server, select More... > Alibaba MaxCompute.
On the General tab of the Alibaba MaxCompute dialog box, fill in the connection details:
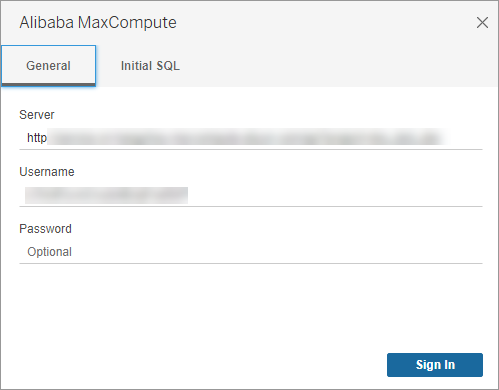
Server: The URL of your MaxCompute project in this format:
https://<MaxCompute_endpoint>?project=<MaxCompute_project_name>[&interactiveMode={true|false}]<MaxCompute_endpoint>: The endpoint for the region where your project resides. See Endpoints for the full list.<MaxCompute_project_name>: The name of your MaxCompute project — not the DataWorks workspace name. To find it, open the MaxCompute console, select your region, and go to Workspace > Projects.(Optional) To enable MaxCompute Query Acceleration (MCQA), append
&interactiveMode=trueto the URL.
Username: Your AccessKey ID.
Password: The AccessKey secret that corresponds to the AccessKey ID.
Click Sign in.
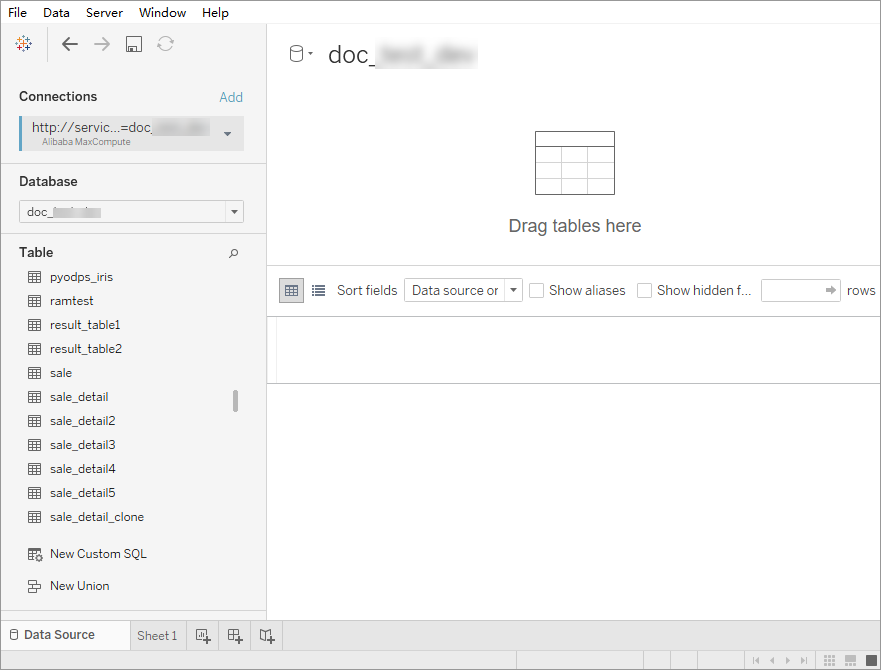
In the left navigation pane, select your MaxCompute project from the Database drop-down list. Tableau Desktop connects to the project automatically.
Step 3: Query and visualize data
After connecting, you can explore your MaxCompute data directly in Tableau Desktop. For full Tableau documentation, see Tableau help.
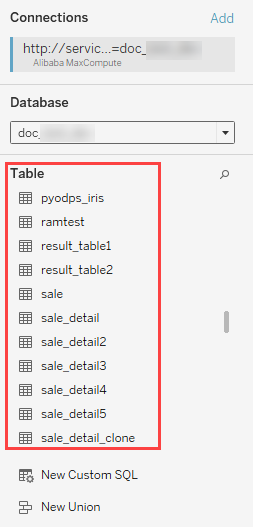
View all tables
Select your MaxCompute project from the Database drop-down list. Tableau Desktop loads all tables in the project automatically.
View a table schema
In the Table section, drag the table to the upper part on the right side, then click the ![]() icon.
icon.
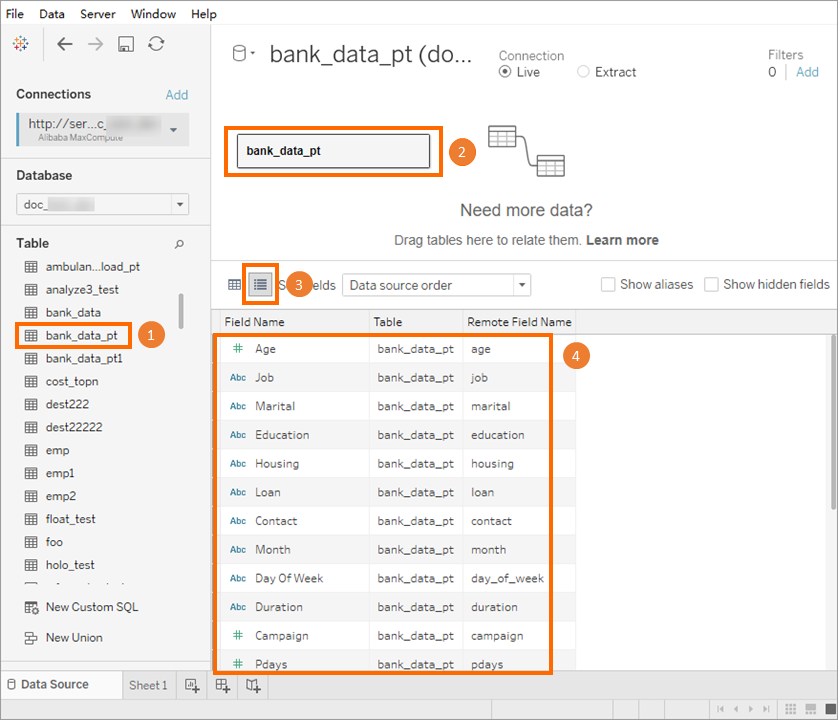
Preview table data
In the Table section, drag the table to the upper part on the right side, then click the ![]() icon.
icon.

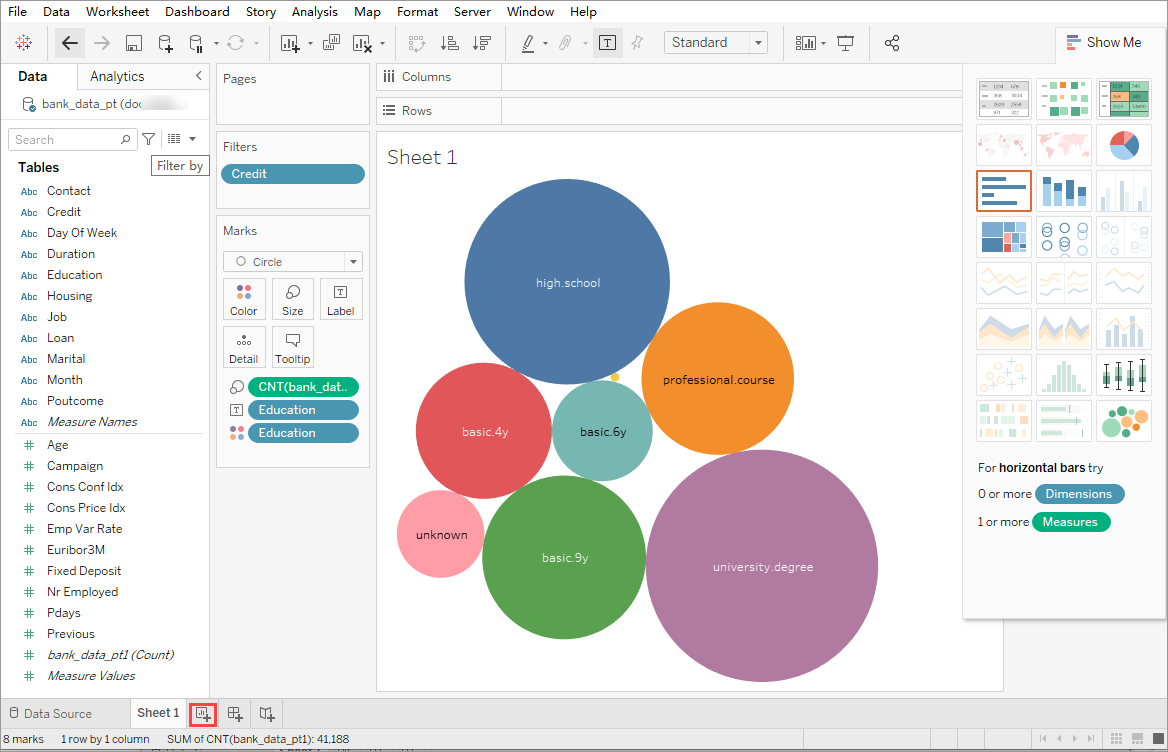
Create a visualization
At the bottom of the page, click the ![]() icon to open a new workbook, then configure charts and dashboards as needed.
icon to open a new workbook, then configure charts and dashboards as needed.
What's next
MaxCompute JDBC — Learn more about the MaxCompute JDBC driver and its capabilities.
Tableau help — Build charts, set up data sources, and analyze your MaxCompute data in Tableau.