MaxCompute allows you to schedule jobs by using Azkaban. This helps you efficiently complete high-frequency data analysis. This topic describes how to use Azkaban to schedule SQL jobs by running commands on the MaxCompute client.
Background information
Azkaban is a system that is used to schedule different types of jobs, including the Command, Hadoop MapReduce, Hive, Spark, and Pig jobs. The most commonly used jobs are Command jobs. Azkaban also allows you to use custom plug-ins. For more information about Azkaban, see Azkaban.
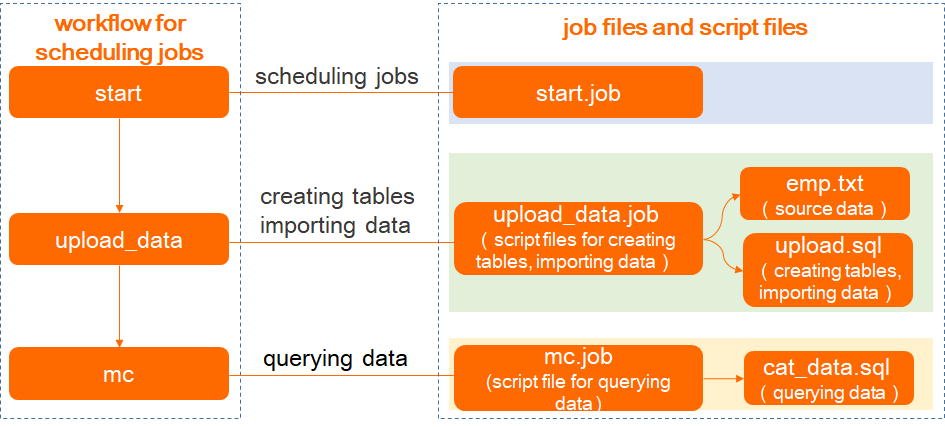
To schedule jobs, you need to package the files that are required for scheduling these jobs into a ZIP file. The files include the source data file and script files for creating tables, importing data, and querying data. Then, upload the ZIP file to Azkaban.
This topic demonstrates how to use the job scheduling feature of Azkaban to implement the SQL logic for creating tables, importing data, and querying data. The following figure shows the workflow for scheduling jobs and lists the job files and script files that are used for each job.
Prerequisites
- The MaxCompute client is downloaded and installed.
For more information about how to install and configure the MaxCompute client, see Install and configure the MaxCompute client.
- Azkaban is downloaded and installed.
For more information, see Getting Started.
Procedure
Step 1: Prepare the required files and package them into a ZIP file
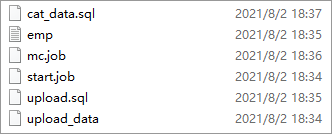
- Package the files that you prepare into a ZIP file. In this topic, the preceding files are packaged into the demo1.zip file. The following figure shows the files in the demo1.zip file.
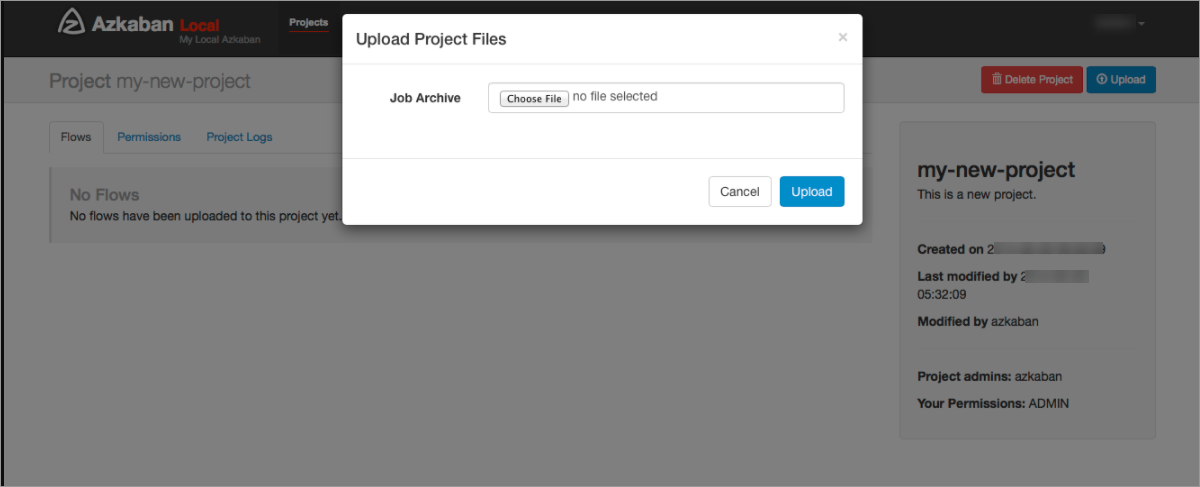
Step 2: Upload the ZIP file to Azkaban
- Upload the ZIP file that is generated in Step 1 to the Azkaban project. For more information about how to upload a ZIP file, see Upload Projects.
 After the ZIP file is uploaded, you can view the workflow on the Graph tab. For more information about how to view a workflow, see Flow View.
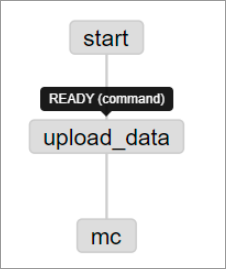
Step 3: Run the workflow
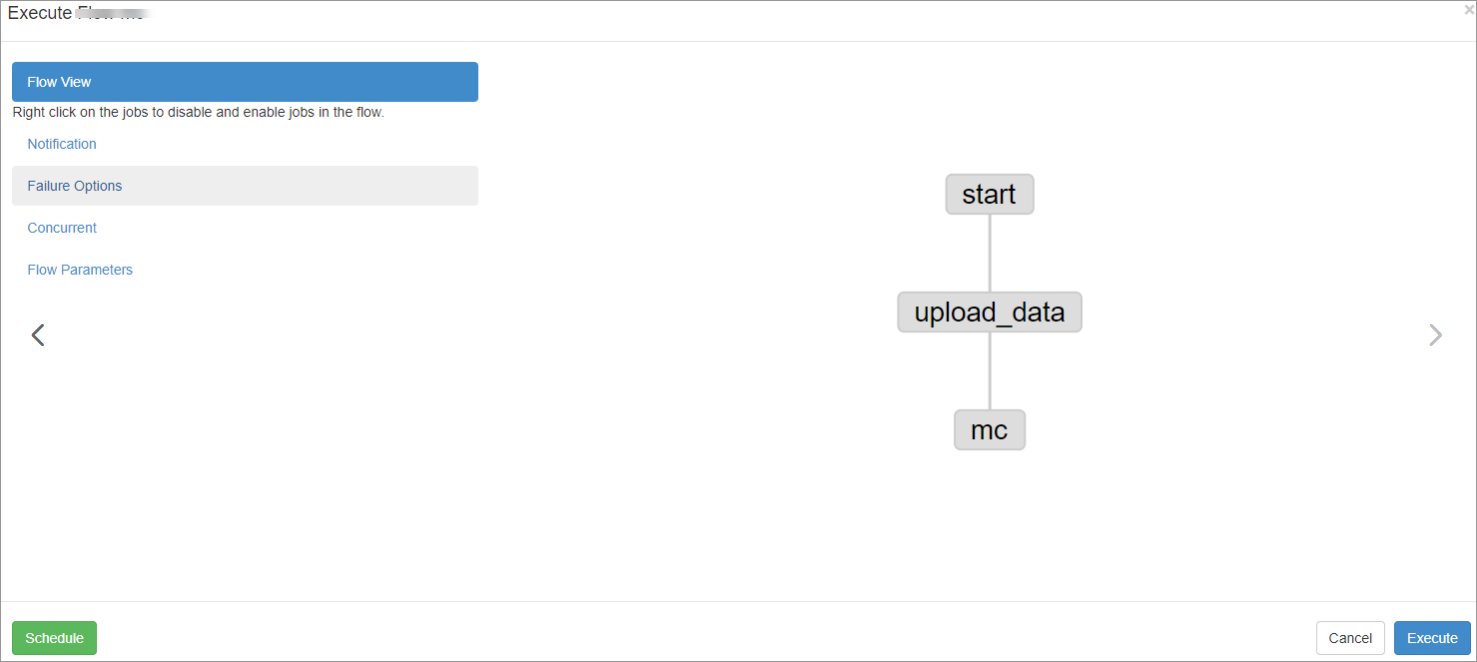
After the workflow is created, click Schedule/Execute Flow in the upper-right corner. In the dialog box that appears, click Execute in the Flow View panel to schedule jobs.
For more information about how to run a workflow, see Executing Flow View.
Step 4: Query the execution results of the workflow
After the workflow is run, you can view the execution results of each job on the Job List tab of the Execution page. You can also find a job on the Job List tab and click Details in the Details column to query the details of this job.
For more information about how to view the execution results of a workflow, see Execution.
