The permission assistant simplifies RAM policy configuration for SLS resources.
Procedure
Log on to the Simple Log Service console.
In the Projects section, click the one you want.

-
In the left-side navigation pane, choose .
-
On the Permission Assistant page, configure the following parameters and click Next.
The available modes are Common Project and APP.
-
Common Project
Common Project mode covers all SLS functional modules.
Parameter
Description
Select Scenario
Select a preset scenario or customize the modules to match your requirements.
Each module offers management and read-only permissions.
ImportantModule dependencies:
-
Project permissions (read-only or management) are required for other module permissions to take effect.
-
Selecting Data Ingestion automatically selects the Logstore module.
-
Visualization depends on Data Query.
-
Alerting, Subscription, and Data Ingestion (Cloud Product Integration) depend on Visualization. Alerting and Subscription automatically grant management permissions for Visualization.
Resources
Configure the resources that permissions apply to. Use an asterisk (
*) as a wildcard for project and Logstore names. Examples:-
Full access to all SLS resources:
"Action": "log:*", "Resource": "*", -
Access limited to the
project01project:acs:log:*:*:project/project01acs:log:*:*:project/project01/*
-
Access limited to
logstore01inproject01:acs:log:*:*:project/project01/logstore/logstore01acs:log:*:*:project/project01/logstore/logstore01/*
Condition
Optionally, add conditions to restrict access. See Policy elements.
-
-
APP
APP mode covers applications such as Cost Manager, Log Audit Service, and K8s Event Center.
Parameter
Description
Applications
Select applications and set their permissions to Allow or Deny.
Select Scenario
Setting an application's permission to Allow, its required modules are automatically selected. You can customize the selection.
Each module offers management and read-only permissions.
ImportantModule dependencies:
-
Project permissions (read-only or management) are required for other module permissions to take effect.
-
Selecting Data Ingestion automatically selects the Logstore module.
-
Visualization depends on Data Query.
-
Alerting, Subscription, and Data Ingestion (Cloud Product Integration) depend on Visualization. Alerting and Subscription automatically grant management permissions for Visualization.
Resources
Resources are automatically selected based on the chosen APP and cannot be modified.
Condition
Optionally, add conditions to restrict access. See Policy elements.
-
-
-
Preview the access policy and edit it as needed. The following table describes available actions. Click Next when done.
Actions
Description
Format
Formats manually edited JSON code.
Compress
Removes extra spaces and line breaks to reduce policy size. Policies have a character limit.
Reset
Discards all manual edits and restores the policy to its generated state.
Copy to clipboard
Copies the policy to the clipboard.
Add to custom template
Saves the policy as a custom template for reuse.
NoteThe template is stored in your browser's local storage and cannot be accessed from other browsers.
-
Create a custom policy.
-
Log on to the RAM console by using your Alibaba Cloud account or a RAM user who has administrative rights.
-
In the left-side navigation pane, choose .
-
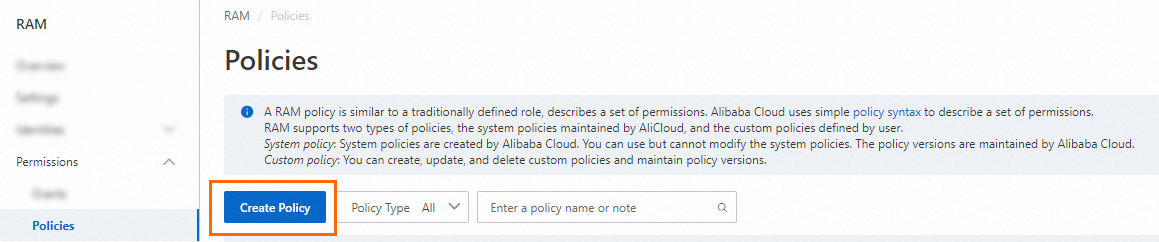
On the Policies page, click Create Policy.
-
On the Create Policy page, click the JSON tab, replace the existing content with the policy from Step 5, and then click OK.
-
In the Create Policy dialog box, enter a policy name and Description, then click OK.
-
-
Attach the custom policy from Step 6 to a RAM user or RAM role. Grant permissions to a RAM user and Manage the permissions of a RAM role.
The principal can then access resources according to the attached policy.
Related operations
-
Applying a common policy template
The Permission Assistant tab provides common policy templates. Select a template that meets your requirements.
-
Applying a custom policy template
On the Permission Assistant tab, save a custom policy as a template for reuse.
NoteCustom templates are stored in your browser's local storage and cannot be accessed from other browsers.