Before you use an NVIDIA GRID driver, you must apply for the driver license and install the license on a license server. This topic describes how to configure a Linux license server.
Background information
In this example, Ubuntu 18.04 is used. If your instance runs a different Linux distribution such as CentOS, you must change specific commands that are provided in this topic based on your business requirements. For more information, see Virtual GPU software license server documentation.
You must obtain the license file of a GRID driver from the NVIDIA Licensing Portal and import the file to a license server that you configured. Then, you must connect your GPU-accelerated or vGPU-accelerated instance to the license server over the Internet and activate the license of the GRID driver.
Step 1: Create an ECS instance
Create a Linux Elastic Compute Service (ECS) instance that works as a license server. For more information, see Create an instance by using the wizard.
When you create the instance, you must configure the parameters based on the descriptions that are provided in the following table. You can configure the parameters that are not provided in the table based on your business requirements.
Parameter | Description |
Instance type | Select an ECS instance whose specifications are higher than the specifications of 2 vCPUs and 4 GB memory. If you require a large number of licenses, we recommend that you select an ECS instance whose specifications are higher than the specifications of 4 vCPUs and 16 GB of memory to ensure high performance and stability. |
Image | Select a Linux image. In this example, an Ubuntu 18.04 image is used. |
Storage | Select a system disk whose size is larger than 40 GiB. |
Bandwidth | We recommend that you select the pay-by-data-transfer metering method and set the peak bandwidth to 100 Mbit/s. |
Step 2: Install JRE
Connect to the ECS instance that works as the license server.
For more information, see Connect to a Linux instance by using a password or key.
Run the following command and check whether Java Runtime Environment (JRE) is installed on the instance:
java -versionIf the returned information about the Java version is similar to the following command output, JRE is installed. Otherwise, proceed to the next step.
java version "1.7.0_51"
OpenJDK Runtime Environment (rhel-2.4.5.5.el7-x86_64 u51-b31)
OpenJDK 64-Bit Server VM (build 24.51-b03, mixed mode)
Run the following command to install OpenJDK:
sudo apt install default-jdkNoteIf the message Unable to locate package default-jdk appears, run the
apt updatecommand before you run the sudo apt install default-jdk command.If the returned information is similar to the following command output, OpenJDK is installed.
...
Running hooks in /etc/ca-certificates/update.d...

done.
done.
Step 3: Install and run Apache Tomcat
Run the following command to install the Apache Tomcat package by using your package manager of the Linux distribution:
sudo apt install tomcat8After you install Apache Tomcat, run the following command to enable automatic startup for Apache Tomcat:
sudo systemctl enable tomcat8.serviceRun the following command to start Apache Tomcat:
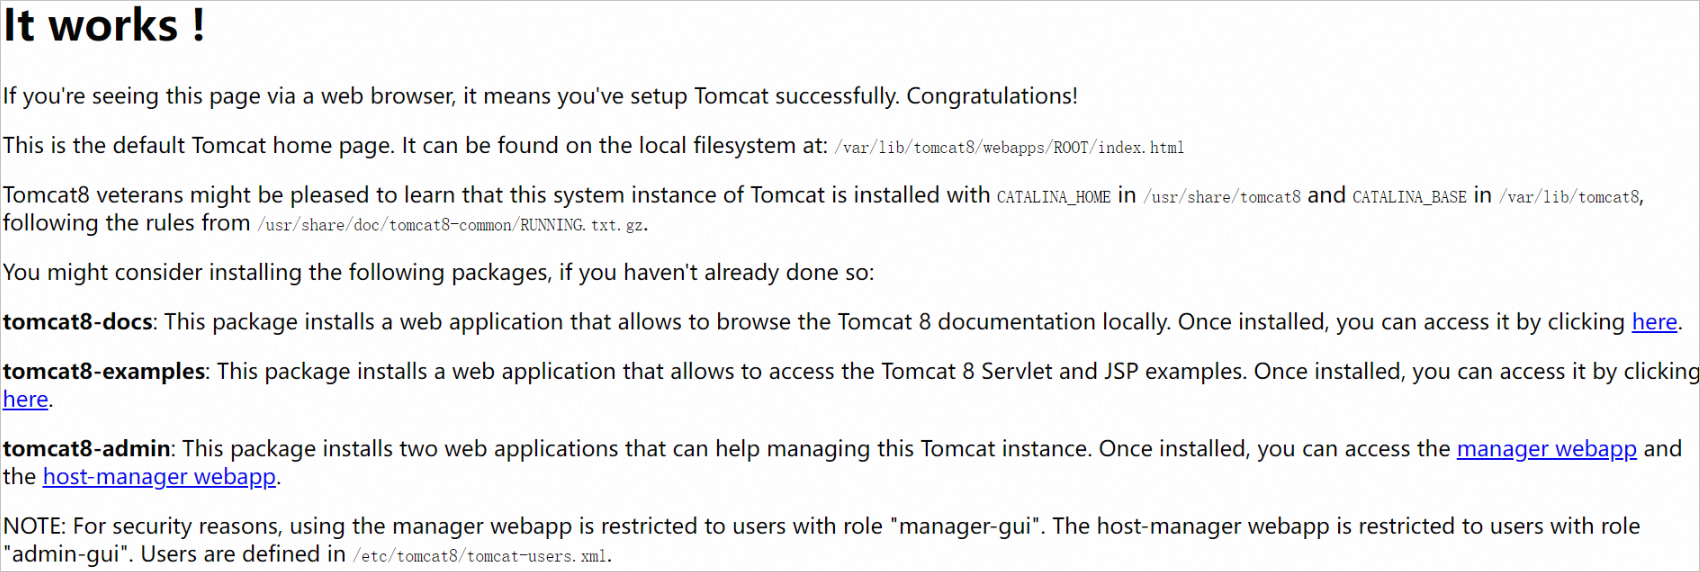
sudo systemctl start tomcat8.serviceOpen http://localhost:8080 in your web browser and check whether Apache Tomcat is available.
NoteReplace localhost in the URL with the public IP address of your ECS instance.
If the message that is shown in the following figure appears, Apache Tomcat is installed.
Step 4: Install the license server software
Before you install the license server software, make sure that you have obtained the setup.bin file that contains the installation package of the license server software or the .zip file that contains the setup.bin file.
Download the setup.bin file that contains the installation package or decompress the .zip file.
If you obtained the installation package of the license server software from the NVIDIA official website, run the following command to decompress the package:
unzip
The name of the installation package.zipNoteReplace The name of the installation package in the command with the name of the installation package that you obtained.
If you obtained the download URL of the installation package from Alibaba Cloud, run the following command to download the installation package:
wget https://grid-9-4-zyy.oss-cn-hangzhou.aliyuncs.com/setup.bin
Run the following command to grant execute permissions on the installation package:
chmod +x setup.binInstall the license server software.
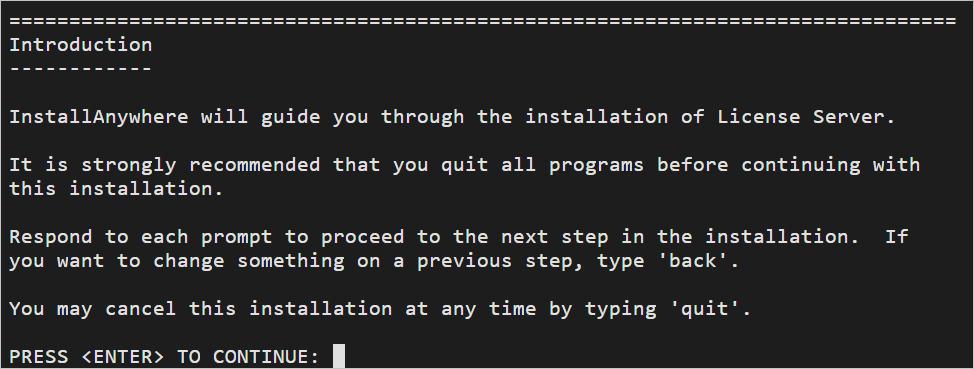
Run the following command to install the license server software as the root user:
sudo ./setup.bin -i consoleIn the Introduction section, press Enter.
In the License Agreement section, press Enter each time you are prompted to page through the license agreement.
When you reach the end of the agreement, you are prompted to accept the terms of the agreement. To accept the terms, enter y and press Enter.

In the Choose Install Folder section, press Enter to use the default installation directory.
In the Choose Local Tomcat Server Path section, enter the on-premises directory of Apache Tomcat. The default directory is /var/lib/tomcat version. Example: /var/lib/tomcat8.
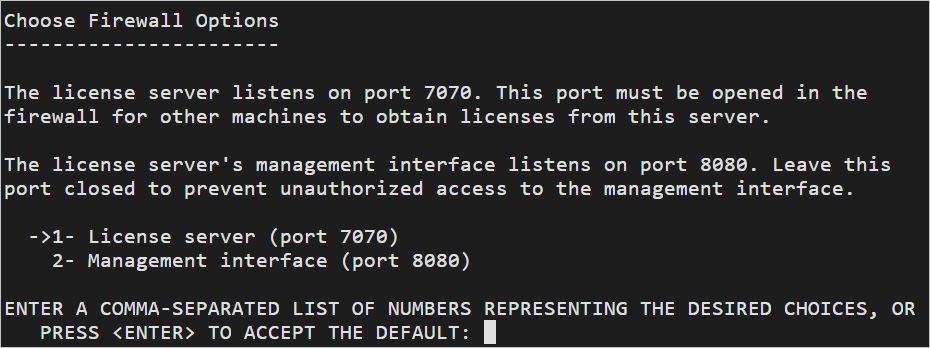
In the Choose Firewall Options section, select the ports that you want to open in the firewall and press Enter. We recommend that you keep the default settings.
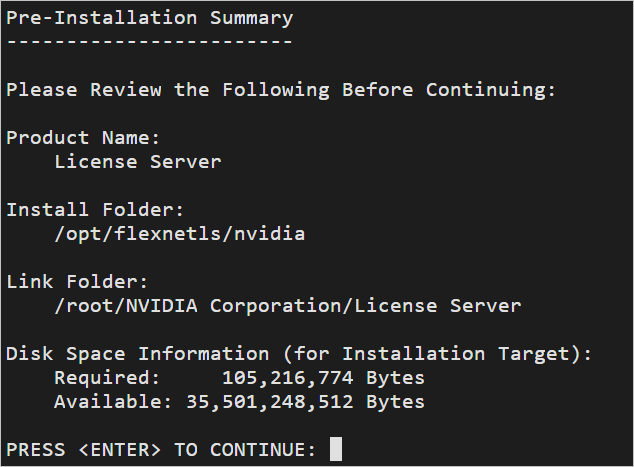
In the Pre-Installation Summary section, confirm your settings and press Enter. The system starts to install the license server software.
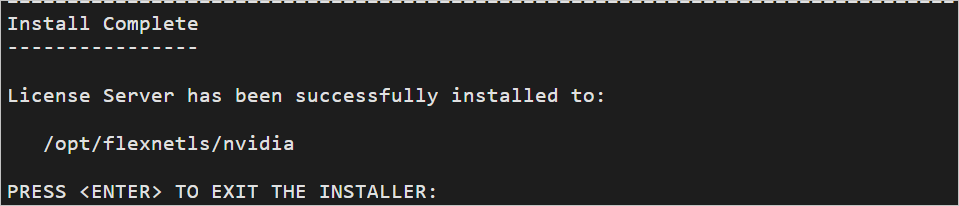
In the Install Complete section, press Enter. The license server software is installed.
Step 5: Create the license server on the NVIDIA Licensing Portal
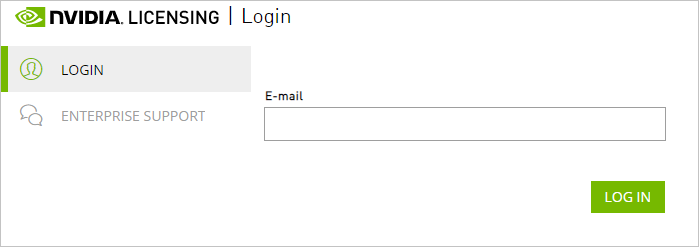
Log on to the NVIDIA Licensing Portal by using the email address that you used to apply for the license.
On the Dashboard page, click CREATE LICENSE SERVER in the License Servers section.
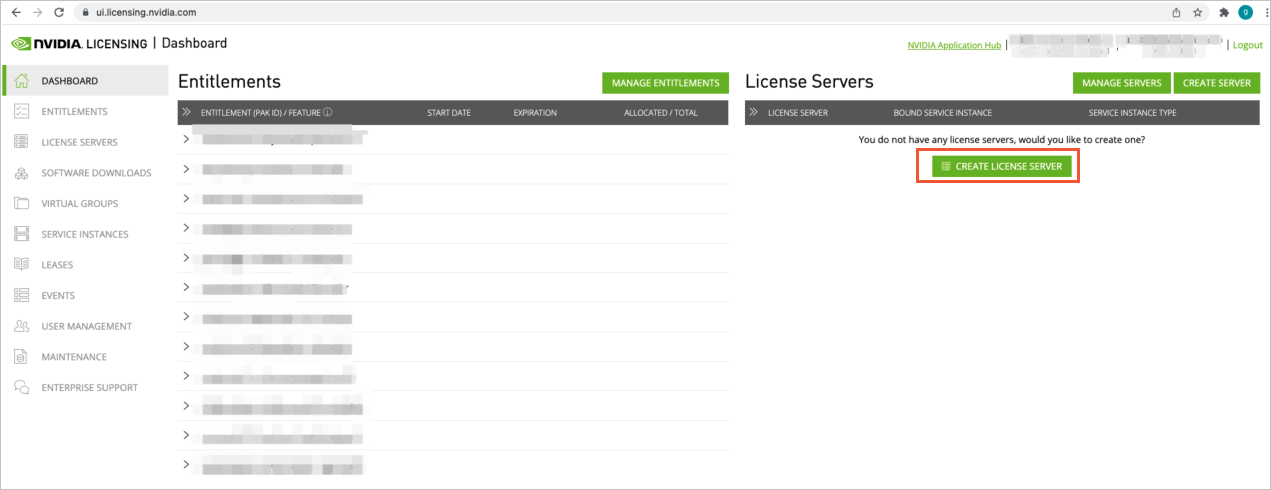
The Entitlements section displays all your licenses.
In the Create License Server dialog box, configure parameters and click CREATE LICENSE SERVER.
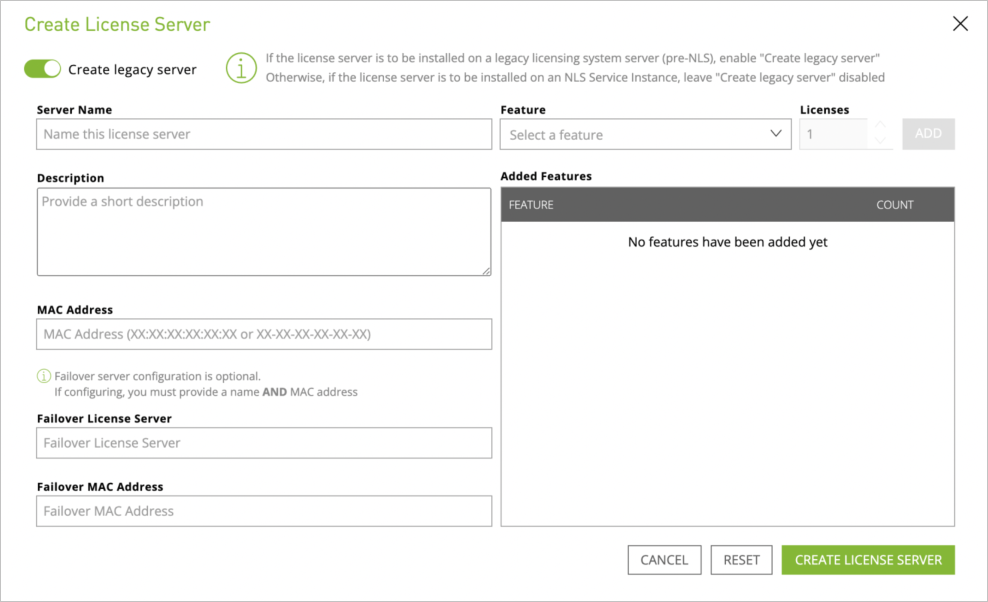
The following table describes the required parameters.
Parameter
Description
Server Name
Specify a custom name for the license server.
MAC Address
Enter the MAC address of the ECS instance that works as the license server.
To query the MAC address, log on to the instance and run the
ipconfig -acommand.Feature
Select features based on your business requirements, enter the number of licenses that you want to add to the server, and then click ADD.
After you create the license server on the NVIDIA Licensing Portal, go to the License Servers section and click the
 icon to download the license file.
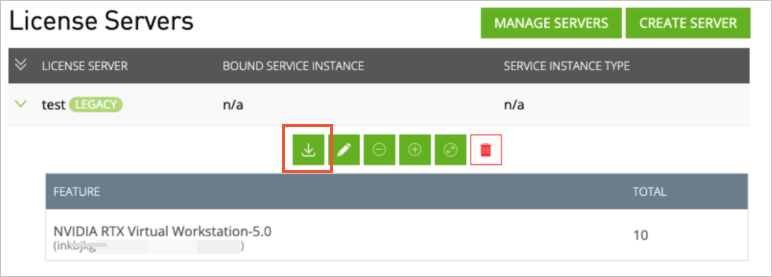
Step 6: Upload the license file
Open http://localhost:8080/licserver in your web browser. You are redirected to the license management page.
NoteReplace localhost in the URL with the public IP address of your ECS instance.
In the License Server section of the left-side navigation pane, click License Management.
On the License Management page, click Choose File next to the Upload license file (.bin file), select the license file from your computer, and then click Open.
Click Upload.
If the message that is shown in the following figure appears, the license file is uploaded.
To view the number of licenses on the server and the usage details of the licenses, click License Feature Usage in the License Server section of the left-side navigation pane.

Step 7: Test network connectivity and access to the license server
In this example, a Windows vGPU-accelerated instance that belongs to the vgn6i instance family is used. If you have a GPU-accelerated instance, you can use the instance.
Create a GPU-accelerated instance.
For more information, see Create a GPU-accelerated instance that is not configured with a driver.
In this example, a vGPU-accelerated instance that belongs to the vgn6i instance family and whose image is of Windows Server 2019 Datacenter 64-bit (English) is used.
Install the GRID driver, add the license server, and then activate the license.
For more information, see Install a GRID driver on a Windows GPU-accelerated compute-optimized instance or a Windows vGPU-accelerated instance.
When you activate the license, enter the public IP address of the ECS instance that works as the license server and set the port number to 7070.
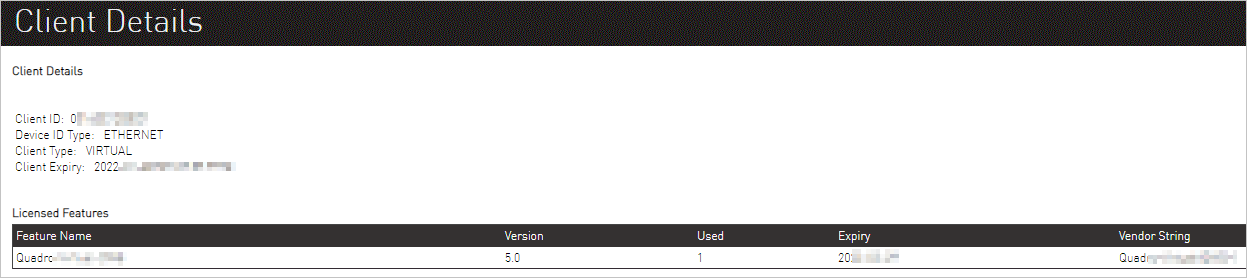
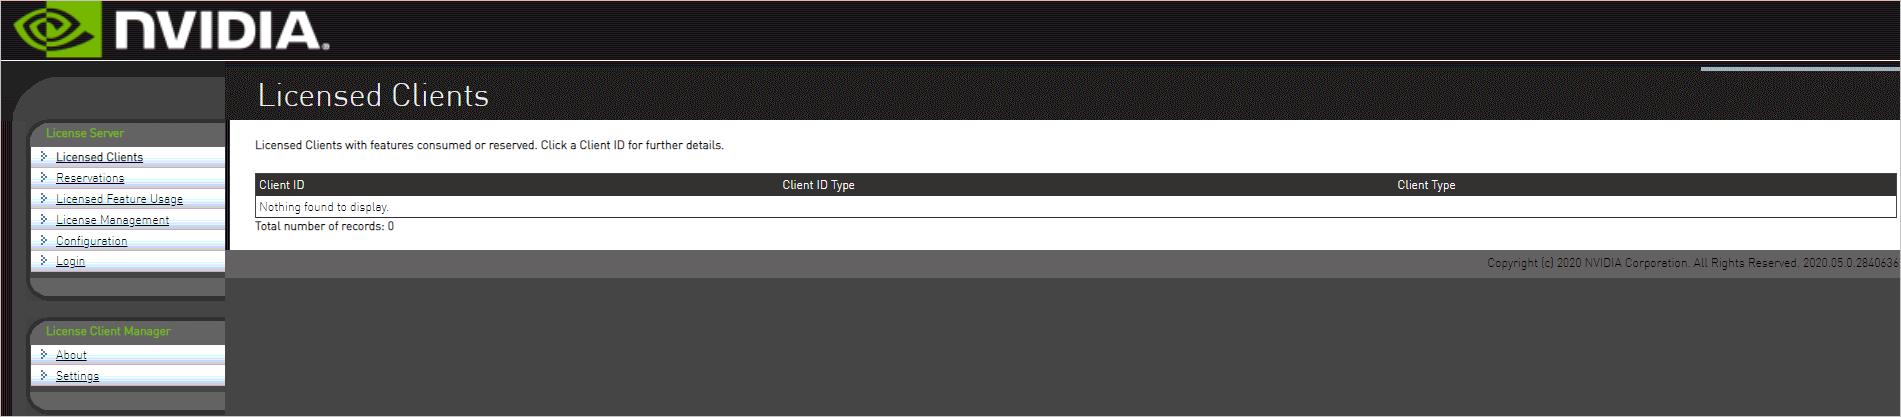
Open http://localhost:8080/licserver in your local web browser. You are redirected to the license management page. In the License Server section of the left-side navigation pane, click Licensed Clients. On the Client Details page, check whether the information about the vGPU-accelerated instance appears. If the information appears, your vGPU-accelerated instance that works as a virtual machine of the NVIDIA vGPU software client is using the license.

You can click the client ID to view the details of the vGPU-accelerated instance.