You can configure multiple websites on an Elastic Compute Service (ECS) instance to reduce operational costs and facilitate website management, including updating software, configuring security settings, and backing up data. You can also flexibly adjust resource allocation as the requirements of the websites change. This topic describes how to use NGINX to build multiple websites on a Linux ECS instance.
Prerequisites
A Linux ECS instance is created and assigned a public IP address. An LNMP stack is deployed on the Linux instance. For information about how to deploy an LNMP stack on a Linux instance, see Deploy an LNMP stack on an Alibaba Cloud Linux 2, Alibaba Cloud Linux 3, CentOS 7 or CentOS 8 instance or Manually build an LNMP environment on an Ubuntu 20 instance.
Create test websites
Connect to the Linux instance on which an LNMP stack is deployed.
For information about how to connect to an instance, see Connect to a Linux instance by using a password or key.
Run the following command to go to the configured website root directory:
cd /usr/share/nginx/htmlRun the following commands to create two test folders.
The folders are used to store test website information, which is the project code of the test websites.
sudo mkdir Testpage-1
sudo mkdir Testpage-2
Configure the information of the Testpage-1 website.
Run the following command to go to the Testpage-1 folder:
cd /usr/share/nginx/html/Testpage-1/Run the following command to create and edit the
index.htmlfile:sudo vim index.htmlPress the
Ikey to enter Insert mode and then enter the following test content:Test page 1Press the
Esckey, enter:wq, and then press the Enter key to save the file and exit Insert mode.
Configure the information of the
Testpage-2website.Run the following command to go to the
Testpage-2folder:cd /usr/share/nginx/html/Testpage-2/Run the following command to create and edit the
index.htmlfile:sudo vim index.htmlPress the
Ikey to enter Insert mode and then enter the following test content:Test page 2Press the
Esckey, enter:wq, and then press the Enter key to save the file and exit Insert mode.
Configure NGINX
Run the following command to check the
nginx.confconfiguration file:cat /etc/nginx/nginx.confView the
includeconfiguration information in thehttp{}module.In this example,
include /etc/nginx/conf.d/*.conf;shown in the following figure indicates that NGINX obtains site information from all.conffiles in the path.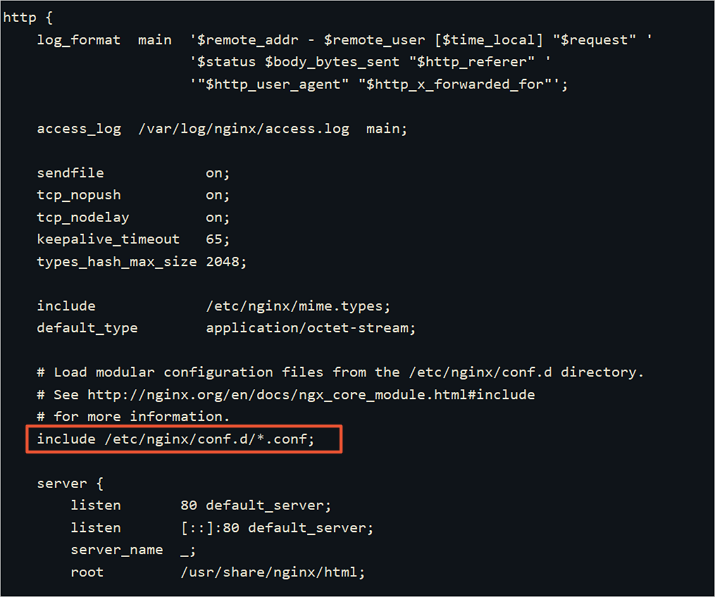
Run the following command to go to the
/etc/nginx/conf.dpath:cd /etc/nginx/conf.dCreate and configure the NGINX configuration file for the
Testpage-1website.Run the following command to create and edit the configuration file:
sudo vim Testpage1.confPress the
Ikey to enter Insert mode and then enter the following content.In the commented content, replace the server domain name and the website path with the actual values.
server {
    listen       80;
    server_name  testpage1.com;    #The test domain name. Use the domain name of your server in the actual configuration.

    #charset koi8-r;
    access_log  /var/log/nginx/b.access.log  main;

    location / {
        root   /usr/share/nginx/html;    #The test website path. Use the path of your project code in the actual configuration.
        index  index.html index.htm;
    }

    #error_page  404              /404.html;

    error_page   500 502 503 504  /50x.html;
    location = /50x.html {
        root   /usr/share/nginx/html;
    }
}
Press the
Esckey, enter:wq, and then press the Enter key to save the file and exit Insert mode.
Create and configure the NGINX configuration file for the
Testpage-2website.Run the following command to create and edit the configuration file:
sudo vim Testpage2.confPress the
Ikey to enter Insert mode and then enter the following content.In the commented content, replace the server domain name and the website path with the actual values.
server {
    listen       80;
    server_name  testpage2.com;    #The test domain name. Use the domain name of your server in the actual configuration.

    #charset koi8-r;
    access_log  /var/log/nginx/b.access.log  main;

    location / {
        root   /usr/share/nginx/html;    #The test website path. Use the path of your project code in the actual configuration.
        index  index.html index.htm;
    }

    #error_page  404              /404.html;

    error_page   500 502 503 504  /50x.html;
    location = /50x.html {
        root   /usr/share/nginx/html;
    }
}
Press the
Esckey, enter:wq, and then press the Enter key to save the file and exit Insert mode.
Run the following command to restart NGINX:
sudo systemctl restart nginx
Result Verification
You can access the two test websites from a browser on your on-premises host.
Access
http://<the public IP address of the ECS instance>/Testpage-1to view the content of theTestpage-1website, as shown in the following figure.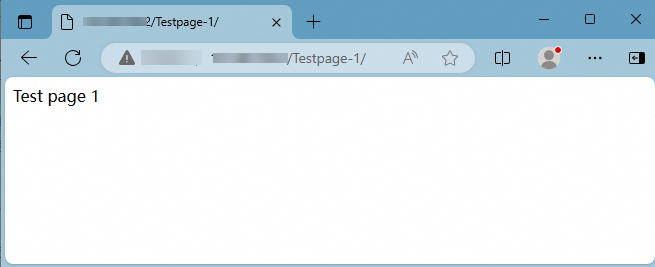
Access
http://<the public IP address of the ECS instance>/Testpage-2to view the content of theTestpage-2website, as shown in the following figure.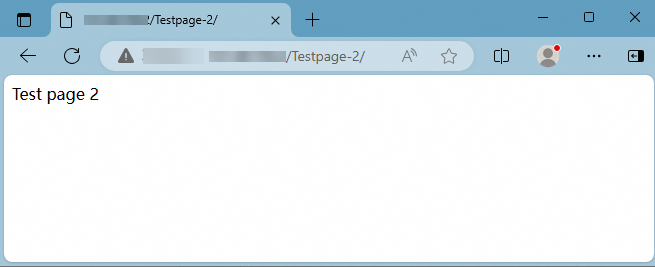
Multiple websites are built. In actual scenarios, you need to only make sure that the project paths are correctly configured in the configuration files to allow access to the websites.
What to do next
If you want to set up a website to the public, we recommend that you specify a unique domain name for your website. This way, users who want to visit your website can use a domain name that is easy to identify instead of a complex IP address. If you already have a domain name or want to register one for your site, perform the following steps:
Register a domain name.
For more information, see Register a domain name on Alibaba Cloud.
Apply for an Internet Content Provider (ICP) filing.
Apply for an ICP filing for the domain name that is associated with a website deployed on an ECS instance in the Chinese mainland. For more information, see ICP filing process.
Resolve the domain name.
Domain name resolution is a required step for accessing your website by using the domain name. For more information about how to point the domain name to the public IP address of the ECS instance, see Add an A record for a website domain name.
References
If you want to deploy multiple websites on a Windows instance, see Build multiple websites on a Windows instance.