Ghost is a free, open source blogging platform built on Node.js that simplifies writing and publishing. This topic describes how to deploy a Ghost blog on an Elastic Compute Service (ECS) instance that runs Ubuntu 22.04 or later.
Background information
You can set up a Ghost blog in development or production mode. When you set up a Ghost blog for the first time, use development mode to make debugging easier. The procedure in this topic is intended for individual users who are new to building websites with Alibaba Cloud. For more information about Ghost, see Getting started with Ghost.
As your business grows, you can use Alibaba Cloud products to scale your service capacity horizontally and vertically. For example:
Scale up the CPU and memory of a single ECS instance to improve server processing power.
Add multiple ECS instances and use Server Load Balancer (SLB) to balance loads across them.
Use Auto Scaling to automatically add or remove ECS instances based on traffic.
Use Object Storage Service (OSS) to store static web pages and large numbers of images and videos.
Ghost has specific version requirements for Nginx, MySQL, and Node.js:
Nginx: 1.9.5 or later
MySQL: 8.0.x
Node.js: 22.x
For more detailed version requirements, see Prerequisites.
Preparations
Before you begin, make sure that your ECS instance meets the following requirements:
A public IP address is automatically assigned to the ECS instance. Alternatively, an elastic IP address (EIP) is associated with the ECS instance. For instructions on how to enable public bandwidth, see Enable public bandwidth.
Operating system: Ubuntu 22.04 or later.
An inbound rule is added to the security group of the instance to allow traffic on ports 22, 80, 443, and 2368. For more information, see Add a security group rule.
(Optional) Step 1: Create a new user
If you already created an `ecs-user` when you set up the ECS instance, skip this step and use the `ecs-user` to perform Step 2: Install Nginx.
Ghost does not recommend using the root user directly. Therefore, you must create a new user and configure its permissions.
Log on to the ECS instance.
For more information, see Log on to a Linux instance using Workbench.
Create a new user.
This example creates a user named
test.adduser testAt the
New password:andRetype new password:prompts, enter and confirm a password. The password is not displayed by default. PressEnterwhen you are done.At the
Enter the new value, or press ENTER for the defaultprompt, pressEnterto keep the default settings. You can also enter user information as needed.At the
Is the information correct? [Y/n]prompt, enterYto confirm the information and pressEnterto complete the setup.
The configuration is similar to the following example.
root@iZbp1g2d4dpki2mf63b****:~# adduser test
Adding user `test' ...
Adding new group `test' (1000) ...
Adding new user `test' (1000) with group `test' ...
Creating home directory `/home/test' ...
Copying files from `/etc/skel' ...
New password:
Retype new password:
passwd: password updated successfully
Changing the user information for test
Enter the new value, or press ENTER for the default
        Full Name []:
        Room Number []:
        Work Phone []:
        Home Phone []:
        Other []:
Is the information correct? [Y/n] Y
Add the new user to the group.
usermod -a -G sudo testSwitch to the
testuser.su - test
Step 2: Install Nginx
Make sure that your ECS instance is associated with an auto-assigned public IP address or an EIP. For more information, see Associate or disassociate an EIP.
To deploy a Ghost blog, you must install Nginx as an HTTP server.
Update the Linux operating system and software packages.
sudo apt-get update
sudo apt-get upgrade -y
Install Nginx.
sudo apt-get install -y nginxYou can run the
nginx -vcommand to check the Nginx version.nginx -vThe output is similar to the following.
nginx version: nginx/1.18.0 (Ubuntu)NoteIn this example, Nginx version 1.18.0 is installed. Software packages are updated periodically, so the Nginx version that you install may be different.
Step 3: Install MySQL
MySQL is an open source database management system. It is often installed as part of the popular LAMP (Linux, Apache, MySQL, PHP/Python/Perl) stack. It uses a relational database and Structured Query Language (SQL) to manage its data.
Install MySQL.
sudo apt-get install -y mysql-serverRun the
mysql -Vcommand to check the MySQL version number. An output similar to the following indicates that MySQL is installed successfully.test@iZbp1g2d4dpki2mf63b****:~$ mysql -V mysql Ver 8.0.40-0ubuntu0.22.04.1 for Linux on x86_64 ((Ubuntu))Connect to MySQL.
sudo mysqlCreate a database for Ghost.
The example in this topic uses ghost_data.
CREATE DATABASE ghost_data;Set the password for the
rootuser.ALTER USER 'root'@'localhost' IDENTIFIED WITH mysql_native_password BY 'your-root-password';Reload the MySQL grant table to ensure that the permission changes take effect.
FLUSH PRIVILEGES;Exit MySQL.
exit
Step 4: Install Node.js
Ghost supports only Node.js 22.x LTS. This topic uses Node.js 22.x as an example.
Download and import the Nodesource GPG key.
sudo apt-get update
sudo apt-get install -y ca-certificates curl gnupg
sudo mkdir -p /etc/apt/keyrings
curl -fsSL https://deb.nodesource.com/gpgkey/nodesource-repo.gpg.key | sudo gpg --dearmor -o /etc/apt/keyrings/nodesource.gpg
Create a deb repository.
NODE_MAJOR=22
echo "deb [signed-by=/etc/apt/keyrings/nodesource.gpg] https://deb.nodesource.com/node_$NODE_MAJOR.x nodistro main" | sudo tee /etc/apt/sources.list.d/nodesource.list
Update and install Node.js.
sudo apt-get update
sudo apt-get install -y nodejs
Check the Node.js version.
node -vThe output is similar to the following.
test@iZbp1g2d4dpki2mf63b****:~$ node -v
v22.13.1
Step 5: Install Ghost
(Optional) Change the npm registry to the Alibaba Cloud mirror to speed up the Ghost installation.
ImportantChanging the npm registry might affect all future npm package installations. After you install Ghost, run
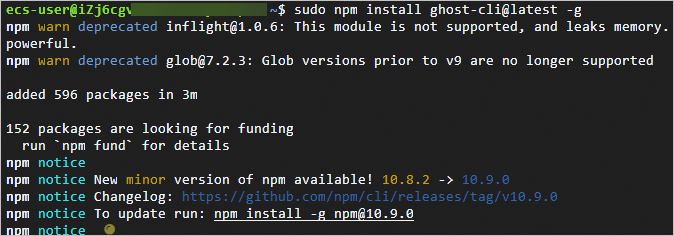
npm config set registry https://registry.npmjs.org/to restore the default npm configuration.npm config set registry https://registry.npmmirror.comInstall the Ghost command-line interface (CLI) tool to quickly configure Ghost.
sudo npm install ghost-cli@latest -gThe output in the following figure indicates that the Ghost CLI tool is installed.
Create the Ghost installation directory and grant permissions on it.
sudo mkdir -p /var/www/ghost
sudo chown test:test /var/www/ghost
sudo chmod 775 /var/www/ghost
Install Ghost.
cd /var/www/ghost
ghost install
During the Ghost installation, configure the following parameters. For other parameters, complete the configuration based on your needs and the on-screen prompts.
Parameter
Description
Enter your blog URL
Enter a resolved domain name, for example,
http://example.com. This example uses a public IP address for testing:http://47.98.XX.XX.Enter your MySQL hostname:
Enter the database endpoint. In this example, the MySQL database and Ghost are deployed on the same instance. Press
Enterto use the default value.Enter your MySQL username:
Enter the database username. Enter
rootand pressEnter.Enter your MySQL password :
Enter the database password. After you enter the password, press
Enter.NoteThe database password is the one you set in Step 3.
Enter your database name:
Enter the name of the database for Ghost. Enter
ghost_dataand pressEnter.NoteThe database name is the one you created in Step 3. This example uses
ghost_data.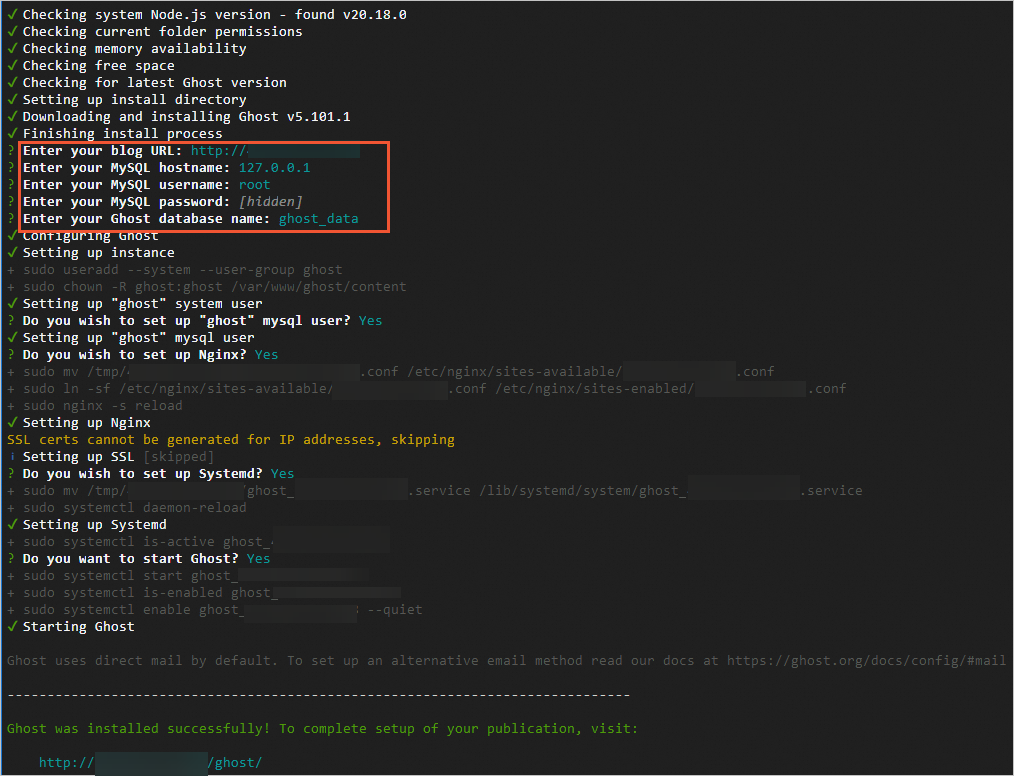
After the setup is complete, the Ghost administrator access URL is displayed at the bottom of the interface. For example: http://47.98.XX.XX/ghost.
Test access to your Ghost blog.
Follow these instructions to access the Ghost front-end homepage or back-end management page:
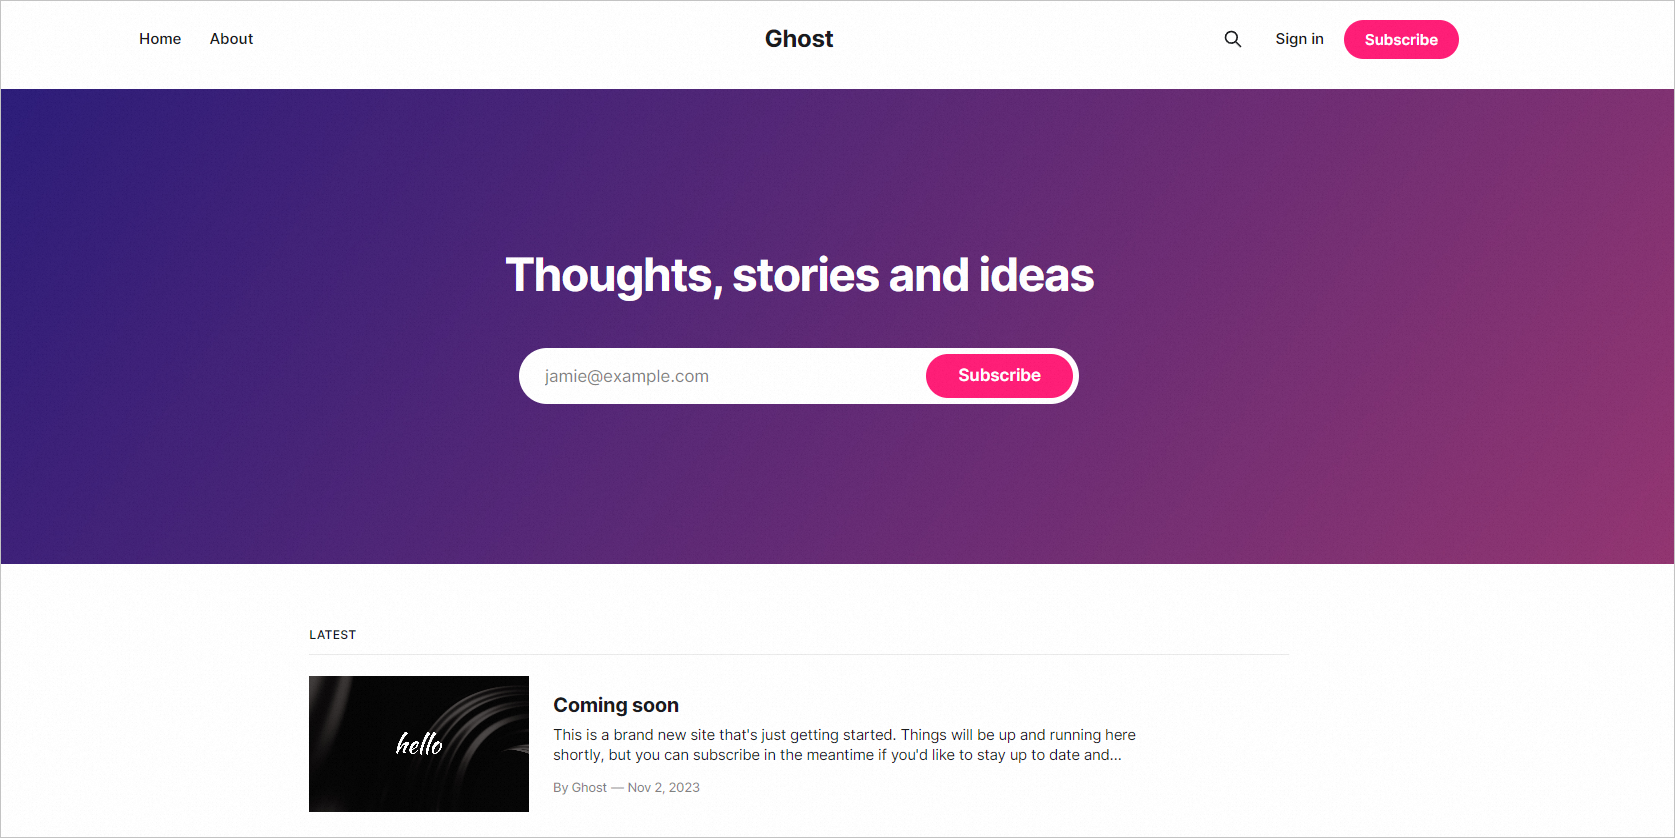
Front-end homepage
On your local Windows host or any other Windows host with Internet access, open a browser and enter http://Public-IP-address-of-ECS-instance to access the Ghost front-end homepage.
 Note
NoteIf a 502 error occurs, check for firewall issues within the instance. You can disable the firewall.
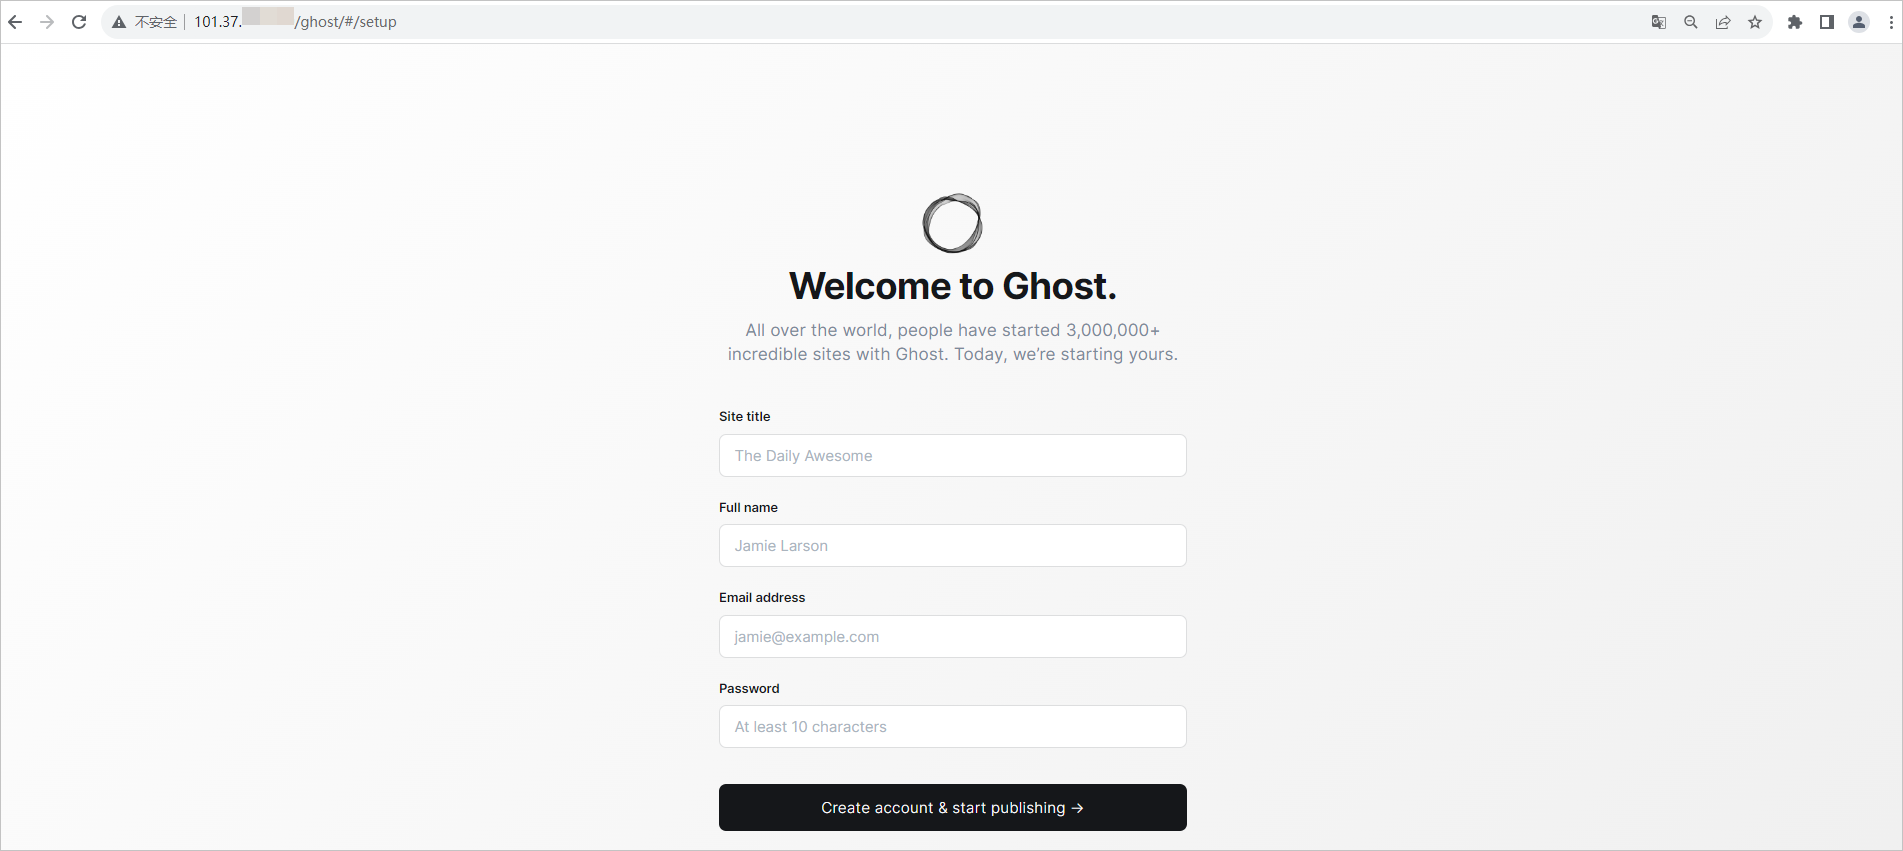
Back-end management page
On your local Windows host or any other Windows host with Internet access, open a browser and enter
http://Public-IP-address-of-ECS-instance/ghostto access the Ghost back-end management page.The first time you access the Ghost back-end management page, follow the on-screen prompts to complete the configuration of your Ghost blog.
Domain name guidelines
If you want to build a website but do not have a domain name, you must purchase one first. If your website is hosted on a server in the Chinese mainland, you must complete an ICP filing for the domain name before you resolve it to the ECS instance where the website is deployed. The following sections provide operational guidelines:
Purchase a domain name
You can set a unique domain name for your website. This allows visitors to access your website using an easy-to-remember domain name instead of a complex IP address.
Log on to Alibaba Cloud to purchase a domain name. For more information, see Register a domain name.
ICP filing
For websites whose domain names point to servers in the Chinese mainland, an ICP filing is mandatory. The website cannot be made accessible until an ICP filing number is obtained.
Domain name resolution
You must resolve your domain name in Alibaba Cloud DNS so that visitors can access your website using the domain name. For more information, see Get started.