Dynamic Content Delivery Network (DCDN) can also extend the capabilities of your application at the edge through services such as EdgeRoutine (ER) and EdgeKV. You can directly deploy services or lightweight applications to points of presence (POPs) that are closer to your users. This reduces the response latency. These services or applications run as serverless instances, meaning that Alibaba Cloud manages and schedules resources for you.
EdgeRoutine is in beta release and available only to selected users. If the daily peak bandwidth of your DCDN service exceeds 500 Mbit/s, you can submit a ticket to enable EdgeRoutine. After your request is approved, EdgeRoutine is displayed in the left-side navigation pane of the DCDN console.
ER
ER is a JavaScript runtime environment that lets you implement logic at the edge. The code you upload to ER can be run on any POP in the Alibaba Cloud global network. This lets you serve your customers or users from the POP nearest to them, significantly improving response times and user experience.
Enable EdgeRoutine
Log on to the DCDN console.
In the left-side navigation pane, click EdgeRoutine.
Choose to enable EdgeRoutine.
Create your first routine
Step 1: Create and configure a routine
Log on to the DCDN console.
In the left-side navigation pane, click EdgeRoutine.
The first time you use EdgeRoutine, create a subdomain.
On the EdgeRoutine page, click Create Subdomain.
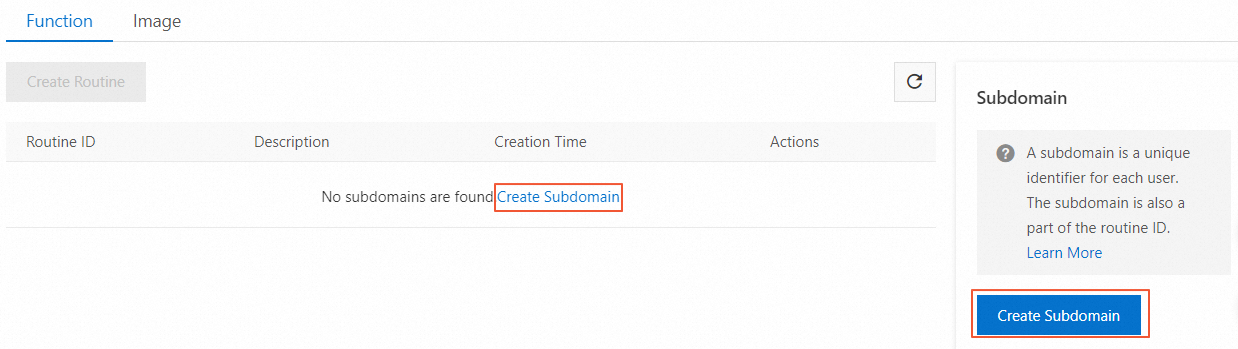
In the Create Subdomain dialog box, specify a subdomain name.
NoteA subdomain is a repository in which all routines that you create reside. Once a subdomain is created, you cannot change the name of the subdomain.
A subdomain is a unique identifier for each user and a part of the routine ID.
You cannot change the name of a subdomain once it is created. The name can contain lowercase letters, digits, and hyphens (-). The name must be at least 2 characters in length. Example: subdomain-name.
Click OK.
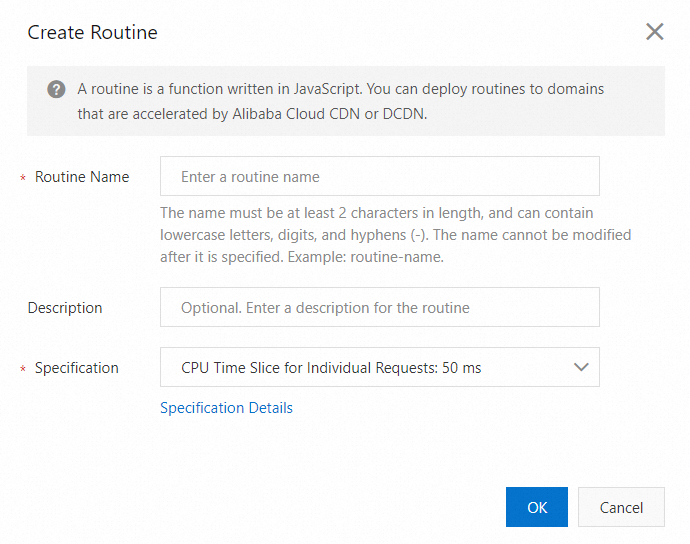
On the EdgeRoutine page, click Create Routine. The following table describes the parameters.
Parameter
Description
Routine Name
Enter a routine name.
NoteThe name can contain lowercase letters, digits, and hyphens (-). The name cannot be less than 2 characters in length. Example: routine-name. The routine name cannot be modified after it is created.
Description
Optional. Enter a description for the routine.
Specification
Select the maximum CPU time slice for a single execution of a routine. The I/O time to wait for network responses is not included. The fees vary based on routine specifications. For more information, see Billing rules.
CPU Time Slice for Individual Requests: 5 ms
CPU Time Slice for Individual Requests: 50 ms (default)
CPU Time Slice for Individual Requests: 100 ms
After you create the routine, click Details in the Actions column to configure the routine in different environments. Routine settings are independent across environments. You can modify the routine settings in the production environment, test environment, and canary release environment. For more information, see Canary environment (optional). The following table describes the parameters.
Parameter
Description
Routine Specifications
The maximum CPU time slice for a single execution of a routine. The I/O time to wait for network responses is not included. Maximum Real Time: 120s. Memory: 128 MB.
CPU Time Slice for Individual Requests: 5 ms
CPU Time Slice for Individual Requests: 50 ms (default)
CPU Time Slice for Individual Requests: 100 ms
Domain Name Whitelist
Domain names that can be associated with the routine.
Wildcard domain names are supported.
By default, the domain name whitelist is empty. This indicates that any domain name can be associated with the routine.
NoteFor example, if you set the Domain Name Whitelist parameter to example.com, only requests from example.com can trigger the routine.
Step 2: Associate domain names with a routine
A routine requires a domain name to provide services to the client. The domain name can be a CDN-accelerated domain name or a DCDN-accelerated domain name. After you create and configure a routine, you need to associate DCDN-accelerated domain names with the routine. Then the routine is triggered by requests from domain names that are associated with the routine. Log on to the console of the service to which your domain name is added.
Log on to the DCDN console.
In the left-side navigation pane, click Domain Names.
On the Domain Names page, find the domain name that you want to manage and click Configure.
In the left-side navigation pane, click EdgeRoutine.
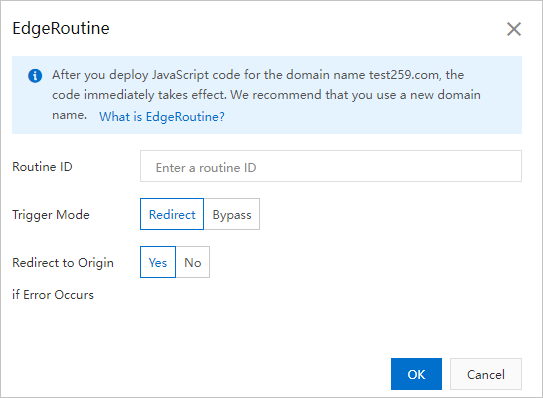
On the EdgeRoutine page, turn on the switch and configure the Routine ID parameter. The following table describes the parameters.
Parameter
Description
Routine ID
The routine ID is a unique identifier for each routine. Format: routineName.subdomain.
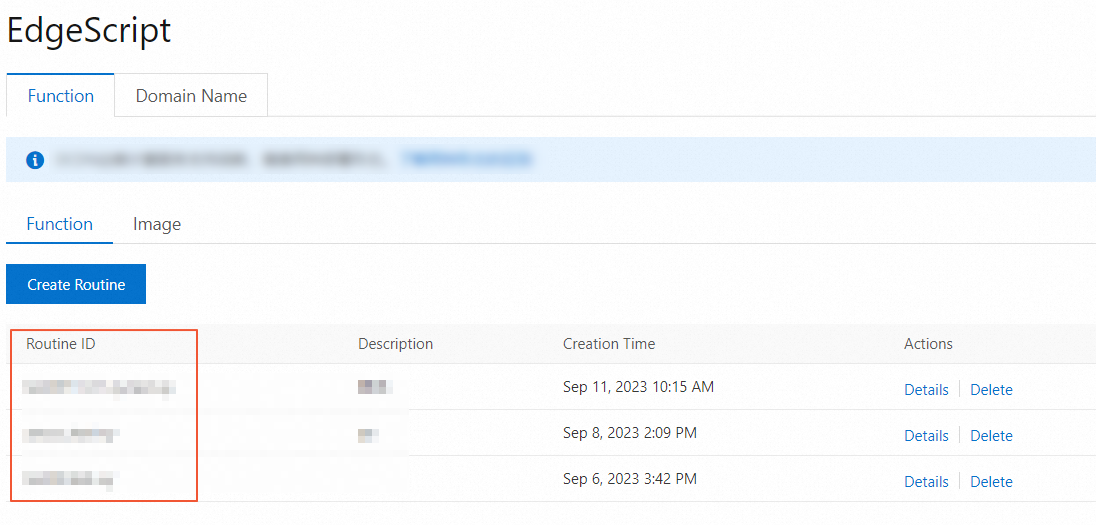
NoteIn the left-side navigation pane of the DCDN console, click EdgeRoutine. You can view the ID of the routine on the Function page.
Trigger Mode
Select a mode in which requests that try to access the DCDN-accelerated domain name trigger the routine. The following modes are supported:
Redirect: Requests that try to access the DCDN-accelerated domain name are processed by the routine. You can write the code in the routine to process requests. The routine can return the requested content to clients, read the cache by calling the Cache API, or redirect requests to the origin server by sending fetch requests.
Bypass: Requests that try to access the DCDN-accelerated domain name trigger the routine. Then, settings that are configured in the DCDN console are executed, and requests are redirected to the origin server. This trigger mode is suitable for scenarios such as authentication or log tracking.
Redirect to Origin if Error Occurs
Yes: When the routine throws an exception, the point of presence (POP) forwards the request to the origin server of the DCDN-accelerated domain name by using the URL that is requested by the client. The origin server processes the request. This ensures business continuity and disaster recovery.
No: When the routine throws an exception, an HTTP status code 5xx is returned to the client.
NoteThe first time you use a routine, we recommend that you set the Redirect to Origin if Error Occurs parameter to No. You can use the HTTP 5xx status code that is returned to troubleshoot issues.
If an exception occurs, you are charged for the number of back-to-origin requests. The percentage of abnormal back-to-origin requests is very low and can be ignored.
Step 3: Develop and debug a routine
Log on to the DCDN console.
In the left-side navigation pane, click EdgeRoutine.
Find the routine that you created and click Details in the Actions column.
On the displayed routine page, click the Code tab to develop a routine by using JavaScript. In the sample code, the HelloWorld script is used.
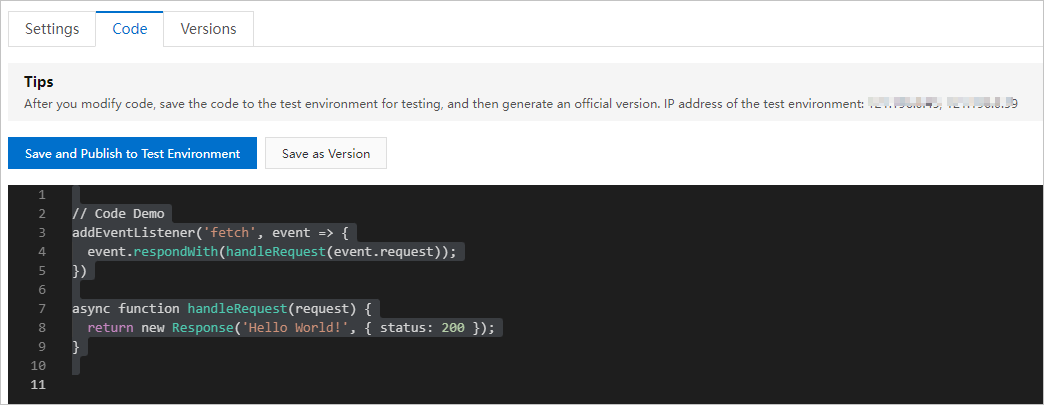
After the coding is complete, click Release to Staging Environment. You can associate an IP address of the test environment that is provided on the page with the machine that you use to debug the routine.
NoteYou can add the IP address of the test environment and the domain name that is associated with the routine to the hosts file of your on-premises machine. For example, add 10.10.10.10 and example.com to the hosts file of your on-premises machine. Replace the IP address with the IP address that is provided in the preceding figure, and replace the domain name with the DCDN-accelerated domain name that is associated with the routine.
Step 4: Save a version
After the debugging is complete, click Save as Version on the Code tab.
EdgeKV
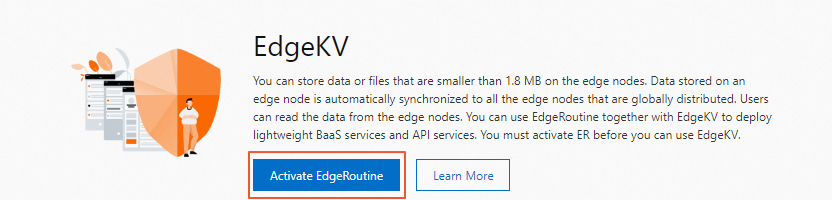
EdgeKV is an edge storage service based on key-value pairs. EdgeKV is suitable for scenarios in which developers write data at low frequencies and ER reads data at high frequencies. After you add data to EdgeKV, the data is automatically synchronized to POPs around the world. ER can read and use the data stored on the same POP.
Activate EdgeKV
Before you can use EdgeKV, you need to activate EdgeKV.
Log on to the DCDN console.
In the left-side navigation pane, click EdgeKV, and then click Activate Now.
Manage key-value data in EdgeKV
Create a namespace
Namespaces are isolated from each other. You can create up to 10 namespaces.
Log on to the DCDN console.
In the left-side navigation pane, choose . On the page that appears, click Create Namespace and follow the on-screen instructions to configure the Namespace Name and Description parameters.
NoteThe Namespace Name parameter corresponds to the namespace parameter in the built-in API operations of ER.
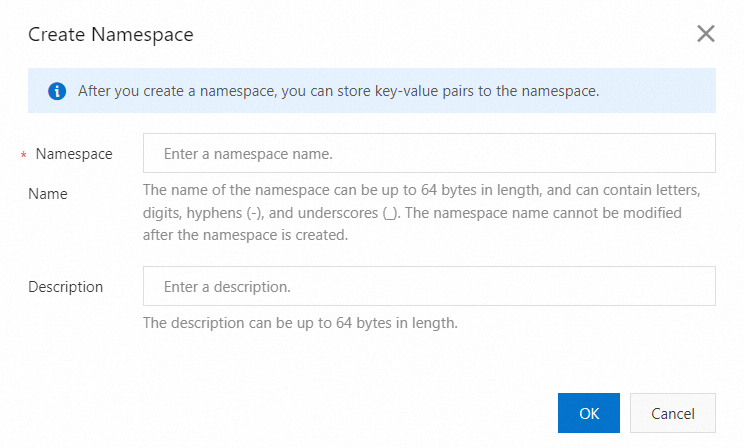
Click OK.
Manage key-value data
Log on to the DCDN console.
In the namespace list, find the namespace that you want to manage and click Manage in the Actions column.
Click Add Key-value and follow the on-screen instructions to configure the Key and Value parameters.
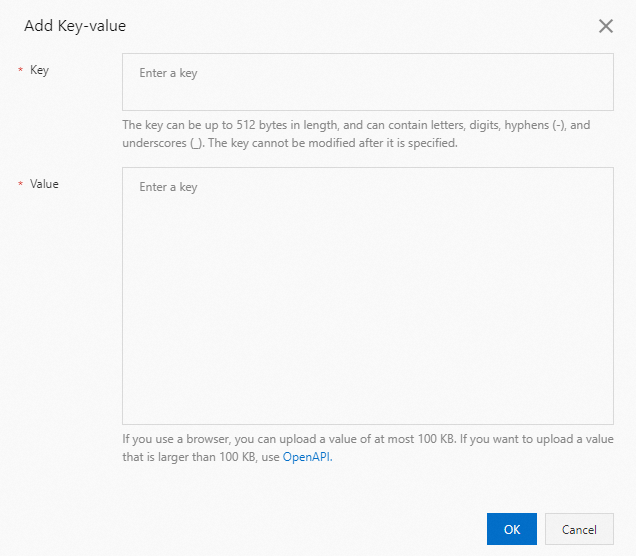
Click OK.
Optional. After you add data, click Modify, View, or Delete to manage the data.