This topic explains how to register as an official Meta Tech Provider and how to quickly register using CPaaS.
1. What is a Tech Provider?
Tech Providers are technology integrators authorized by Meta to provide access services to enterprise customers using the WhatsApp Cloud API. Tech Providers can develop their own integrations with the WhatsApp Business Platform to offer capabilities, such as sending and receiving messages, to enterprise customers.
2. Benefits for Enterprises and Technical Service Providers
2.1. Applicable enterprises
This applies to the following types of platforms or service providers:
Independent software vendors (ISVs)
Platform-based enterprises with self-built customer management systems
Intermediary service providers that manage WhatsApp channels in bulk for multiple customers
If your enterprise has sufficient technical resources, you can start the registration process from 3.1. Create a business portfolio.
Enterprises that need to manage WhatsApp channels for multiple customers but lack sufficient technical resources
If your enterprise has insufficient technical resources, you can start from 5. Use CPaaS to quickly register as a Tech Provider.
2.2. Advantages of being a Tech Provider
Serve end customers directly. Use the Tech Provider's embedded signup for registration. This allows Tech Providers to directly manage customer WhatsApp Business Accounts (WABAs).
After you register as a Tech Provider, your enterprise icon is displayed on the embedded signup page. For non-Tech Providers, the Alibaba Cloud icon is displayed.
Quickly integrate, reduce in-house development costs, and shorten the feature release cycle using the Chat App Message Service API.
3. Register as a Tech Provider
Before you register as a Tech Provider, contact technical support to have the service provider role assigned to you.
If you have in-house development capabilities, start here.
3.1. Create a business portfolio
Before you start registering as a Tech Provider, make sure you have a business portfolio. The portfolio must contain accurate business information, such as the address, website, email, and other business-related details.
If you do not have a business portfolio, create a new one.
An enterprise can create a maximum of two business portfolios. Make sure to enter accurate enterprise information during creation to avoid rejection during the enterprise verification stage.
3.2. Register as a Meta developer
Use your Facebook account to access the Meta for Developers platform and complete the developer registration. This converts your Facebook account into a Meta developer account, which is required to create applications.
After registration, you can create and manage applications in the developer platform dashboard.
3.3. Create a Meta application
Create a new business application on Meta's app creation page:
In the app details, enter the App name and App contact email, and then click Next.
For the use case, select Other and click Next.
For the app type, select Business and click Next.
In the details, check the App name and App contact email. Make sure to select your company's Business Account from the dropdown list.
Click Create app.
3.4. Configure application details
After the application is created, you are redirected to the application page. In the navigation pane on the left, choose App Settings > Basic and add the following information:
App Icon
JPG, GIF, or PNG files with dimensions between 512 × 512 and 1024 × 1024 pixels are supported. The file size cannot exceed 5 MB.
Privacy Policy URL
The URL of your company's privacy policy. This link is visible to customers during registration.
Category
From the Category dropdown list, select Messaging.
At the bottom of the page, click Add Platform. Select the platform where you will use the application, such as a website, and configure the relevant information for that platform.
Click Save changes.
3.5. Add the WhatsApp product
You must perform this operation from a network in a country or region where WhatsApp is supported. Otherwise, you cannot find the WhatsApp application card.
In the navigation pane on the left, choose Products > Add products. Find the WhatsApp application and click Set up.
Complete the setup process until the Quickstart panel appears.
3.6. Register as a Tech Provider
In the Grow your business section, click Get Started and proceed with the process.
Select Work with a solution partner.
3.7. Verify your business
If your business is already verified, skip this step.
Select Start Verification to complete business verification. Business verification typically takes two to five business days. If verification fails, you can resubmit based on Meta's feedback. During the review period, you can check the verification status by visiting the Business info panel.
3.8. Create a partner solution
In the Quickstart > Onboarding panel, find the App Review section and the Create a partner solution option. Click Create a partner solution:
Add a Solution name for the solution.
Enter the App ID for Chat App:
324633502517598.Set Permissions > Send messages to For partners only.
ImportantThe Chat App Message Service only accepts solution requests with the For partners only permission. Ensure this option is selected correctly. Otherwise, the partner solution may be rejected.
Click Send Request.
Your solution has been created and sent to the Chat App Message Service. Wait for Chat App to accept it. After acceptance, the solution status changes to Active. Copy the solution ID and add it to the embedded signup configuration.
You can now perform the following operations.
3.9. Prepare for App Review
App Review is a required step that allows your application to access specific WhatsApp features. The Meta review team will examine your submission and either approve it or request more information.
In the Quickstart > Onboarding panel, find and click Review your app settings. On the page that appears, verify that the application content is accurate.
Record videos: As part of the App Review, you must provide two videos:
The first video must show a message being created and sent from your application, and then received in a WhatsApp client (mobile or web app).
The second video must show the process of creating a message template in your application.
For more information, see Meta's screen recording guide. When recording, note the following:
Set the application UI language to English.
If the application UI language is not English, provide captions and prompts.
Record in high resolution, preferably 1080p or higher.
When recording, lower your monitor's resolution so that the width does not exceed 1440 pixels.
3.10. Submit the application for review
On the Quickstart > App Review > Requests page, you will see an app review request that is ready to be edited. Click Edit to start the review process.
You must explain how your application uses enterprise customer data and why you need advanced access to the whatsapp_business_messaging and whatsapp_business_management permissions.
When you describe how your application uses each permission, attach the screen recording or video that you created in the previous step:
For
whatsapp_business_messaging: Upload the screen recording or video that shows your application sending a message and the message being displayed in the WhatsApp client.For
whatsapp_business_management: Upload the screen recording that shows your application creating a message template, or a screen recording that shows you creating a message template using WhatsApp Manager.
Complete the process and submit the request. Review results are sent by email and developer notifications. The status is also updated in the App Review > Requests panel.
3.11. Complete access verification
This process collects basic information about your company to verify that it meets the standards for Tech Providers.
In the Quickstart > Onboarding panel, find the Complete access verification row and click Start Verification. Complete the process and submit it for review.
3.12. Confirm the status
After you complete these steps, the Quickstart > Onboarding panel should show that all steps are complete (with green check marks) and congratulate you on becoming a Tech Provider.
If you created customer WABAs in Chat App or CPaaS before you registered as a Tech Provider, we will migrate your existing customer WABAs to your application after you gain Tech Provider status. After the migration is complete, your customers will receive a confirmation email from Meta. Customers can click the button in the email to approve the request, or wait 90 days for automatic confirmation.
4. Onboard enterprise customers
After you are confirmed as a Tech Provider, you can onboard enterprise customers. Customers must complete the embedded signup to grant you and Chat App access to their WhatsApp assets.
4.1. Configure Facebook Login for Business
Before you onboard customers, create a Facebook Login for Business product and configure permissions to allow customers to log on with their Facebook accounts.
Choose Facebook Login for Business > Settings, and then click Create a configuration.
For Name, enter a configuration name and click Next.
For Login Method, select WhatsApp Embedded Signup and click Next.
For Access Token, select 60 days and click Next.
For Select Assets, select WhatsApp Account and click Next.
For Permissions, select
whatsapp_business_managementandwhatsapp_business_messaging.Click Create and copy the Configuration ID.
4.2. Manage login authorization
Go to Facebook Login for Business > Settings > Client OAuth Settings and set the following toggles to Yes:
Client OAuth Login
Web OAuth Login
Enforce HTTPS
Embedded Browser OAuth Login
Use Strict Mode for Redirect URIs
Login with the JavaScript SDK
Add your domain name to Valid OAuth Redirect URIs and Allowed Domains for the JavaScript SDK, and then click Save Changes.
4.3. Add embedded signup to your website
Load the Facebook SDK for JavaScript
The Facebook SDK for JavaScript does not require any files to be downloaded or installed. Simply add a short snippet of regular JavaScript to your HTML to asynchronously load the SDK into your page.
<script>
  window.fbAsyncInit = function() {
    FB.init({
      appId            : '<APP_ID>',
      autoLogAppEvents : true,
      xfbml            : true,
      version          : 'v23.0'
    });
  };
</script>
<script async defer crossorigin="anonymous"
  src="https://connect.facebook.net/en_US/sdk.js">
</script>
Configure embedded signup
In the launch method and callback registration section of the embedded signup code, assign the solution ID to the
solutionIDproperty in theextras.setupobject.// Launch method and callback registration const launchWhatsAppSignup = () => { FB.login(fbLoginCallback, { config_id: '<CONFIGURATION_ID>', // your configuration ID goes here, ensure it is in quotes response_type: 'code', override_default_response_type: true, extras: { setup: { solutionID: '<SOLUTION_ID>' // add solution ID here, ensure it is in quotes }, featureType: '', sessionInfoVersion: '3', } };
After configuration, display the custom embedded signup flow to customers at an appropriate location on your platform.
After your customers complete the registration on your embedded signup page, they can call the relevant interfaces using the Chat App API.
5. Use CPaaS to quickly register as a Tech Provider
To quickly register as a Tech Provider using the CPaaS platform, you must first activate the CPaaS platform. To do this, you only need to complete 3.1. Create a business portfolio, 3.2. Register as a Meta developer, and 3.7. Verify your business. After that, you can grant us permission to access your Meta application. We will handle the rest of the Tech Provider registration process on your behalf. This includes creating the Meta application, configuring application details, adding the WhatsApp product, preparing for App Review, submitting the application for review, and completing access verification. You only need to provide the required application materials.
Before you authorize us to register on your behalf, contact your account manager or technical support to obtain the email address of the support staff. Then, grant application permissions in WhatsApp Business Manager (BM). The authorization steps are as follows:
In WhatsApp BM, click Invite people in the upper-right corner.
In the Add people section, enter the email address of the support staff.

In the Assign access section, under Partial access, enable Apps and integrations.

In the Assign business assets section, click Apps in the Select asset type column. In the Select assets column, select the application that you want to authorize.

In the Review invitation section, confirm the information.
Our support staff will then handle the remainder of the Tech Provider registration process for you. After the process is complete, you can onboard customers using your embedded page in CPaaS.
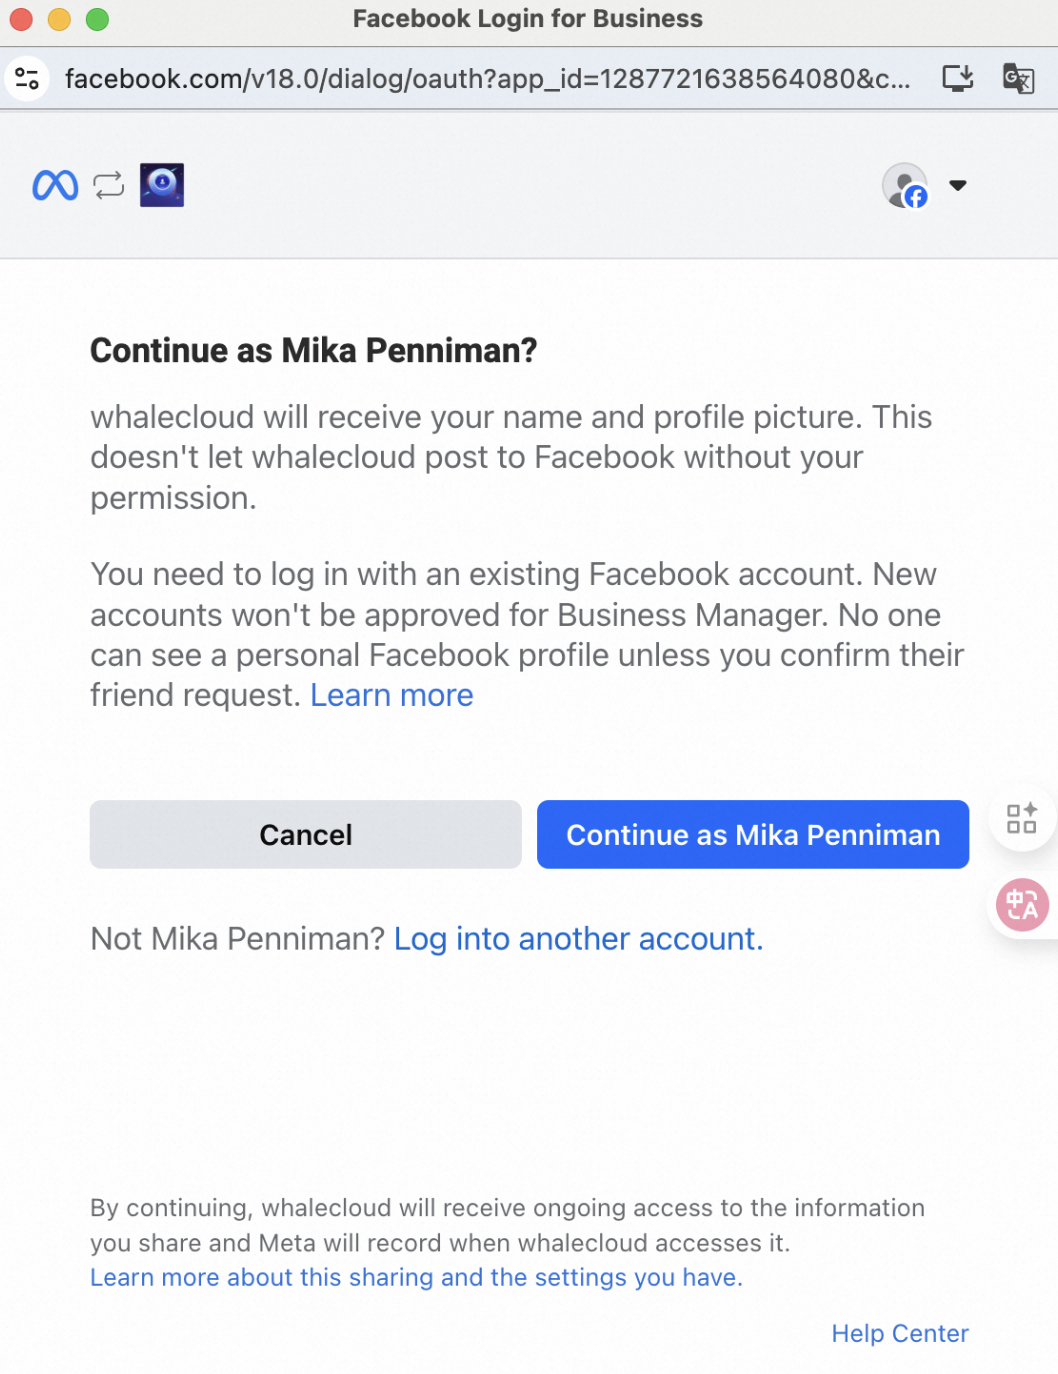
When your customers use the embedded signup, your application icon is displayed, as shown in the following figure:
Your customers will also see the access permissions for you as the Tech Provider and for Alibaba Cloud on the embedded signup page, as shown in the following figure:

6. Technology Service Provider Registration: FAQ and Precautions
6.1. Why can't I find the WhatsApp application card?
Meta only allows the WhatsApp application to be accessed and added in supported countries or regions. Therefore, you must perform this operation from a network in a country or region where WhatsApp is available. Alternatively, contact technical support and authorize our support staff to help you.
6.2. What happens to customer WABAs that I created before becoming a Tech Provider?
After you gain Tech Provider status, contact technical support to request the migration of your customer WABAs to your own application. The migration is initiated by Chat App. After the migration is complete, your customers will receive a confirmation email from Meta. They can click the button in the email to confirm the migration or wait 90 days for it to be automatically confirmed.
6.3. Why can't I pass Meta's Business Verification?
Meta requires your business entity to have authentic and verifiable business credentials. To increase the approval rate, ensure the information you provide matches your business license and official company email address.
6.4. Why is my solution request still pending confirmation?
After you submit a solution request, you must wait for Chat App to confirm it. This usually takes two to three business days. If your request is not approved within a reasonable timeframe, contact technical support for feedback.
6.5. Why was my solution request rejected?
The Chat App Message Service only accepts solution requests where the permission is set to For partners only. If your solution request is rejected, create a new solution and select For partners only when you configure the permissions. For more information, see 3.8. Create a partner solution.