You can create a temporary ApsaraDB RDS for SQL Server instance for data restoration. You need to migrate the data of your source RDS instance to the temporary RDS instance, log on to the temporary RDS instance to verify data accuracy, and then restore the data from the temporary RDS instance to the destination RDS instance. This topic describes how to log on to a temporary RDS instance.
Prerequisites
A temporary instance is created.
Log on to a temporary RDS instance
All temporary instances can be accessed through an internal network. Internal networks offer fast speeds, high security, and free traffic.
Method 1: Log on by using DMS
DMS is a one-stop data management platform that allows you to manage data throughout its lifecycle. You can use DMS to manage global data assets, govern data, design and develop databases, integrate data, develop data, and consume data. These features help enterprises obtain value from data in an efficient and secure manner and facilitate the digital transformation of enterprises. For more information, see What is DMS?
Go to the Instances page. In the top navigation bar, select the region in which the RDS instance resides. Then, find the RDS instance and click the ID of the instance.
On the page that appears, click Log On to Database.

In the Log on to Database Instance dialog box, enter the logon information and click Login.
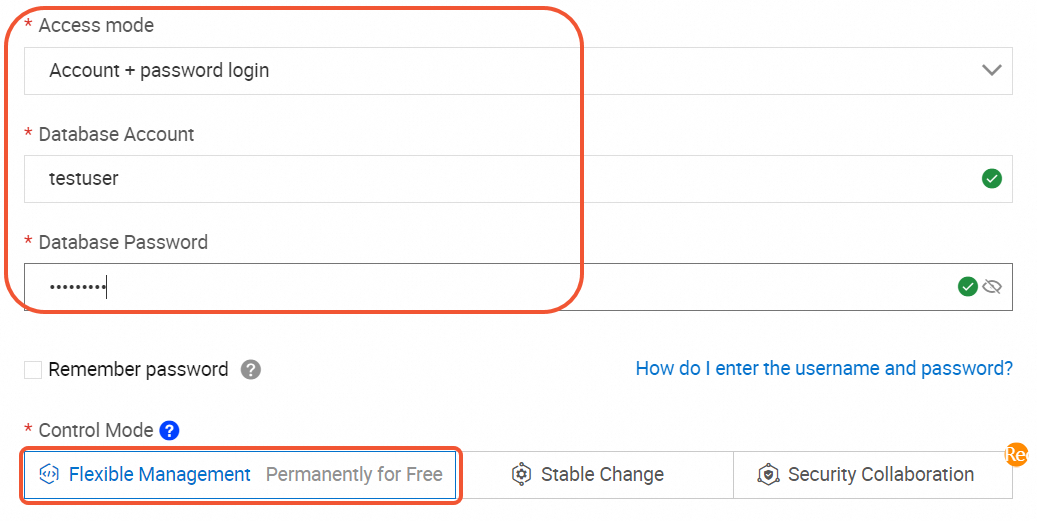
Configure the Access Mode parameter. In this topic, Account + password login is selected.
Configure the Database Account and Database Password parameters. In this topic, a privileged account named
testuserand a custom password are used.Configure the Control Mode parameter. In this topic, Flexible Management is selected.
NoteIf your RDS instance is managed in Flexible Management mode, you can use DMS to manage the instance free of charge. If your RDS instance is managed in Stable Change or Security Collaboration, fees are generated.
Compared with the Flexible Management mode, the Stable Change and Security Collaboration modes provide more features and enhanced database management capabilities. If your RDS instance is for trial use, we recommend that you select Flexible Management.
View the database. In the left-side navigation pane of the DMS console, choose Database Instances > Instances Connected to view the database that you create. In this topic, the database named
dbtestis displayed. You can also double-click a database.
Method 2: Log on by using SSMS on an ECS instance
Prepare an ECS instance (with Windows Server as the operating system) to access the RDS temporary instance.
NoteThe ECS instance and the RDS temporary instance must be in the same region and the same VPC.
Add the internal IP address of the ECS instance to the whitelist of the RDS temporary instance.
Log on to the ECS instance, and install and log on to the SSMS client on the ECS instance.
NoteWe recommend that you download the latest version of SSMS to support all SQL Server versions.
In the Connect To Server dialog box that appears, enter the logon information.
Parameter
Value in this tutorial
Description
Server Name
rm-2ze****.rds.aliyuncs.com,1433
The internal endpoint and port number of the RDS instance, separated by a comma (,).
Authentication
SQL Server Authentication
The authentication mode of SQL Server.
Login
testuser
The username of the account for the RDS instance.
Password
Test_pw123
The password of the account for the RDS instance.
Click Connect to connect to the instance.
After the connection is successful, the connection information is displayed on the left side of SSMS.