SharePoint Server 2016 is a collaboration platform and content management system for enterprises developed by Microsoft. You can use it to share and manage content, knowledge, and applications. This helps strengthen teamwork, find information quickly, and collaborate seamlessly across your organization. This topic describes how to install SharePoint Server 2016 on an Elastic Compute Service (ECS) instance that runs a Windows Server operating system.
Environment requirements
To install SharePoint Server 2016, your system must meet the following requirements:
For more information about system requirements, see Hardware and software requirements for SharePoint Server 2016. When you install SharePoint, you are prompted to install dependent components. If the dependent components fail to install, the SharePoint installation will also fail.
System environment | Requirements |
Server |
|
Database | SQL Server 2012, 2014, 2016, 2017, 2019, or 2022 |
Services and components |
|
Prerequisites
Create an ECS instance that runs a Windows Server operating system and meets the requirements for installing SharePoint Server 2016. For more information, see Create an instance using the wizard.
This topic uses the following configurations:
Instance type: An instance type with 4 vCPUs and 8 GiB of memory
Image: Windows Server 2019 Data Center Edition 64bit English Edition
Public IP address: Select Assign Public IPv4 Address
Step 1. Add AD, DHCP, DNS, and IIS services
Add the AD, DHCP, DNS, and IIS services
For steps not detailed here, keep the default settings and click Next.
Remotely connect to the ECS instance.
For more information, see Log on to a Windows instance using Workbench.
Click the
 icon, and then click Server Manager.
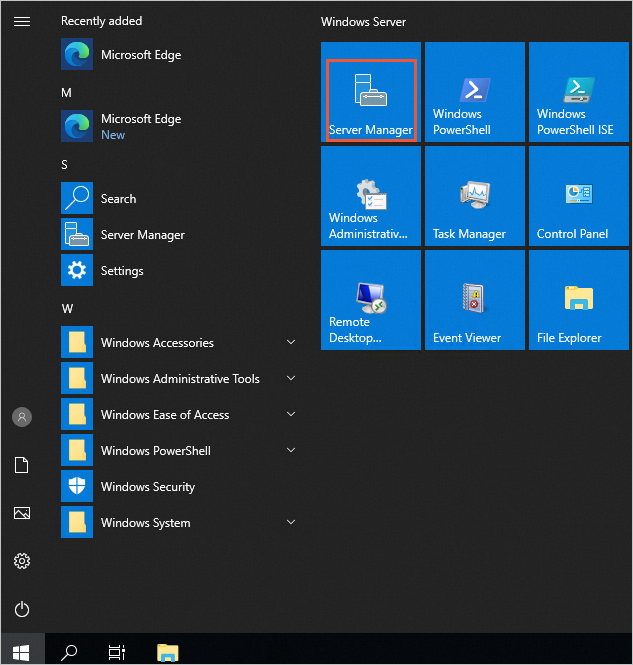
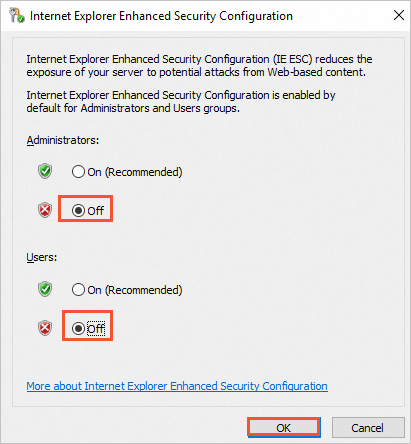
Disable Internet Explorer Enhanced Security Configuration.
In the navigation pane, click Local Server. Then, click On to the right of IE Enhanced Security Configuration.

In the Internet Explorer Enhanced Security Configuration dialog box, select Off for both Administrators and Users, and click OK.
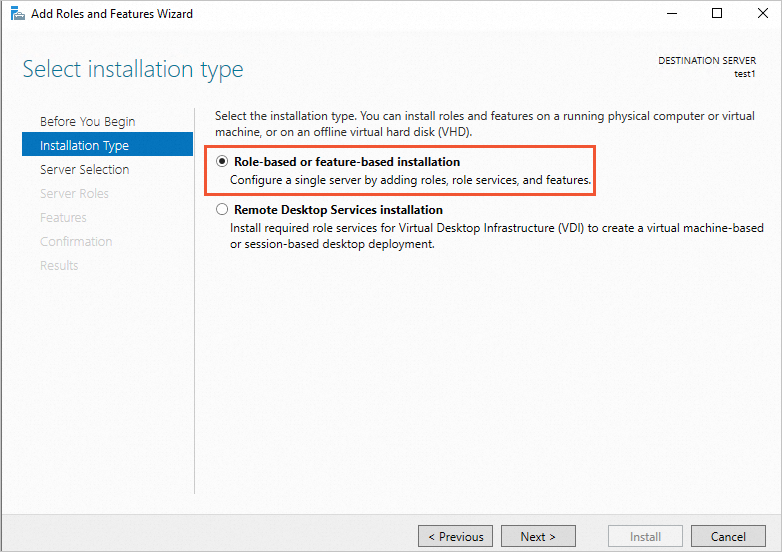
In the navigation pane, click Dashboard, and then click Add roles and features.

In the Installation Type step, select Role-based or feature-based installation.
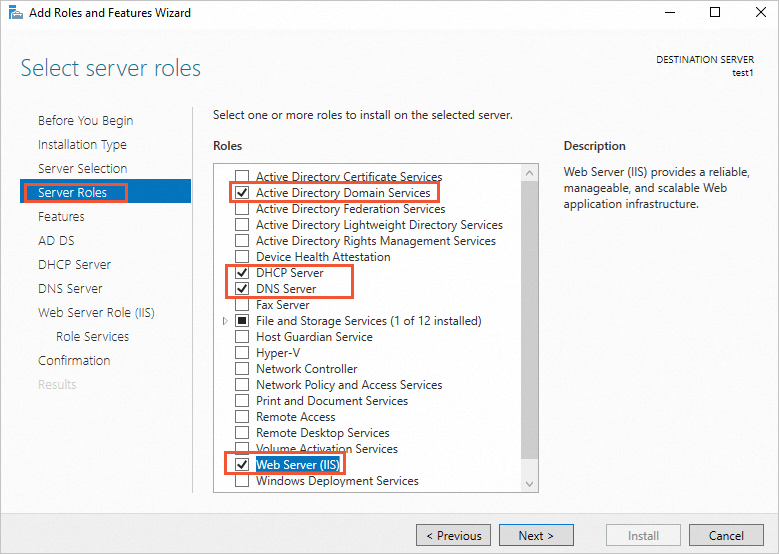
In the Server Roles step, select Active Directory Domain Services, DHCP Server, DNS Server, and Web Server (IIS). Then, click Next.
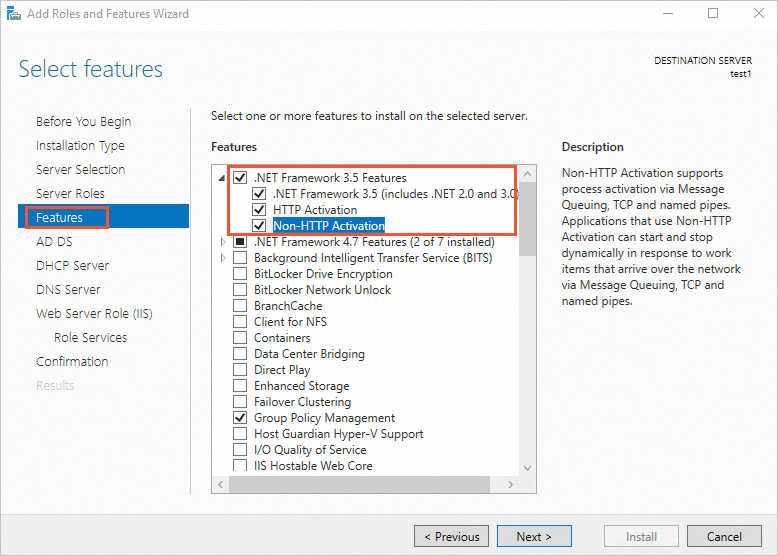
In the Features step, select .NET Framework 3.5 Features, and then click Next.
In the Confirmation step, click Install.

Configure the AD service
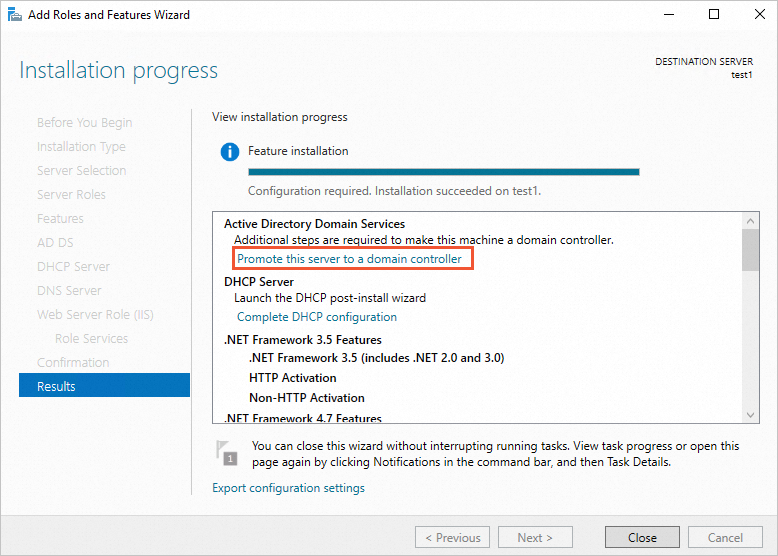
In the Results step, click Promote this server to a domain controller.
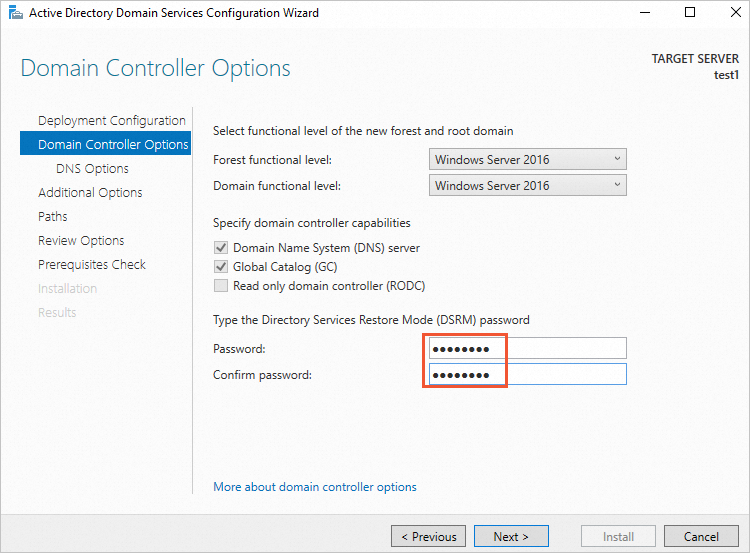
In the Active Directory Domain Services Configuration Wizard dialog box, set Select the deployment operation to Add a new forest. Enter a root domain name, such as example.com, and then click Next.

Enter the Directory Services Restore Mode (DSRM) password, and then click Next.
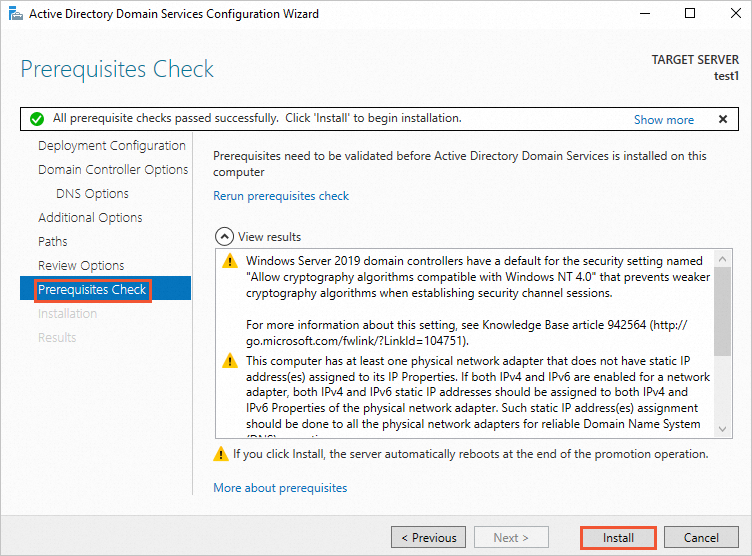
In the Prerequisites Check step, click Install.
After the installation is complete, the system automatically restarts.
Configure the DHCP service
Remotely connect to the ECS instance again.
For more information, see Log on to a Windows instance using Workbench.
Open Server Manager.
In the Server Manager interface, click the
 icon, and then click Complete DHCP configuration.
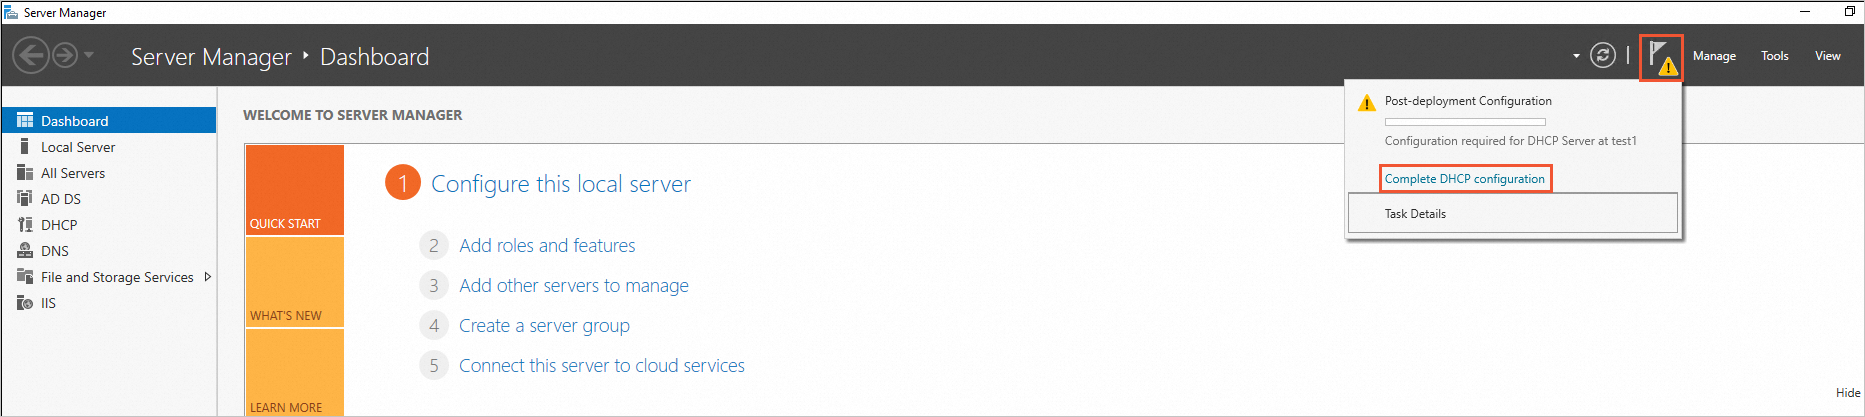
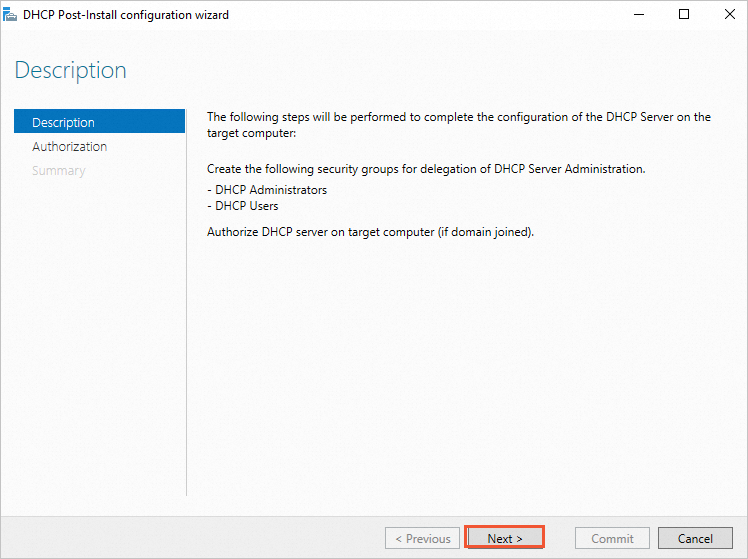
In the DHCP Post-Install configuration wizard dialog box, click Next.
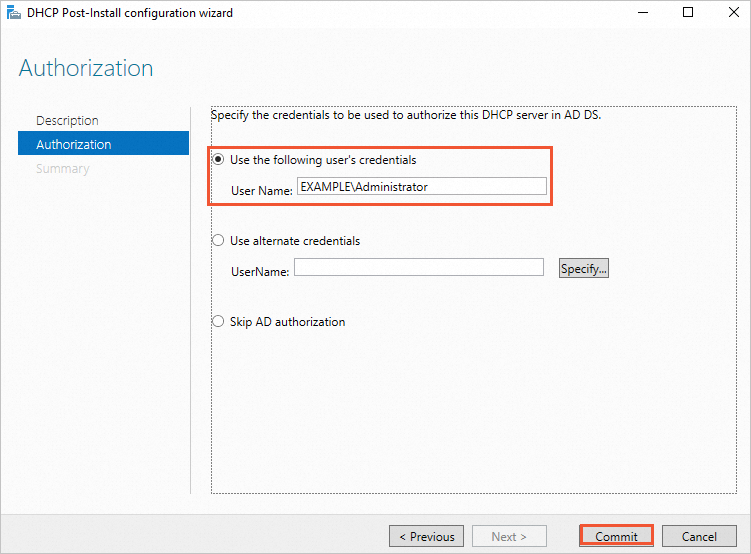
In the Authorization step, select Use the following user's credentials, and then click Commit.
Step 2. Install SQL Server
Go to the SQL Server Downloads page and download a suitable version of SQL Server.
This topic uses the SQL Server 2022 Express edition for the staging environment.
NoteBy default, the Express edition does not support the TCP/IP protocol. You must enable it manually.
The Express edition may not include a management console by default. You must install an SQL management tool separately.
Consider using the Enterprise Edition. It offers more features than the Express edition.
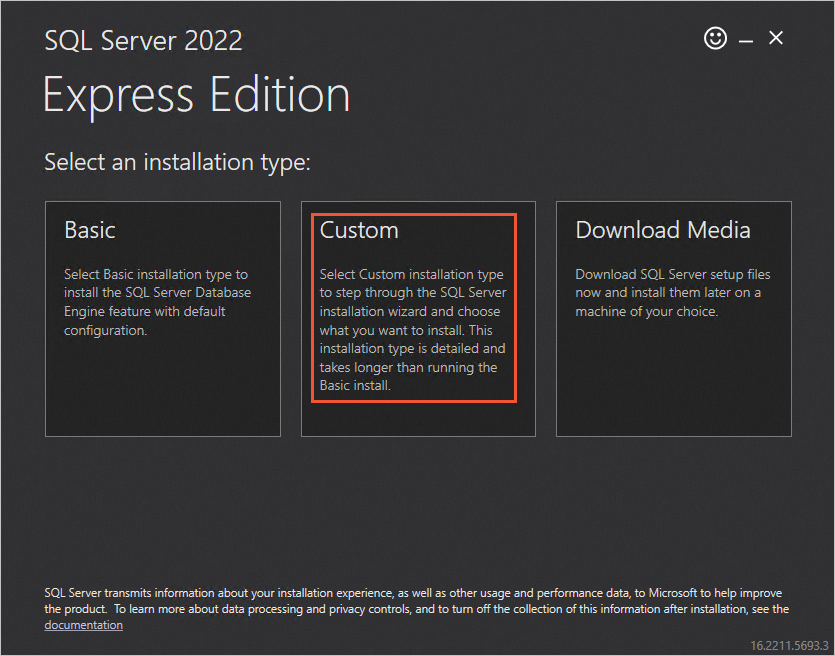
Double-click the SQL Server installation package and set the installation type to Custom.
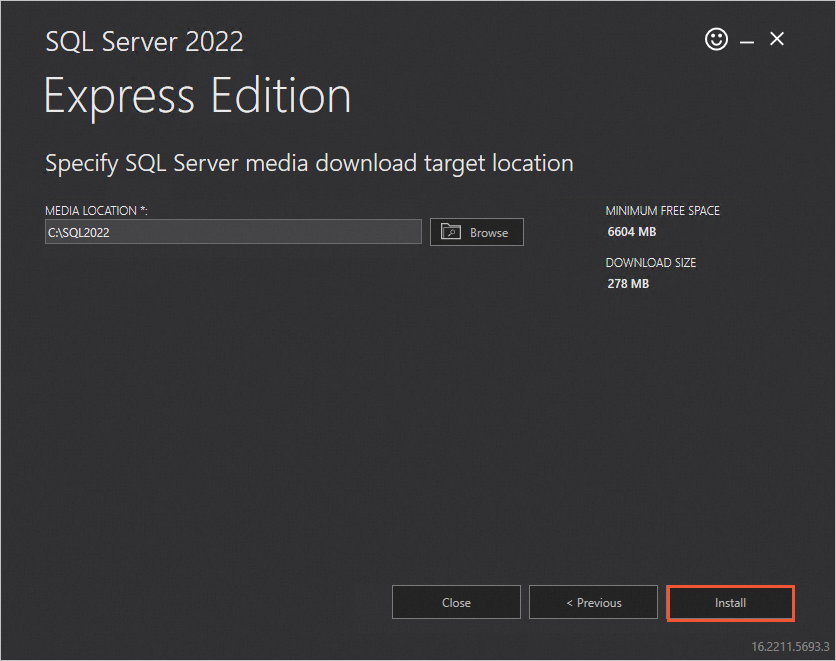
Select a download location for SQL Server 2022 and click Install.
In the SQL Server Installation Center, click New SQL Server stand-alone installation or add features to an existing installation.

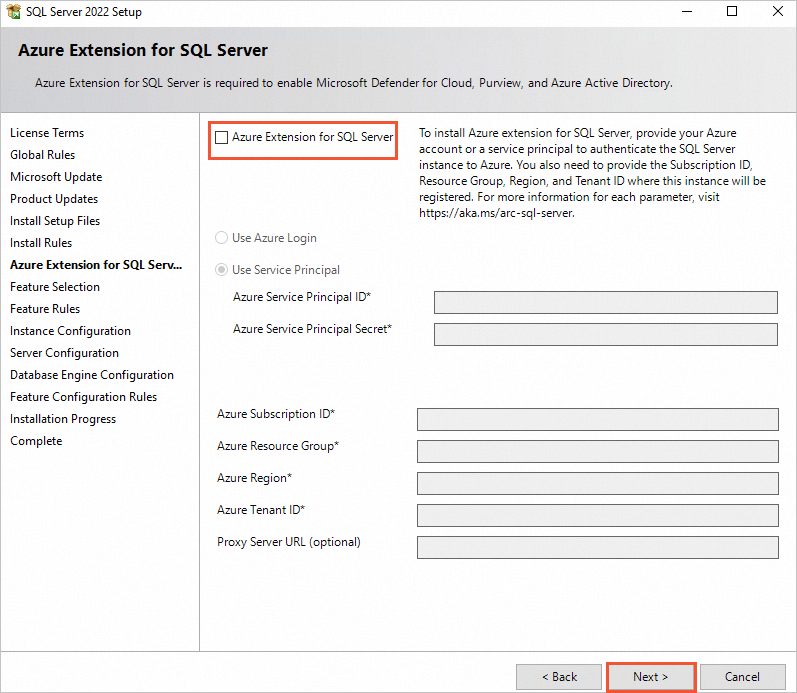
In the Azure Extension for SQL Server step, clear the Azure Extension for SQL Server checkbox, and then click Next.
In the Feature Selection step, keep the default settings, and then click Next.
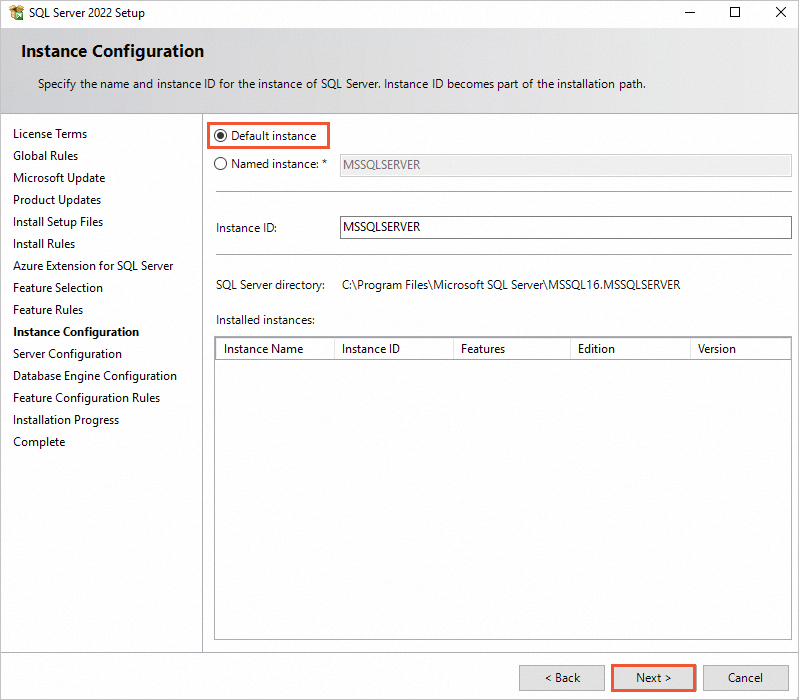
In the Instance Configuration step, select Default instance, and then click Next.
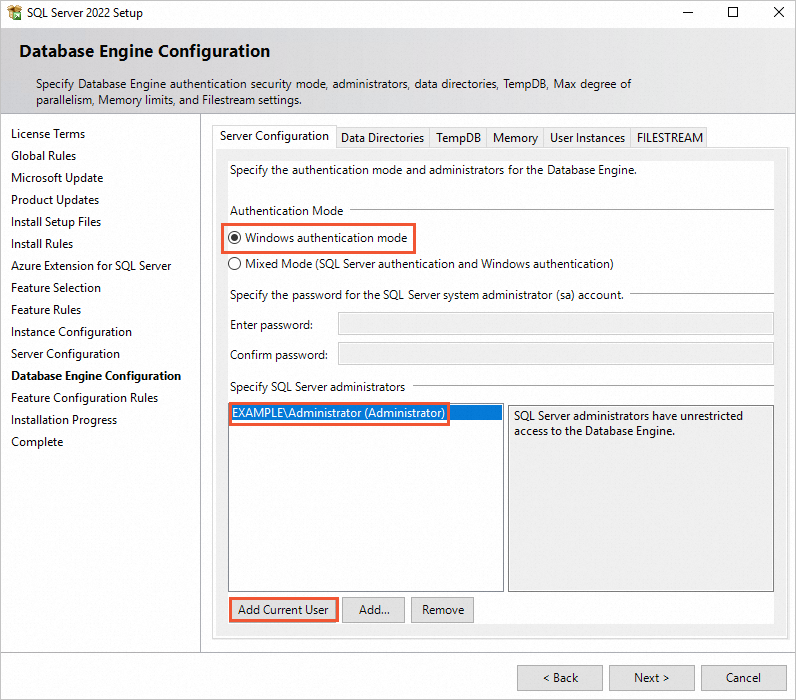
In the Database Engine Configuration step, select Windows authentication mode, click Add Current User, and then click Next.
Follow the on-screen instructions to complete the SQL Server installation.
Step 3. Install and configure SharePoint Server 2016
Install prerequisites for SharePoint 2016
Go to the SharePoint Server 2016 download page to download the SharePoint image file.
Extract the Microsoft SharePoint Server 2016 image file, and then double-click the prerequisite installer executable file,
prerequisiteinstaller.exe.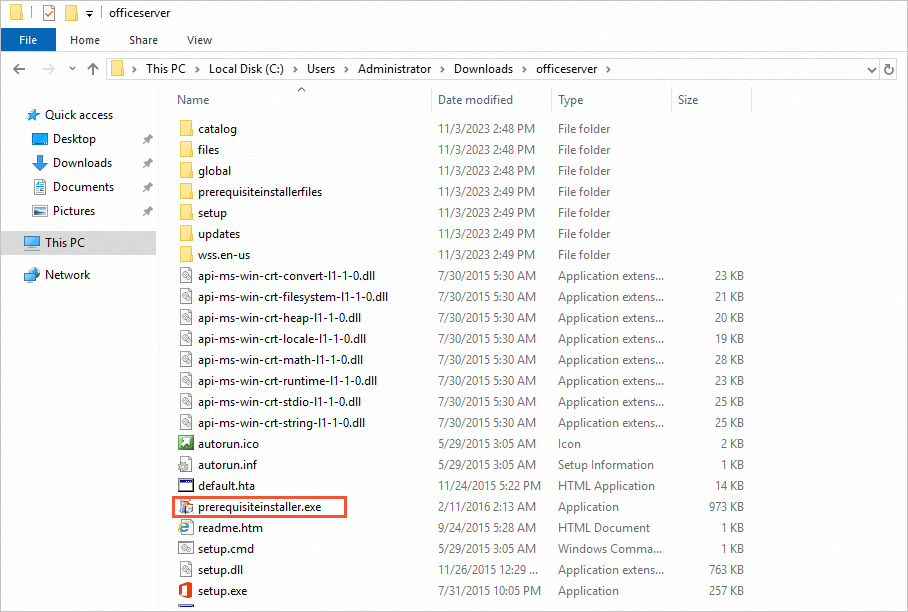
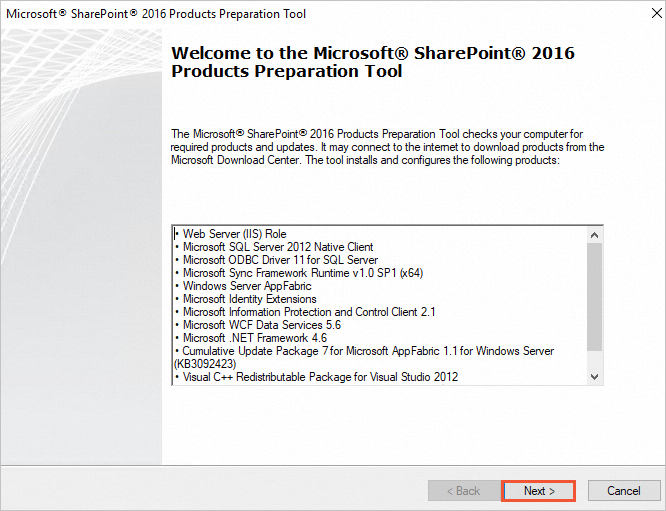
On the Microsoft SharePoint Products Preparation Tool page, click Next.
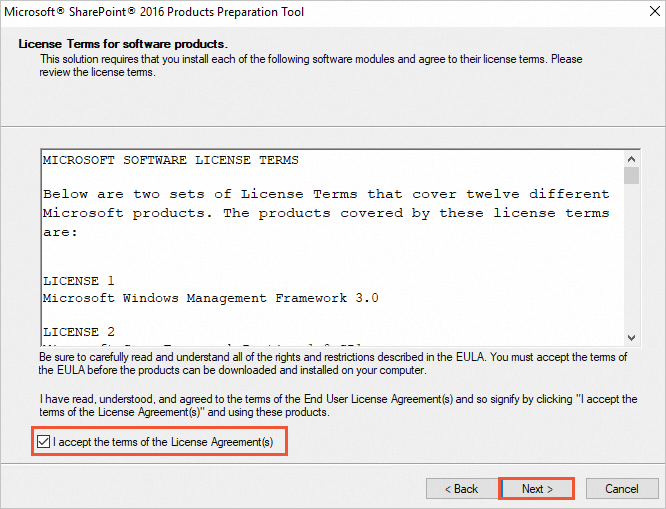
Select I accept the terms of the License Agreement(s), and then click Next.
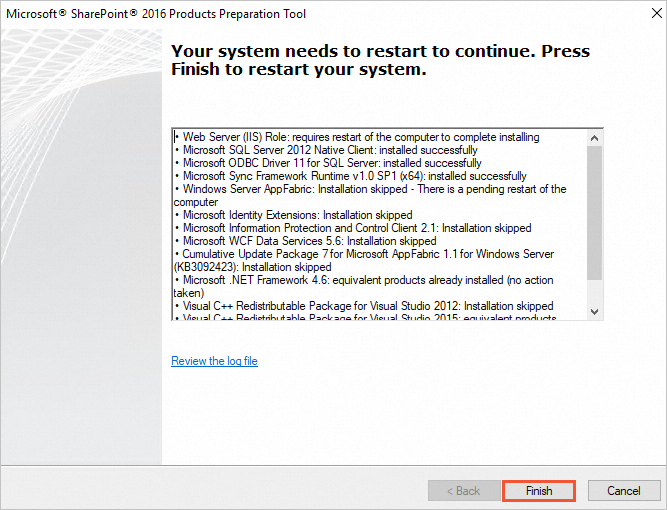
When the following page appears, the components have been installed. Click Finish to restart the system.
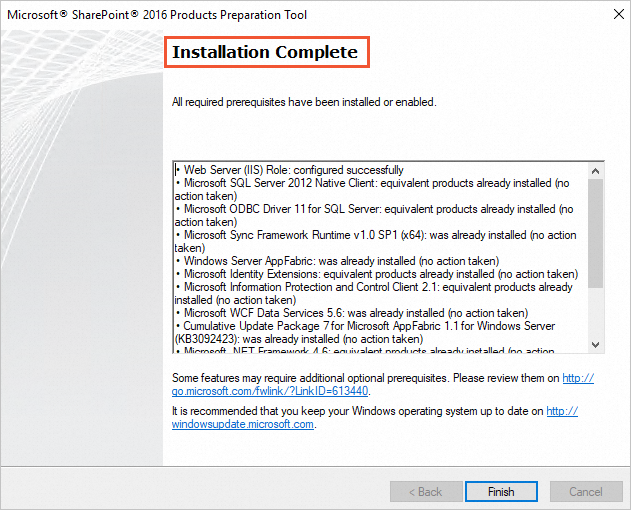
After the system restarts, the following page appears, which indicates that the installation is complete.
Install SharePoint Server 2016
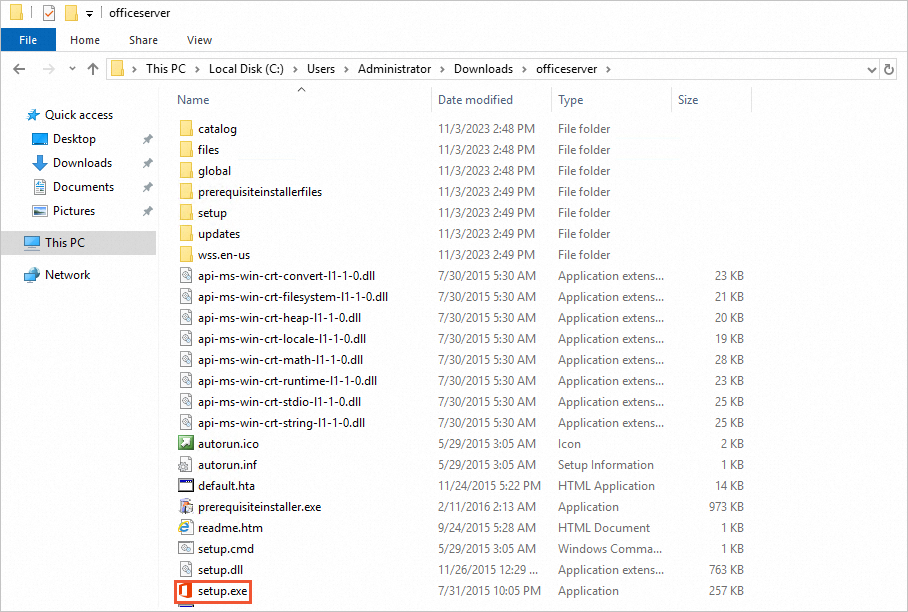
Open the Microsoft SharePoint Server 2016 image file and double-click the setup.exe installation file to start the installation.
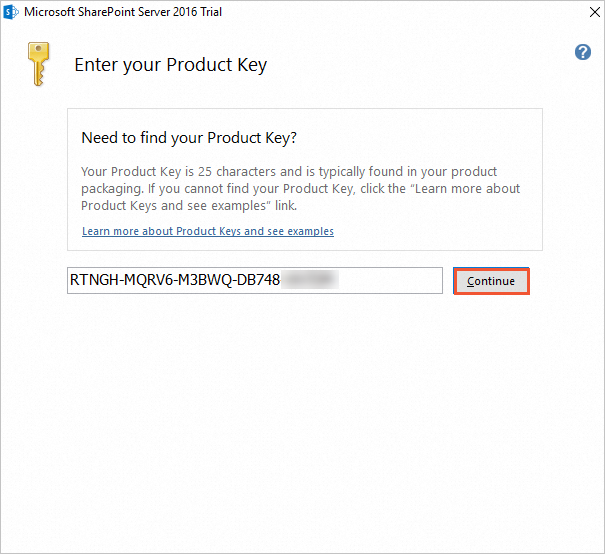
Enter your product key, and then click Continue.
Select the I accept the terms of this agreement checkbox, and then click Continue.

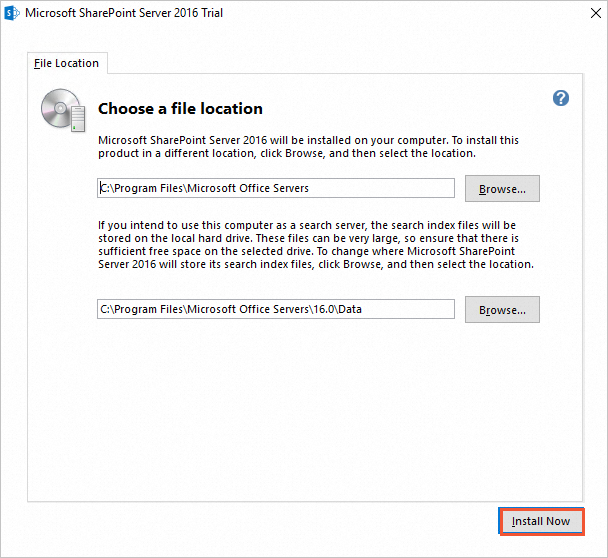
Select a file location, and then click Install Now.
Configure SharePoint Server 2016
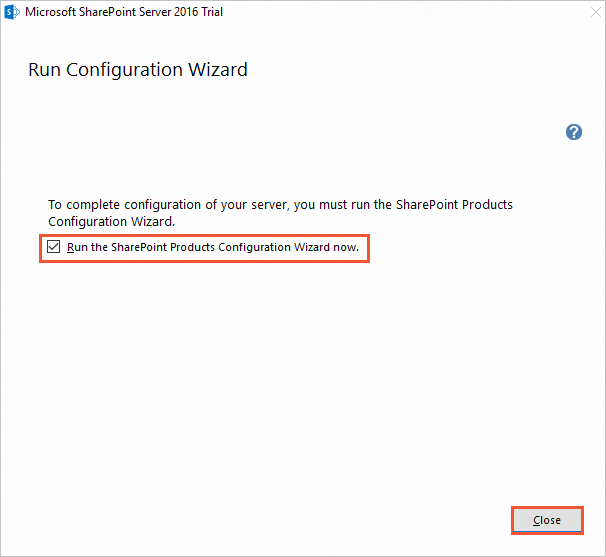
Select the Run the SharePoint Products Configuration Wizard now checkbox, and then click Close.
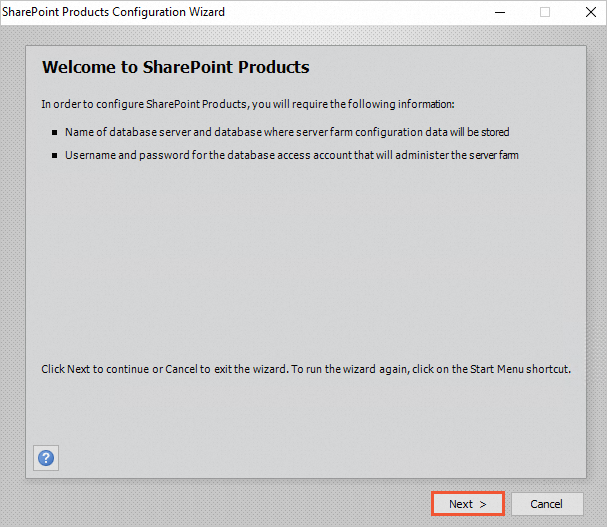
In the SharePoint Products Configuration Wizard, click Next.
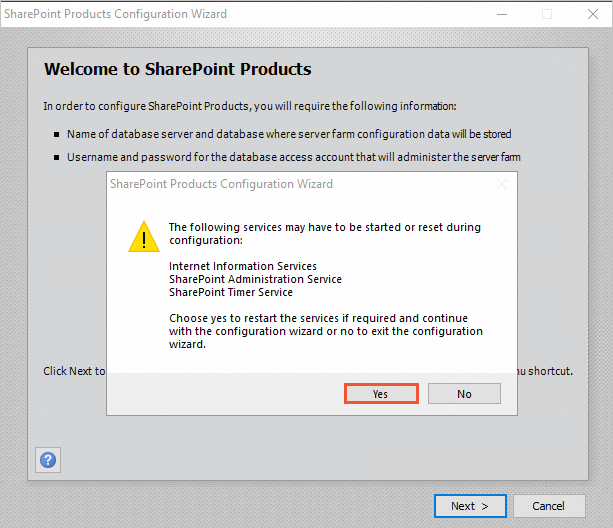
In the dialog box that appears, click Yes to allow services to be restarted during the configuration.
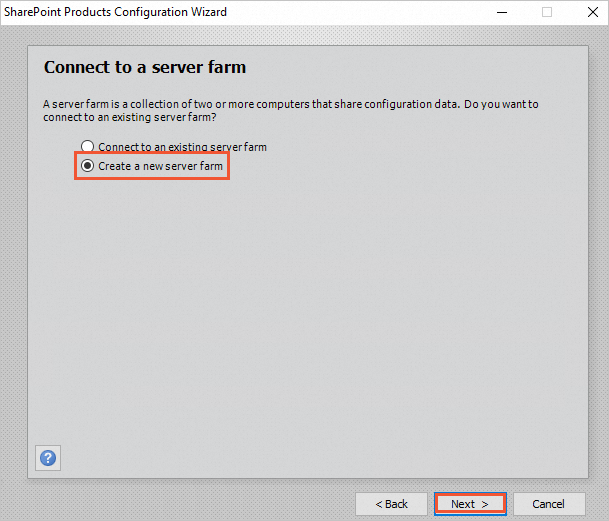
Select Create a new server farm, and then click Next.
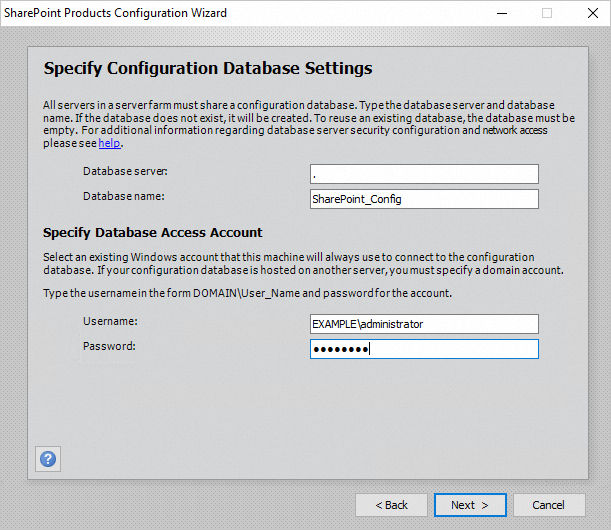
Configure the database settings and specify the database access account information. Then, click Next.
Because the SharePoint database is on the local server, enter the database and account information for that server.
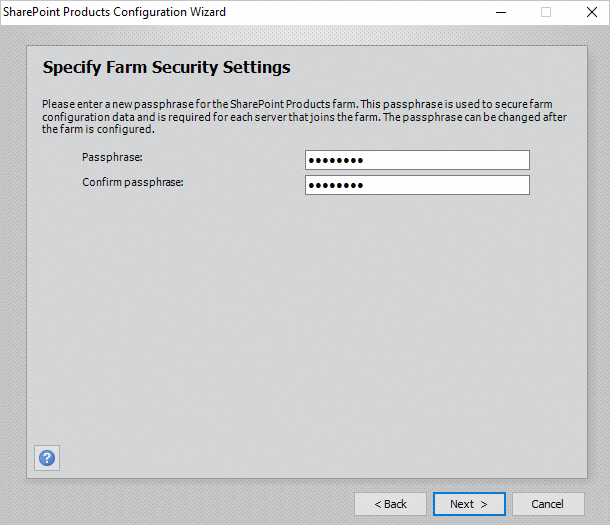
Specify the passphrase for the server farm, and then click Next.
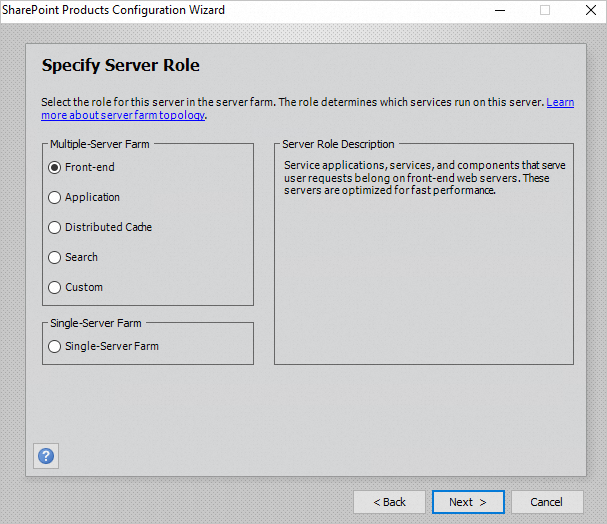
Set the server role. Select Frontend, and then click Next.
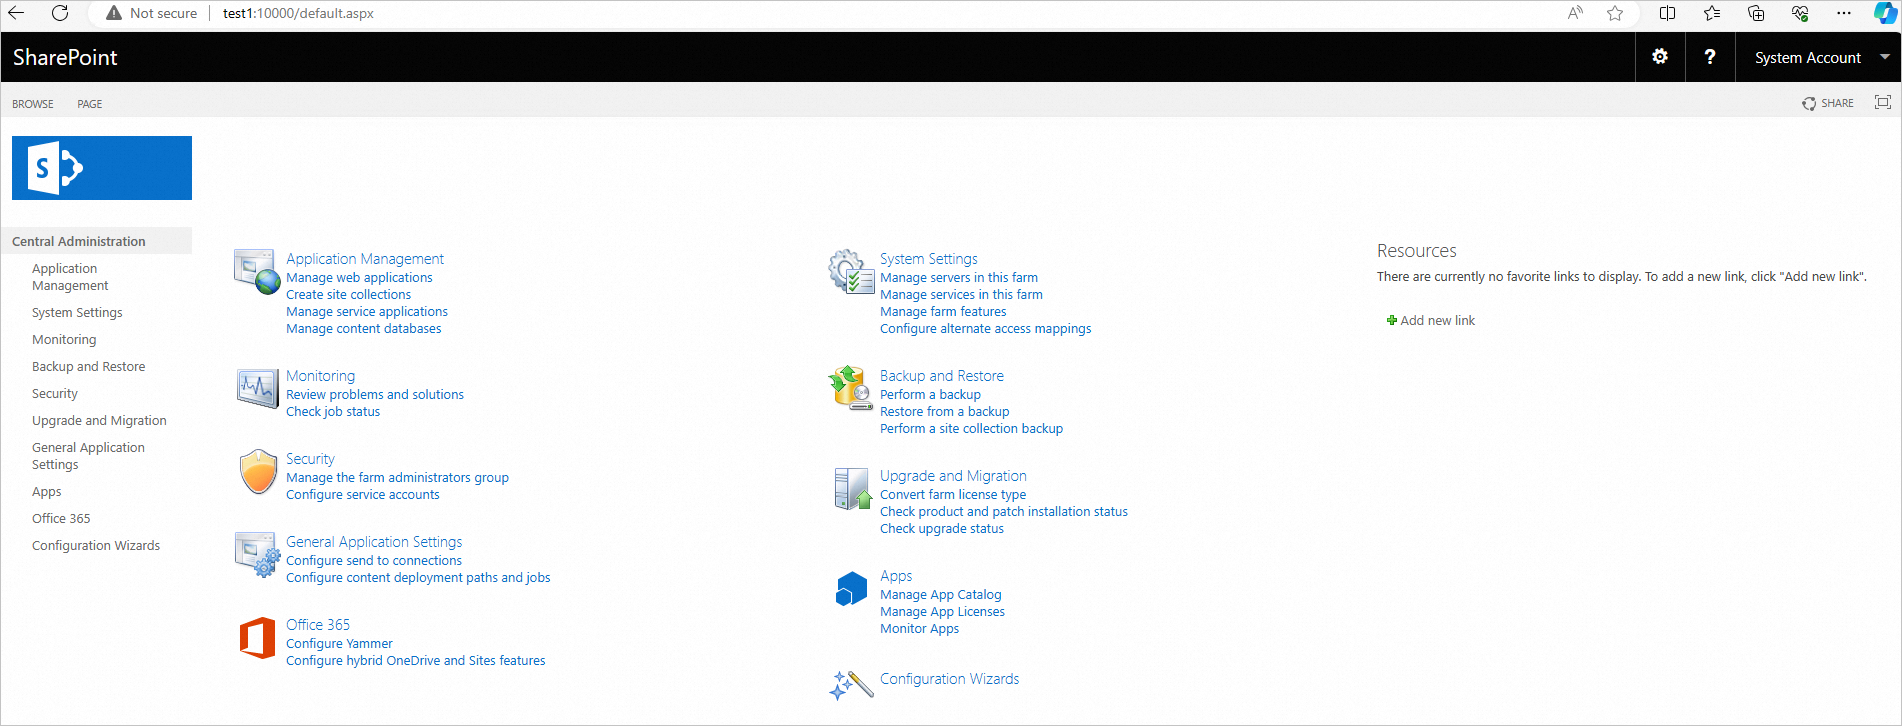
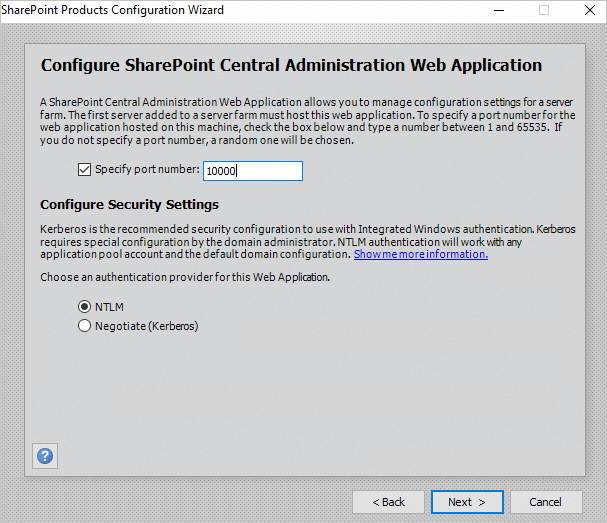
Specify the port number for the SharePoint Central Administration web application, and then click Next.
This topic uses port 10000 as an example. You can specify a port number as needed.
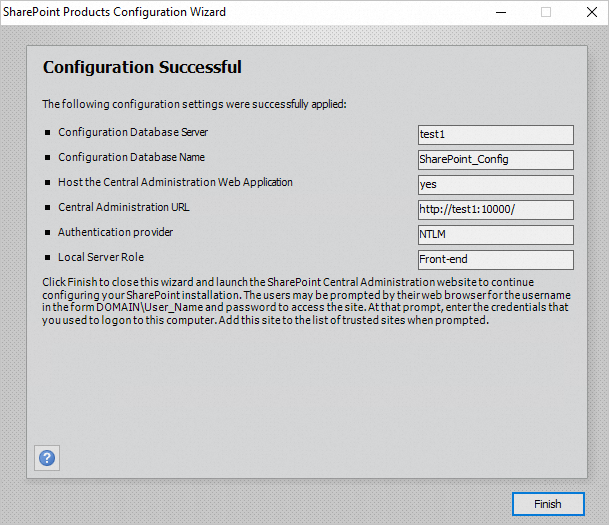
Review and confirm the SharePoint configuration, and then click Next.
When the following page appears, SharePoint has been configured successfully.
In a browser, enter the URL for the Central Administration site to access the SharePoint Management Center.