This session describes how to create new tables in DMS.
Prerequisites
You have access permissions to DMS and you have logged on to the DMS console.
Procedure
Select a target database, and click Log On to Database.
You can use any of the following methods to create a table:
- On the DMS top menu bar, choose Create > Table.
- Right-click on the table directory tree and select Create Table.
- Click Create Table on the homepage.
Edit columns
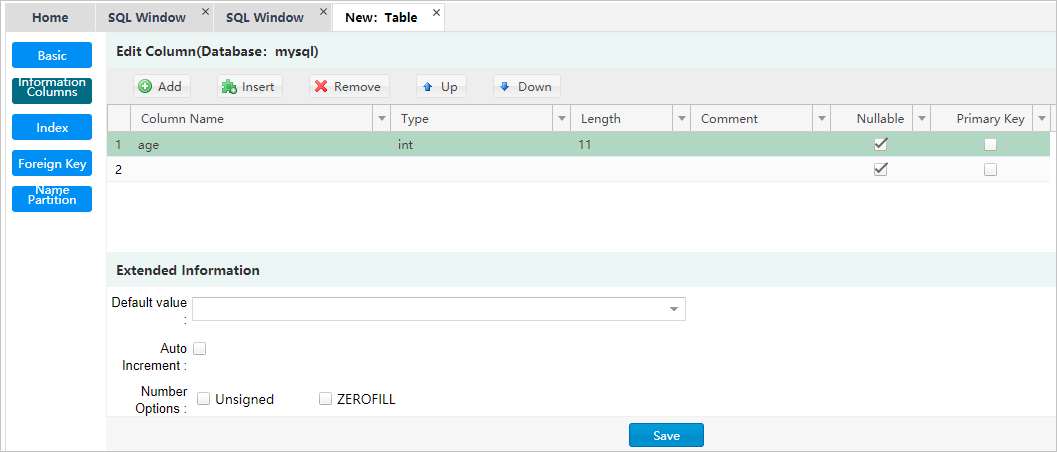
Go to the New: Table page, which displays the Column Info tab by default. You can edit the basic information and extended information of fields as needed.
You can also click Information Columns to edit the table information.
Click the Index tab to edit indexes.
Click New to add an index, as shown below:
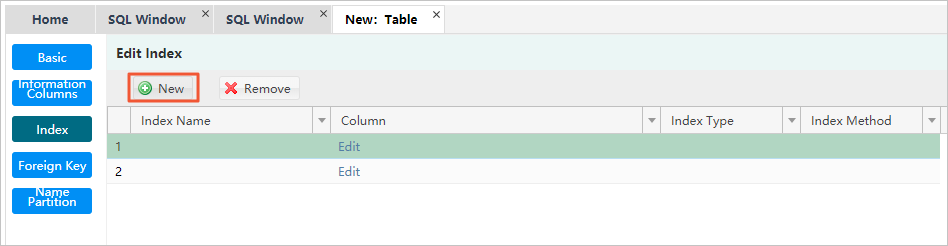
Click Remove to delete an index.
You can edit the index row to modify index information.
Click the Foreign Key tab to edit foreign keys.
Click New to add a foreign key. The new key can be edited.
Click Remove to delete a foreign key.
You can edit the index row to modify index information. When you edit a foreign key, you must enter the key name, the column, and information about the referenced database, table, and column.
Click the Partition tab to go to the partition editing page and enter the SQL information of the partition.
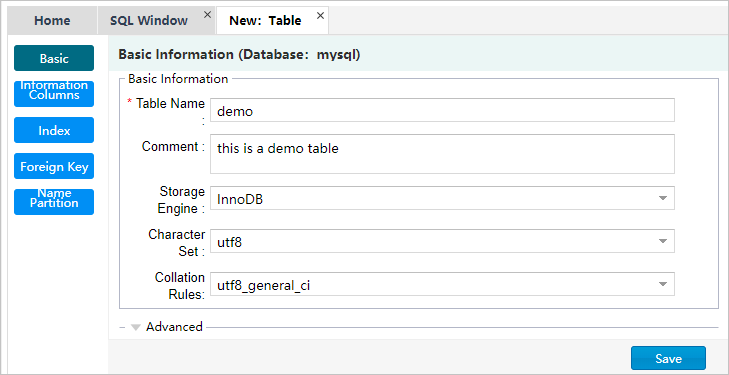
Click the Basic tab to edit the basic information of the table.
You can edit the table name, storage engine, character set, and remarks.
You can unfold Advanced to alter parameters.
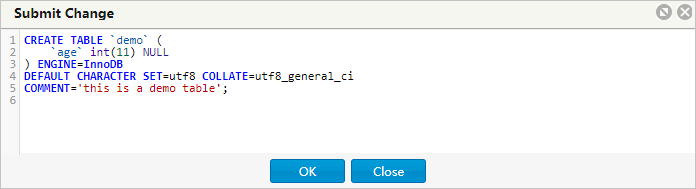
Click Save. DMS generates the SQL statement used to create the table. Click OK after you confirm the SQL statement. DMS then adds the table to your database.