This topic describes how to add media buckets in the ApsaraVideo Media Processing (MPS) console.
Background information
Media buckets are Object Storage Service (OSS) buckets that are used by MPS to store media resources. After you specify the input and output media buckets and upload a media file to the input media bucket, MPS receives a message about the upload and triggers the associated workflow. After the workflow is complete, the processed media file is uploaded to the output media bucket. For information about workflows, see Use a workflow.
Prerequisites
OSS is activated. For more information, see Activate OSS.
Step 1: Add media buckets
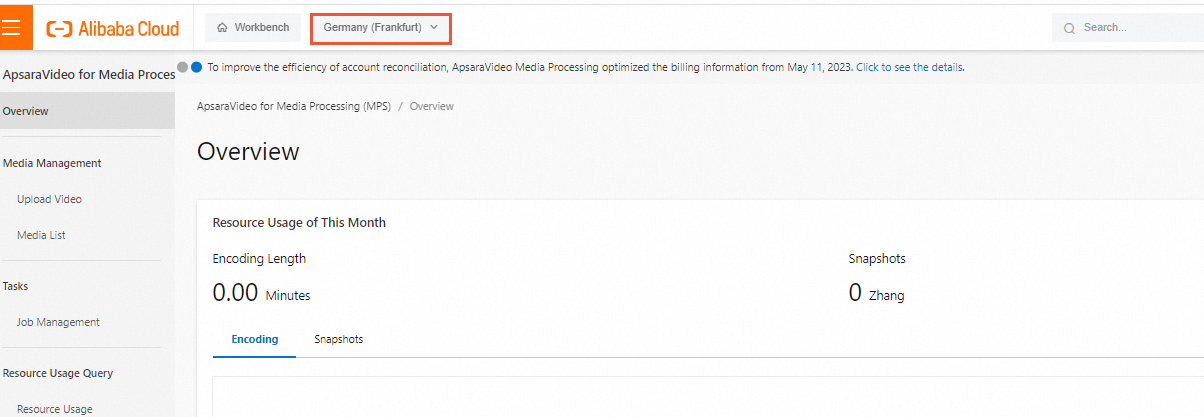
- Log on to the ApsaraVideo Media Processing (MPS) console.
- In the top navigation bar, select a region from the drop-down list.
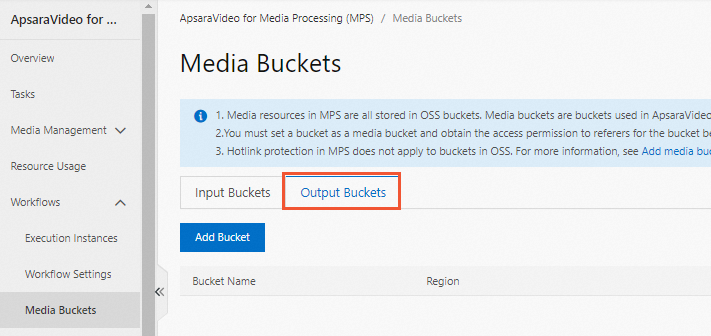
- In the left-side navigation pane, choose . On the Input Buckets and Output Buckets tabs, add input and output media buckets.
- On the Input Buckets tab, click Add Bucket. The Add Input Bucket dialog box appears and displays all OSS buckets that have been created in the current region.
- In the Add Input Bucket dialog box, perform one of the following operations:
- Select an OSS bucket and click OK. The OSS bucket is added as an input media bucket. Note If the OSS bucket that you require does not appear in the dialog box, change the region in the top navigation bar and repeat the preceding two steps.
- In the Add Input Bucket dialog box, click Create Bucket. In the Create Bucket dialog box, enter the name of the OSS bucket in the Name field. Click OK. Then, add the OSS bucket as an input media bucket. Note
- The name of the OSS bucket that you create must be globally unique. If the following message appears, the name already exists and you need to use another name: The requested bucket name is not available. The bucket namespace is shared by all users of the system. Please select a different name and try again.
- If you create an OSS bucket without specifying its access control list (ACL), OSS automatically sets the ACL of the OSS bucket to private. For more information, see Bucket ACL.
- Select an OSS bucket and click OK. The OSS bucket is added as an input media bucket.
- On the Output Buckets tab, click Add Bucket. Add an output media bucket in the same way as you add an input media bucket.
Step 2: Create storage paths for media buckets
Important After you add input and output media buckets, you can go to the OSS console to create storage paths for the buckets. Otherwise, the media buckets cannot be used by MPS jobs.
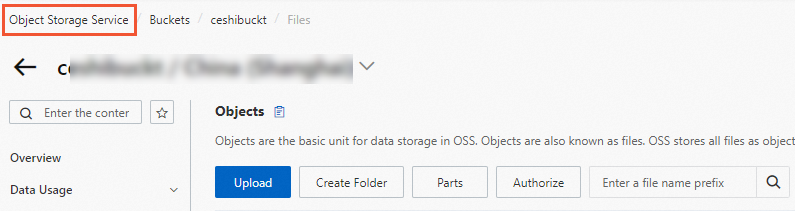
- Log on to the OSS console.
- In the left-side navigation pane, click Buckets.
- In the Bucket Name field, enter the name of the bucket that you have added as an input media bucket in the MPS console. The bucket is displayed in the list below.

- Click the bucket name.
- On the page that appears, click Create Folder.
- In the Create Folder panel, enter the name of the folder to be created in the Folder Name field and click OK. A storage path is created for the input media bucket. Important The input path that you specify for a workflow must not be the first several characters of an input path that you specify for another workflow. Otherwise, when you upload a media file, both workflows may be triggered. For example, if the input path of one workflow is test and that of another workflow is test1, both workflows are triggered when you upload a media file to test1. For more information, see Workflow triggering rules for files.
- Click Buckets in the upper-left corner of the OSS console to return to the Buckets page.
- In the Bucket Name field, enter the name of the bucket that you have added as an output media bucket in the MPS console. The bucket is displayed in the list below. Create a storage path for the output media bucket in the same way as you create a storage path for an input media bucket. Note After you create storage paths for input and output media buckets, you can specify the storage paths as input or output paths of workflows. Then, if you upload media files to the specified paths, the workflows are automatically triggered to process the media files. For more information about how to upload files, see Upload a video.
Step 3: (Optional) Configure hotlink protection in MPS
Important You must configure a referer whitelist for an input media bucket. This ensures that MPS can access files in the input media bucket if hotlink protection is configured in OSS. Hotlink protection configured in MPS does not affect that in OSS. If you have not configured hotlink protection in OSS, skip this step. For more information about how to configure hotlink protection in OSS, see Hotlink protection.
- Log on to the ApsaraVideo Media Processing (MPS) console.
- In the top navigation bar, select a region from the drop-down list.
- In the left-side navigation pane, choose .
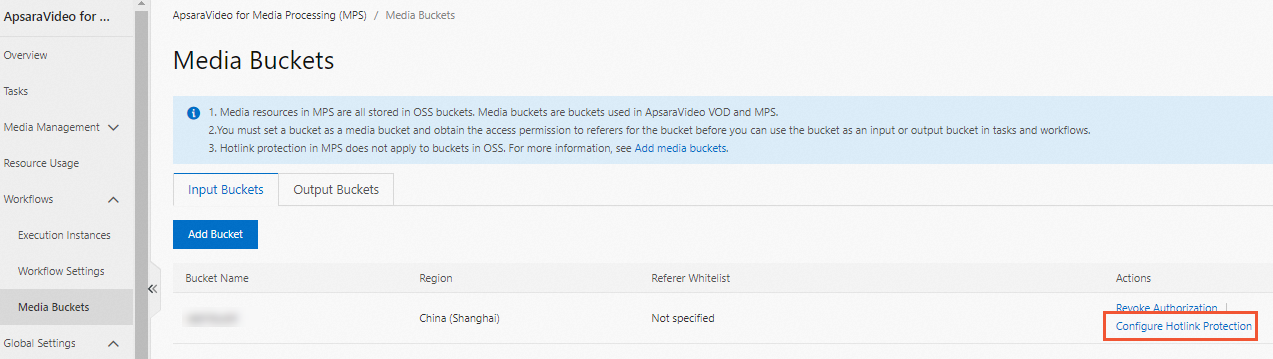
- On the Input Buckets tab, find the input media bucket for which you want to configure a referer whitelist and click Configure Hotlink Protection in the Actions column.
- In the Hotlink Protection dialog box, enter a referer in the Referer Whitelist field. Note
- The referer must be included in the list of referers that you specify for the bucket in OSS. For more information, see Hotlink protection.
- If you have specified multiple referers in OSS, you need to specify only one of the referers in MPS.
What to do next
- Create a workflow. In the left-side navigation pane, choose and configure parameters as required. For more information, see Create a workflow.
- Upload a media file. You can upload a media file to the input media bucket in the MPS console or OSS console. We recommend that you upload the file in the OSS console. For more information, see Upload a video.