Host multiple websites on a single Linux ECS instance with Nginx to reduce costs and centralize management.
Prerequisites
An ECS instance with a public IP address is created and an LNMP stack is deployed. See Deploy an LNMP stack or (To be determined) Deploy an LNMP stack using Docker.
This tutorial provides a one-click deployment solution for configuring multiple websites with Nginx. Run with one click
Create test websites
-
Connect to the ECS instance on which the LNMP stack is deployed. See Connect to a Linux instance using Workbench.
-
Navigate to the website root directory:
cd /usr/share/nginx/html -
Create two test folders to store the project code for the test websites:
sudo mkdir Testpage-1 sudo mkdir Testpage-2 -
Configure the Testpage-1 website.
-
Navigate to the Testpage-1 folder:
cd /usr/share/nginx/html/Testpage-1/ -
Create and edit the
index.htmlfile:sudo vim index.html -
Press
ito enter edit mode and add the following content:Test page 1Press
Esc, enter:wq, and press Enter to save and exit.
-
-
Configure the
Testpage-2website.-
Navigate to the
Testpage-2folder:cd /usr/share/nginx/html/Testpage-2/ -
Create and edit the
index.htmlfile:sudo vim index.html -
Press
ito enter edit mode and add the following content:Test page 2Press
Esc, enter:wq, and press Enter to save and exit.
-
Configure Nginx
-
View the
nginx.confconfiguration file:cat /etc/nginx/nginx.confIn the
http{}module, check theincludeconfiguration.In this example, the configuration is shown in the following figure.
include /etc/nginx/conf.d/*.conf;means Nginx loads site configurations from all.conffiles in this path.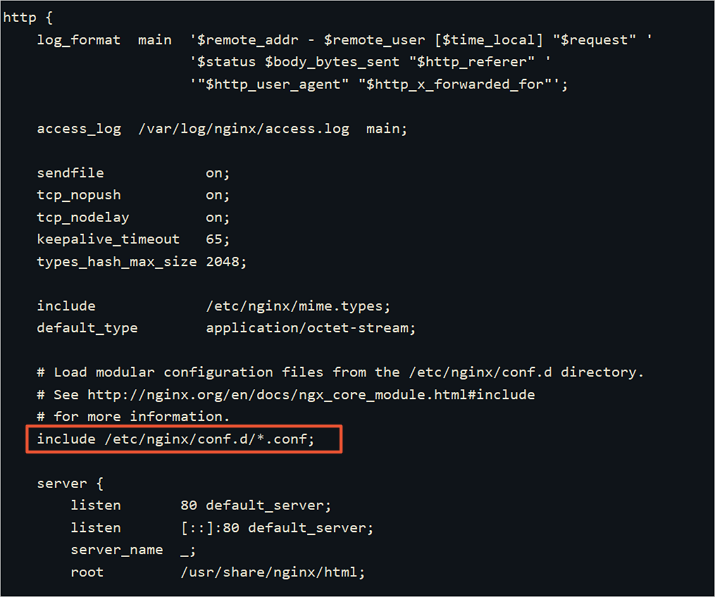
-
Navigate to the
/etc/nginx/conf.ddirectory:cd /etc/nginx/conf.d -
Create and configure the Nginx configuration file for the
Testpage-1website.-
Create and edit the configuration file:
sudo vim Testpage1.conf -
Press
ito enter edit mode and add the following content:Replace the server domain name and project path as indicated in the comments.
server {
    listen       80;
    server_name  testpage1.com;    # This is a test domain name. Replace it with your actual server domain name.

    #charset koi8-r;
    access_log  /var/log/nginx/b.access.log  main;

    location / {
        root   /usr/share/nginx/html;    # This is the test website path. Replace it with your actual project code path.
        index  index.html index.htm;
    }

    #error_page  404              /404.html;

    error_page   500 502 503 504  /50x.html;
    location = /50x.html {
        root   /usr/share/nginx/html;
    }
}
Press
Esc, enter:wq, and press Enter to save and exit.
-
-
Create and configure the Nginx configuration file for the
Testpage-2website.-
Create and edit the configuration file:
sudo vim Testpage2.conf -
Press
ito enter edit mode and add the following content:Replace the server domain name and project path as indicated in the comments.
server {
    listen       80;
    server_name  testpage2.com;    # This is a test domain name. Replace it with your actual server domain name.

    #charset koi8-r;
    access_log  /var/log/nginx/b.access.log  main;

    location / {
        root   /usr/share/nginx/html;    # This is the test website path. Replace it with your actual project code path.
        index  index.html index.htm;
    }

    #error_page  404              /404.html;

    error_page   500 502 503 504  /50x.html;
    location = /50x.html {
        root   /usr/share/nginx/html;
    }
}
Press
Esc, enter:wq, and press Enter to save and exit.
-
-
Restart the Nginx service:
sudo systemctl restart nginx
Verify the results
On your local host, open a browser and access the two test websites.
-
Access
http://<Public IP address of the ECS instance>/Testpage-1. TheTestpage-1website appears as shown in the following figure.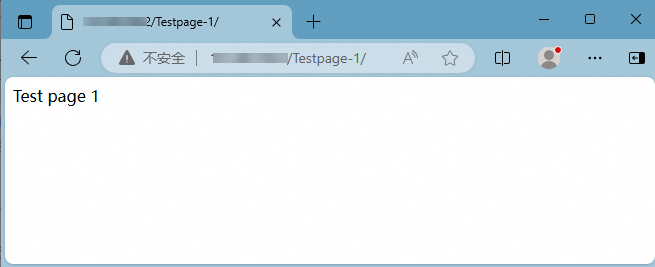
-
Access
http://<Public IP address of the ECS instance>/Testpage-2. TheTestpage-2website appears as shown in the following figure.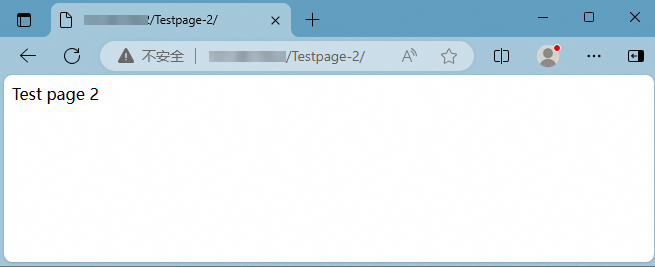
The websites are now set up. In a production environment, ensure the project paths in the configuration files are correct.
Next steps
To make your website publicly accessible with a domain name, complete the following steps.
-
Register a domain name.
-
Complete the ICP filing.
If your domain name points to a website hosted on an Alibaba Cloud server in the Chinese mainland, you must complete an ICP filing. See ICP filing process.
-
Resolve the domain name.
To point a domain name to the public IP address of an instance, see Add a website resolution record.
References
To deploy multiple websites on a Windows instance, see Use IIS to configure multiple websites.