ApsaraDB MyBase for MySQL supports automatic switchovers, including primary/secondary switchovers and primary instance elections to ensure high availability. For the High-availability Edition, if the primary instance is down, the system automatically fails over to the secondary instance. For the Master-replica Edition, if the primary instance is down, the system automatically elects a read-only instance to serve as the primary instance. You can also manually perform primary/secondary switchovers and primary instance elections.
Background information
- Automatic switchover: The automatic switchover feature is enabled for instances of the High-availability Edition by default. If the primary instance is down, the system automatically fails over to the secondary instance. After you enable the automatic switchover feature for one or more read-only instances of the Master-replica Edition, if the primary instance is down, the system automatically elects a read-only instance to serve as the primary instance. Note You must enable the automatic switchover feature for at least one read-only instance of the Master-replica Edition.
- Manual switchover: You can manually perform switchovers when the automatic switchover feature is enabled. You can perform manual switchovers for disaster recovery drills. You can also perform manual switchovers if your instances are deployed across zones and you want to connect your application to an instance in the nearest zone.
Precautions
- You may encounter a transient connection during a switchover. Make sure that your application is configured to automatically reconnect to your instances.
- After a switchover is complete, read-only instances require several minutes to re-establish sessions and synchronize incremental data with the secondary instance or the new primary instance.
Perform a primary/secondary switchover
- Log on to the ApsaraDB MyBase console.
- In the upper-left corner of the page, select a region.
- In the left-side navigation pane, click Dedicated Clusters. On the page that appears, find the ApsaraDB MyBase for MySQL dedicated cluster in which you want to create an instance and click Details in the Actions column.
- In the left-side navigation pane, click Instances. On the page that appears, find the instance that you want to manage and click Details in the Actions column.
- In the left-side navigation pane of the details page, click Service Availability.
- In the Availability Information section, click Switch Primary/Secondary Instance.
- Specify the point in time at which you want to perform the switchover and click OK. Note During the primary/secondary switchover, you cannot perform operations such as database management, account management, or network type changes. We recommend that you select Switch Within Maintenance Window.
Perform a primary instance election
- Log on to the ApsaraDB MyBase console.
- In the upper-left corner of the page, select a region.
- In the left-side navigation pane, click Dedicated Clusters. On the page that appears, find the ApsaraDB MyBase for MySQL dedicated cluster in which you want to create an instance and click Details in the Actions column.
- In the left-side navigation pane, click Instances. On the page that appears, find the instance that you want to manage and click Details in the Actions column.
- In the left-side navigation pane of the details page, click Service Availability.
- Move the pointer over the instance and click Switch Master/Slave. Note We recommend that you select a read-only instance that has low traffic loads or has the same specifications as the primary instance.
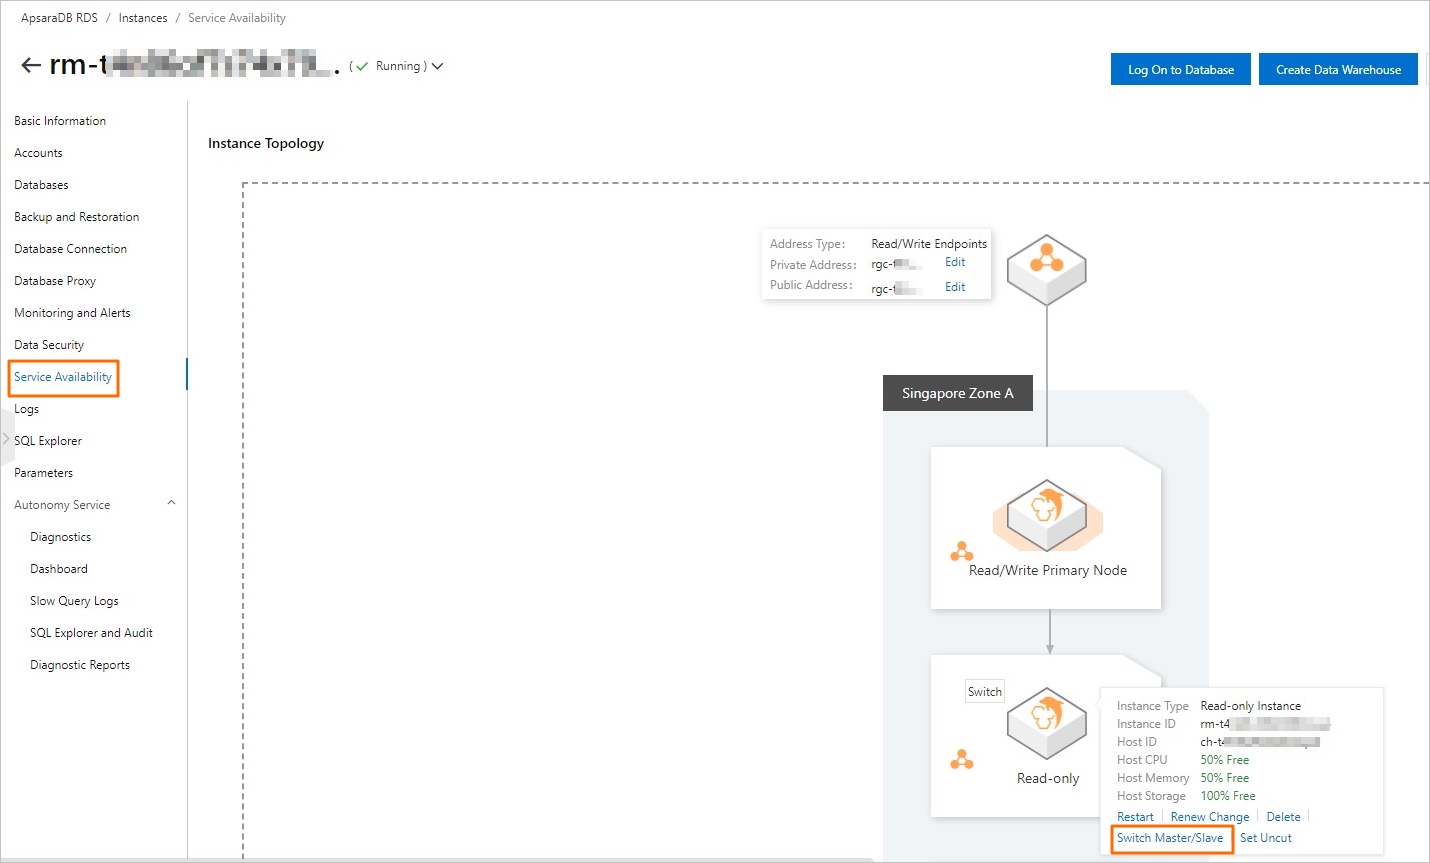
- Specify the point in time at which you want to perform the election and click OK. Note During the election, you cannot perform operations such as database management, account management, or network type changes. We recommend that you select Switch Within Maintenance Window.
Disable the automatic switchover feature for a read-only instance
If a read-only instance has high traffic loads or the specifications of the instance are lower than those of the primary instance, you can disable the automatic switchover feature for the read-only instance. This way, the read-only instance cannot be elected as the primary instance.
- Log on to the ApsaraDB MyBase console.
- In the upper-left corner of the page, select a region.
- In the left-side navigation pane, click Dedicated Clusters. On the page that appears, find the ApsaraDB MyBase for MySQL dedicated cluster in which you want to create an instance and click Details in the Actions column.
- In the left-side navigation pane, click Instances. On the page that appears, find the instance that you want to manage and click Details in the Actions column.
- In the left-side navigation pane of the details page, click Service Availability.
- Move the pointer over the instance and click Set Uncut. Note After you disable the automatic switchover feature for the read-only instance, the instance handles only read requests and cannot be elected as the primary instance.
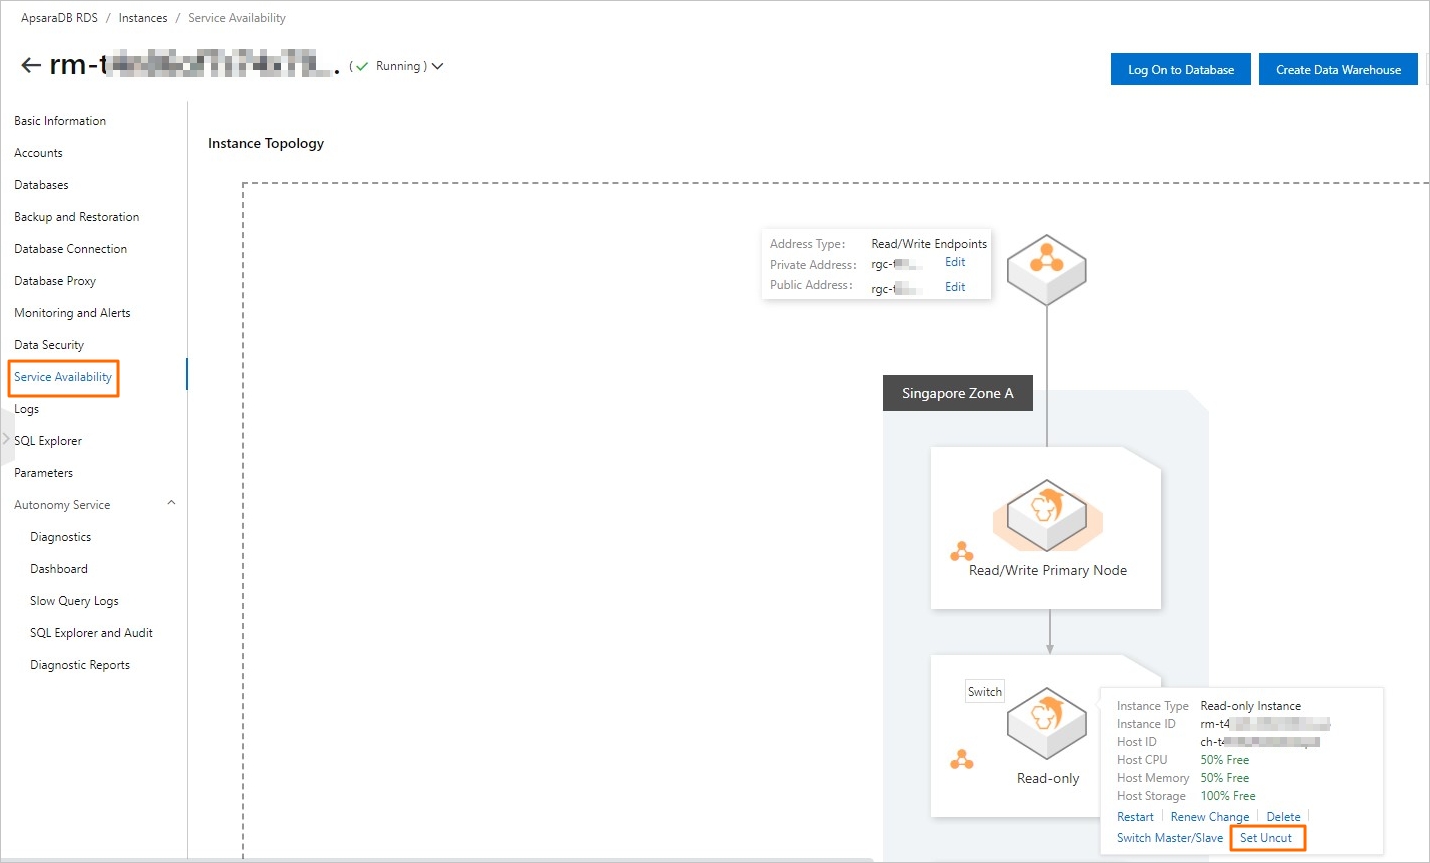
- In the message that appears, click OK.
Disable the automatic primary/secondary switchover feature for a short period of time
- Large-scale sales promotions during which you do not want a primary/secondary switchover to affect system availability
- Important application upgrades during which you do not want a primary/secondary switchover to cause unexpected issues
- Major events during which you do not want a primary/secondary switchover to affect system stability
- Log on to the ApsaraDB MyBase console.
- In the upper-left corner of the page, select a region.
- In the left-side navigation pane, choose .
- Find the instance that you want to manage and click Details in the Actions column.
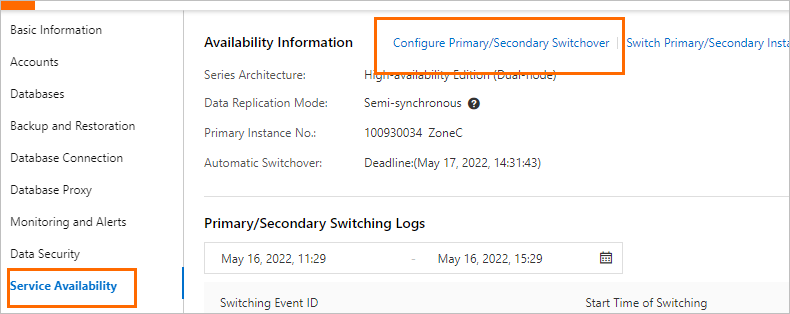
- In the left-side navigation pane of the details page, click Service Availability.
- In the Availability Information section, click Configure Primary/Secondary Switchover.
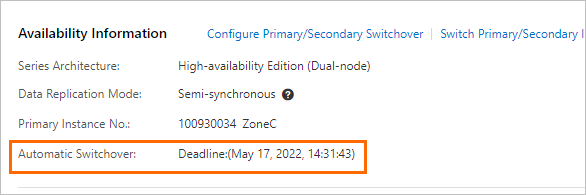
- In the Configure Primary/Secondary Switchover dialog box, select Disable Temporarily and configure Deadline. Note
- When the date and time specified by the Deadline parameter arrives, the automatic primary/secondary switchover feature is enabled.
- If you do not configure the Deadline parameter, the automatic primary/secondary switchover is disabled for one day. You can set the Deadline parameter to 23:59:59 seven days later at most.
- Click OK.
View primary/secondary switchover logs
- Log on to the ApsaraDB MyBase console.
- In the upper-left corner of the page, select a region.
- In the left-side navigation pane, choose .
- Find the instance that you want to manage and click Details in the Actions column.
- In the left-side navigation pane of the details page, click Service Availability.
- In the Primary/Secondary Switching Logs section, select a time range and view the primary/secondary switchover logs that are generated over the selected time range.
