Ranger supports row-level filtering on Hive data. You can filter the return results of SELECT statements by row to display only the rows that meet the specified conditions. This topic describes how to filter Hive data by row.
Prerequisites
- An E-MapReduce (EMR) cluster is created, and Ranger is selected from the optional services when you create the cluster. For more information, see Create a cluster.
- A table whose data can be filtered by row is created.
Procedure
Note The web UI of Ranger varies based on the Ranger version. In this example, Ranger 2.1.0
is used.
- On the web UI of Ranger, click emr-hive.

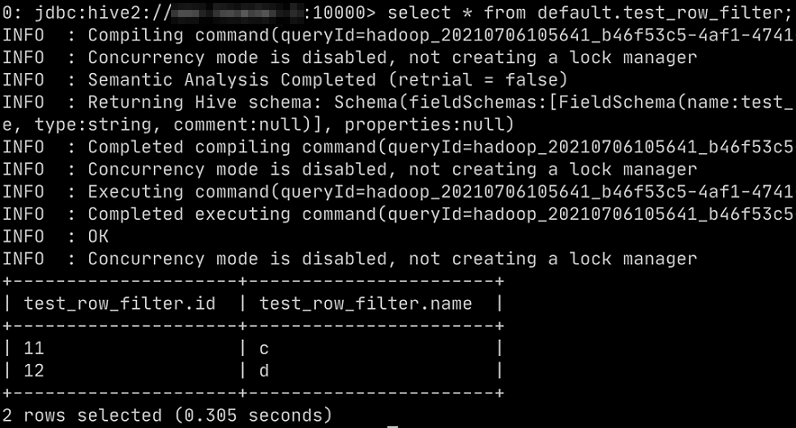
- Optional:Test row-level filtering. For example, if the testc user executes the
select * from default.test_row_filter;statement to query data in the default.test_row_filter table, only the rows whose ID is greater than or equal to 10 are displayed.