When you use an Elastic High Performance Computing (E-HPC) cluster for high-performance computing, you can install software based on your business requirements. This topic describes how to install and uninstall software.
Install software
You can directly install the common software provided by E-HPC in the E-HPC console, or manually install other software in an E-HPC cluster.
Install software in the E-HPC console
Log on to the E-HPC console.
In the top navigation bar, select a region.
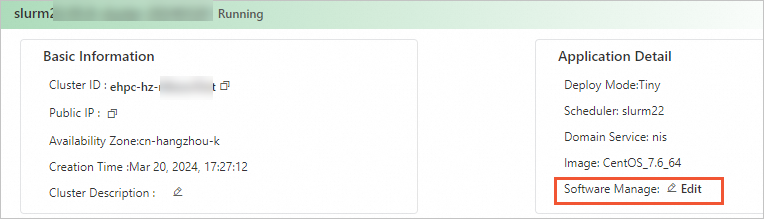
On the Cluster page, find the cluster in which you want to install software. In the Application Detail section, click Edit next to Software Manage.
In the Software Manage panel, click the Software Not Installed tab.
Select the software that you want to install and click Install.
In the message that appears, click OK.
On the Software Installed tab of the Software Manage panel, you can view the installation status. The Installed state indicates that the software is installed.
Manually install software
E-HPC clusters use File Storage NAS to share data between compute nodes. Therefore, you can manually install business software by using one of the following methods:
Install business software in the
/optdirectory. In this case, all cluster users can access and use the business software.Install business software in the home directory of a cluster user. Generally, only the cluster user can access and use the business software.
When you install some software, you must also install drivers or specific runtime environments, such as GPU drivers and YUM packages, on each compute node. After you install software on a compute node, you can use the custom image that is created based on the compute node to add more compute nodes. This way, the software can be automatically installed on all compute nodes.
Uninstall software
You can perform the following operations to uninstall common software provided by E-HPC in the E-HPC console. For manually installed software, you can manually uninstall it based on the software conditions.
On the Cluster page of the E-HPC console, find the cluster from which you want to uninstall software. In the Application Detail section, click Edit next to Software Manage.
In the Software Manage panel, click the Software Installed tab to view the software that is installed in the cluster.
Select the software that you want to uninstall and click Uninstall in the Actions column that corresponds to the software.
In the message that appears, click OK.