This topic describes how to create a Linux server using an OS image, and build an Apache service. An Alibaba Cloud Linux image is used as an example.
Prerequisites
You have created an Alibaba Cloud account on the international site (alibabacloud.com).
You have attached a credit card or PayPal account. For more information, see Payment methods.
Step 1: Create a simple application server
Go to the Servers page in the Simple Application Server console.
In the middle of the page, click Create Server.
On the Simple Application Server page, configure the server.
The following table describes the parameters. For more information about the parameters, see Create a simple application server.
Parameter
Example
Description
Region
Singapore
Select a region that is close to your customers to improve network access speed. Regions outside the Chinese mainland, such as China (Hong Kong) and Singapore, provide international bandwidth. If you use the server in the Chinese mainland, you may experience high network latency. For more information, see Regions and network connectivity.
Instance
Instance family: General-purpose
Plan: $5/month
Select a type for instance. Click
 to view more instance families. For more information, see Instance families.
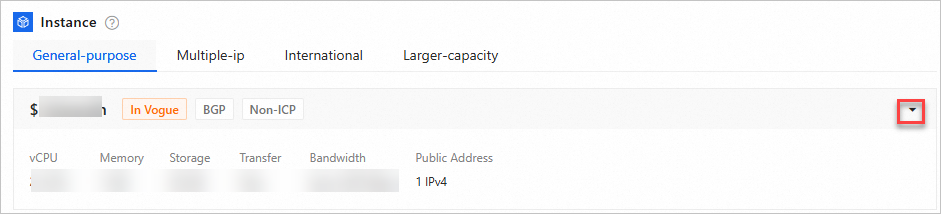
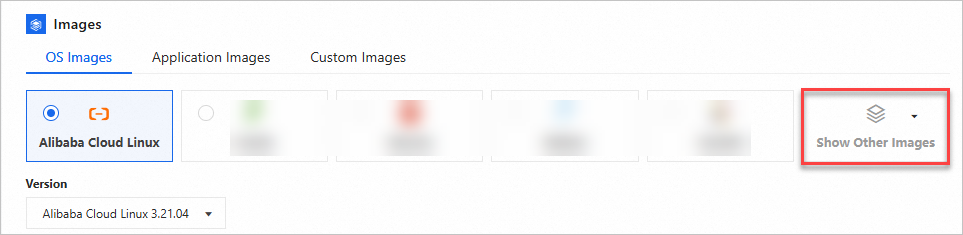
Images
OS Images: Alibaba Cloud Linux
Version: 3.21.04
On the OS Images tab, select an image.
NoteClick Show Other Images to view more images.
Purchase Settings
Quantity: 1
Duration: 1 Month
Select quantity and subscription duration. Auto-renewal is enabled by default.
After the configuration, click Buy Now and follow the instructions to complete the payment.
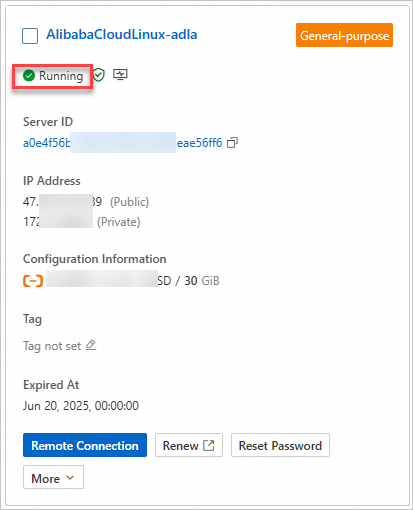
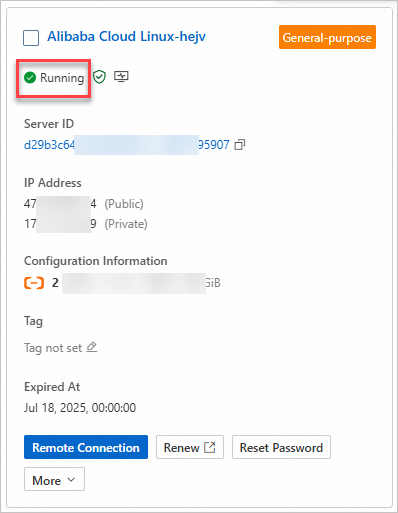
After you complete the payment, return to the Simple Application Server console. If the server status changes to Running, it has been successfully created.
Step 2: Remotely connect to the simple application server
Use Workbench to remotely connect to a Linux server. For more information about remote connection methods, see Remotely connect to a Linux server.
On the server card, click Remote Connection.
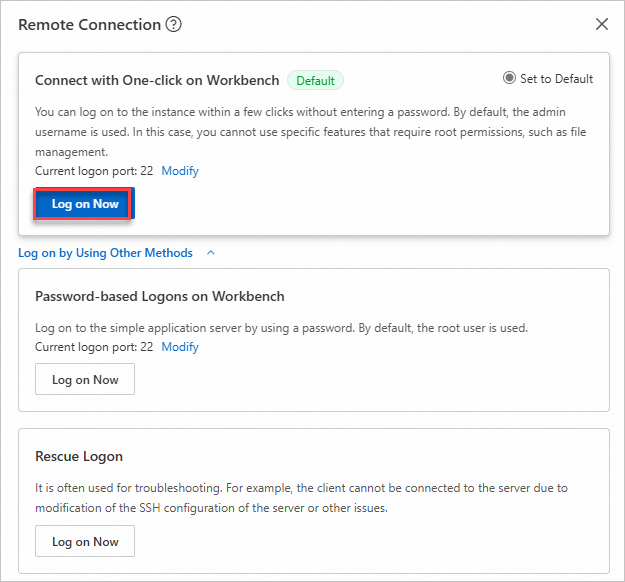
In the Remote Connection dialog box, select Connect with One-click on Workbench and click Log on Now.
Enter commands in the terminal to manage the server.
When you use the one-click password-free logon feature, you are logged on as the Admin user by default. The Admin user has limited permissions for operations that require root privileges. To connect to the Linux instance as the root user, first set a password or set a key pair.
Step 3: Set up the environment
This section uses Apache service as an example to describe how to set up a server environment. Simple application server provides detailed tutorials about how to set up an environment and build a website.
Install the Apache service.
sudo yum install -y httpdStart the Apache service and enable it to start automatically on startup.
sudo systemctl start httpd
sudo systemctl enable httpd
Check the status of the Apache service.
systemctl status httpdApache service is running correctly if you see:

Access the Apache service. On your local computer, open a browser and enter
http://<Public IP address of the simple application server>to test access to the Apache service homepage.Obtain the public IP address of the simple application server from the server card.
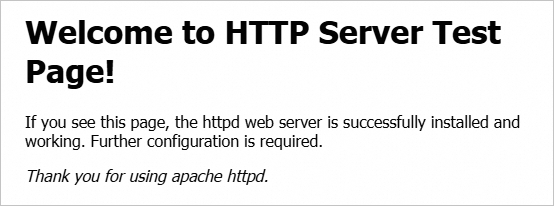
Apache service is successfully deployed if you see: