Container Registryのリポジトリごとにトリガーを作成できます。 リポジトリのトリガーを作成した後、リポジトリ内のコンテナイメージが更新されたときに通知が送信されます。 アプリケーションのベースイメージが更新され、更新がトリガー条件に一致すると、更新されたベースイメージがプルされてアプリケーションが再デプロイされます。 このトピックでは、Application Centerを自動化して、更新されたベースイメージをプルし、そのイメージを使用してトリガーを作成してアプリケーションを再デプロイする方法について説明します。
前提条件
コンテナイメージは、container Registryのリポジトリにプッシュされます。 詳細については、「Container Registry Enterprise Editionインスタンスにイメージをプッシュし、インスタンスからイメージをプルする」をご参照ください。
ステップ1: アプリケーションの作成
ACKコンソールにログインします。
ACKコンソールの左側のナビゲーションウィンドウで、 を選択します。
[アプリケーション設定] ウィザードページで、パラメーターを設定します。
[名前] と [説明] を設定します。
[テンプレートの作成] タブをクリックし、タブの右上隅にある [YAMLで作成] をクリックします。
次のコードを [作成] パネルにコピーし、[OK] をクリックします。
apiVersion: apps/v1
kind: Deployment
metadata:
  creationTimestamp: null
  labels:
    app: demo
  name: demo
spec:
  minReadySeconds: 5
  progressDeadlineSeconds: 60
  revisionHistoryLimit: 5
  selector:
    matchLabels:
      app: demo
  strategy:
    rollingUpdate:
      maxUnavailable: 1
    type: RollingUpdate
  template:
    metadata:
      annotations:
        prometheus.io/port: "9797"
        prometheus.io/scrape: "true"
      creationTimestamp: null
      labels:
        app: demo
    spec:
      containers:
      - image: liusheng-registry.cn-beijing.cr.aliyuncs.com/liusheng/rollouts-demo:blue
        imagePullPolicy: IfNotPresent
        name: demo
        ports:
        - containerPort: 8080
          name: http
          protocol: TCP
        readinessProbe:
          initialDelaySeconds: 5
          tcpSocket:
            port: 8080
          timeoutSeconds: 5
        resources:
          limits:
            cpu: "2"
            memory: 512Mi
          requests:
            cpu: 100m
            memory: 64Mi
status: {}
---
apiVersion: v1
kind: Service
metadata:
  name: demo-svc
spec:
  selector:
    app: demo
  ports:
    - protocol: TCP
      port: 80
      targetPort: 8080
---
apiVersion: extensions/v1beta1
kind: Ingress
metadata:
  name: demo
  labels:
    app: demo
spec:
  rules:
    - host: app.demo.example.com
      http:
        paths:
          - backend:
              serviceName: demo-svc
              servicePort: 80
---
下表に一部のパラメーターを示します。
パラメーター
説明
minReadySeconds
ローリング更新が開始されるまでの最小待機秒数。 クラスターは、指定された期間の終了後にローリング更新を実行します。
progressDeadlineSeconds
ローリング更新が停止したと見なされるまでに待機する最大秒数。 ローリング更新が停止したと見なされる場合、システムは秒のカウントを停止します。
revisionHistoryLimit
保持するReplicaSetの最大数。
rollingUpdate.maxUnavailable
ローリング更新プロセス中に使用できない状態にできるポッドの最大数。
image
Container Registryのリポジトリに保存されているイメージのアドレス。 この例では、デモアプリケーションのイメージが使用されます。
[次へ] をクリックします。
ステップ2: Application Centerでトリガーのwebhook URLを生成する
ステップ3: Container Registryでトリガーを作成する
Container Registryコンソールにログインします。
上部のナビゲーションバーで、リージョンを選択します。
[インスタンス] ページで、管理するEnterprise Editionインスタンスをクリックします。
Enterprise Editionインスタンスの管理ページの左側のナビゲーションウィンドウで、 を選択します。
[リポジトリ] ページで、手順1でアプリケーションを作成したときに使用するリポジトリの名前をクリックします。
リポジトリの詳細ページで、[トリガー] をクリックします。 次に、作成 をクリックします。
[トリガーの作成] ダイアログボックスで、トリガーの名前を指定し、手順2で生成されたトリガーのwebhook URLを入力し、トリガーを [すべて] に設定します。 次に、[確認] をクリックします。
All、By RegExp、By Tagsのトリガーモードがサポートされています。 次のセクションでは、トリガーモードについて説明します。
All: イメージが更新されるたびに、アプリケーションセンターは更新されたイメージを取得します。
By RegExp: イメージの更新をフィルタリングするために正規表現が使用されます。 イメージが更新され、新しいイメージのバージョンが正規表現と一致する場合にのみ、イメージを取得します。
By Tags: タグは、画像更新をフィルタリングするために使用される。 イメージが更新され、新しいイメージバージョンが指定されたタグのいずれかと一致する場合にのみ、Application Centerがイメージを取得します。
説明アプリケーションセンターがイメージのプルに失敗した場合は、[トリガー] ページに移動してトリガーを見つけ、[操作] 列の [アクセスログ] をクリックします。 アクセスログメッセージで、応答本文から例外の原因を確認します。
ステップ4: 更新されたコンテナイメージを使用してアプリケーションを再デプロイする
リポジトリ内のコンテナイメージが更新されると、更新されたイメージが自動的にプルされ、アプリケーションの再デプロイに使用されます。
次のコマンドを実行して、手順1でアプリケーションの作成に使用したリポジトリにログインします。
説明Container Registry Enterprise Editionのインスタンスが中国 (杭州) リージョンで作成されている場合、コマンドで <Enterprise Editionのインスタンスが作成されているリージョン> をHangzhouに設定する必要があります。
docker login -- username=<Container Registryへのログインに使用されるusername> <Container Registry Enterprise Editionのインスタンスの名前> -registry.cn-<Container Registry Enterprise Editionのインスタンスが作成されるリージョンd>.cr.aliyuncs.com次のコマンドを実行して、画像にタグを追加します。
docker ta g registry.cn-hangzhou.aliyuncs.com/acs/rollouts-demo: グリーn liusheng-registry.cn-beijing.cr.aliyuncs.com/liusheng/rollouts-demo: グリーン次のコマンドを実行して、手順1でアプリケーションを作成したときに使用されるリポジトリに新しいバージョンのコンテナイメージをプッシュします。
docker pus h liusheng-registry.cn-beijing.cr.aliyuncs.com/liusheng/rollouts-demo: グリーン
結果の検証
オーケストレーションテンプレートを表示します。
コンテナイメージが更新されると、Application Centerは更新されたイメージを取得し、アプリケーションのオーケストレーションテンプレートを更新します。
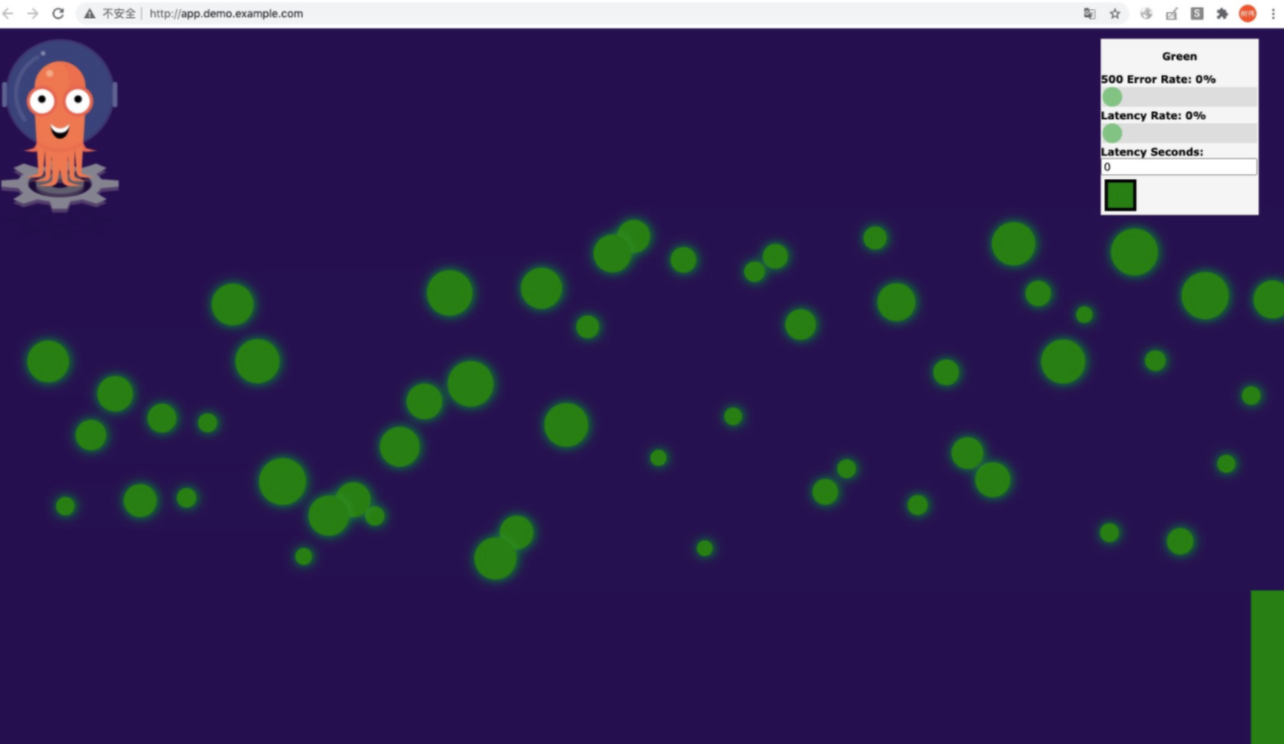
ブラウザのアドレスバーにapp.demo.example.comを入力し、Enterキーを押してアプリケーションにアクセスします。
次の図に示すページがブラウザに表示されると、アプリケーションが更新されます。