Logstash插件
Logstash采集工具
Logstash是一种分布式日志收集框架,非常简洁强大,经常与ElasticSearch,Kibana配置,组成著名的ELK技术栈,非常适合用来做日志数据的分析。 阿里云实时计算为了方便用户将更多数据采集进入DataHub,提供了针对Logstash的DataHub Output/Input插件。使用Logstash,您可以轻松享受到Logstash开源社区多达30+种数据源支持(file,syslog,redis,log4j,apache log或nginx log),同时Logstash还支持filter对传输字段自定义ss加工等功能。下面我们就以Logstash日志采集为例介绍如何使用Logstash快速将日志数据采集进入DataHub。
注:Logstash DataHub Output/Input插件遵循Apache License 2.0开源
安装
安装限制
Logstash安装要求JRE 7版本及以上,否则部分功能无法使用。
如何安装
阿里云提供两种LogStash的安装方式:
一键安装
一键安装包,支持将Logstash和DataHub插件一键安装,
tar -xzvf logstash-with-datahub-6.4.0-1.0.10.tar.gz cd logstash-with-datahub-6.4.0tar -xzvf logstash-with-datahub-8.10.3-1.0.12.tar.gz cd logstash-with-datahub-8.10.3
单独安装
安装Logstash: 参看Logstash官网提供的[安装教程]进行安装工作。特别注意的是,最新的Logstash需要Java 7及以上版本。
安装DataHub插件:下载所需要的插件。
上传至DataHub请使用: DataHub Logstash Output插件
logstash-output-datahub-1.0.10.gem 适配Logstash 6、7
logstash-output-datahub-1.0.12.gem 适配Logstash 8
下载DataHub中数据请使用: DataHub Logstash Input插件
logstash-input-datahub-1.0.10.gem 适配Logstash 6、7
logstash-input-datahub-1.0.12.gem 适配Logstash 8
分别使用如下命令进行安装:
$ {LOG_STASH_HOME}/bin/logstash-plugin install --local logstash-output-datahub-1.0.10.gem
$ {LOG_STASH_HOME}/bin/logstash-plugin install --local logstash-input-datahub-1.0.10.gem
如果安装时遇到类似如下错误:
WARNING: can not set Session#timeout=(0) no session context先确认机器是否能够访问外网。网络能通的情况下,可以尝试修改为中国的镜像源。
https://gems.ruby-china.com/离线安装
如果线上机器无法访问外网,那么无法通过以上方式安装。需要用户自行制作离线安装包,因为离线安装包是和logstash版本绑定的。先在测试机器上,按上述方式成功安装插件后,参考 官方文档制作离线安装包,再上传到线上机器进行离线安装。
使用DataHub Logstash Output插件上传数据
配置Log4j日志到DataHub
下面以Log4j日志产出为例,讲解下如何使用Logstash采集并结构化日志数据。Log4j的日志样例如下:
20:04:30.359 [qtp1453606810-20] INFO AuditInterceptor - [13pn9kdr5tl84stzkmaa8vmg] end /web/v1/project/fhp4clxfbu0w3ym2n7ee6ynh/statistics?executionName=bayes_poc_test GET, 187 ms针对上述Log4j文件,我们希望将数据结构化并采集进入DataHub,其中DataHub的Topic格式如下:
字段名称 | 字段类型 |
request_time | STRING |
thread_id | STRING |
log_level | STRING |
class_name | STRING |
request_id | STRING |
detail | STRING |
Logstash任务配置如下:
input {
    file {
        # windows 中也使用"/", 而非"\"
        path => "${APP_HOME}/log/bayes.log"
        start_position => "beginning"
    }
}

filter{
    grok {
        match => {
           "message" => "(?<request_time>\d\d:\d\d:\d\d\.\d+)\s+\[(?<thread_id>[\w\-]+)\]\s+(?<log_level>\w+)\s+(?<class_name>\w+)\s+\-\s+\[(?<request_id>\w+)\]\s+(?<detail>.+)"
        }
    }
}

output {
    datahub {
        access_id => "Your accessId"
        access_key => "Your accessKey"
        endpoint => "Endpoint"
        project_name => "project"
        topic_name => "topic"
        #shard_id => "0"
        #shard_keys => ["thread_id"]
        dirty_data_continue => true
        dirty_data_file => "/Users/ph0ly/trash/dirty.data"
        dirty_data_file_max_size => 1000
    }
}
配置csv文件到DataHub:
下面以标准csv文件为例,讲解下如何使用Logstash采集csv文件数据。csv文件样例如下:
1111,1.23456789012E9,true,14321111111000000,string_dataxxx0,
2222,2.23456789012E9,false,14321111111000000,string_dataxxx1
针对上述csv文件,DataHub的Topic格式如下:
字段名称 | 字段类型 |
col1 | BIGINT |
col2 | DOUBLE |
col3 | BOOLEAN |
col4 | TIMESTAMP |
col5 | STRING |
Logstash任务配置如下:
input {
    file {
        path => "${APP_HOME}/data.csv"
        start_position => "beginning"
    }
}

filter{
    csv {
        columns => ['col1', 'col2', 'col3', 'col4', 'col5']
    }
}

output {
    datahub {
        access_id => "Your accessId"
        access_key => "Your accessKey"
        endpoint => "Endpoint"
        project_name => "project"
        topic_name => "topic"
        #shard_id => "0"
        #shard_keys => ["thread_id"]
        dirty_data_continue => true
        dirty_data_file => "/Users/ph0ly/trash/dirty.data"
        dirty_data_file_max_size => 1000
    }
}
配置JSON文件到DataHub:
一对一同步(一个JSON文件同步到一个topic)
JSON文件样例(放到/home/software/data/22/test_topic_22.json)
[{"col1":"aaaaa","col2":222},{"col1":"aaaaa","col2":222},{"col1":"aaaaa","col2":222},{"col1":"aaaaa","col2":222},{"col1":"aaaaa","col2":222},{"col1":"aaaaa","col2":222},{"col1":"aaaaa","col2":222},{"col1":"aaaaa","col2":222},{"col1":"aaaaa","col2":222},{"col1":"aaaaa","col2":222}]
[{"col1":"aaaaa","col2":222},{"col1":"aaaaa","col2":222},{"col1":"aaaaa","col2":222},{"col1":"aaaaa","col2":222},{"col1":"aaaaa","col2":222},{"col1":"aaaaa","col2":222},{"col1":"aaaaa","col2":222},{"col1":"aaaaa","col2":222},{"col1":"aaaaa","col2":222},{"col1":"aaaaa","col2":222}]
配置文件
input {
    file {
        path => "/home/software/data/22/test_topic_22.json"
        start_position => "beginning"
        #点位存储位置
                sincedb_path => "/home/software/sincedb/filedatahub"
        codec => json {
            charset => "UTF-8"
        }
    }
}

filter{
    mutate {
      rename => {
        "col1"    =>    "col1"
        "col2"    =>    "col2"
      }
    }

}
output {

   datahub {
      access_id => "xxxx"
      access_key => "xxxx"
      endpoint => "http://dh-cn-shanghai-int-vpc.aliyuncs.com"
      project_name => "test_dh1"
      topic_name => "topic_test_2"
      #shard_id => "0"
      #shard_keys => ["thread_id"]
      dirty_data_continue => true
      dirty_data_file => "/home/software/dirty_vehIdInfo.data"
      dirty_data_file_max_size => 1000
   }

}
运行命令及结果
bash bin/logstash -f config/logstash.conf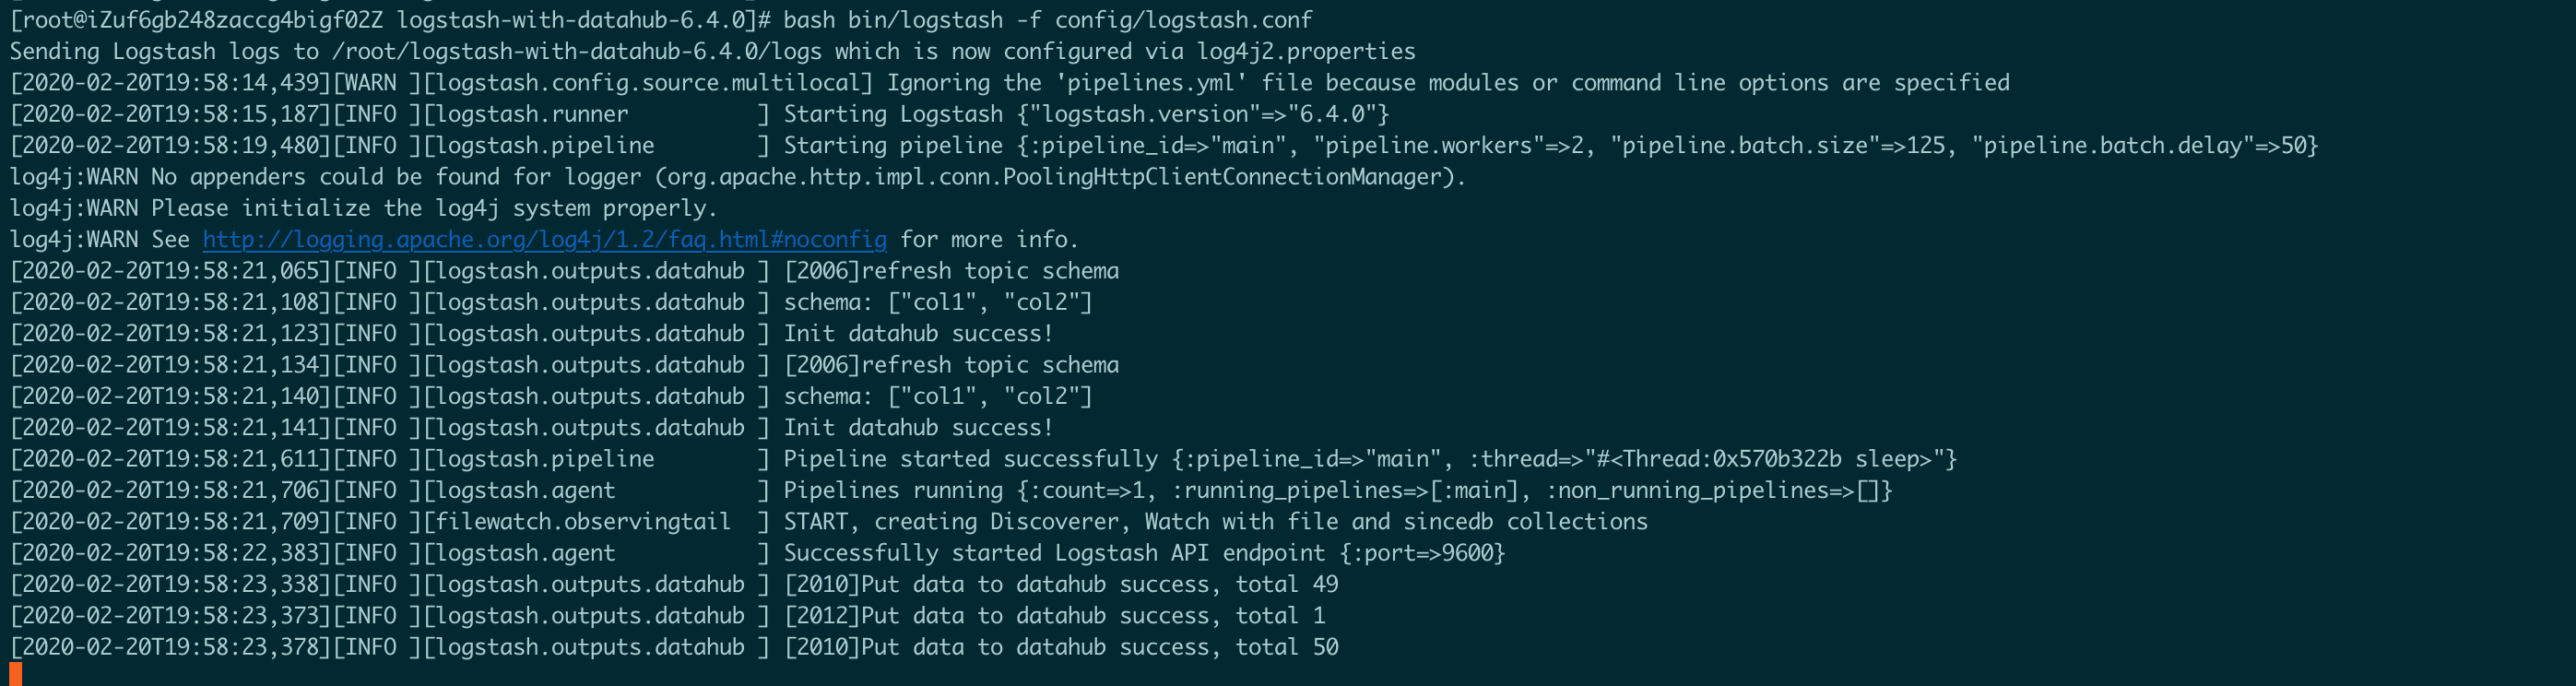
多对多同步(多个JSON文件同步到多个topic)
JSON文件样例(放到/home/software/data/22/test_topic_22.json)
[{"col1":"aaaaa","col2":222},{"col1":"aaaaa","col2":222},{"col1":"aaaaa","col2":222},{"col1":"aaaaa","col2":222},{"col1":"aaaaa","col2":222},{"col1":"aaaaa","col2":222},{"col1":"aaaaa","col2":222},{"col1":"aaaaa","col2":222},{"col1":"aaaaa","col2":222},{"col1":"aaaaa","col2":222}]
[{"col1":"aaaaa","col2":222},{"col1":"aaaaa","col2":222},{"col1":"aaaaa","col2":222},{"col1":"aaaaa","col2":222},{"col1":"aaaaa","col2":222},{"col1":"aaaaa","col2":222},{"col1":"aaaaa","col2":222},{"col1":"aaaaa","col2":222},{"col1":"aaaaa","col2":222},{"col1":"aaaaa","col2":222}]
JSON文件样例(放到/home/software/data/11/test_topic.json)
[{"col1":"aaaaa","col2":"bbbbbb"},{"col1":"aaaaa","col2":"bbbbbb"},{"col1":"aaaaa","col2":"bbbbbb"},{"col1":"aaaaa","col2":"bbbbbb"},{"col1":"aaaaa","col2":"bbbbbb"}]
[{"col1":"aaaaa","col2":"bbbbbb"},{"col1":"aaaaa","col2":"bbbbbb"},{"col1":"aaaaa","col2":"bbbbbb"},{"col1":"aaaaa","col2":"bbbbbb"},{"col1":"aaaaa","col2":"bbbbbb"}]
[{"col1":"aaaaa","col2":"bbbbbb"},{"col1":"aaaaa","col2":"bbbbbb"},{"col1":"aaaaa","col2":"bbbbbb"},{"col1":"aaaaa","col2":"bbbbbb"},{"col1":"aaaaa","col2":"bbbbbb"}]
配置文件
input {
    file {
        path => "/home/software/data/**/*.json"
        start_position => "beginning"
        #点位存储位置
                sincedb_path => "/home/software/sincedb/filedatahub"
        codec => json {
            charset => "UTF-8"
        }
    }
}

filter{
  #用path来区分
    if "22"  in [path] {
        mutate {
          rename => {
            "col1"        =>    "col1"
            "col2"        =>    "col2"
          }
        }
    }
    if "11" in [path] {
        mutate {
          rename => {
            "col1"    =>    "col1"
            "col2"    =>    "col2"
          }
        }
    }


}
output {

    if "22"  in [path] {
      datahub {
        access_id => "xxxxx"
        access_key => "xxxxx"
        endpoint => "http://dh-cn-shanghai-int-vpc.aliyuncs.com"
        project_name => "test_dh1"
        topic_name => "topic_test_2"
        #shard_id => "0"
        #shard_keys => ["thread_id"]
        dirty_data_continue => true
        dirty_data_file => "/home/software/dirty_vehIdInfo.data"
        dirty_data_file_max_size => 1000
      }
    }

    if "11"  in [path] {
      datahub {
        access_id => "xxxxx"
        access_key => "xxxxx"
        endpoint => "http://dh-cn-shanghai-int-vpc.aliyuncs.com"
        project_name => "test_dh1"
        topic_name => "topic_test"
        #shard_id => "0"
        #shard_keys => ["thread_id"]
        dirty_data_continue => true
        dirty_data_file => "/home/software/dirty.data"
        dirty_data_file_max_size => 1000
    }
    }


}
运行命令及结果
bash bin/logstash -f config/logstash.conf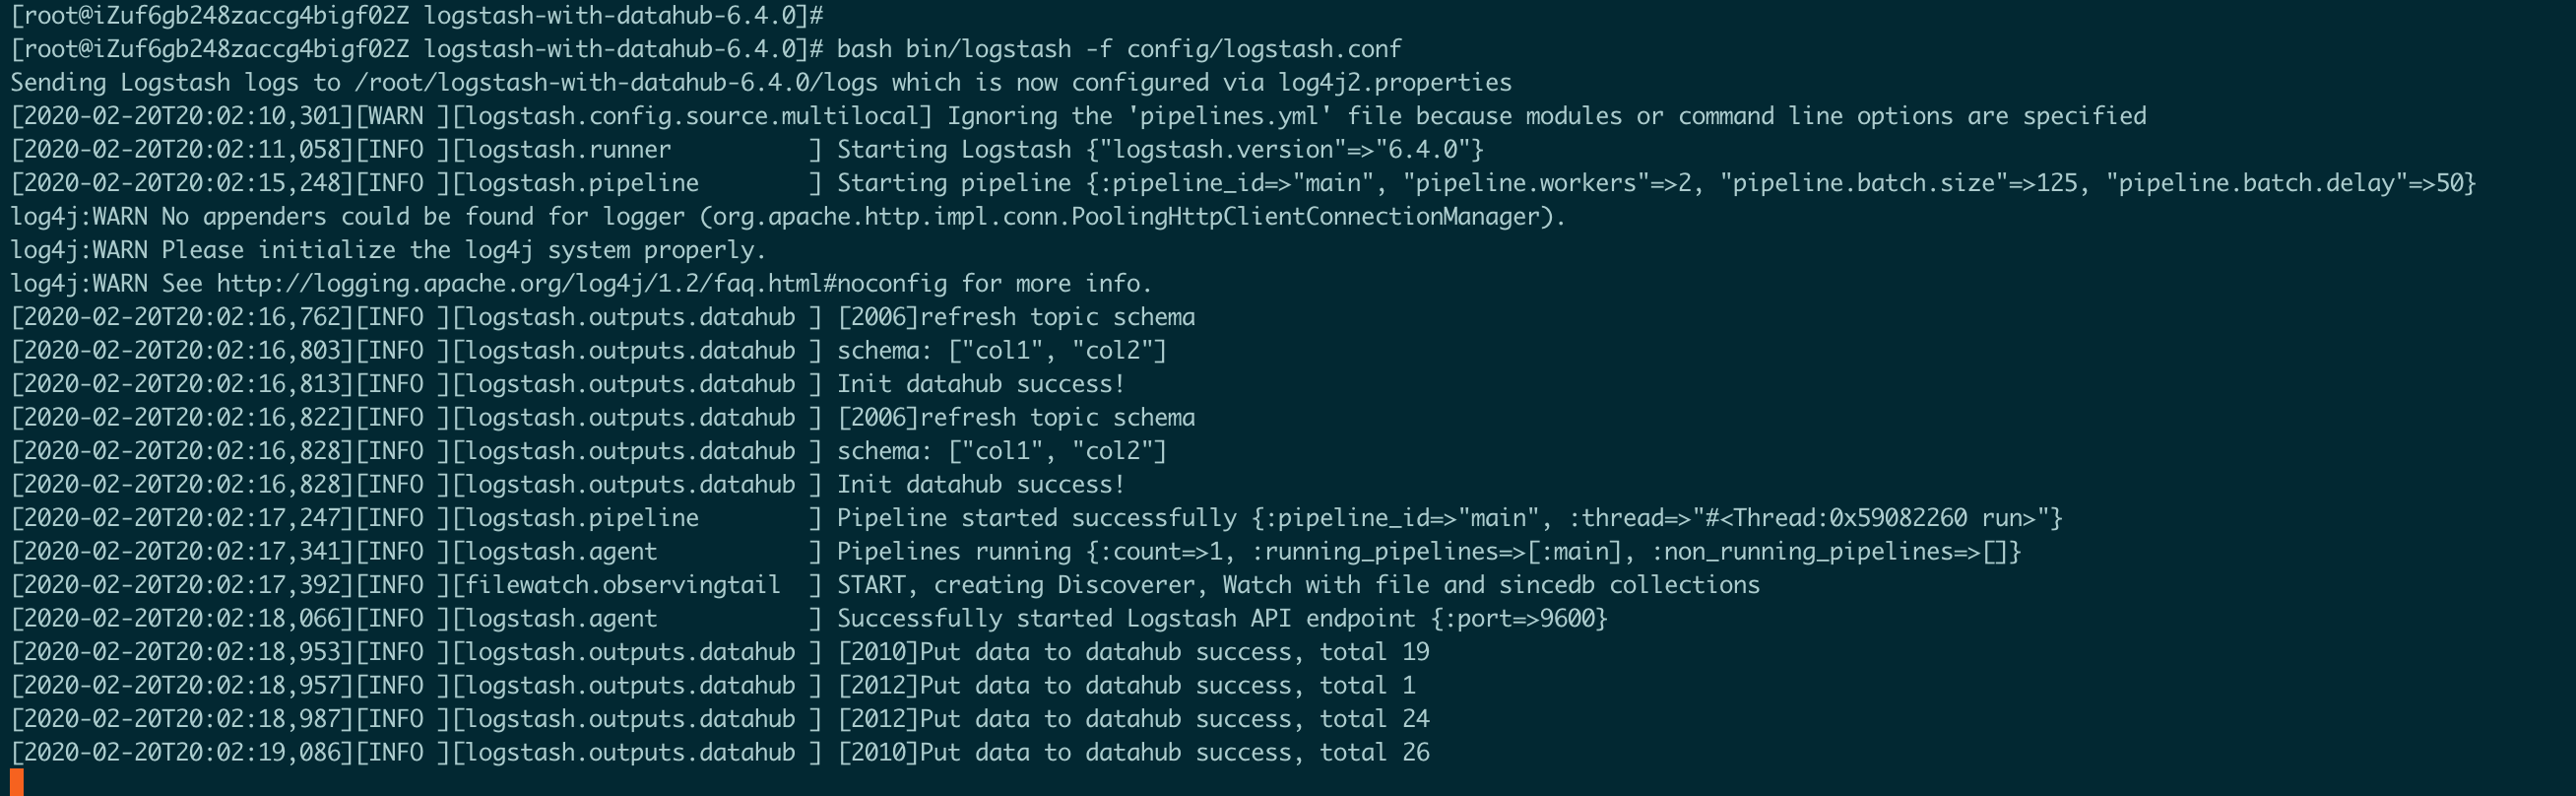
一对多同步(一个JSON文件根据某个key来路由不同的topic)
[{"col1":"aaaaa","col2":222},{"col1":"aaaaa","col2":222},{"col1":"aaaaa","col2":222},{"col1":"aaaaa","col2":222},{"col1":"aaaaa","col2":222},{"col1":"aaaaa","col2":222},{"col1":"aaaaa","col2":222},{"col1":"aaaaa","col2":222},{"col1":"aaaaa","col2":222},{"col1":"aaaaa","col2":222}]
[{"col1":"aaaaa","col2":222},{"col1":"aaaaa","col2":222},{"col1":"aaaaa","col2":222},{"col1":"aaaaa","col2":222},{"col1":"aaaaa","col2":222},{"col1":"aaaaa","col2":222},{"col1":"aaaaa","col2":222},{"col1":"aaaaa","col2":222},{"col1":"aaaaa","col2":222},{"col1":"aaaaa","col2":222}]
[{"col1":"bbbbb","col2":"ccccc"},{"col1":"bbbbb","col2":"ccccc"},{"col1":"bbbbb","col2":"ccccc"},{"col1":"bbbbb","col2":"ccccc"},{"col1":"bbbbb","col2":"ccccc"},{"col1":"bbbbb","col2":"ccccc"},{"col1":"bbbbb","col2":"ccccc"},{"col1":"bbbbb","col2":"ccccc"},{"col1":"bbbbb","col2":"ccccc"},{"col1":"bbbbb","col2":"ccccc"}]
[{"col1":"bbbbb","col2":"ccccc"},{"col1":"bbbbb","col2":"ccccc"},{"col1":"bbbbb","col2":"ccccc"},{"col1":"bbbbb","col2":"ccccc"},{"col1":"bbbbb","col2":"ccccc"},{"col1":"bbbbb","col2":"ccccc"},{"col1":"bbbbb","col2":"ccccc"},{"col1":"bbbbb","col2":"ccccc"},{"col1":"bbbbb","col2":"ccccc"},{"col1":"bbbbb","col2":"ccccc"}]
配置文件如下:
input {
    file {
        path => "/home/software/data/22/test_topic_22.json"
        start_position => "beginning"
    sincedb_path => "/home/software/sincedb/filedatahub"
        codec => json {
            charset => "UTF-8"
        }
    }
}

filter{
    mutate {
      rename => {
        "col1"    =>    "col1"
        "col2"    =>    "col2"
      }
    }

}
output {

     # 根据col1的值来路由到不同的topic
   if[col1] == "aaaaa" {
     datahub {
        access_id => "xxxxx"
        access_key => "xxxxx"
        endpoint => "http://dh-cn-shanghai-int-vpc.aliyuncs.com"
        project_name => "test_dh1"
        topic_name => "topic_test_2"
        #shard_id => "0"
        #shard_keys => ["thread_id"]
        dirty_data_continue => true
        dirty_data_file => "/home/software/dirty_vehIdInfo.data"
        dirty_data_file_max_size => 1000
     }
   }
   else {
     datahub {
          access_id => "xxxxx"
          access_key => "xxxxx"
          endpoint => "http://dh-cn-shanghai-int-vpc.aliyuncs.com"
          project_name => "test_dh1"
          topic_name => "topic_test"
          #shard_id => "0"
          #shard_keys => ["thread_id"]
          dirty_data_continue => true
          dirty_data_file => "/home/software/dirty_vehIdInfo.data"
          dirty_data_file_max_size => 1000
     }
   }

}
运行命令及结果
bash bin/logstash -f config/logstash.conf
同步MySQL数据到logstash
配置文件如下:
input {
jdbc {
jdbc_driver_library => "mysql-connector-java-5.1.47.jar"
jdbc_driver_class => "com.mysql.jdbc.Driver"
jdbc_connection_string => "jdbc:mysql://xxxx:3306/databaese"
jdbc_user => "username"
jdbc_password => "password"
use_column_value => true
tracking_column => "modifytime"
schedule => "* * * * *"
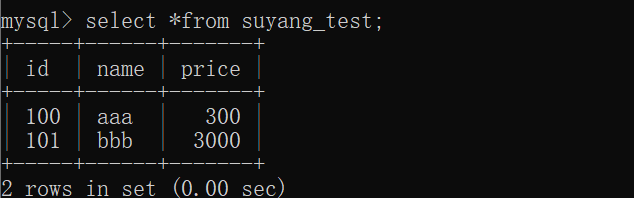
statement => "select * from suyang_test"
}
}
output {
datahub {
access_id => "Your accessId"
access_key => "Your accessKey"
endpoint => "Endpoint"
project_name => "project"
topic_name => "topic"
#shard_id => "0"
#shard_keys => ["thread_id"]
dirty_data_continue => true
dirty_data_file => "/Users/ph0ly/trash/dirty.data"
dirty_data_file_max_size => 1000
}
}运行Logstash
使用如下命令启动Logstash:
logstash -f <上述配置文件地址>batch_size是每次向DataHub发送的记录条数,默认为125,指定batch_size启动Logstash:
logstash -f <上述配置文件地址> -b 256参数
参数说明如下:
    access_id(Required): 阿里云access id
    access_key(Required): 阿里云access key
    endpoint(Required): 阿里云datahub的服务地址
    project_name(Required): datahub项目名称
    topic_name(Required): datahub topic名称
    retry_times(Optional): 重试次数,-1为无限重试、0为不重试、>0表示需要有限次数, 默认值为-1
    retry_interval(Optional): 下一次重试的间隔,单位为秒,默认值为5
    skip_after_retry(Optional): 当由DataHub异常导致的重试超过重试次数,是否跳过这一轮上传的数据,默认为false
    approximate_request_bytes(Optional): 用于限制每次发送请求的字节数,是一个近似值,防止因request body过大而被拒绝接收,默认为2048576(2MB)
    shard_keys(Optional):数组类型,数据落shard的字段名称,插件会根据这些字段的值计算hash将每条数据落某个shard, 注意shard_keys和shard_id都未指定,默认轮询落shard
    shard_id(Optional): 所有数据落指定的shard,注意shard_keys和shard_id都未指定,默认轮询落shard
    dirty_data_continue(Optional): 脏数据是否继续运行,默认为false,如果指定true,则遇到脏数据直接无视,继续处理数据。当开启该开关,必须指定@dirty_data_file文件
    dirty_data_file(Optional): 脏数据文件名称,当数据文件名称,在@dirty_data_continue开启的情况下,需要指定该值。特别注意:脏数据文件将被分割成两个部分.part1和.part2,part1作为更早的脏数据,part2作为更新的数据
    dirty_data_file_max_size(Optional): 脏数据文件的最大大小,该值保证脏数据文件最大大小不超过这个值,目前该值仅是一个参考值
    enable_pb(Optional): 默认使用pb传输,专有云如不支持pb,手动设置为false
使用DataHub Logstash Input插件读取DataHub中数据
消费DataHub数据写入文件
logstash的配置如下:
input {
    datahub {
        access_id => "Your accessId"
        access_key => "Your accessKey"
        endpoint => "Endpoint"
        project_name => "test_project"
        topic_name => "test_topic"
        interval=> 5
        #cursor => {
        #    "0"=>"20000000000000000000000003110091"
        #    "2"=>"20000000000000000000000003110091"
        #    "1"=>"20000000000000000000000003110091"
        #    "4"=>"20000000000000000000000003110091"
        #    "3"=>"20000000000000000000000003110000"
        #}
        shard_ids => []
        pos_file => "/home/admin/logstash/pos_file"
    }
}

output {
    file {
        path => "/home/admin/logstash/output"
    }
}
参数介绍
    access_id(Required): 阿里云access id
    access_key(Required): 阿里云access key
    endpoint(Required): 阿里云datahub的服务地址
    project_name(Required): datahub项目名称
    topic_name(Required): datahub topic名称
    retry_times(Optional): 重试次数,-1为无限重试、0为不重试、>0表示需要有限次数
    retry_interval(Optional): 下一次重试的间隔,单位为秒
    shard_ids(Optional):数组类型,需要消费的shard列表,空列表默认全部消费
    cursor(Optional):消费起点,默认为空,表示从头开始消费
    pos_file(Required):checkpoint记录文件,必须配置,优先使用checkpoint恢复消费offset
    enable_pb(Optional): 默认使用pb传输,专有云如不支持pb,手动设置为false
    compress_method(Optional): 网络传输的压缩算法,默认不压缩,可选项有"lz4", "deflate"
    print_debug_info(Optional): 打印datahub的debug信息,默认为false关闭,打开后会打印大量信息,仅作debug使用
FAQ
Q:如何将logstash的内置字段写入datahub
A: logstash有的每条记录都会带有额外字段,例如时间戳@timestamp,但是datahub不支持特殊字符的列名,这个时候就可以通过配置修改原有的列名,例如将@timestamp修改为column_name,就可以添加如下配置:
filter{
    mutate {
      rename => {
        "@timestamp" => "column_name"
      }
    }
更多
更多的配置参数请参考logstash官方网站,以及ELK stack中文指南