If your business experiences predictable changes in volume, you can configure scheduled tasks to ensure that enough computing resources are available before peak hours, and then release unused computing resources after peak hours. This helps ensure stable service delivery and maximize cost efficiency.
Design a scheduled scaling solution
Before you create a scheduled task, you must design a scheduled scaling solution.
Solution 1: Trigger scaling at a specific point in time
Scenario
If you can anticipate a sudden spike or drop in resource needs that will occur at a specific point in time, you can schedule automatic scaling to trigger at that point in time.
Implementation method
Create a scheduled task, specify the task trigger time, and then specify the scale-out or scale-in action. For more information, see Create a scheduled task.
Example
If your company hosts promotional events on Double 11, you can increase your computing resources on that day to meet your increased resource needs and ensure smooth operations. This will help maintain the stability of your business during this high-traffic period.
Solution 2: Trigger scaling based on a specific time period
Scenario
If your business experiences predictable fluctuations or if the resource utilization in your cluster fluctuates regularly over time, you can enable automatic scaling to adjust resources accordingly.
Implementation method
When resource utilization in the cluster increases, execute a scheduled task to trigger a scale-out event. When resource utilization in the cluster decreases, execute a scheduled task to trigger a scale-in event. For more information, see Create a scheduled task.
Example
For example, your cluster experiences an increase in traffic every evening at 19:00 and a decrease every morning at 01:00. To handle these fluctuations in business demand, you can create the following scheduled tasks:
Increased traffic: Enable a scheduled task to increase the number of service replicas every evening at 19:00. This improves the capability of the cluster to handle the increased traffic.
Decreased traffic: Enable a scheduled task to decrease the number of service replicas every morning at 01:00. This improves resource utilization and maximizes cost efficiency.
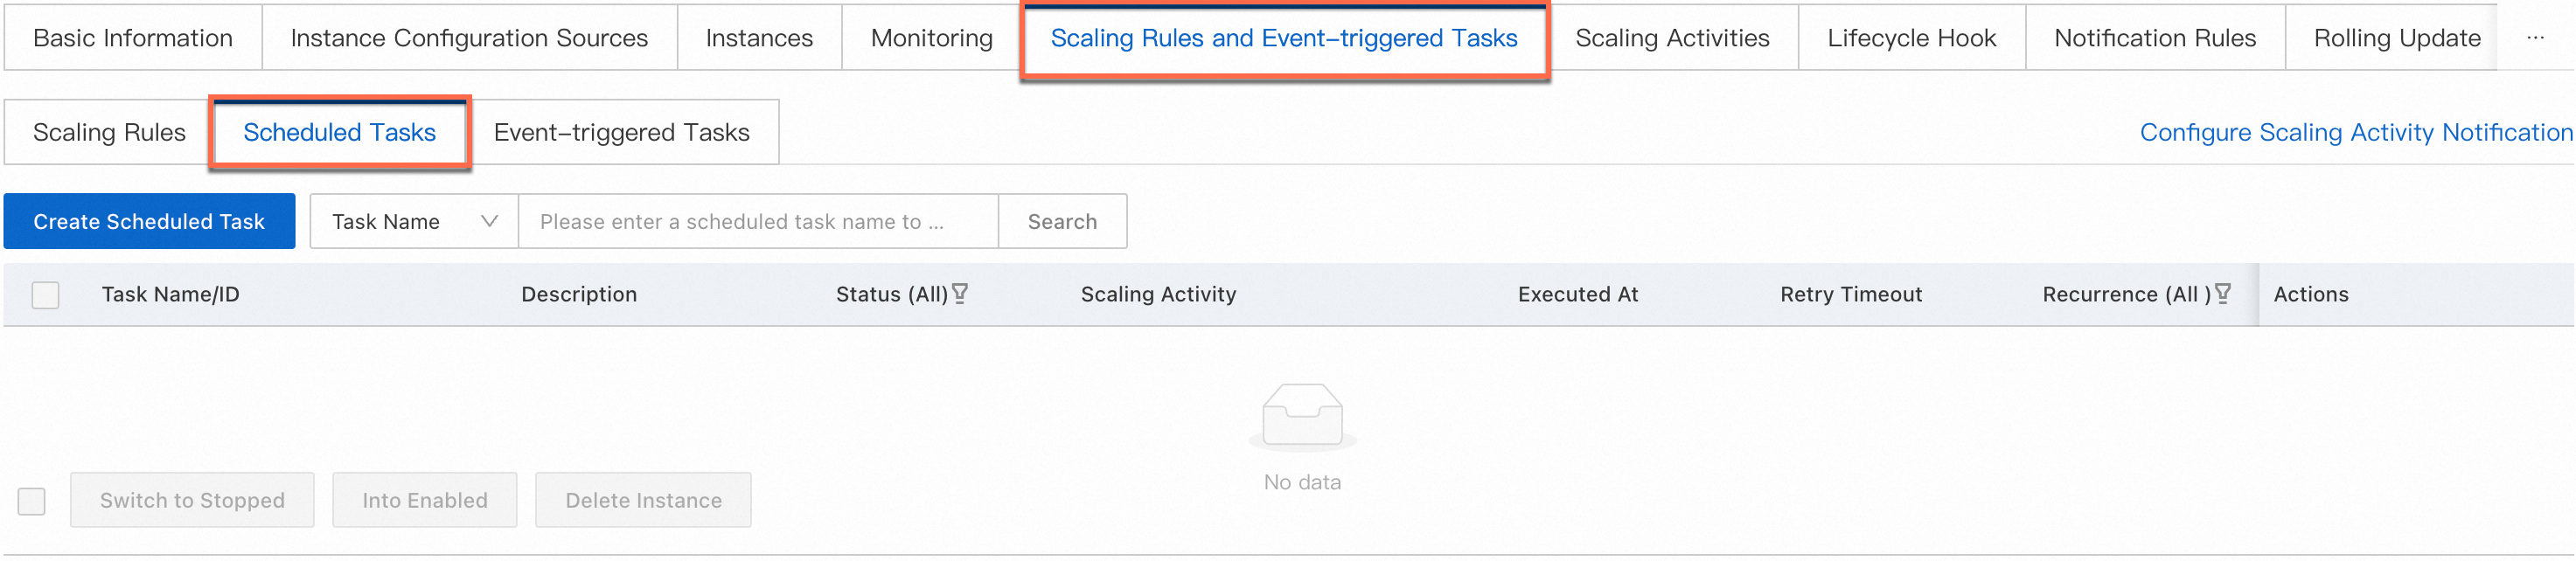
Go to the Scheduled Tasks page
You can manage scheduled tasks only on the Scheduled Tasks page. To go to the Scheduled Tasks page, perform the following steps:
Log on to the Auto Scaling console.
In the left-side navigation pane, click Scaling Groups.
In the top navigation bar, select a region.
On the Scaling Groups page, find the scaling group that you want to use and click its name to go to the scaling group details page.
Choose .
Create a scheduled task
After you design a scheduled scaling solution, you can proceed to create a scheduled task that implements the solution. To create a scheduled task, perform the following steps:
You can create only a limited number of scheduled tasks within an Alibaba Cloud account in a region. To view the quota of scheduled tasks that you can create in a region, go to Quota Center.
On the Scheduled Tasks page, click Create Scheduled Task. In the Create Scheduled Task dialog box, configure the parameters as prompted. The following tables describe the parameters.
Configure the basic information of the scheduled task.
Parameter
Description
Task Name
The name of the scheduled task that you want to create.
The name must be 2 to 64 characters in length and can contain letters, digits, periods (.), underscores (_), and hyphens (-). The name must start with a letter or a digit.
Description
The description of the scheduled task that you want to create. This parameter is optional.
The description must be 2 to 200 characters in length. You can use the description to explain the purpose of the task.
Configure the trigger time of the scheduled task.
Parameter
Description
Executed At
The point in time at which you want to execute the scheduled task.
If no value is specified for the Recurrence parameter, the scheduled task is executed only once at the time point specified by the Executed At parameter.
If a value is specified for the Recurrence parameter, the scheduled task is executed once at the time point specified by the Executed At parameter and is repeatedly executed based on the cycle specified by the Recurrence parameter.
ImportantMake sure that the execution time specified for a scheduled task is within 90 days from the date the scheduled task is created or modified. Otherwise, the scheduled task cannot take effect.
Retry Interval (Seconds)
The period of time during which Auto Scaling retries the scheduled task upon failures. This parameter is optional. Valid values: 0 to 1800. Unit: Seconds.
Recurrence
The cycle during which you want to repeatedly execute the scheduled task. This parameter is optional. Valid values: Not Set, By Day, By Week, By Month, and Cron Expression.
Expired At
The end time of the cycle during which you want to repeatedly execute the scheduled task. This parameter is available if you set the Recurrence parameter to By Day, By Week, By Month, or Cron Expression. The first point of time at which the scheduled task is executed must be earlier than the end time of the cycle.
Configure the scaling method of the scheduled task.
NoteAuto Scaling allows you to configure the following scaling methods in scheduled tasks:
Select Existing Scaling Rule: This method allows the scheduled task to add or remove N instances, add or remove N% instances, or adjust the total number of instances to N in the scaling group.
Configure Number of Instances in Scaling Group: This method allows the scheduled task to adjust the lower or upper limit of the scaling group capacity. If you enabled the Expected Number of Instances feature for the scaling group, this method also allows the scheduled task to adjust the expected number of instances in the scaling group.
Select Existing Scaling Rule
Parameter
Description
Scaling Method
If you set the Scaling Method parameter to Select Existing Scaling Rule, you must select an existing simple scaling rule.
Simple Scaling Rule
This parameter is available only if you set the Scaling Method parameter to Select Existing Scaling Rule. Select an existing simple scaling rule. For more information, see Configure scaling rules or CreateScalingRule.
Configure Number of Instances in Scaling Group
Parameter
Description
Scaling Method
If you set the Scaling Method parameter to Configure Number of Instances in Scaling Group, you must specify a new maximum number, minimum number, or expected number of instances.
Maximum Instances
The upper limit of the scaling group capacity.
Minimum Instances
The lower limit of the scaling group capacity.
Expected Instances
The expected size of the scaling group capacity. Auto Scaling adjusts the actual number of instances in the scaling group to maintain the expected size of the scaling group capacity.
Click OK.
Disable a scheduled task
After you create a scheduled task, the scheduled task is enabled by default. If a scheduled task is no longer required, you can disable it. You can disable only scheduled tasks that are enabled.
Procedure
On the Scheduled Tasks tab, find the scheduled task that you want to disable and click Disable in the Actions column.
Enable a scheduled task
You can enable a scheduled task that is disabled. After you enable the task, the task can be executed at the specified point in time. You can enable only scheduled tasks that are disabled.
Procedure
On the Scheduled Tasks tab, find the scheduled task that you want to enable and click Enable in the Actions column.
Modify a scheduled task
If a scheduled task no longer meets your business requirements, you can modify the scheduled task.
Procedure
On the Scheduled Tasks page, find the scheduled task that you want to modify and click Edit in the Actions column. Then, follow the on-screen instructions to modify the scheduled task.
For more information, see Create a scheduled task.
Delete a scheduled task
If you no longer require a scheduled task, you can delete the scheduled task.
Procedure
On the Scheduled Tasks page, find the scheduled task that you want to delete and click Delete in the Actions column. Then, follow the on-screen instructions to delete the scheduled task.