Use DataWorks Data Integration to migrate time series data from OpenTSDB to Time Series Database (TSDB). DataWorks supports five source types for migration to TSDB: TSDB, OpenTSDB, Prometheus, InfluxDB, and MySQL.
Prerequisites
Before you begin, make sure you have:
-
A DataWorks workspace. If you don't have one, log in to the DataWorks console and create a workspace.
-
A running OpenTSDB instance with data to migrate
-
A TSDB instance on Alibaba Cloud
-
The CIDR block of the region where your DataWorks workspace resides (required to configure whitelists)
Note: For large or time-sensitive migrations, consider creating an exclusive resource group before you begin. By default, DataWorks uses shared resource groups, which may be preempted by other tasks and slow down your migration. See Improve migration performance.
Migrate data
Step 1: Create a sync node
-
Log in to the DataWorks console and go to the DataStudio page.
-
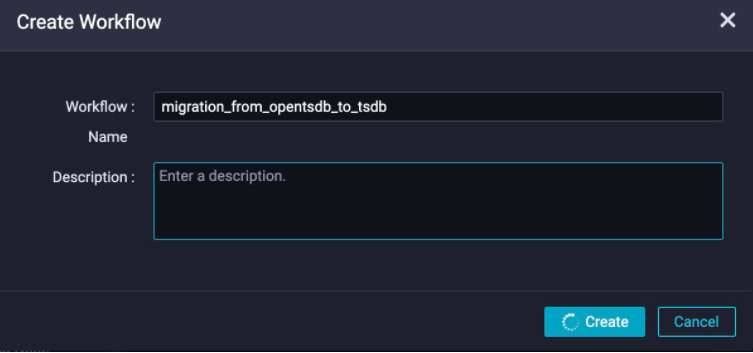
In the left navigation pane, right-click Business Flow and select Create Workflow. Enter a workflow name, for example,
migration_from_opentsdb_to_tsdb.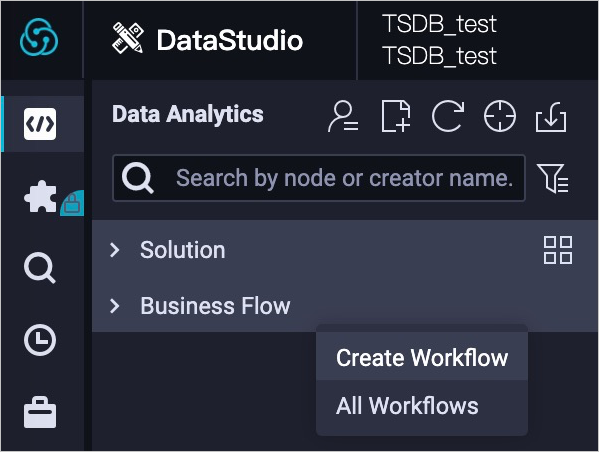
-
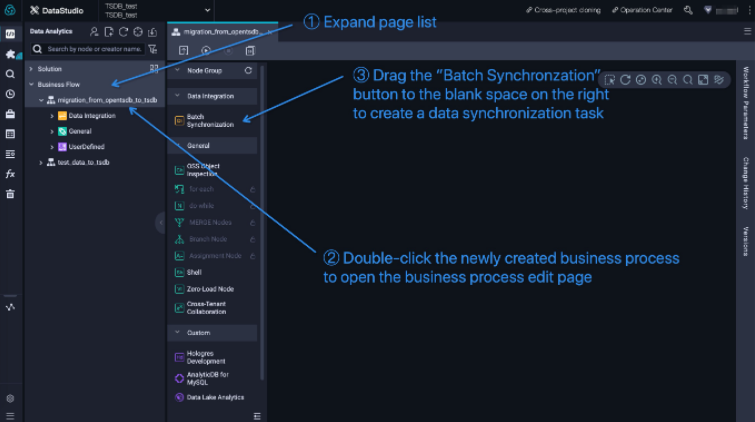
Inside the workflow, create a data synchronization task by following the three steps shown in the figure below.
-
In the dialog box, enter a name for the sync node, for example,
node1.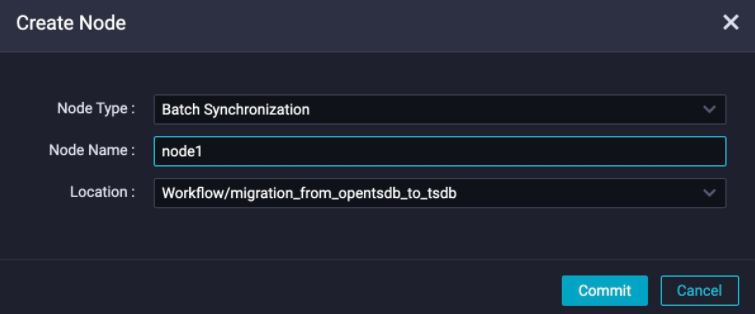
-
After the sync node is created,
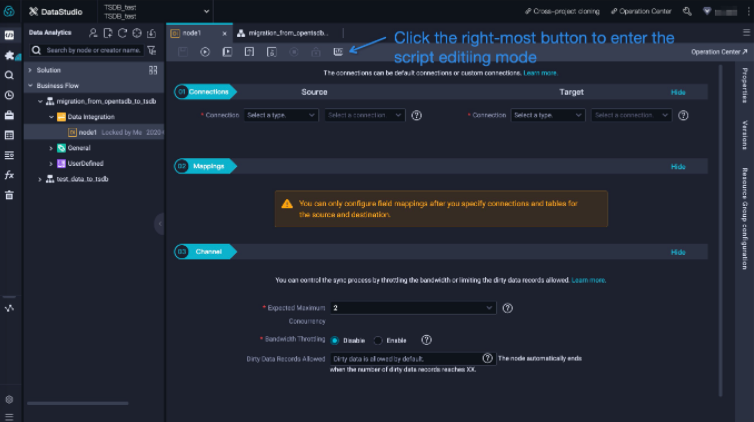
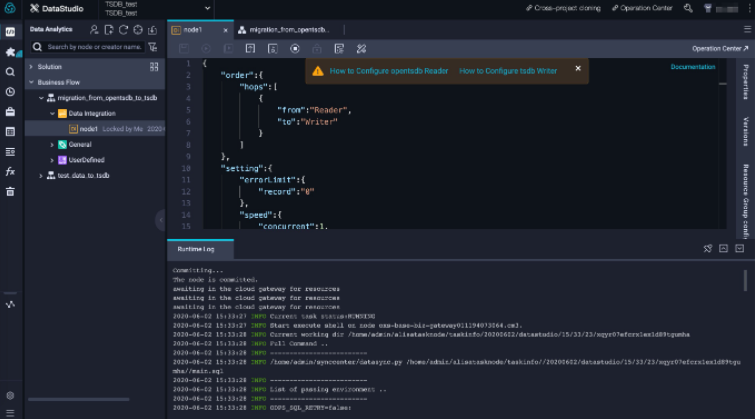
node1appears in the panel on the right. Double-clicknode1to open the configuration page. By default, the sync node uses the codeless UI. To switch to the code editor, click the rightmost icon in the top toolbar. The default configuration synchronizes data from Stream Reader to Stream Writer, which generate and print random strings without depending on external resources. To verify the setup, click the Run icon in the upper-left corner and check the execution log at the bottom of the page.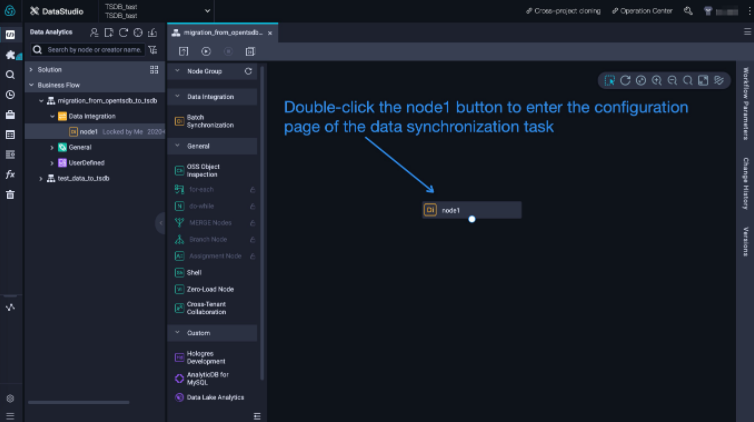
Step 2: Configure the sync node for OpenTSDB to TSDB migration
-
Click the import icon (
 ) in the toolbar to import a configuration template.
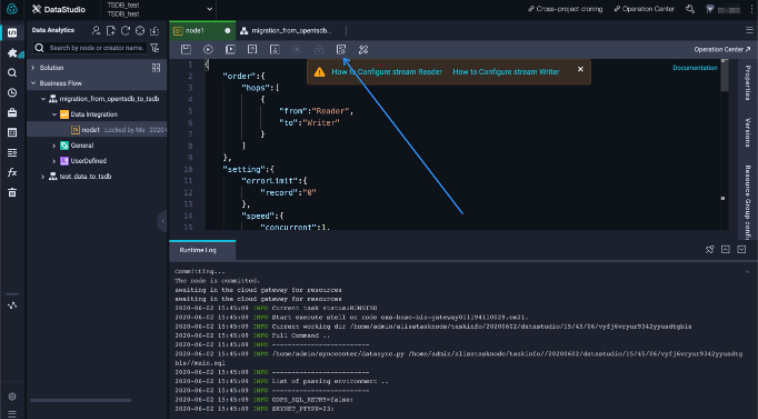
-
In the dialog box, set the source connection type to
OpenTSDBand the target connection type toTSDB, then click OK. After the template is imported, thestepTypeparameters change toopentsdbandtsdb, and the help documentation links update to OpenTSDB Reader and TSDB Writer.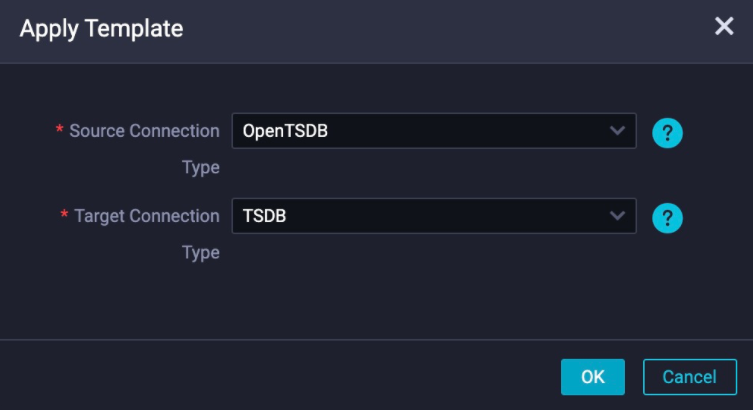

-
Edit the configuration to specify your migration parameters. The following example shows the full configuration:
{
  "type": "job",
  "steps": [
    {
      "stepType": "opentsdb",
      "parameter": {
        "endpoint": "http://<opentsdb-host>:4242",
        "column": ["<metric-name>"],
        "beginDateTime": "<start-time>",
        "endDateTime": "<end-time>"
      },
      "name": "Reader",
      "category": "reader"
    },
    {
      "stepType": "tsdb",
      "parameter": {
        "endpoint": "http://<tsdb-host>:8242"
      },
      "name": "Writer",
      "category": "writer"
    }
  ],
  "version": "2.0",
  "order": {
    "hops": [{ "from": "Reader", "to": "Writer" }]
  },
  "setting": {
    "errorLimit": { "record": "0" },
    "speed": { "throttle": false, "concurrent": 1, "dmu": 1 }
  }
}
Replace the placeholders with your actual values:
Placeholder Description Example <opentsdb-host>Hostname or IP address of the OpenTSDB instance 192.168.1.10<metric-name>Metric to migrate. Add multiple entries to migrate more than one metric. sys.cpu.user<start-time>Start of the time range to migrate, in yyyyMMddHHmmssformat20190101000000<end-time>End of the time range to migrate, in yyyyMMddHHmmssformat20190101030000<tsdb-host>Hostname or IP address of the TSDB instance tsdb-xxxxx.cn-shanghai.hitsdb.rds.aliyuncs.comFor details about all available parameters, click the OpenTSDB Reader and TSDB Writer links at the top of the configuration page.
Step 3: Configure whitelists
DataWorks uses its resource group's IP addresses to connect to your data sources. Add these CIDR blocks to both the OpenTSDB security group and the TSDB whitelist before running the sync node.
-
Find the CIDR blocks for the region where your DataWorks workspace resides. In the DataWorks V2.0 documentation, go to User Guide > Data Integration > Common configurations > Configure a whitelist.
-
If your OpenTSDB instance runs on an ECS instance, add the CIDR blocks to the ECS security group. Include addresses for both HBase nodes and TSD nodes — HBase is the underlying storage system for OpenTSDB.
-
Add the same CIDR blocks to the whitelist of your TSDB instance. In the TSDB documentation, go to Quick Start > Set the IP address whitelist.
Step 4: Run the sync node
Click the Run icon to start the data synchronization. Monitor the progress in the execution log at the bottom of the page.
Improve migration performance
By default, DataWorks uses shared resource groups to run sync nodes. Shared resources may be preempted by other tasks, which can slow down large migrations.
For time-sensitive or large-scale migrations, create an exclusive resource group in DataWorks to guarantee dedicated compute capacity.