Currently, data form supports 12 types of components, including basic components and advanced components. This topic describes the basic operations and common configurations of components.
Scenario
Component Type |
Exporter Name |
Scenario |
Basic widgets |
You can add a single line of text data, such as Name, Position, and Invoicing Company. |
|
You can add complex and multi-line text data, such as detailed addresses and notes. |
||
This parameter is used to add numeric data, such as competition scores and consumption amounts. |
||
You can use the Date control to add date data. such as birth time and questionnaire completion date. |
||
Directly click the selection, which is used in scenarios where data options are less available and can be displayed directly. such as gender. |
||
Select from the drop-down menu for scenarios with a large number of data options. such as province and employee number. |
||
Select one or more from the drop-down list. This parameter is used in scenarios where multiple data options are available, such as Hobbies and service reviews. |
||
Advanced Components |
This parameter is used in cascading scenarios where you can select a limited number of options. For example, you can view the cities in a province. |
|
Enter a text description, such as conditions and description. |
||
It is used in scenarios where you need to upload image descriptions, such as uploading income certificates and reimbursement invoices. |
||
It is used in scenarios where you need to score relevant content, such as product reviews and service ratings. |
||
You can use this method to re-layout existing controls. You can drag and drop existing controls to the column control. |
Perform basic operations
Add a component
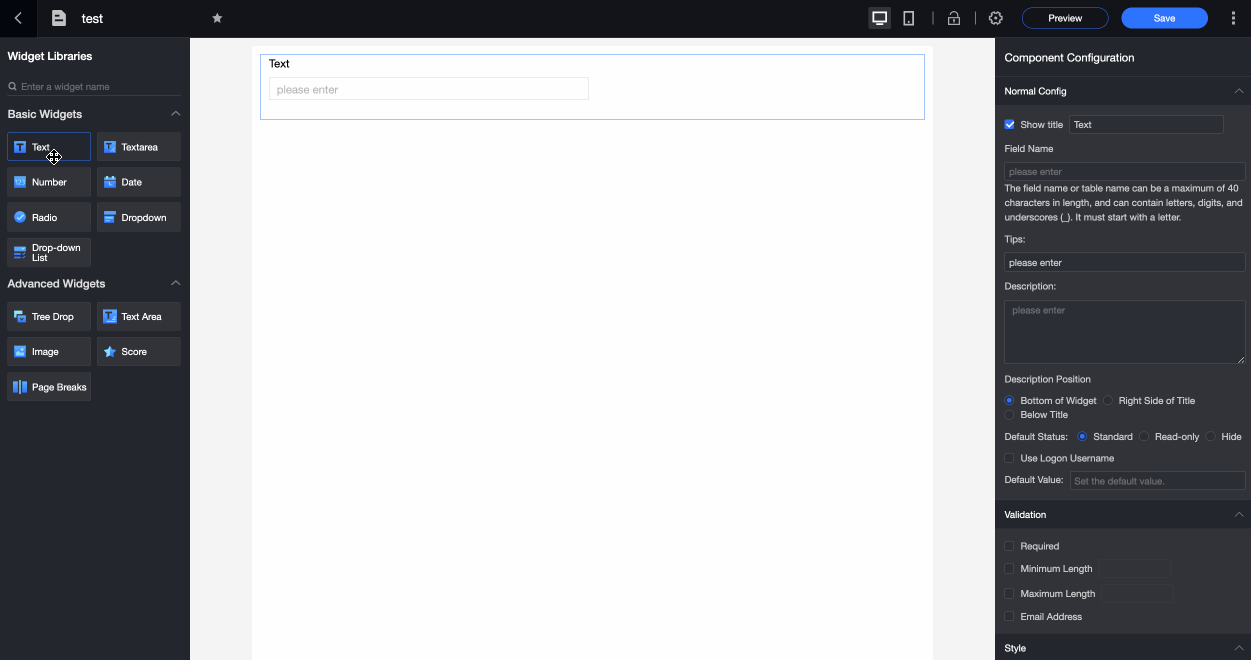
On the Form page, you can drag or click a widget on the left to add form content.
Copy a component
Click the icon in the upper-right corner ![]() to copy the selected component.
to copy the selected component.
Delete a component
Click the icon in the upper-right corner ![]() of the widget to delete the widget.
of the widget to delete the widget.

Common Settings
Basic Settings
Parameter |
Description |
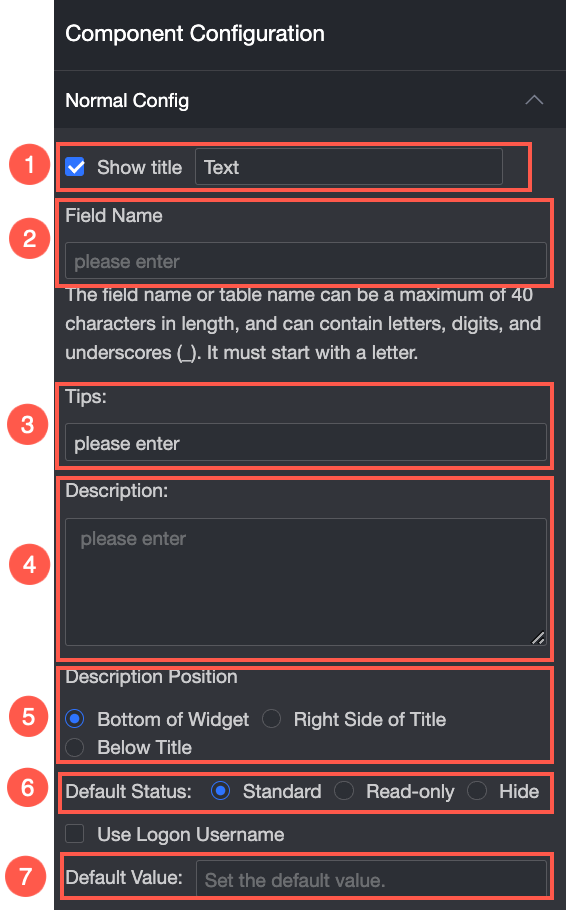 |
① Display Title: Select whether to display the title of the control. You can customize the display name of the control as the column name of the data form. |
② Table Field Name: the name of the corresponding field in the table created based on the data form.
Note
The field or table name must start with a letter and can contain letters, digits, and underscores (_). The name can be up to 40 characters in length. |
|
③ Prompt Text: specifies the prompt information for the input of the control. For example, enter. |
|
Description: the description of the custom control. |
|
⑤ Description Information Location: Specify the location of the description information. The following options are available: Bottom, Right, and Below. |
|
Default State: specifies the default state of the widget. The valid values are Normal, Read-only, and Hidden. |
|
Default Value: the default value of the widget. |
Validation
Specify whether the widget is required and the value range.
Style
Set the width of the widget. You can select Default or Entire Row.