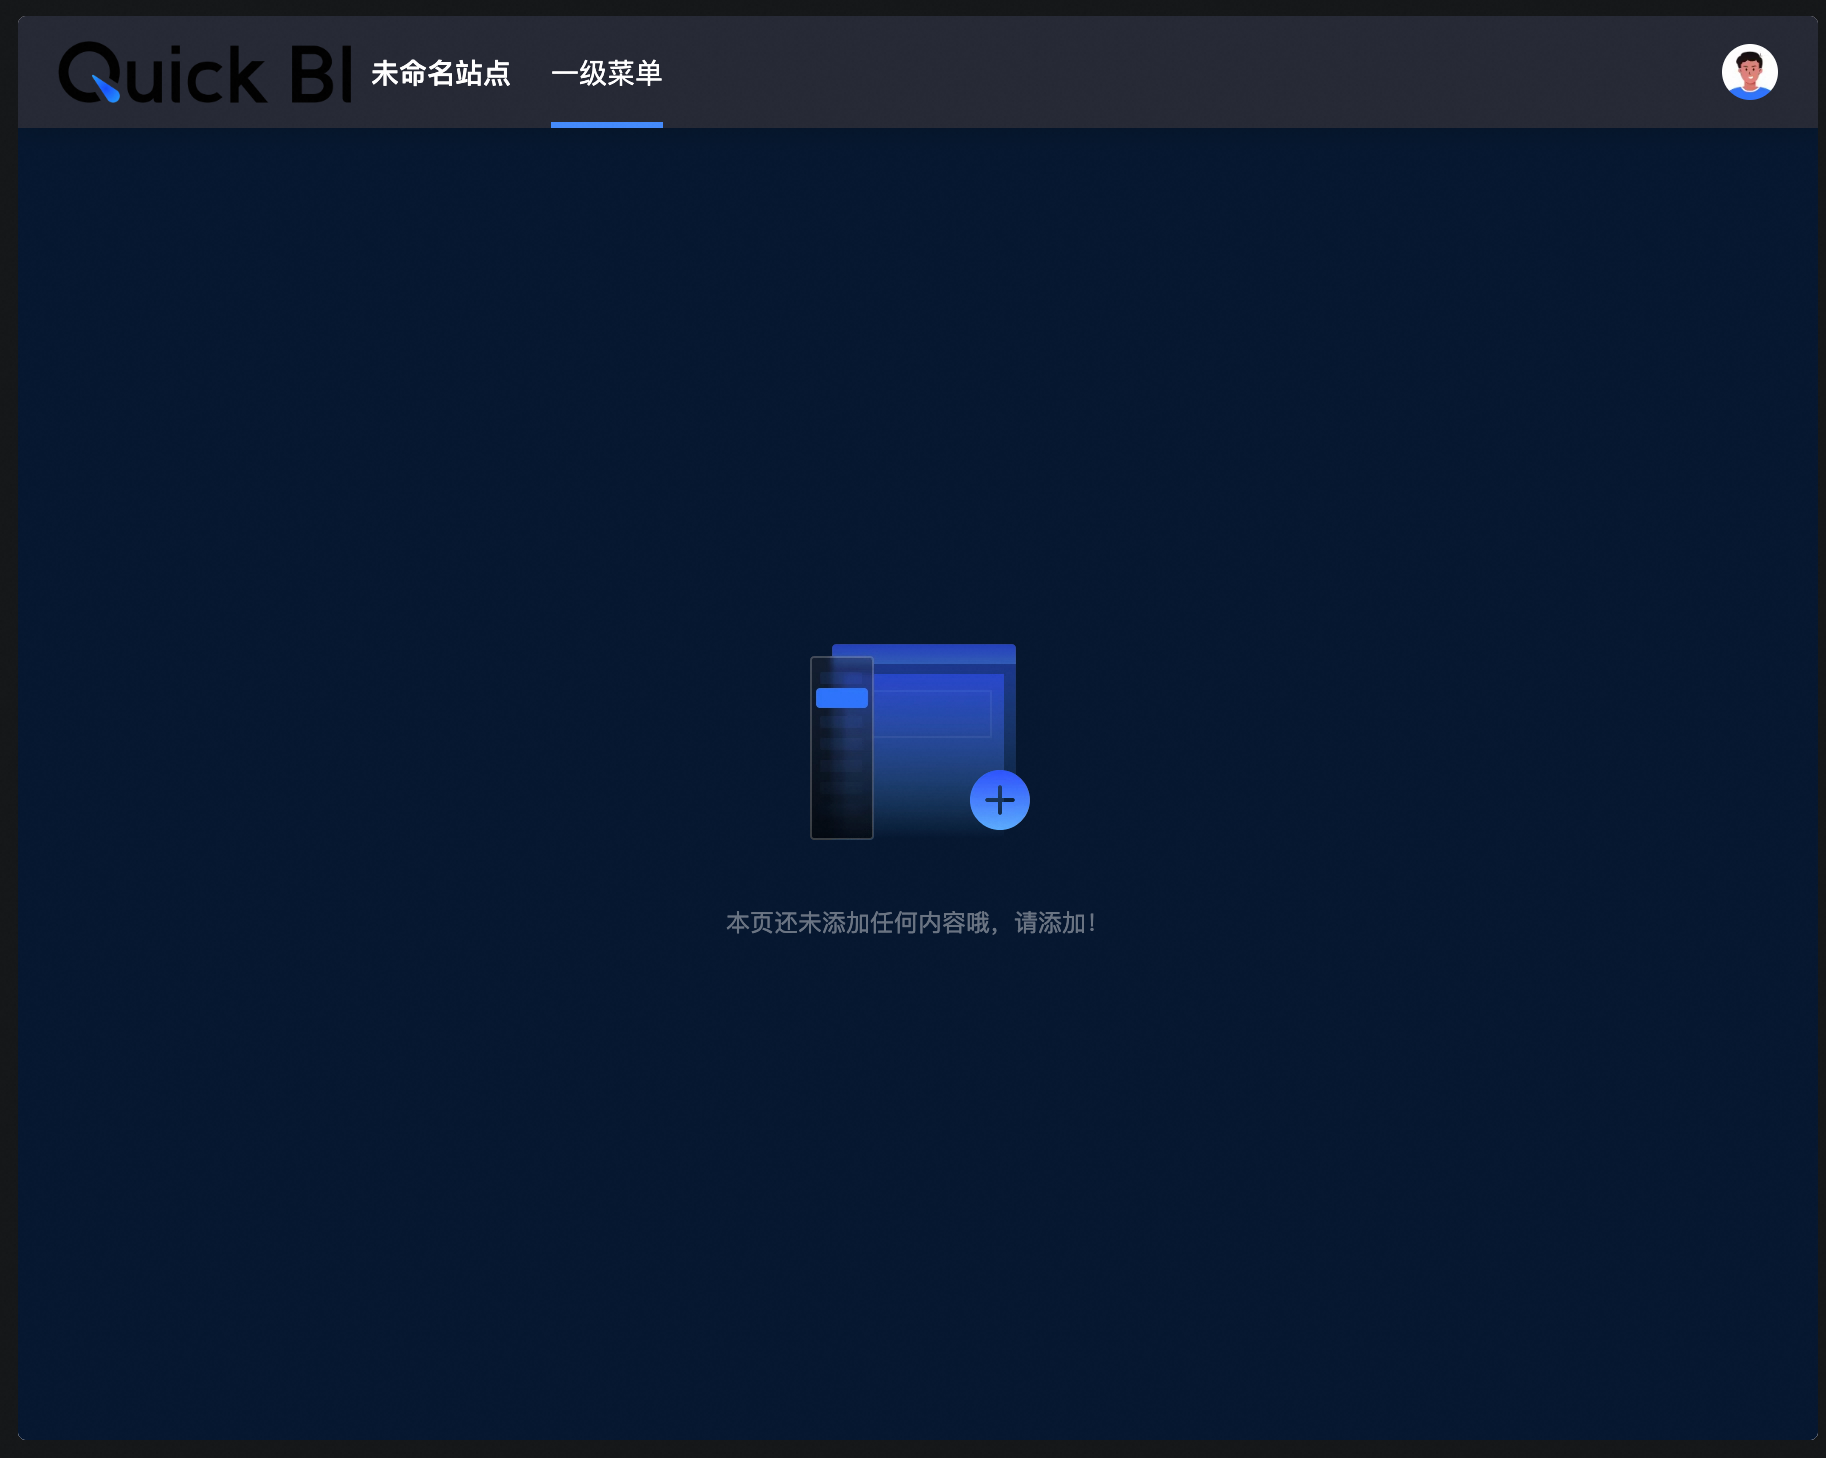
数据门户是通过菜单形式组织的数据作品(仪表板、电子表格、数据大屏、即席分析、数据填报、自助取数)和外部链接的集合。通过数据门户您可以制作复杂的带导航菜单,用于专题类分析。本文将为您介绍如何新建PC端数据门户。
门户配置
将页面顶端的终端滑块切换至![]() 图标,即可进行PC端的门户配置。
图标,即可进行PC端的门户配置。
操作入口
在顶部单击门户设置图标。
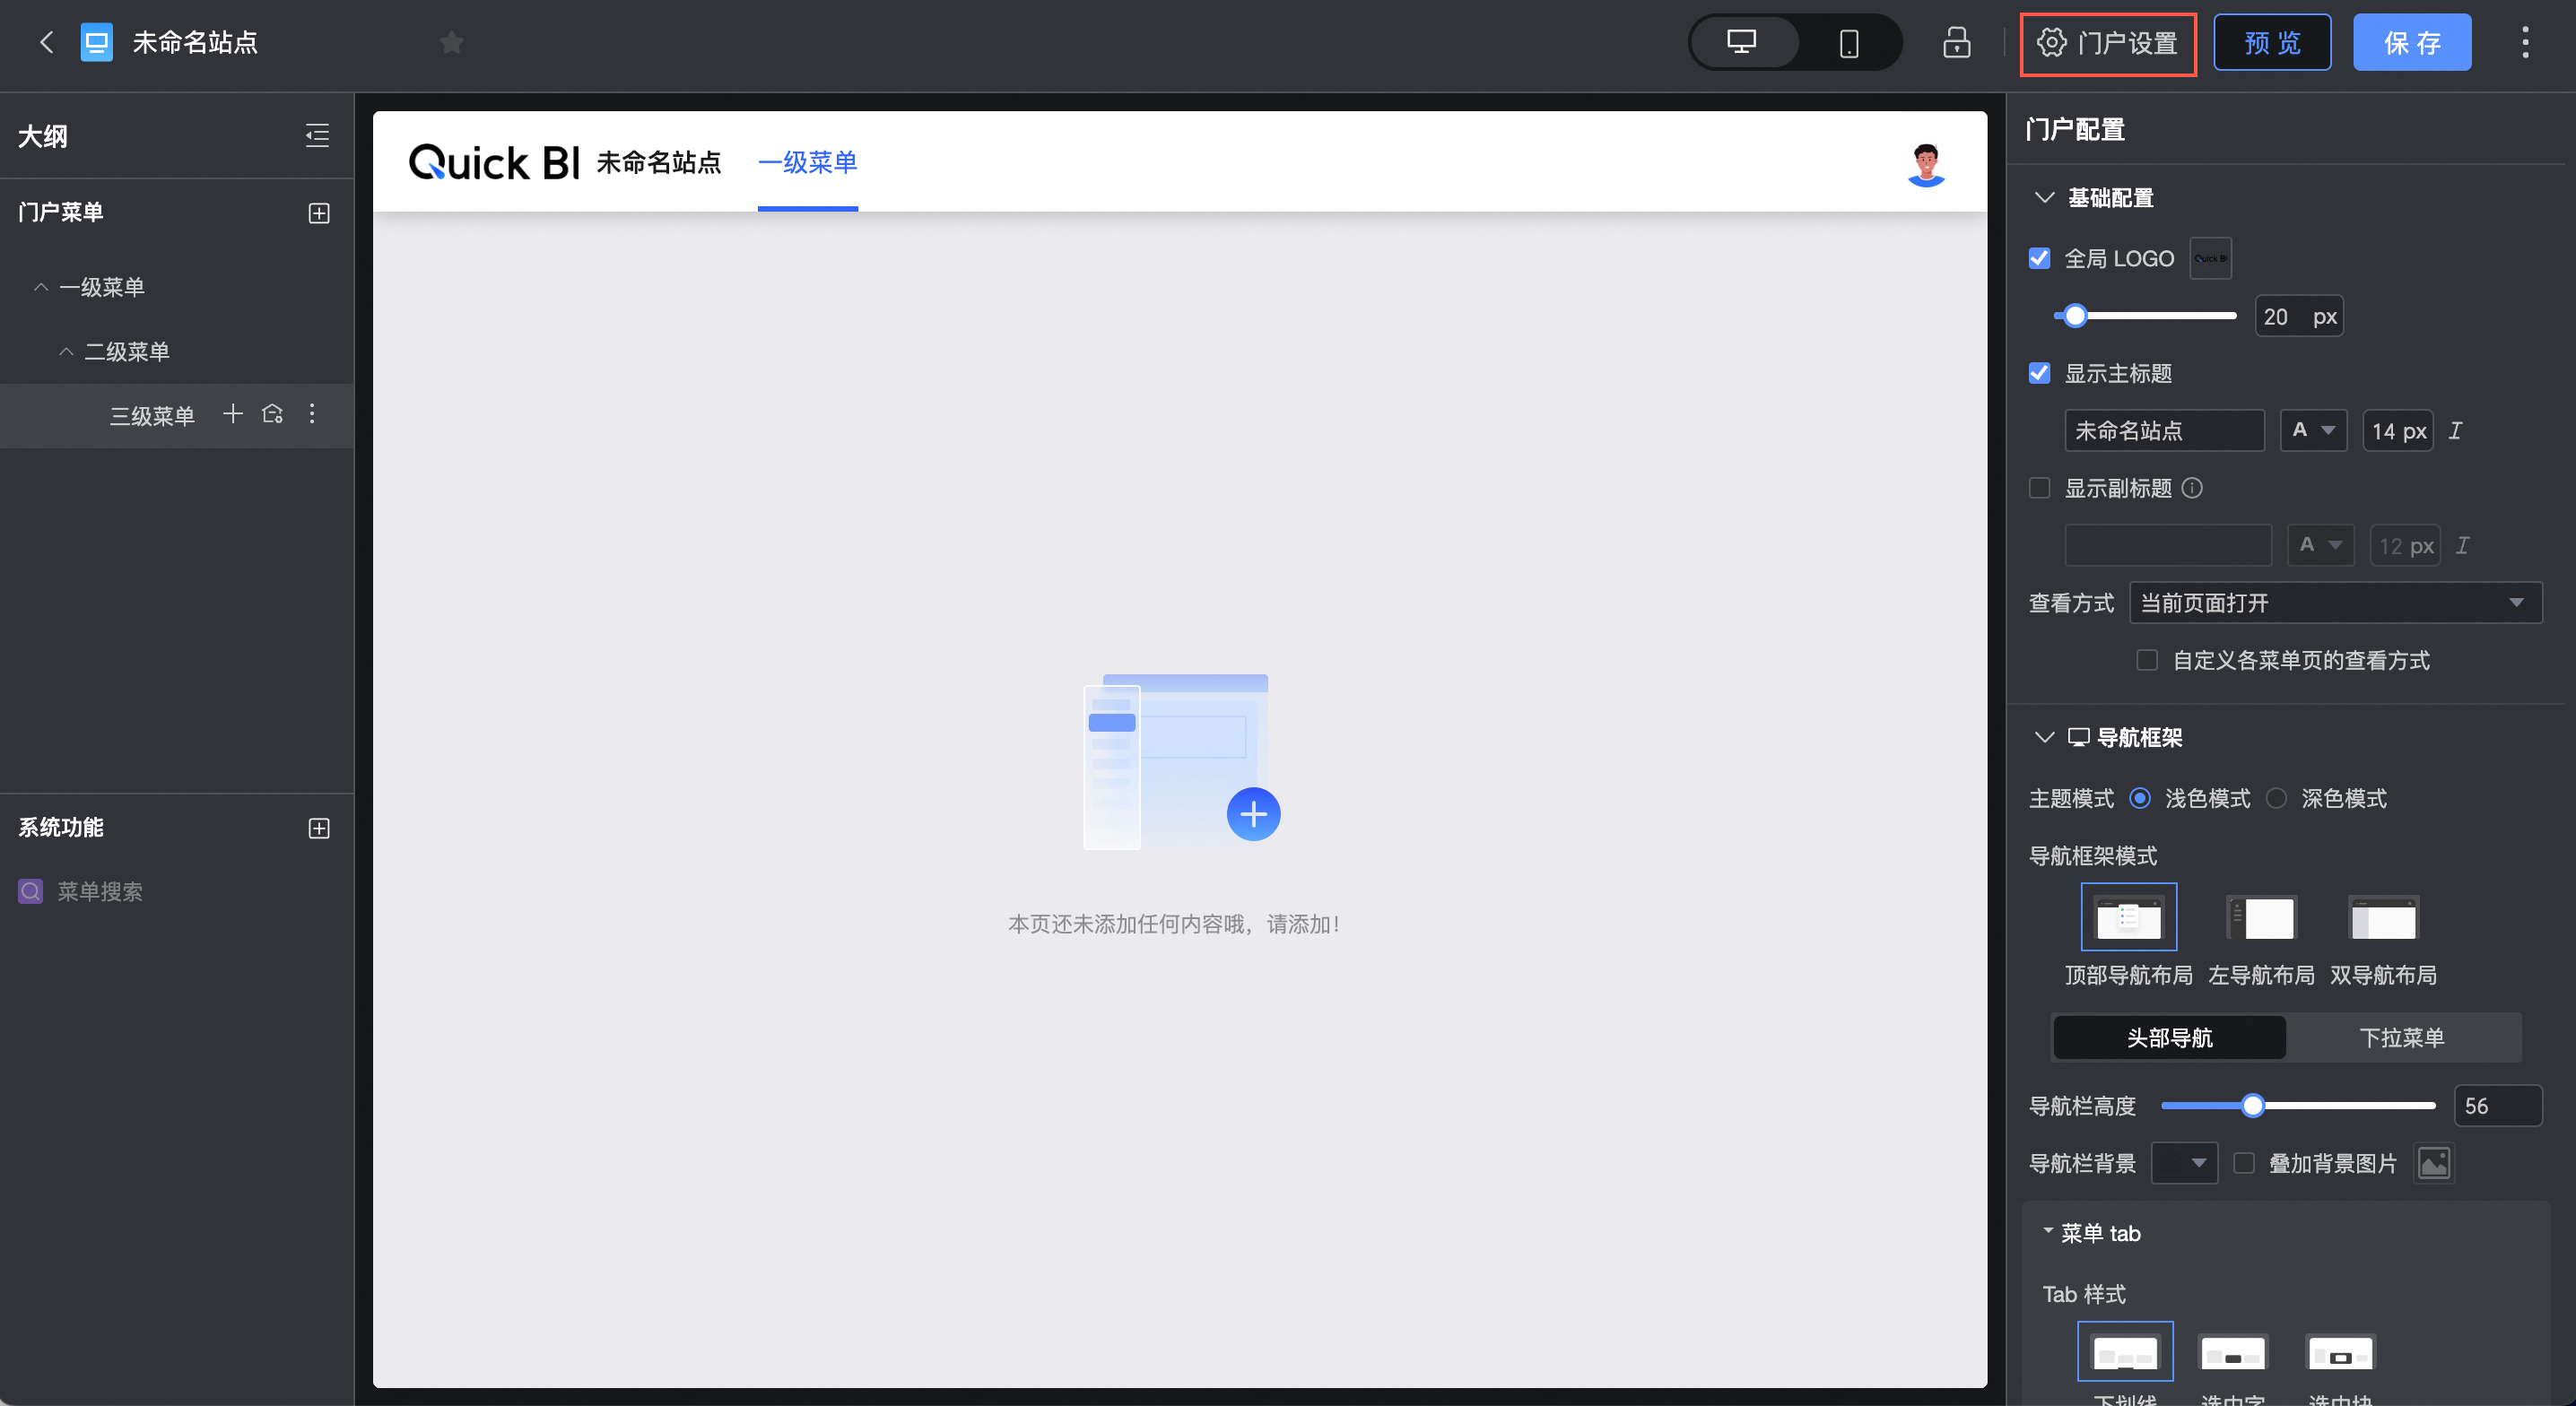
当您在配置菜单时,可通过单击门户配置进入配置门户界面。
基础配置
配置项 | 配置项说明 |
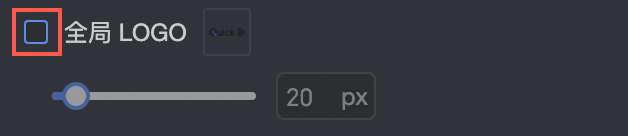
全局 LOGO |
|
显示主标题 | 支持勾选是否显示主标题并配置主标题的名称及文本样式。 |
显示副标题 | 支持勾选是否显示副标题并配置副标题的名称及文本样式。 |
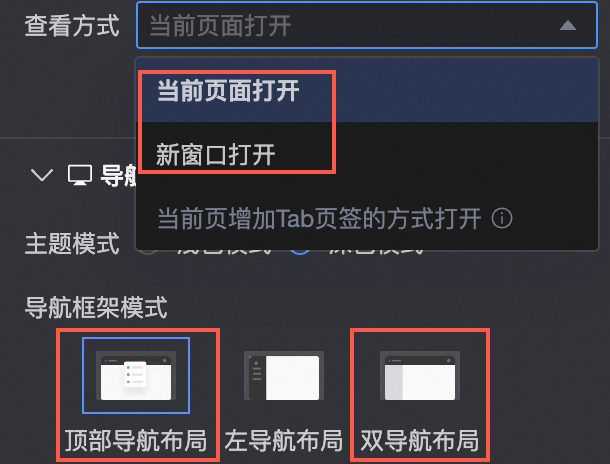
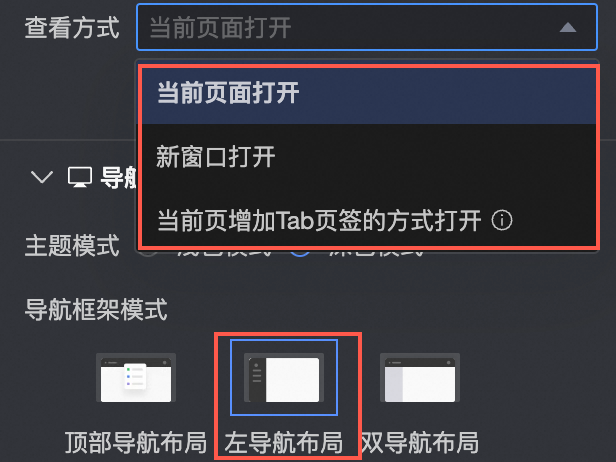
查看方式 |
|

导航框架
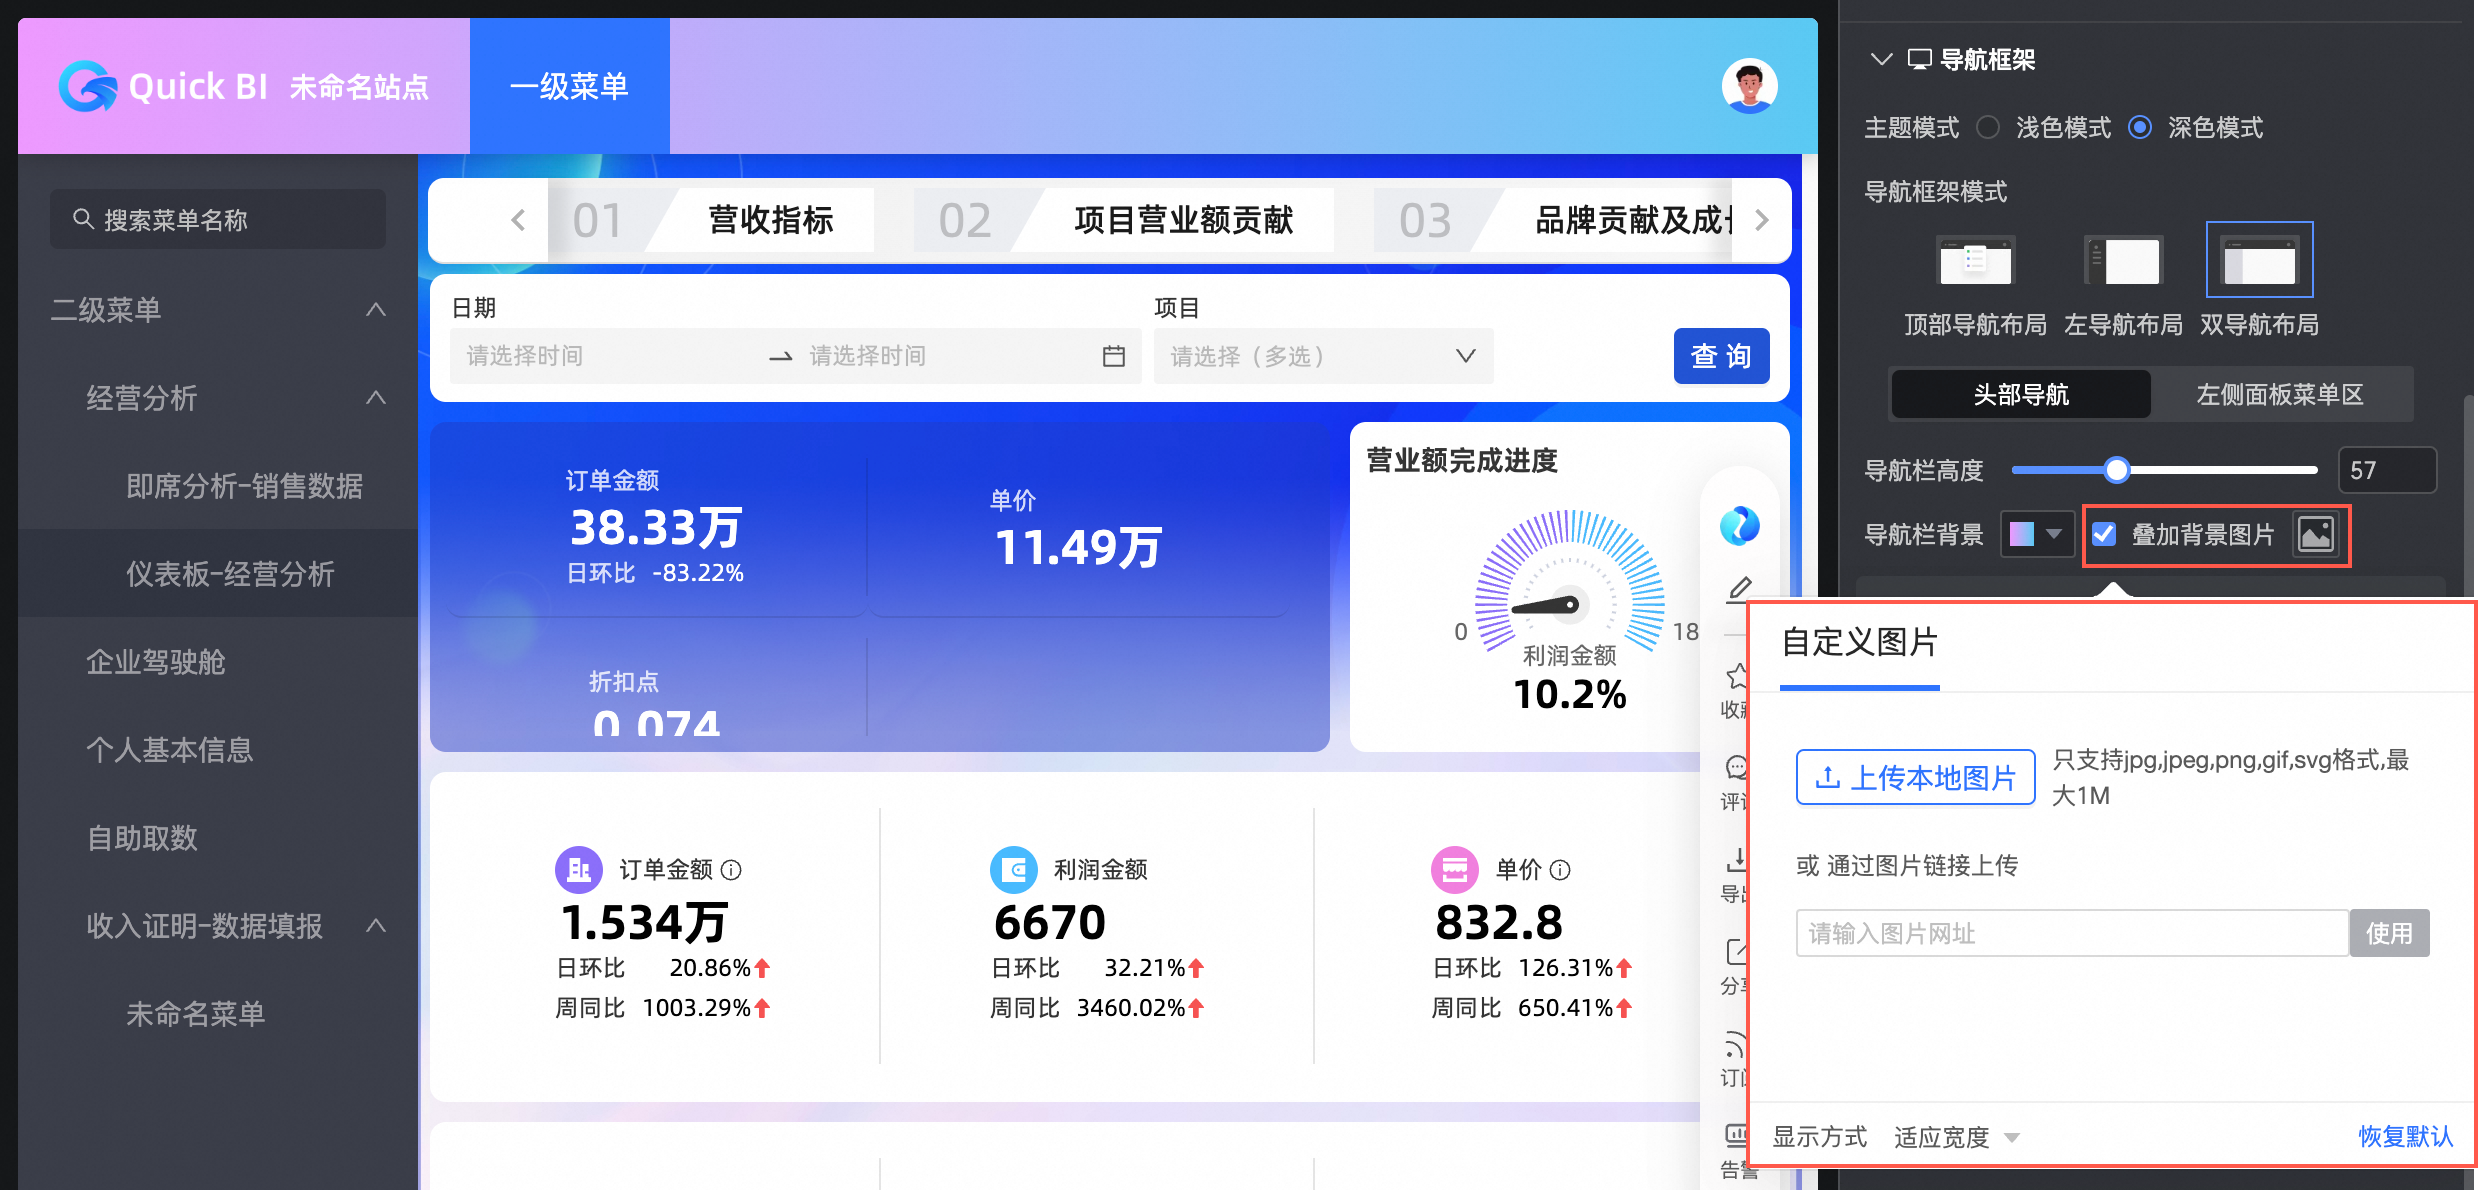
您可以在导航框架里设置主题模式、导航框架模式及样式。
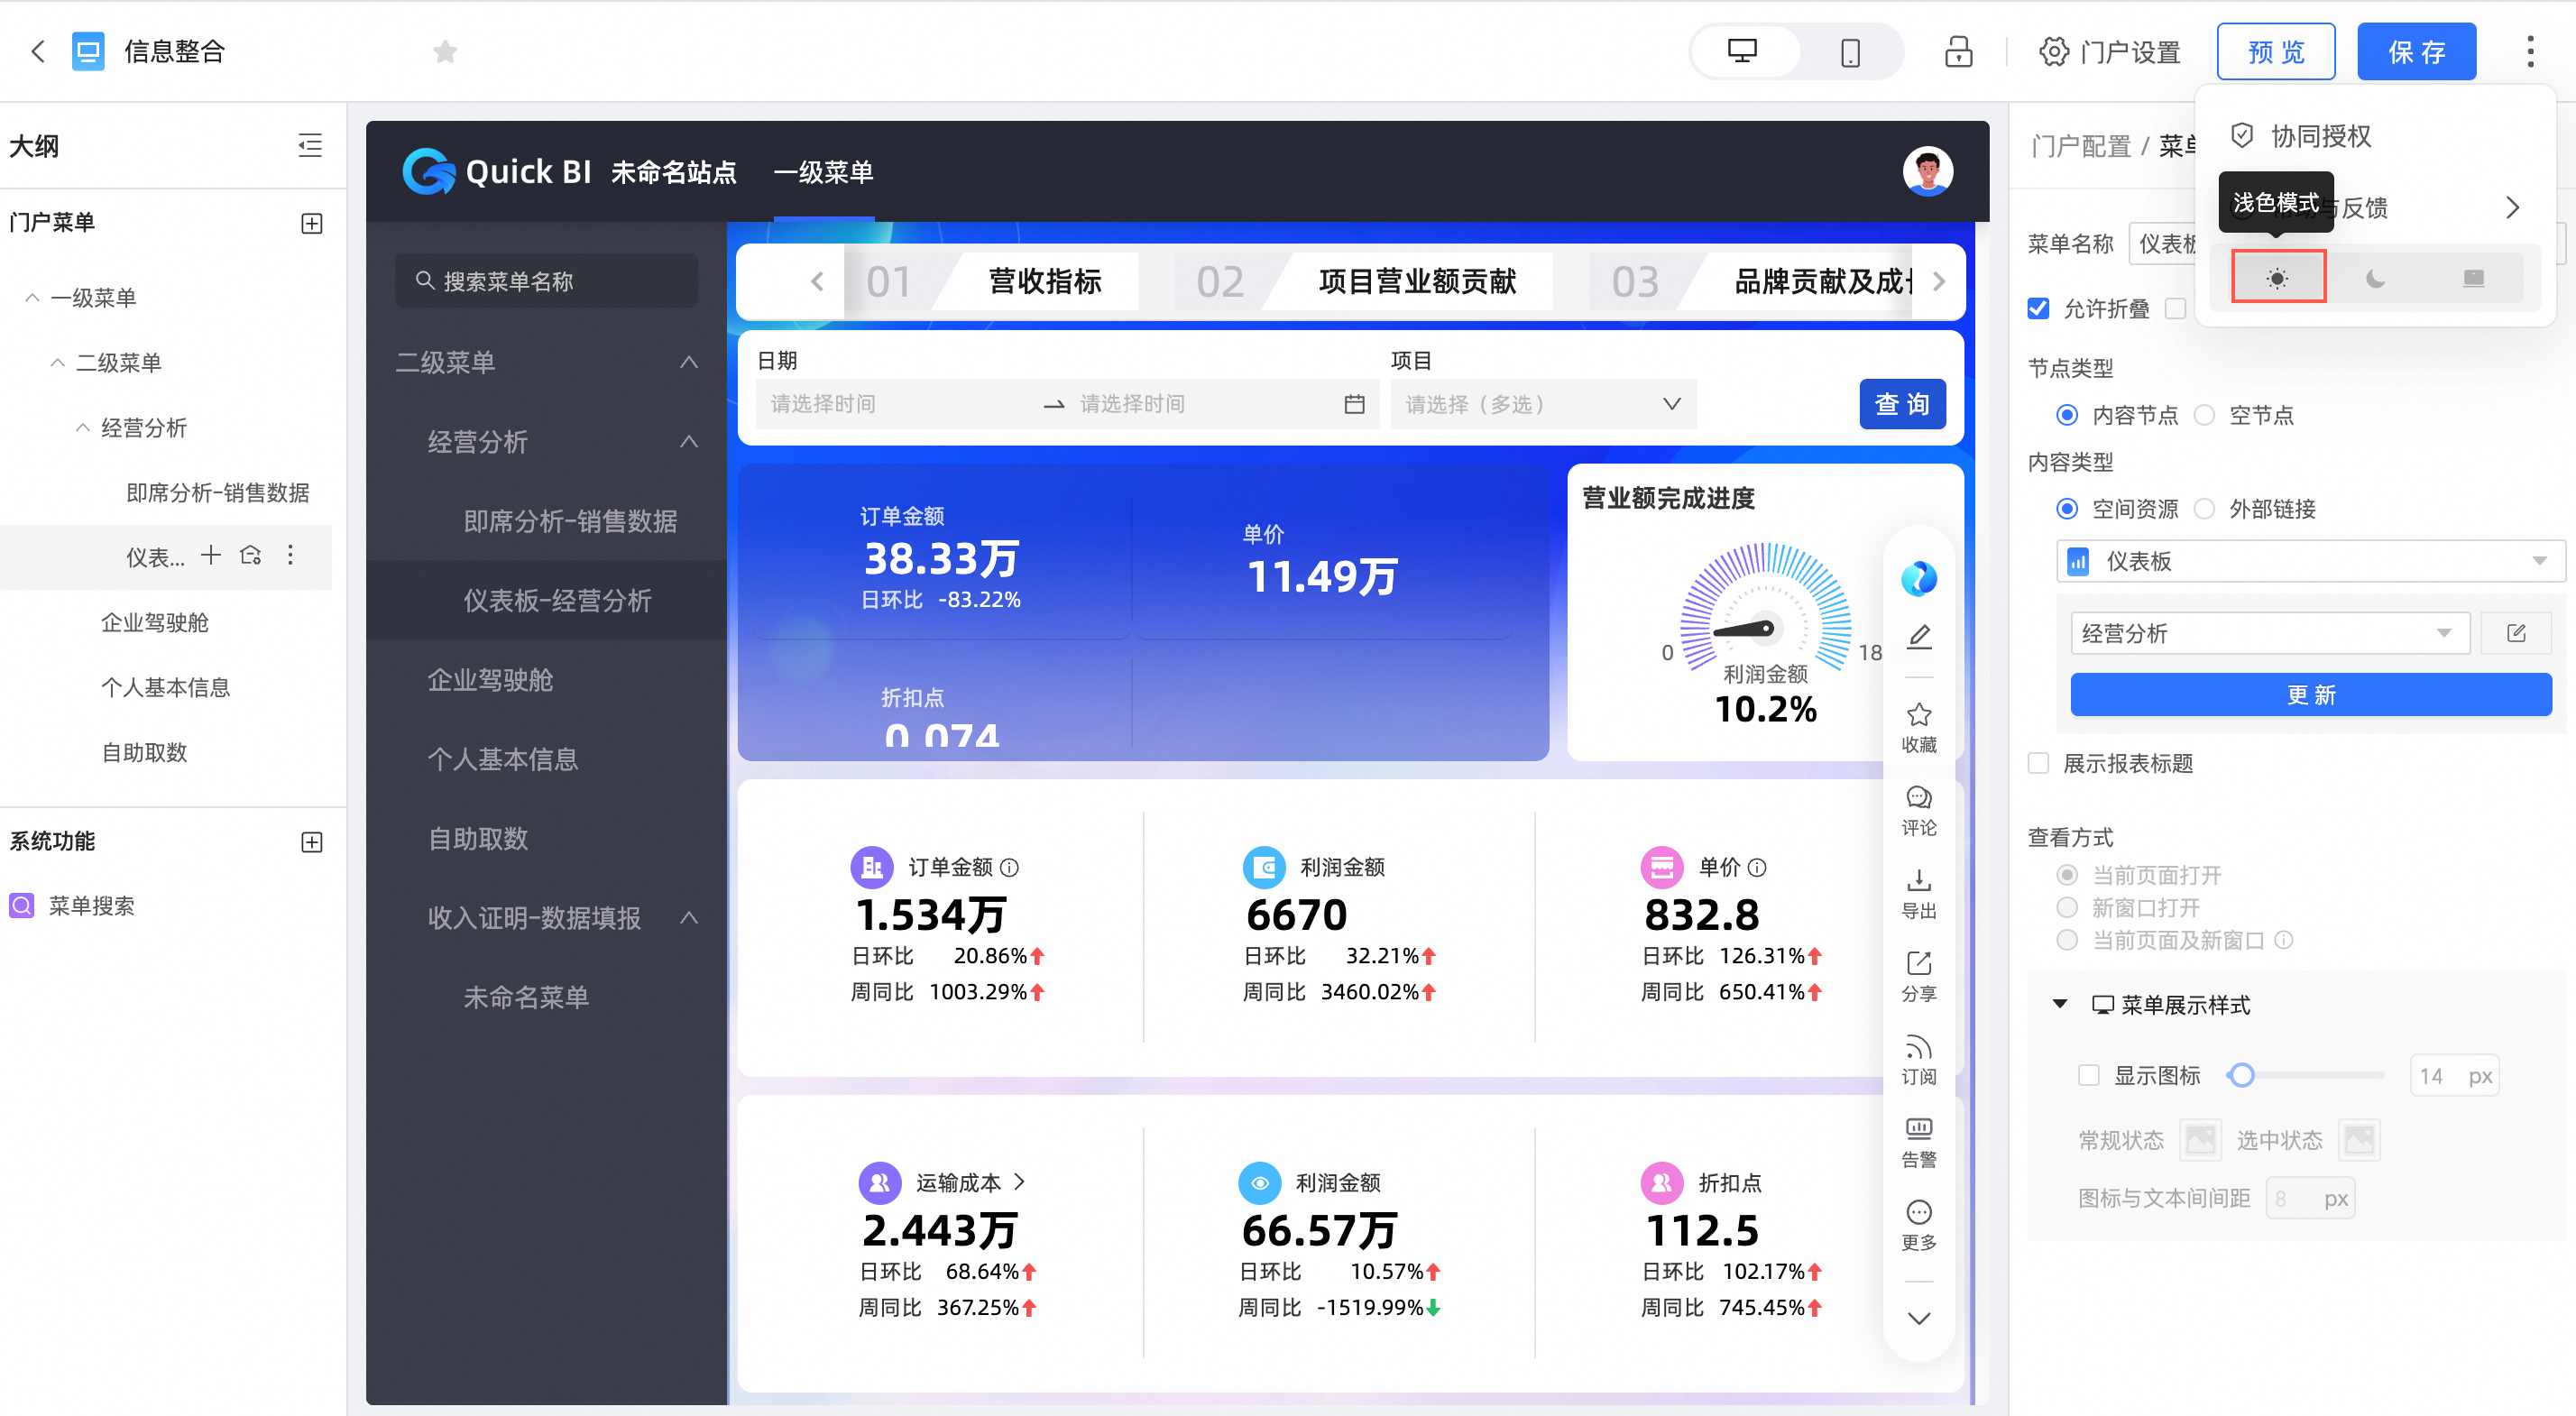
主题模式
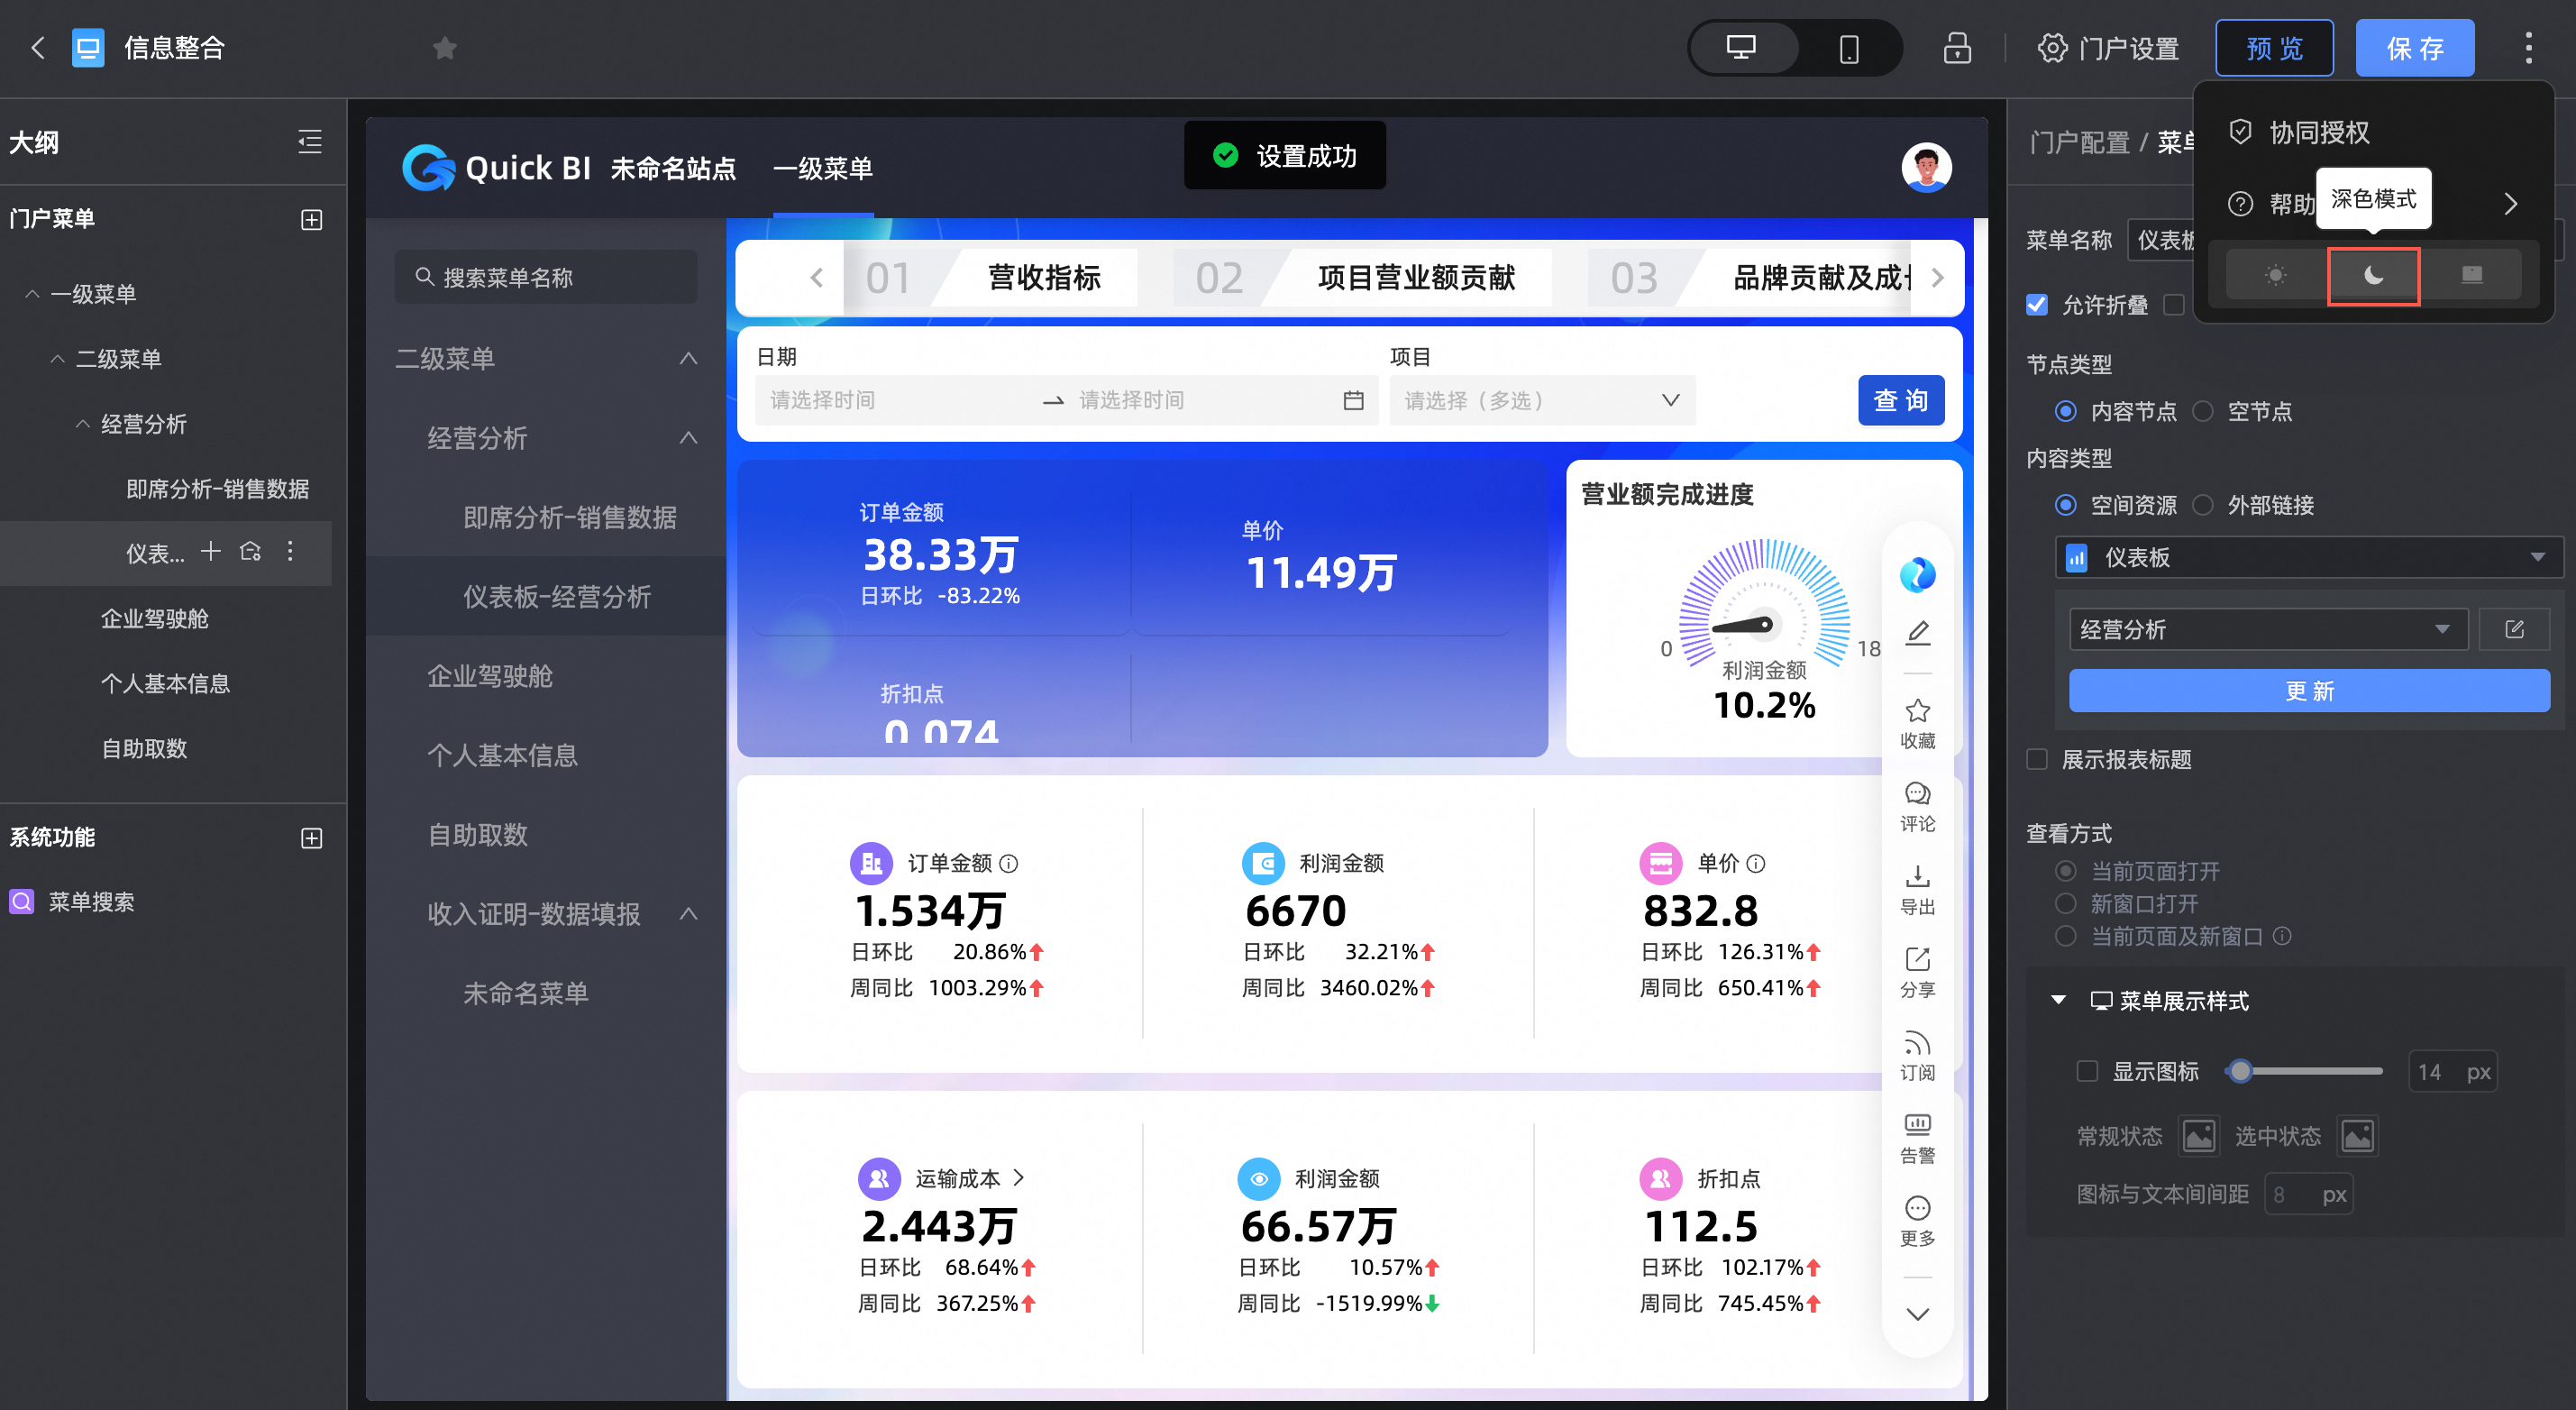
支持设置浅色模式和深色模式。
浅色模式
深色模式
导航框架模式
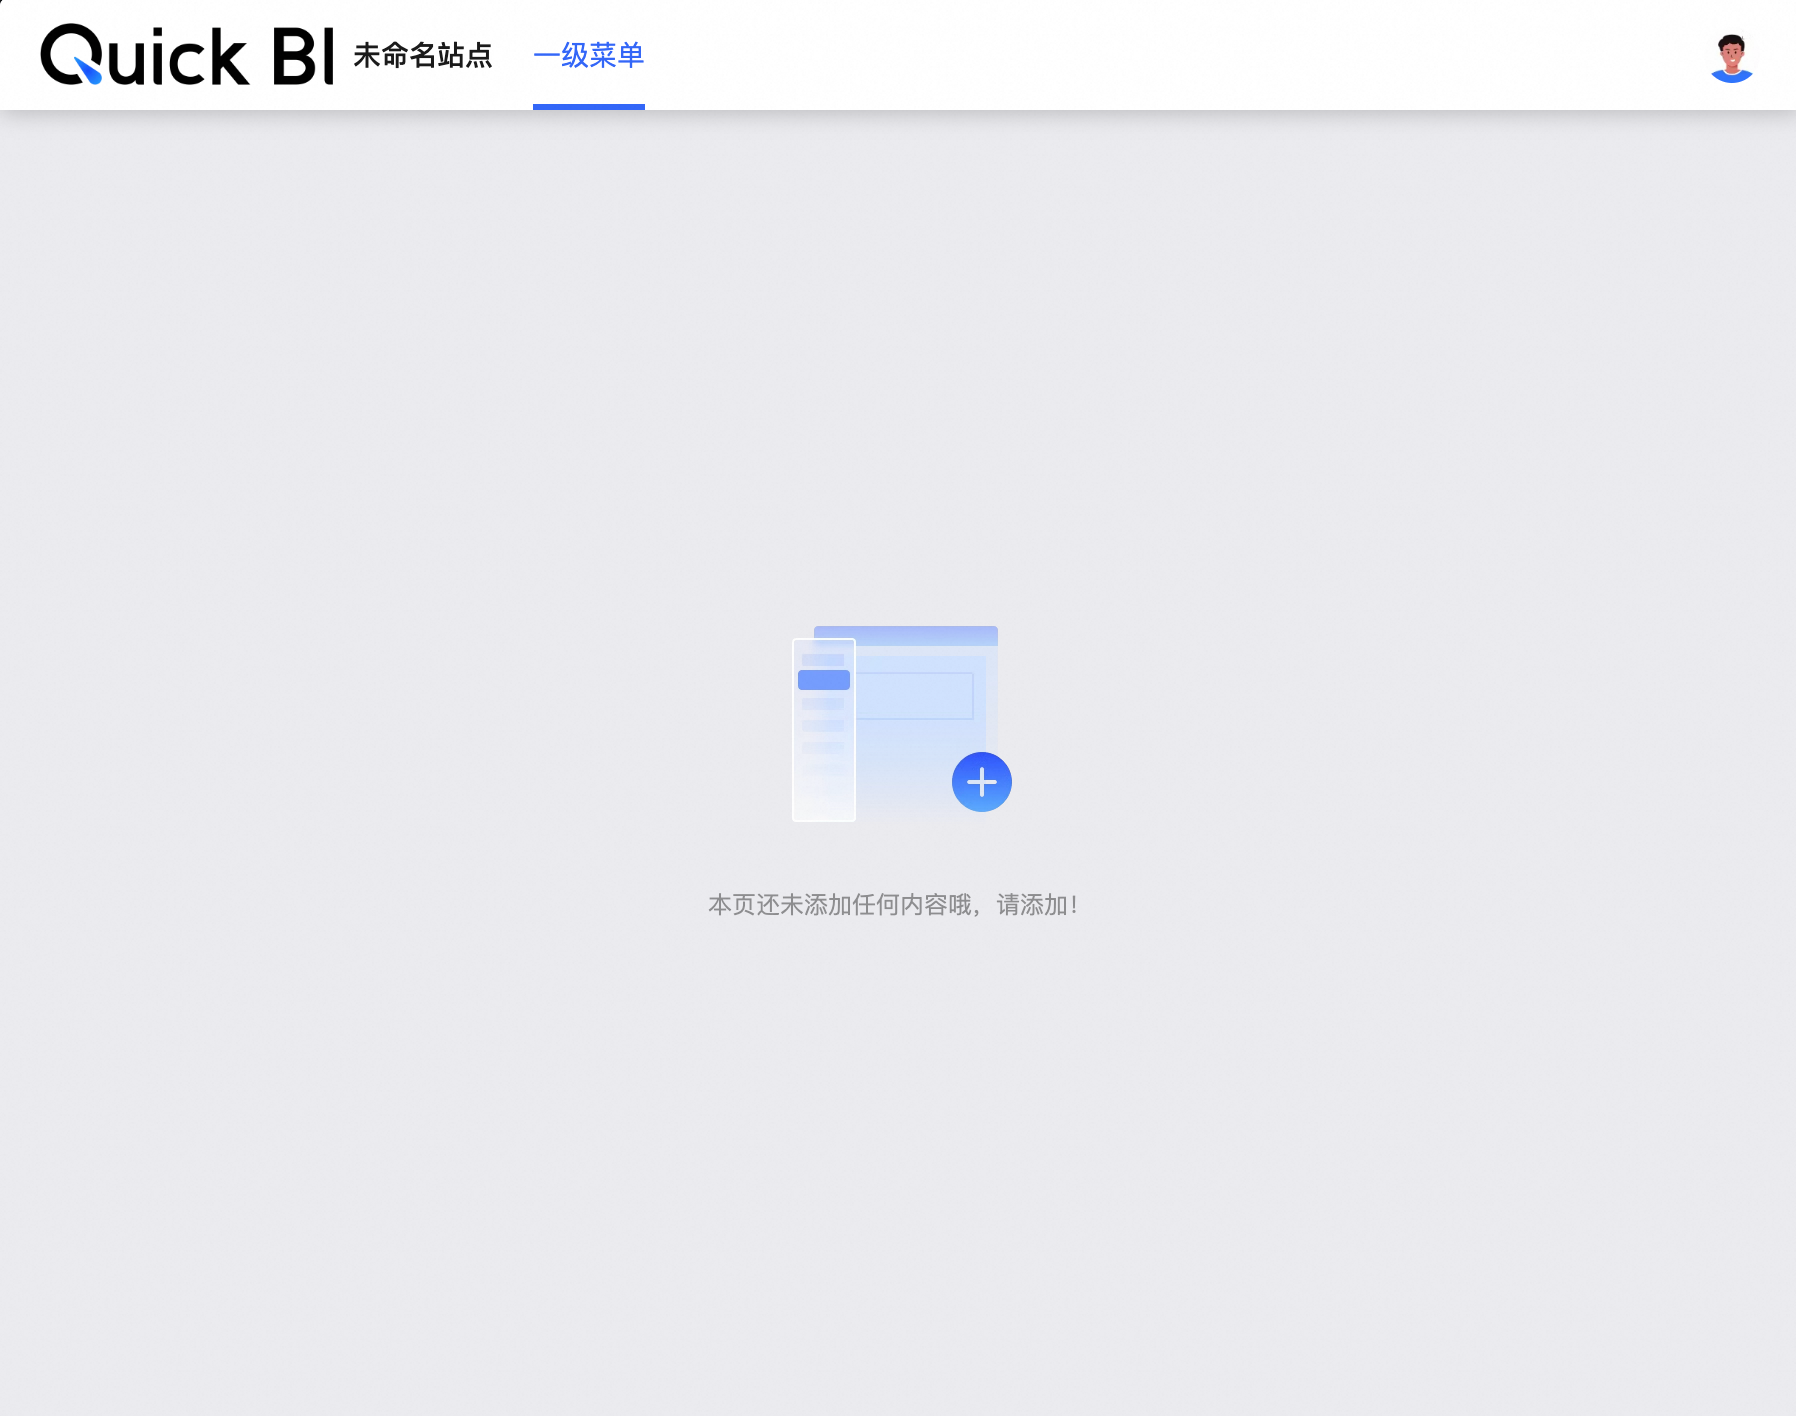
您可以选择顶部导航布局、左导航布局和双导航布局。
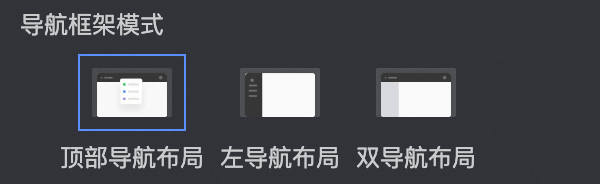
顶部导航布局
配置项
配置项说明
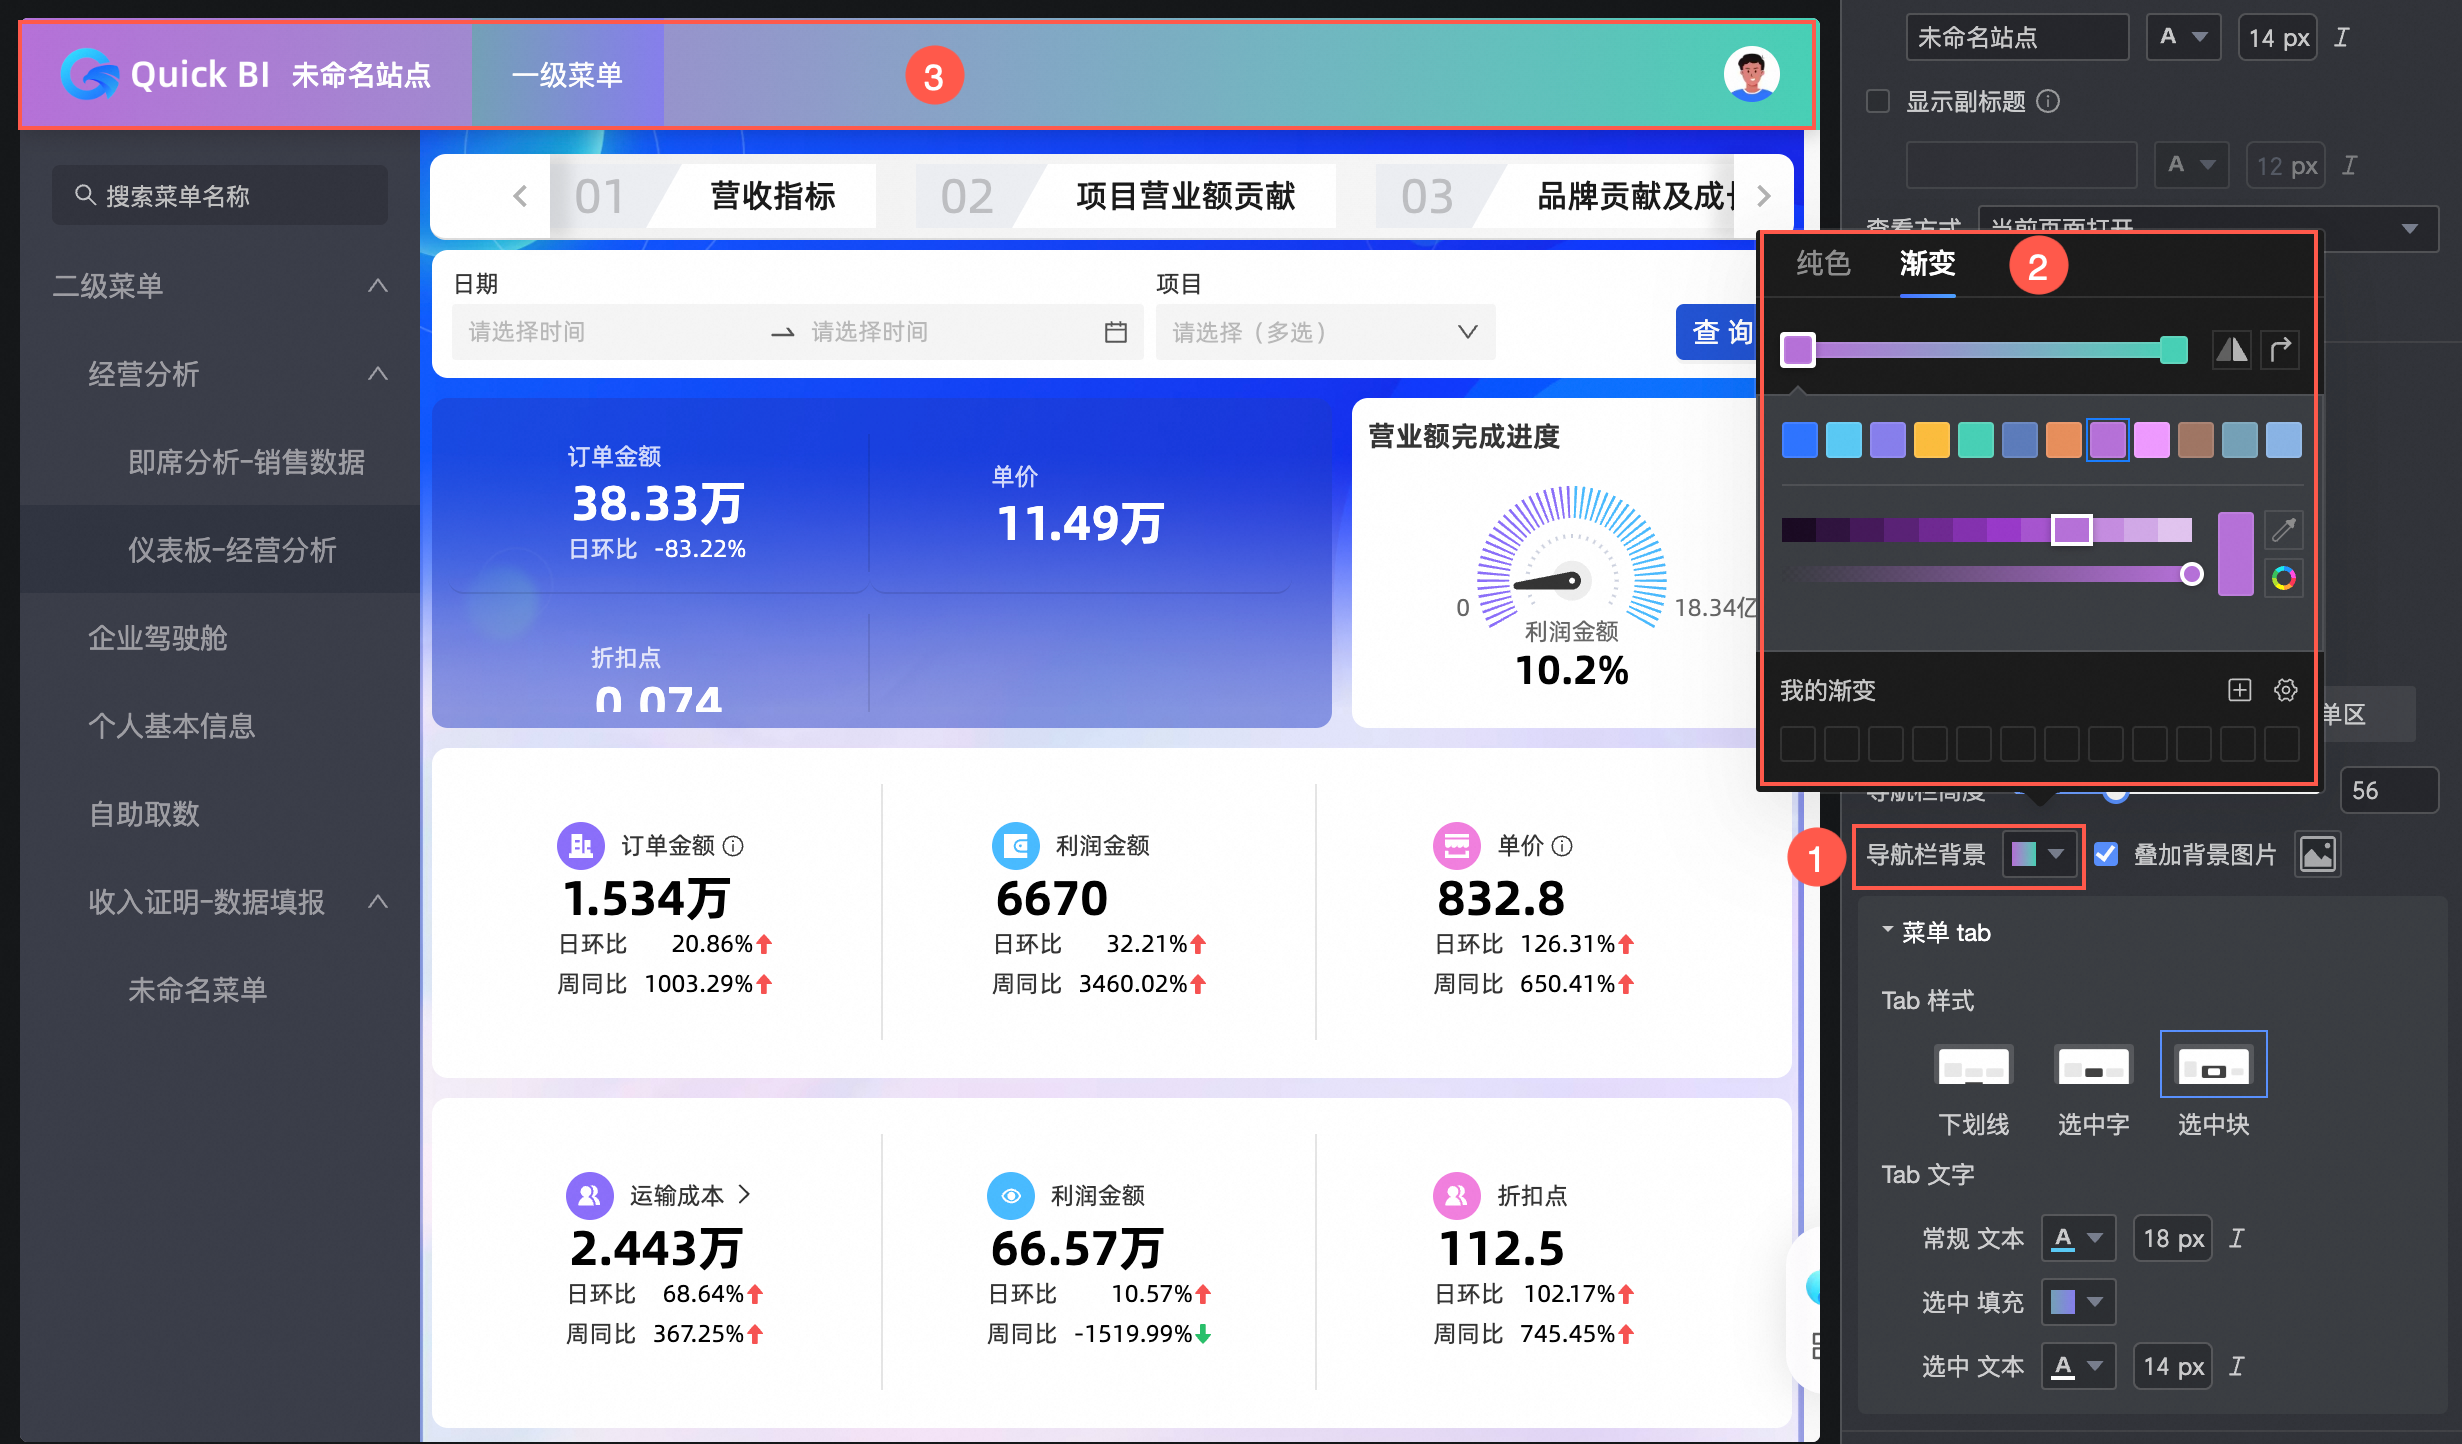
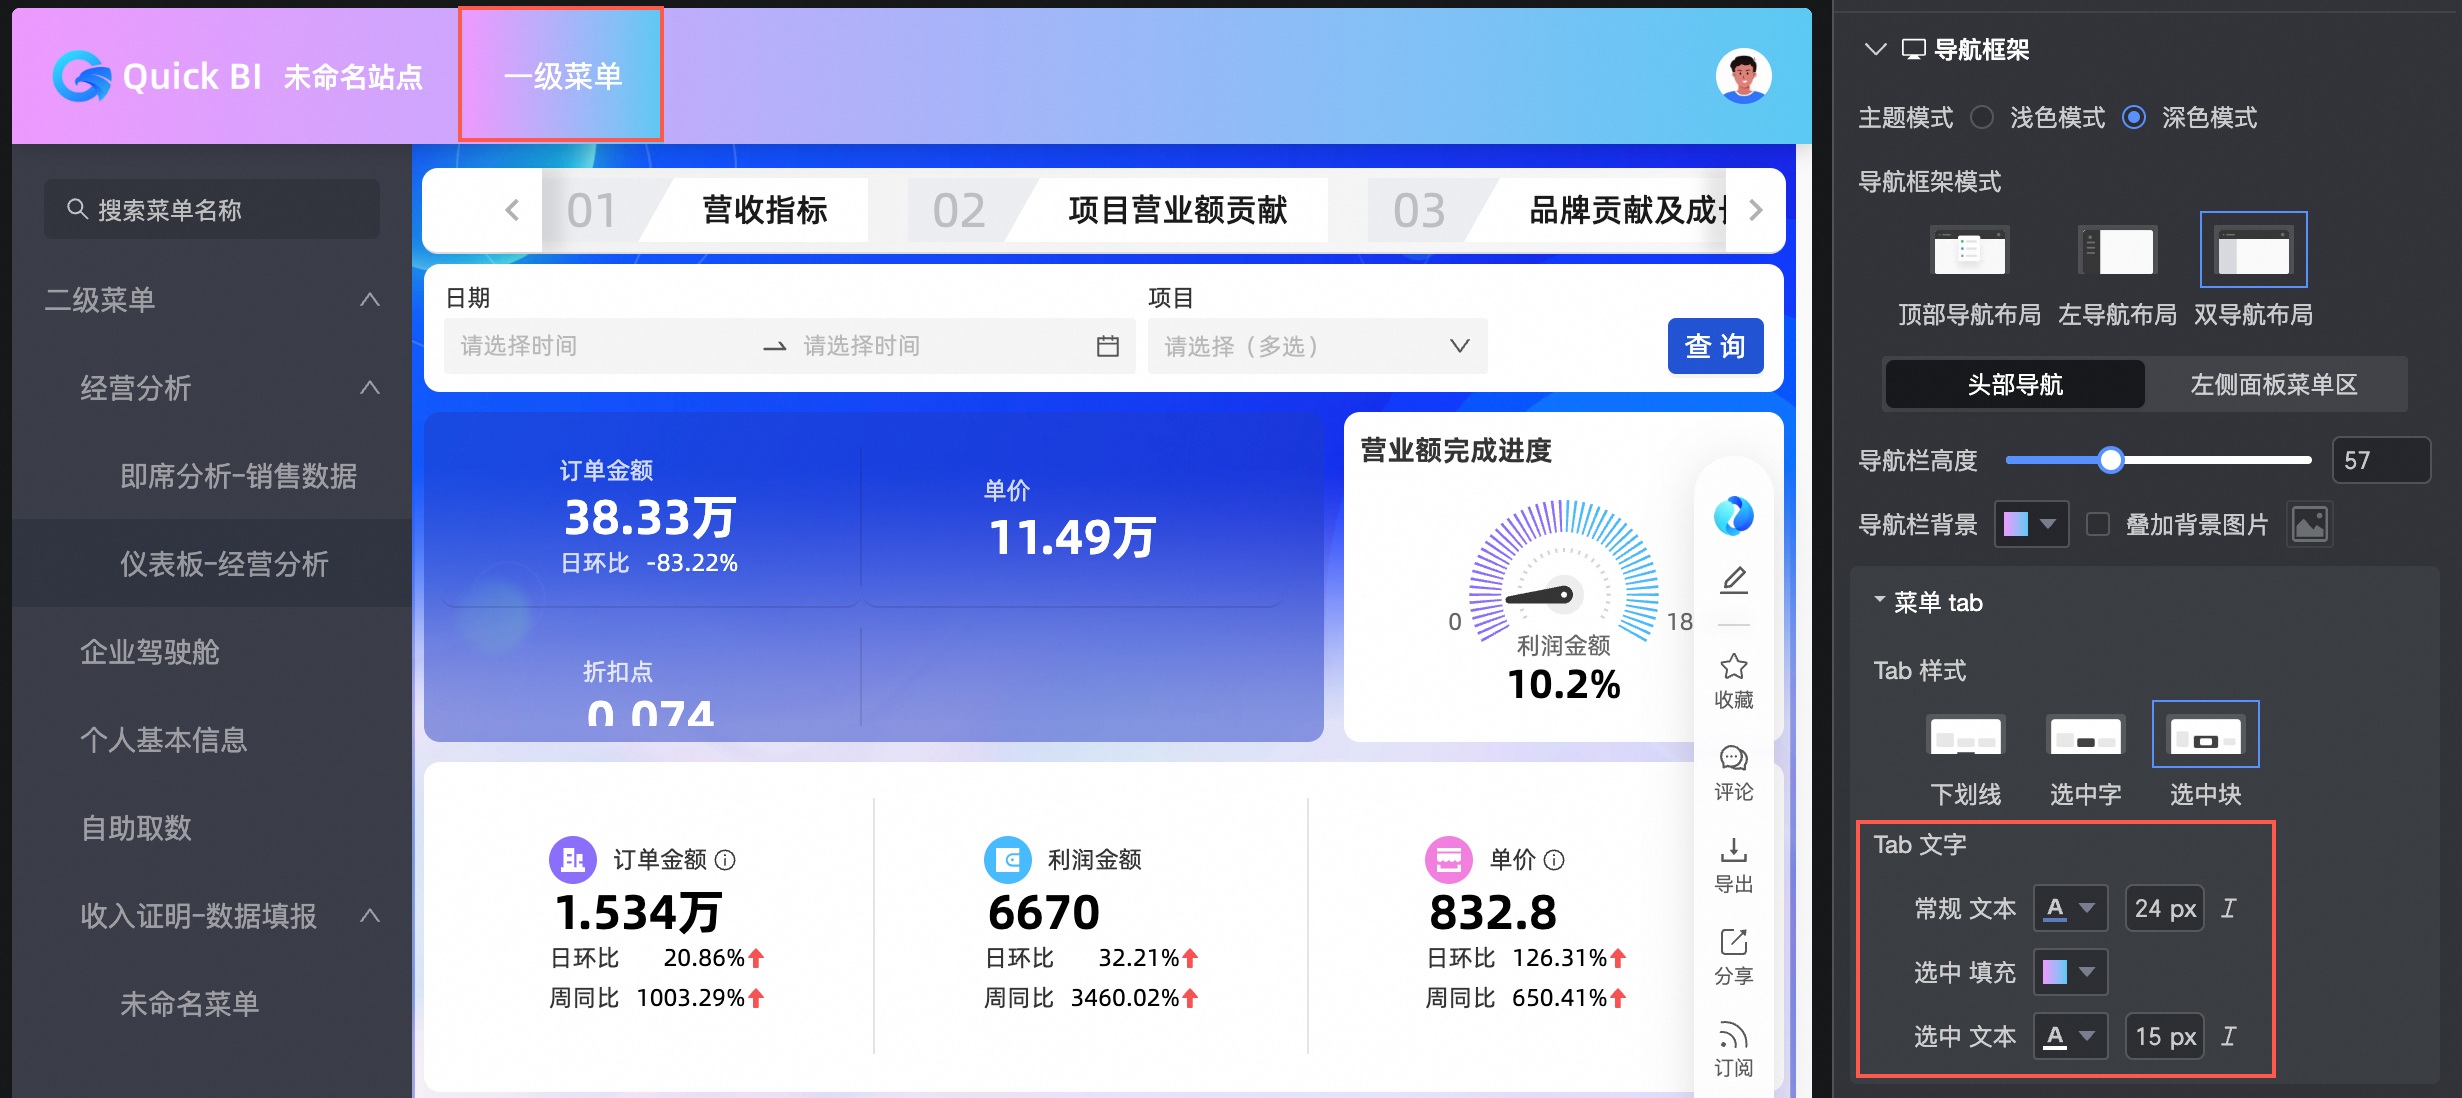
头部导航
当导航框架模式选择顶部导航布局和双导航布局时,支持配置头部导航:
导航栏高度
导航栏背景
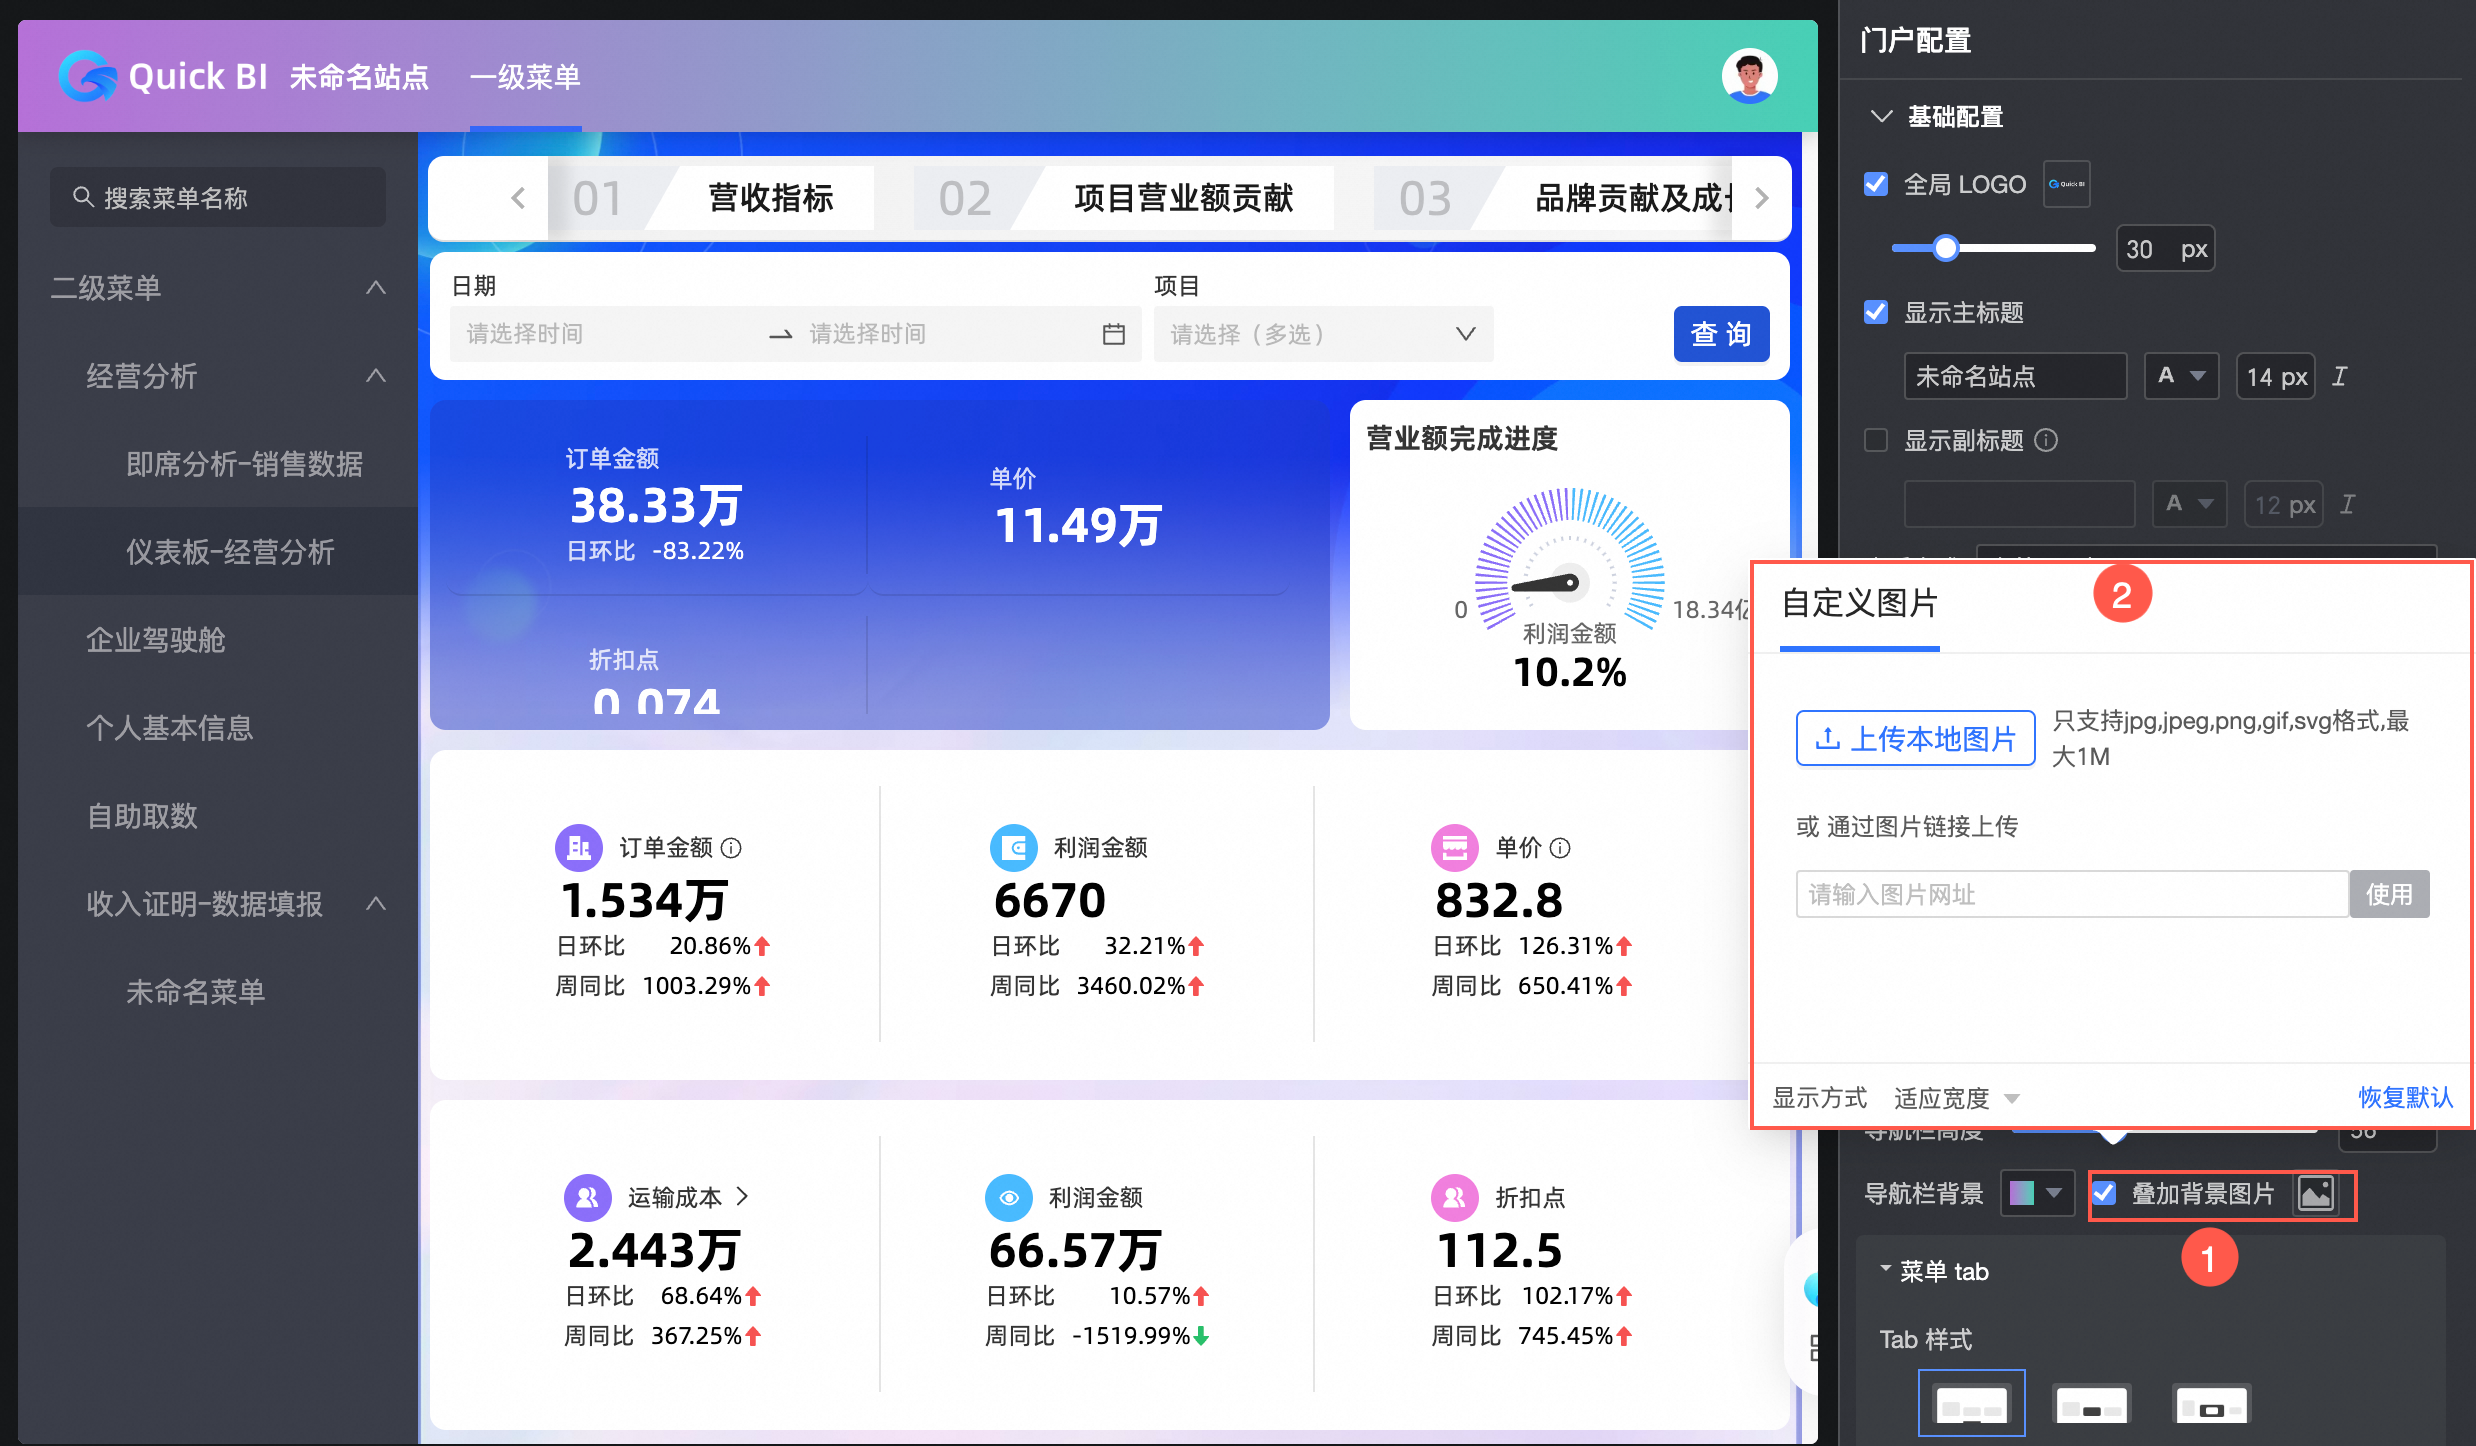
叠加背景图片
勾选后支持上传自定义图片。上传本地图片只支持jpg,jpeg,png,gif,svg格式,最大1M。
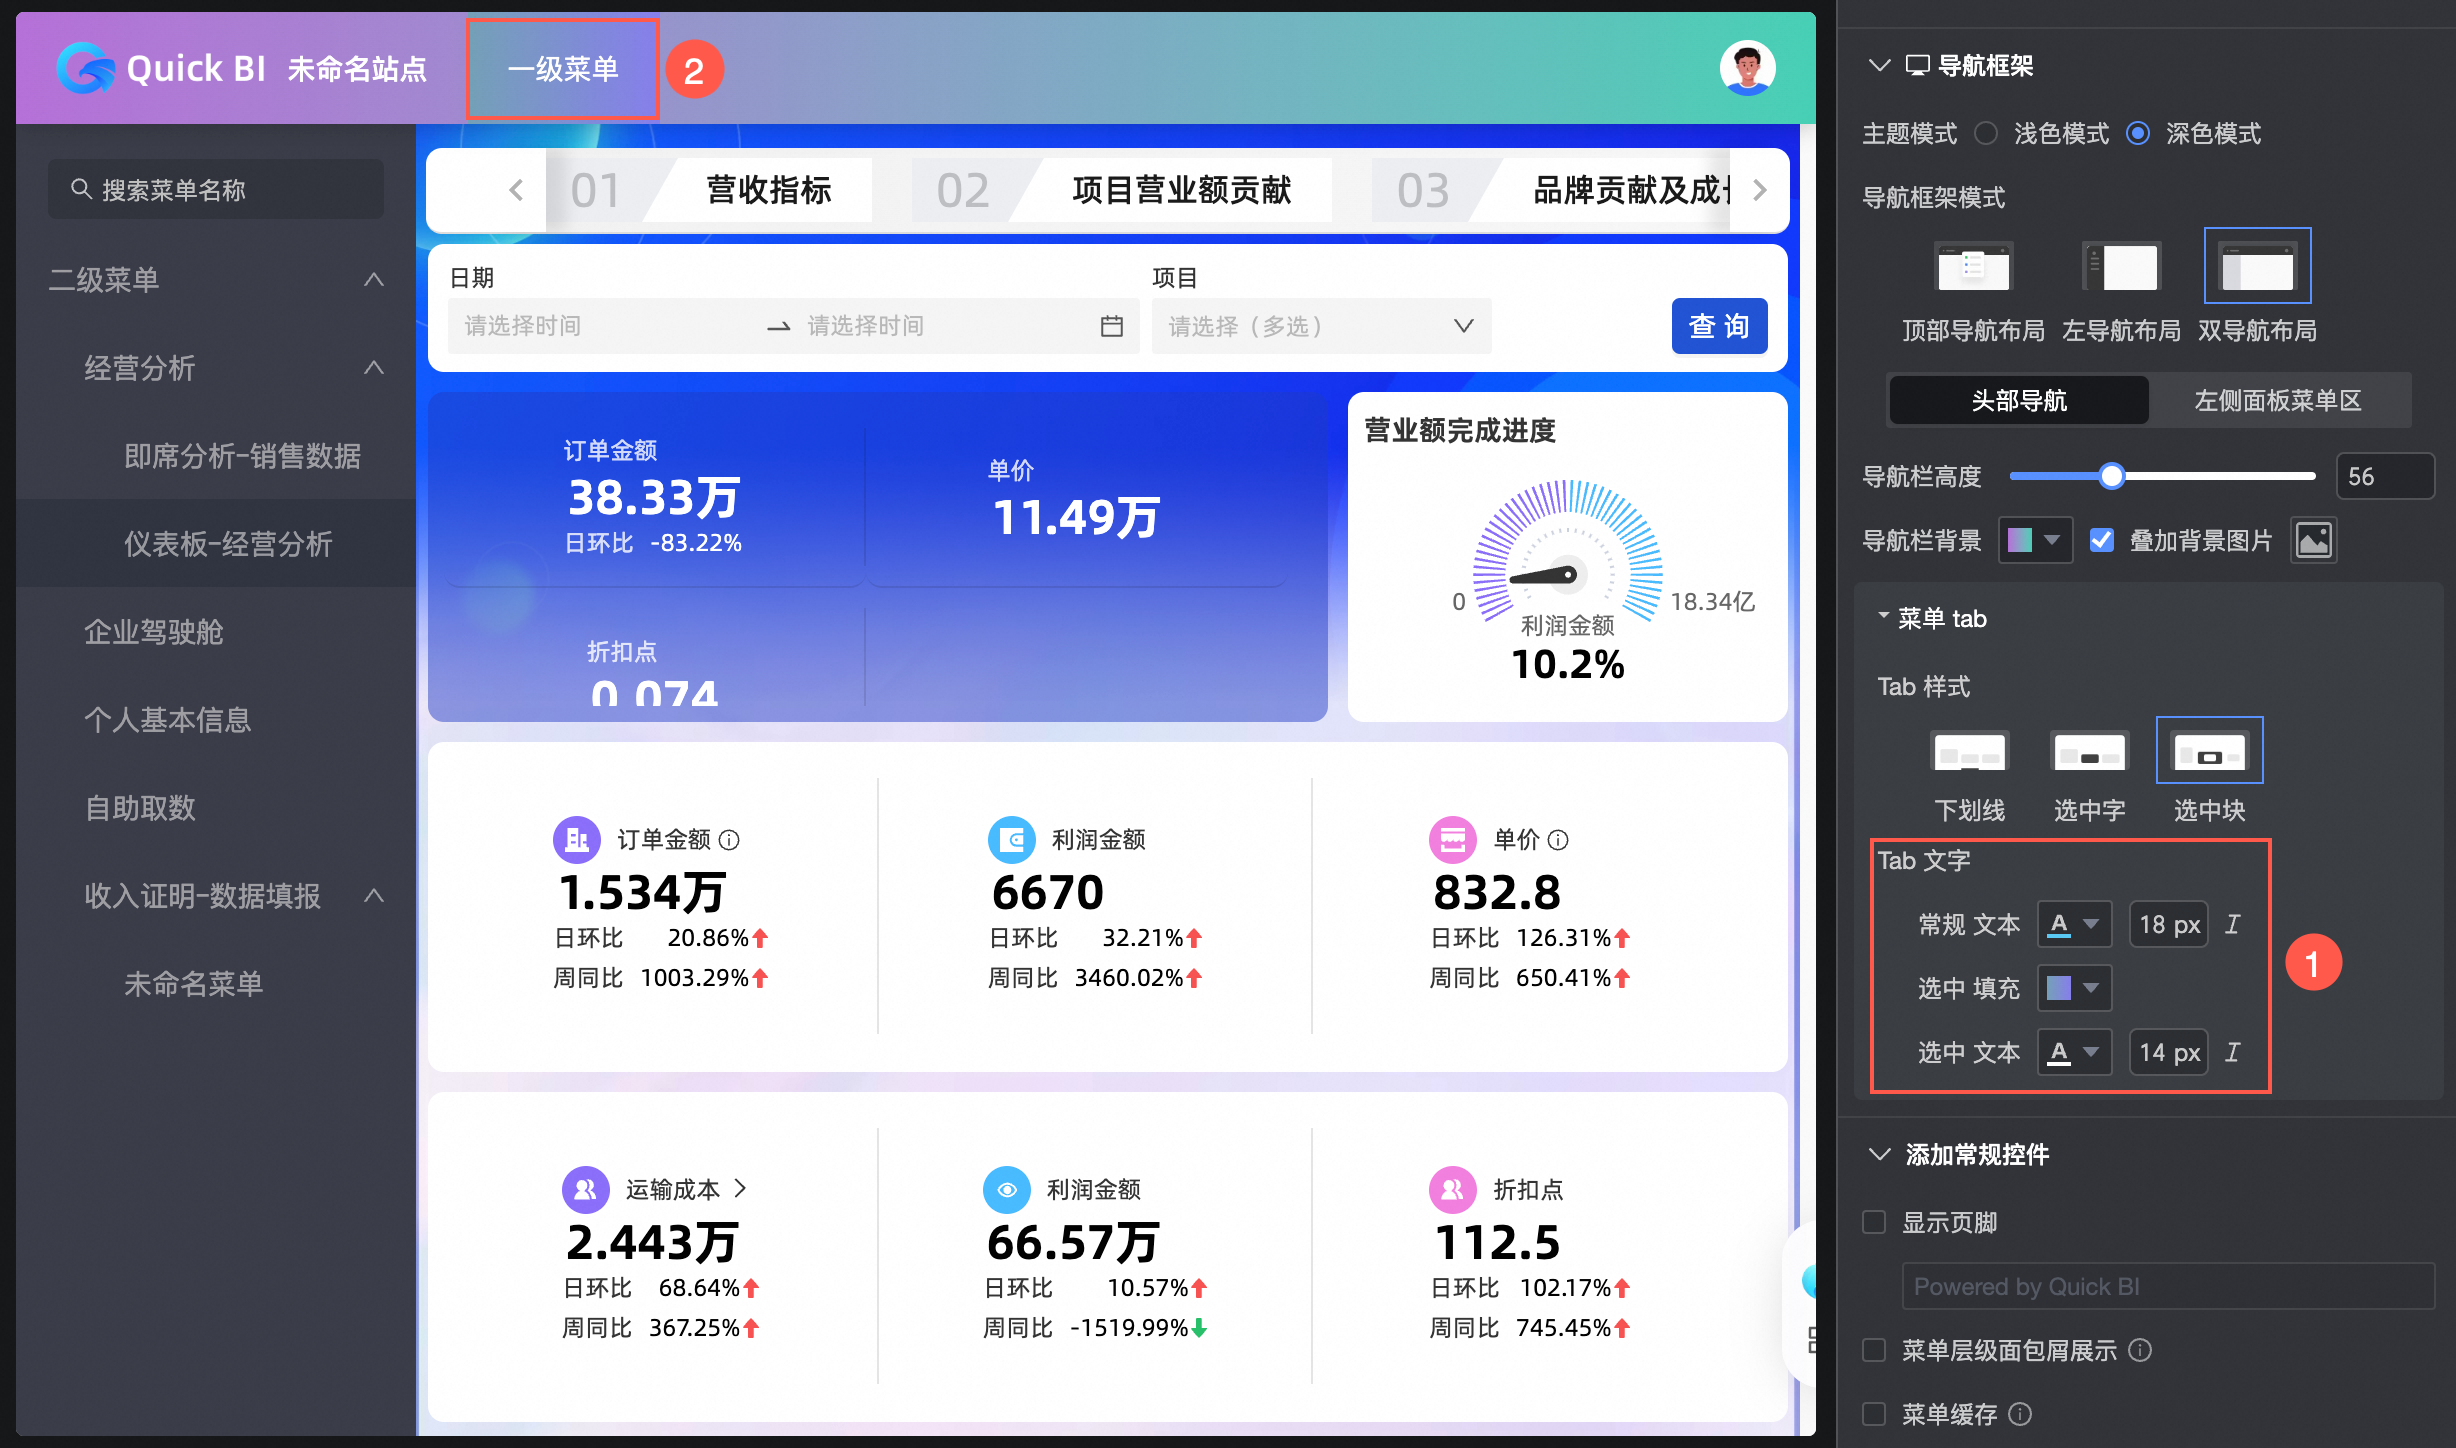
Tab样式
支持下划线、选中字和选中块。
Tab文字
支持设置常规文本样式、选中填充颜色和选中文本样式。其中选中填充颜色仅在选中块生效。
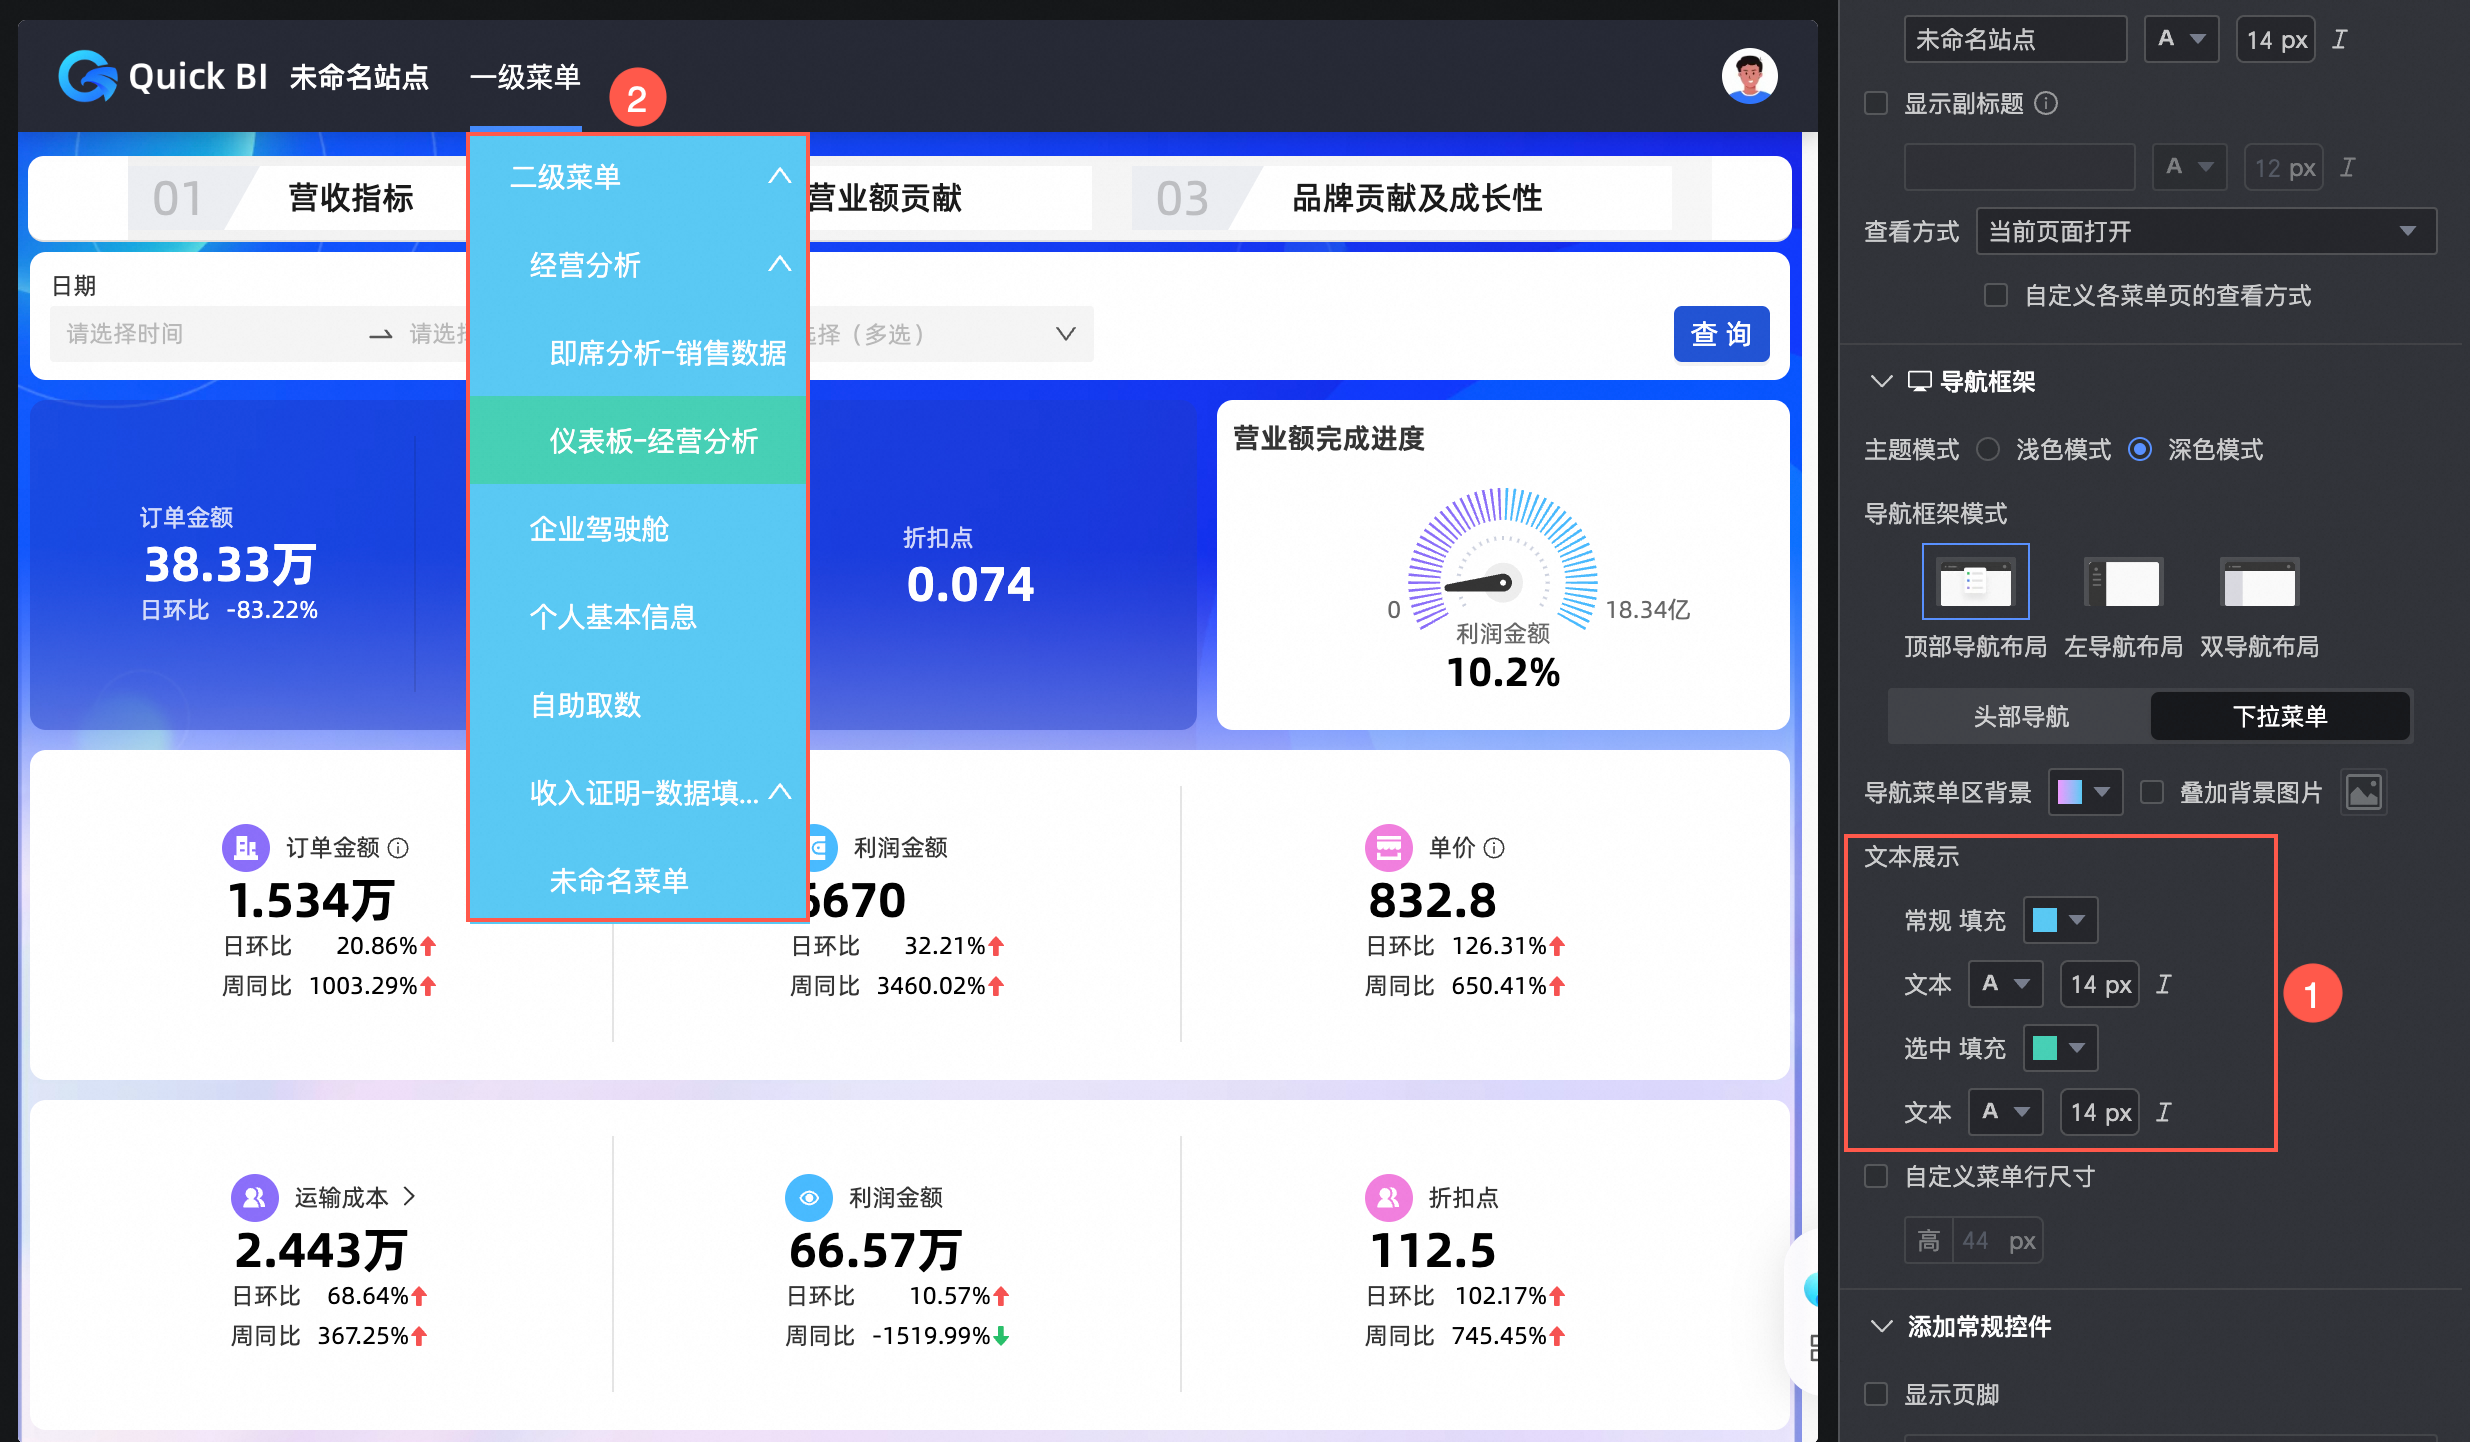
下拉菜单
当导航框架模式选择顶部导航布局,支持配置下拉菜单。
导航菜单区背景
叠加背景图片
勾选后支持上传自定义图片。上传本地图片只支持jpg,jpeg,png,gif,svg格式,最大1M。
文本展示
支持设置常规和选中的填充颜色及文本样式。
自定义菜单行尺寸
设置菜单行的高度。
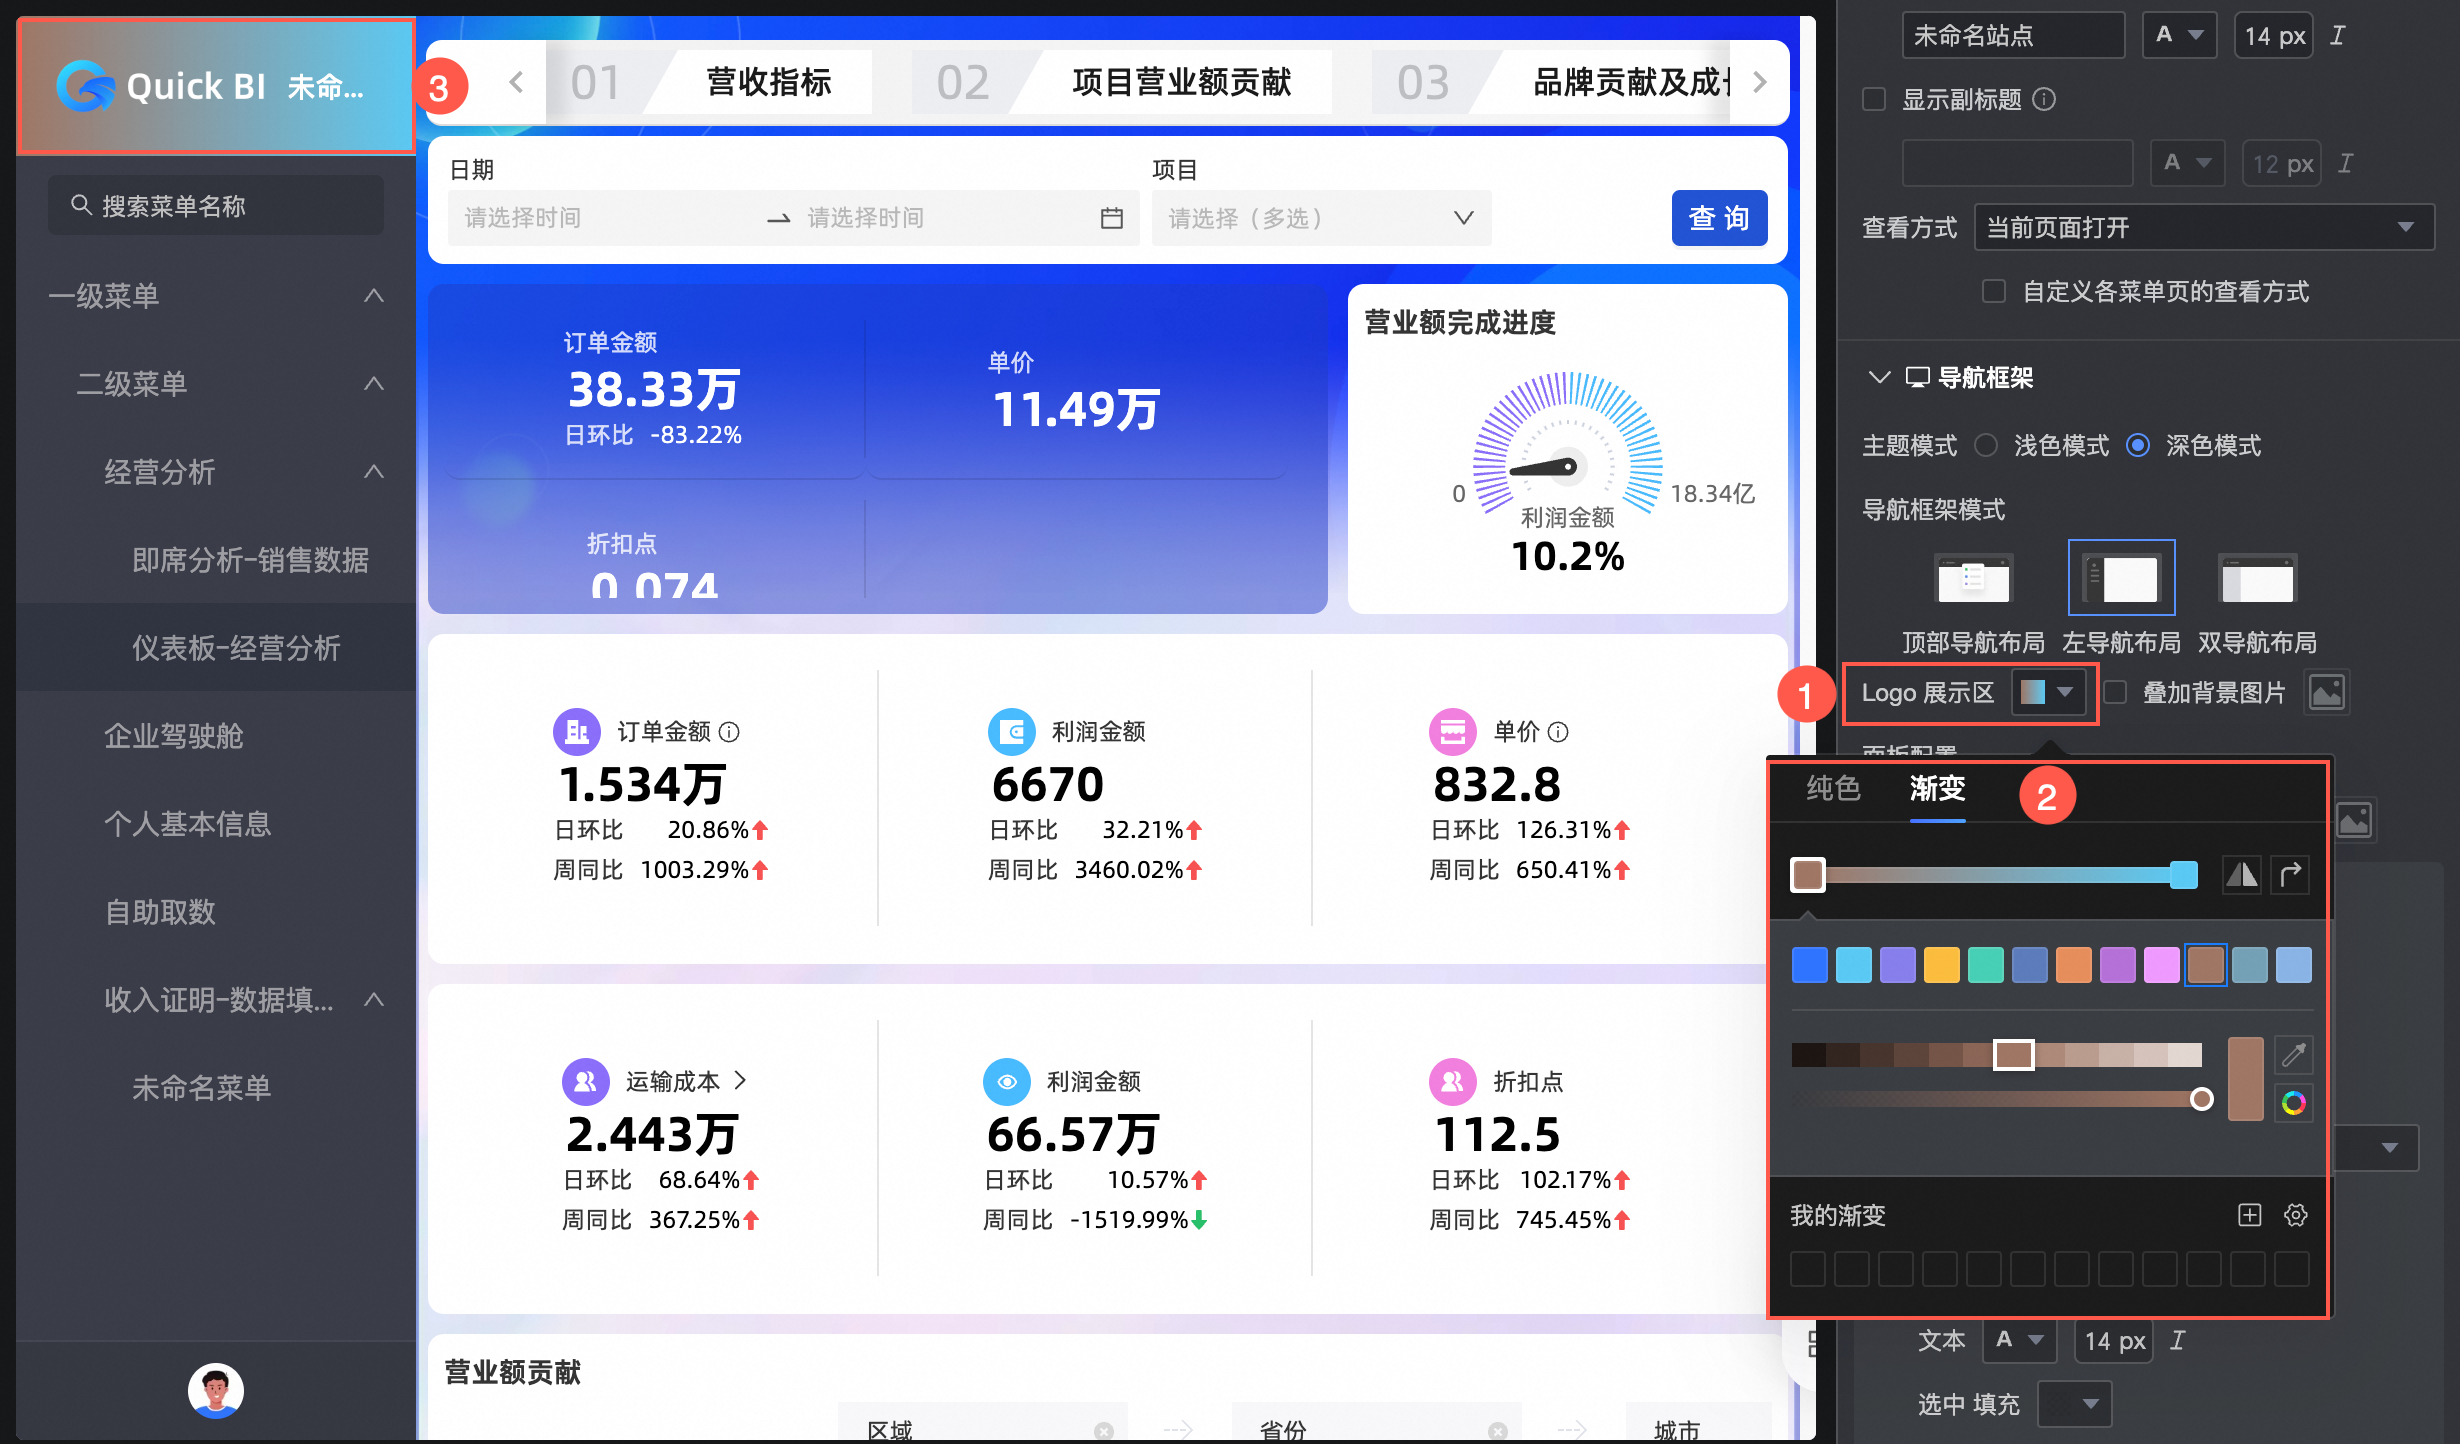
左导航布局
配置项
配置项说明
Logo展示区颜色
支持设置Logo展示区颜色为纯色或渐变。
叠加背景图片
勾选后支持上传自定义图片。上传本地图片只支持jpg,jpeg,png,gif,svg格式,最大1M。
面板配置
导航栏背景
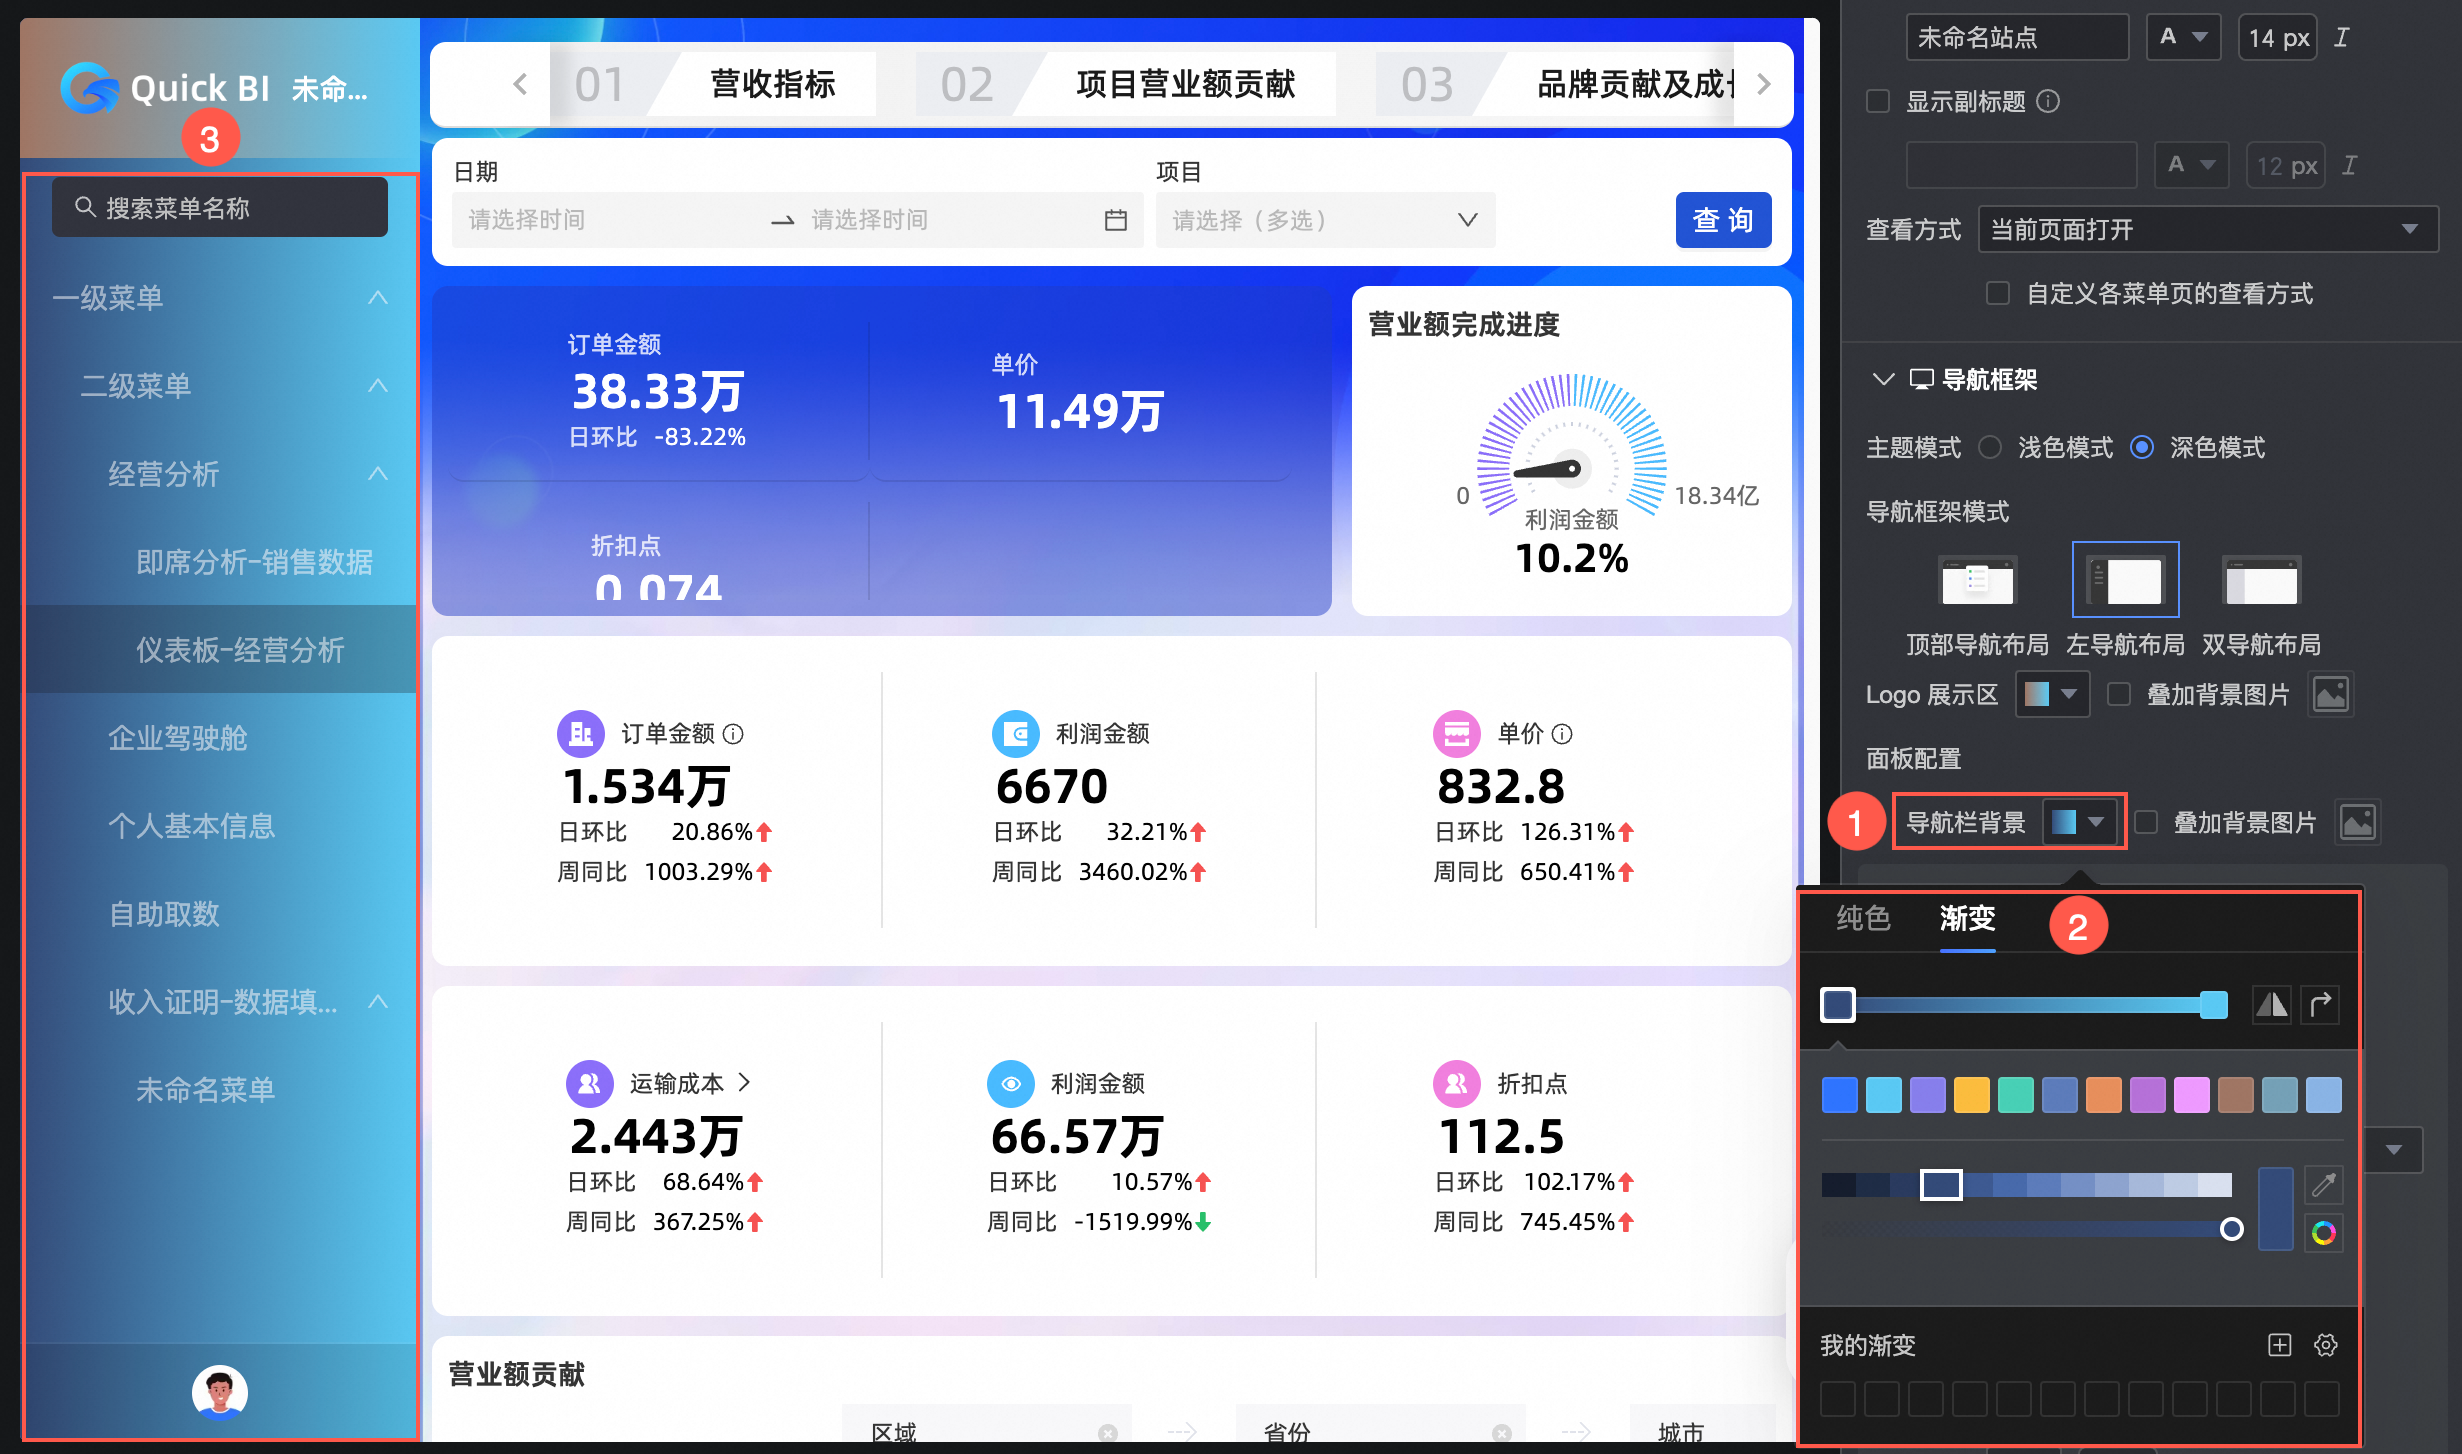
叠加背景图片
勾选后支持上传自定义图片。上传本地图片只支持jpg,jpeg,png,gif,svg格式,最大1M。
菜单展示配置
菜单选中样式
支持填充和选中块。
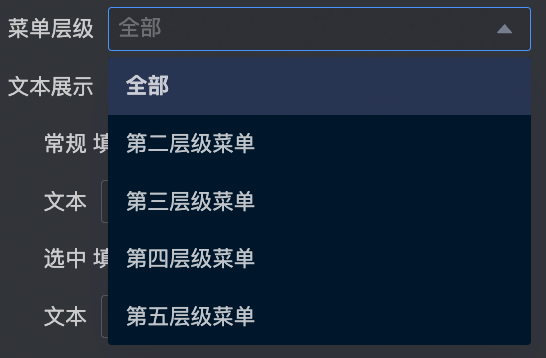
菜单层级和文本展示
支持设置全部菜单层级或指定菜单层级的文本展示样式。
菜单名称缩进
勾选后下级菜单名称缩进。
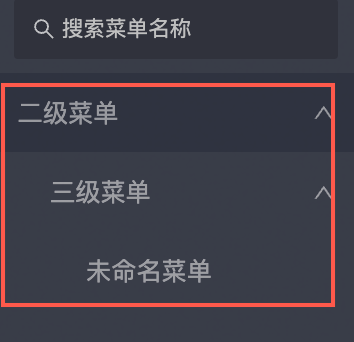
不勾选时,全部菜单名称在一列上。
自定义菜单行尺寸
设置菜单行的高度。
双导航布局
配置项
配置项说明
头部导航
当导航框架模式选择顶部导航布局和双导航布局时,支持配置头部导航:
导航栏高度
导航栏背景
叠加背景图片
勾选后支持上传自定义图片。上传本地图片只支持jpg,jpeg,png,gif,svg格式,最大1M。
Tab样式
支持下划线、选中字和选中块。
Tab文字
支持设置常规文本样式、选中填充颜色和选中文本样式。其中选中填充颜色仅在选中块生效。
左侧面板菜单区
当导航框架模式选择双导航布局,支持配置左侧面板菜单区。
菜单区背景
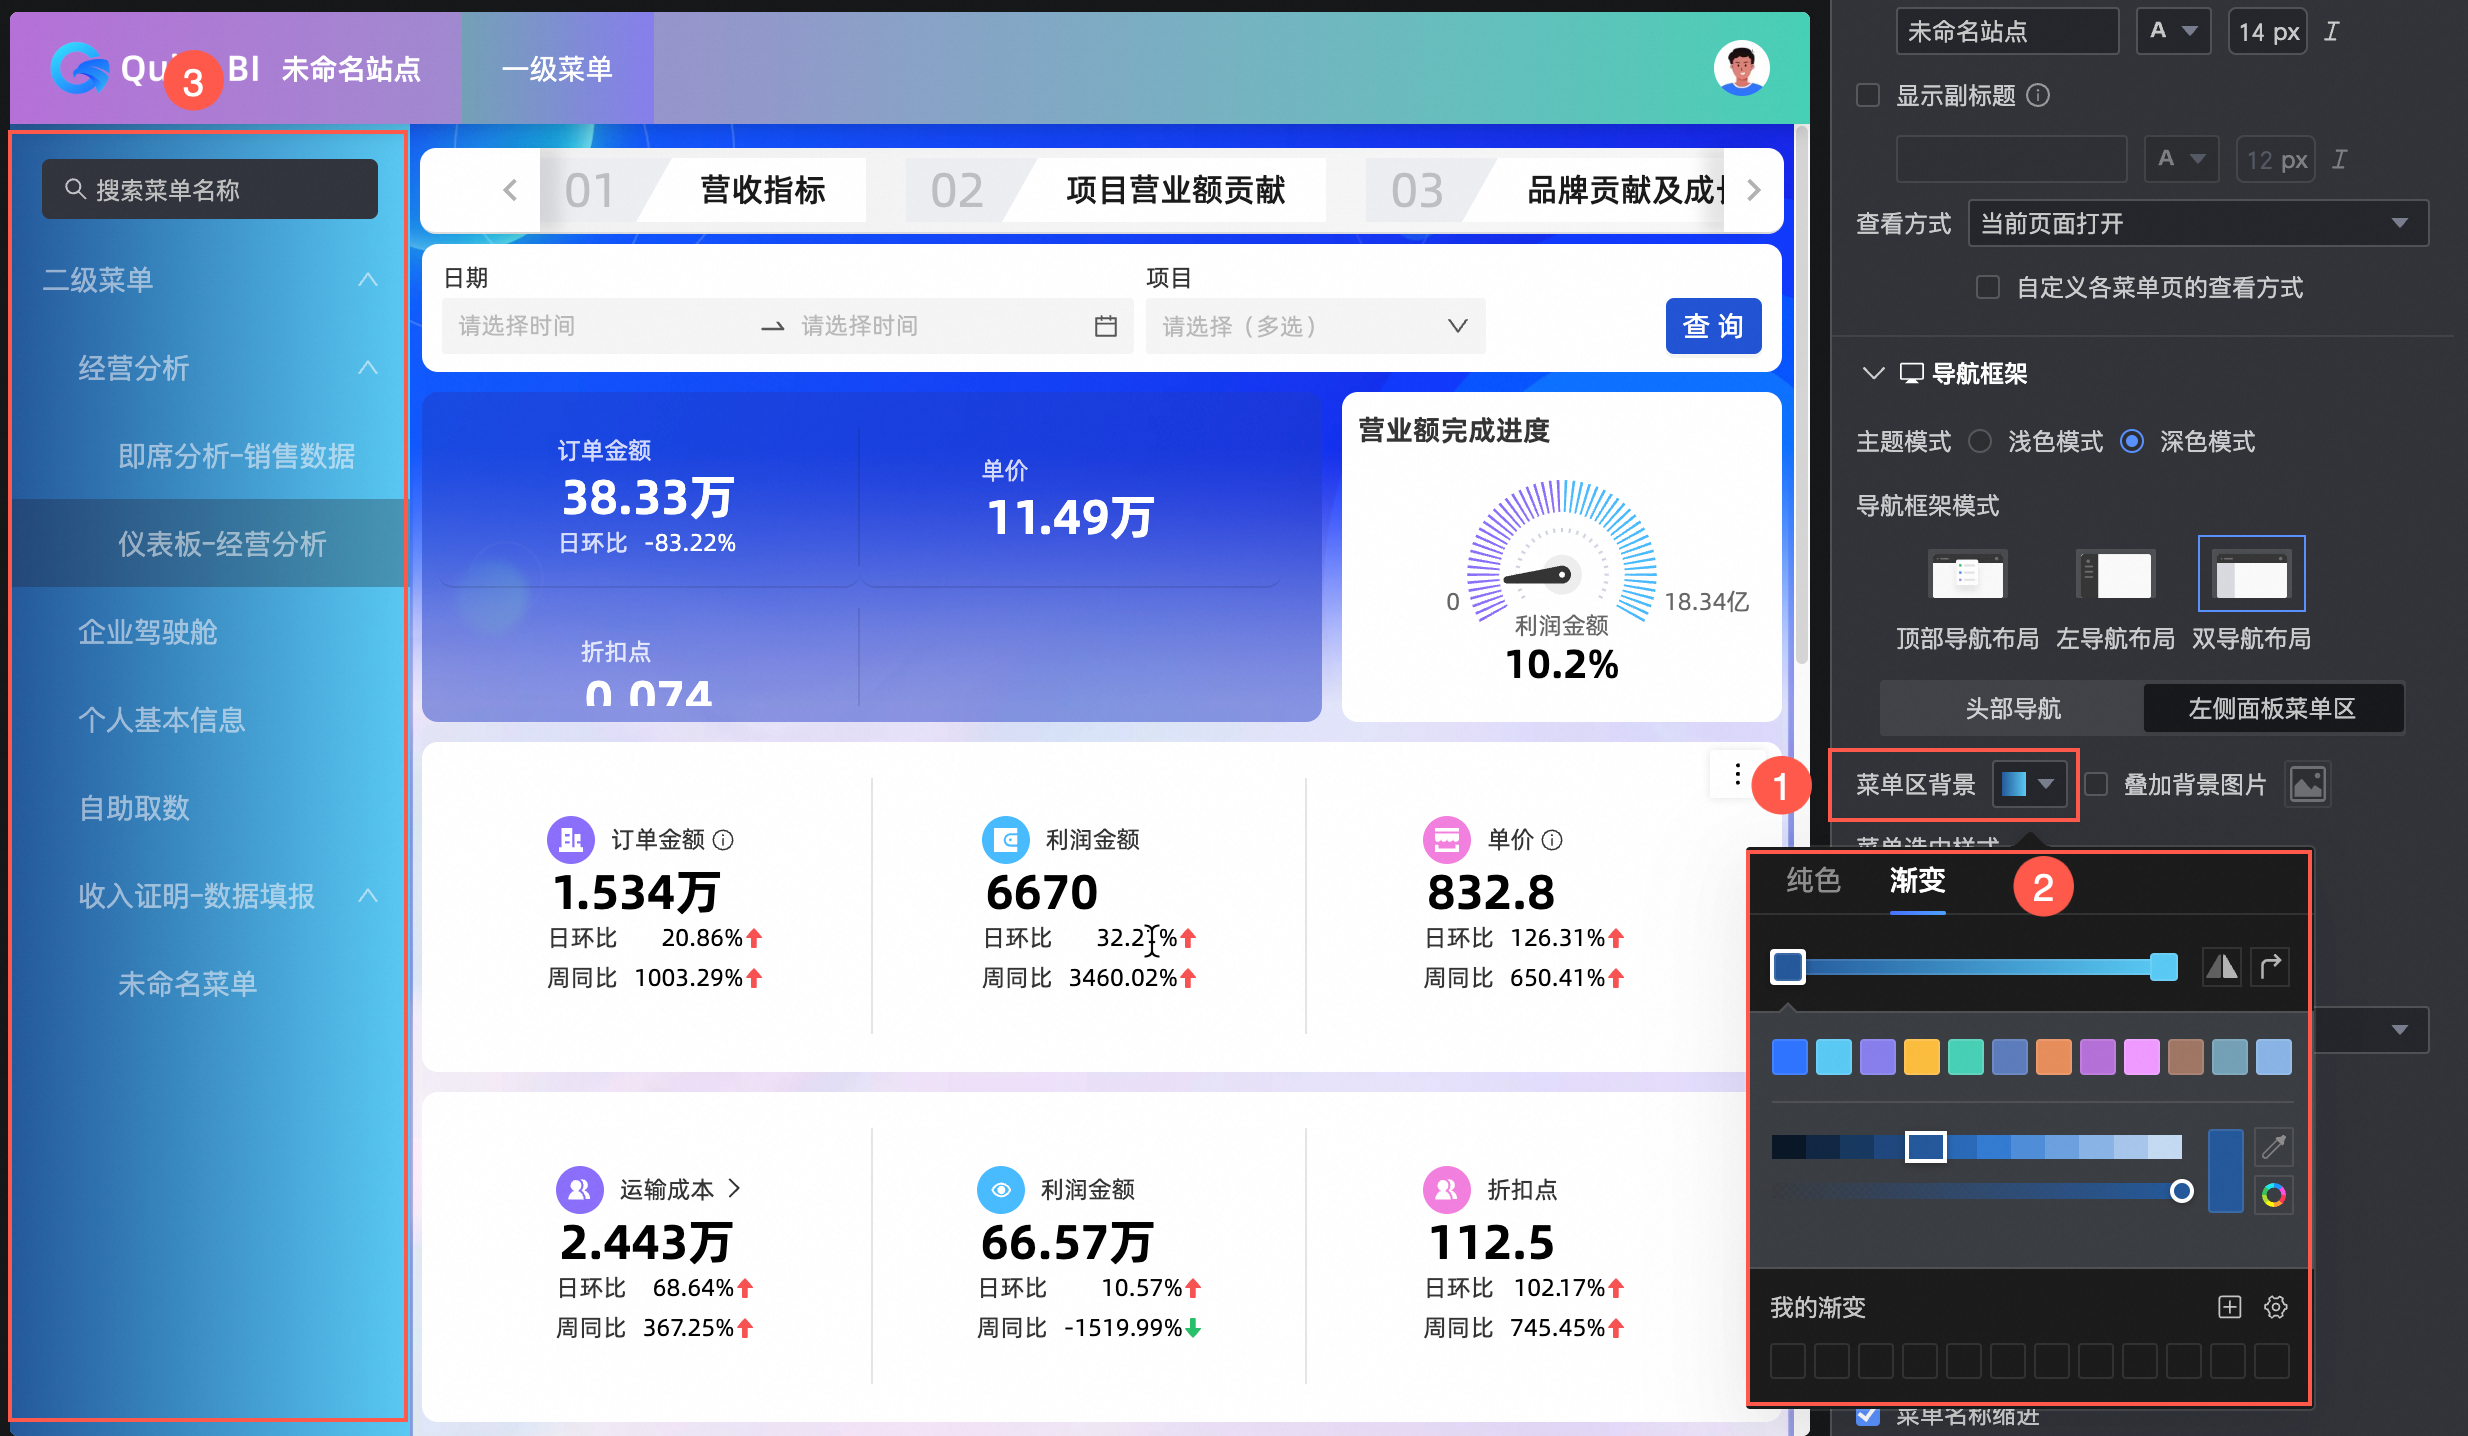
叠加背景图片
勾选后支持上传自定义图片。上传本地图片只支持jpg,jpeg,png,gif,svg格式,最大1M。
菜单选中样式
支持填充和选中块。
菜单层级和文本展示
支持设置全部菜单层级或指定菜单层级的文本展示样式。
菜单名称缩进
勾选后下级菜单名称缩进。
不勾选时,全部菜单名称在一列上。
自定义菜单行尺寸
设置菜单行的高度。
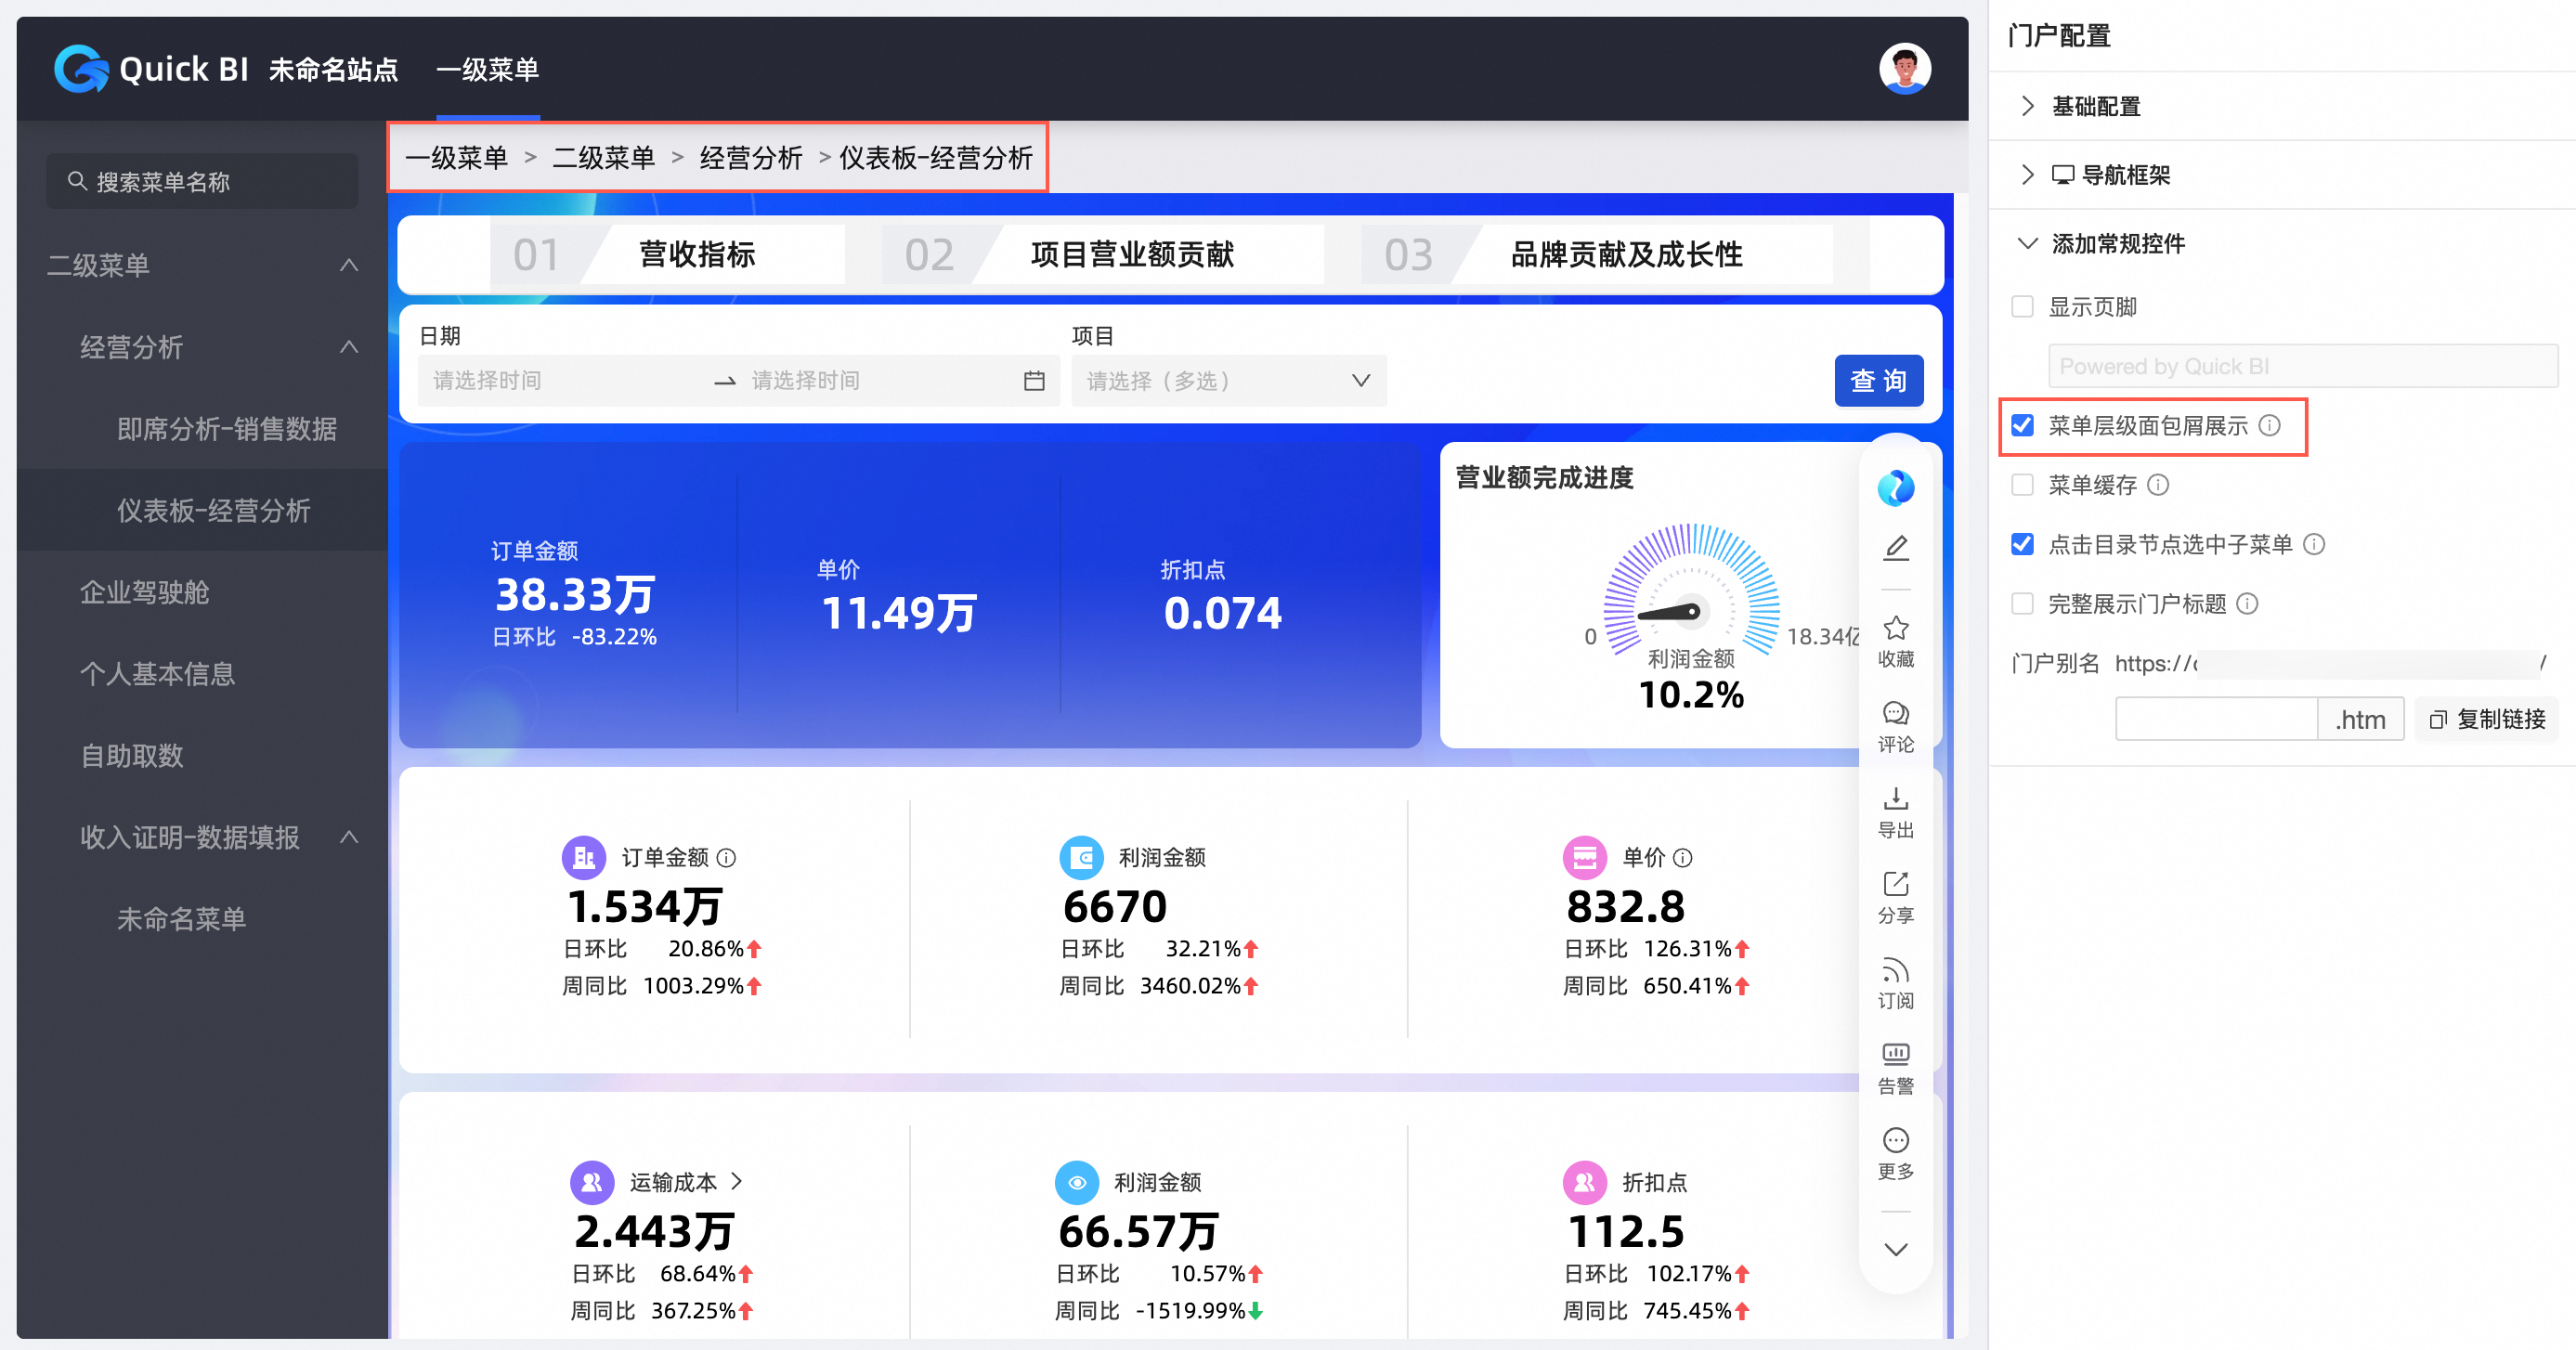
添加常规控件
PC端的添加常规控件配置,与移动端共用同一套配置。
配置项 | 配置项说明 |
显示页脚 | 选中该选项,您可以自定义页脚内容并显示在内容页底部。 |
菜单层级面包屑展示 | 选中该选项,菜单层级将在内容页顶部展示。
|
菜单缓存 | 选中该选项,当同时打开多个菜单时,菜单切换时将不需要重新加载。 |
点击目录节点选中子菜单 | 勾选后,点击目录节点会自动展示下一级子菜单。 不勾选时,顶部导航和左导航布局下,点击目录节点仅会“折叠/展开”菜单列表;双导航布局下,该配置项仅对左侧菜单生效。 |
完整展示门户标题 | 双导航/顶部导航情况下,当标题过长时,默认展示完整。 |
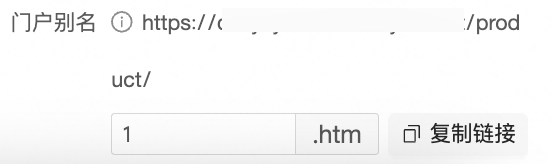
门户别名 | 您可以自定义填写参数,此时会拼接在链接中。例如,您填写参数1,则门户别名为:
说明 请您填写符合法律法规的内容,不得填写任何违法乱纪、色情、反动、不道德等信息。 |
菜单配置
PC端菜单配置仅菜单展示样式需要单独设置,其余内容与移动端共用同一套配置。
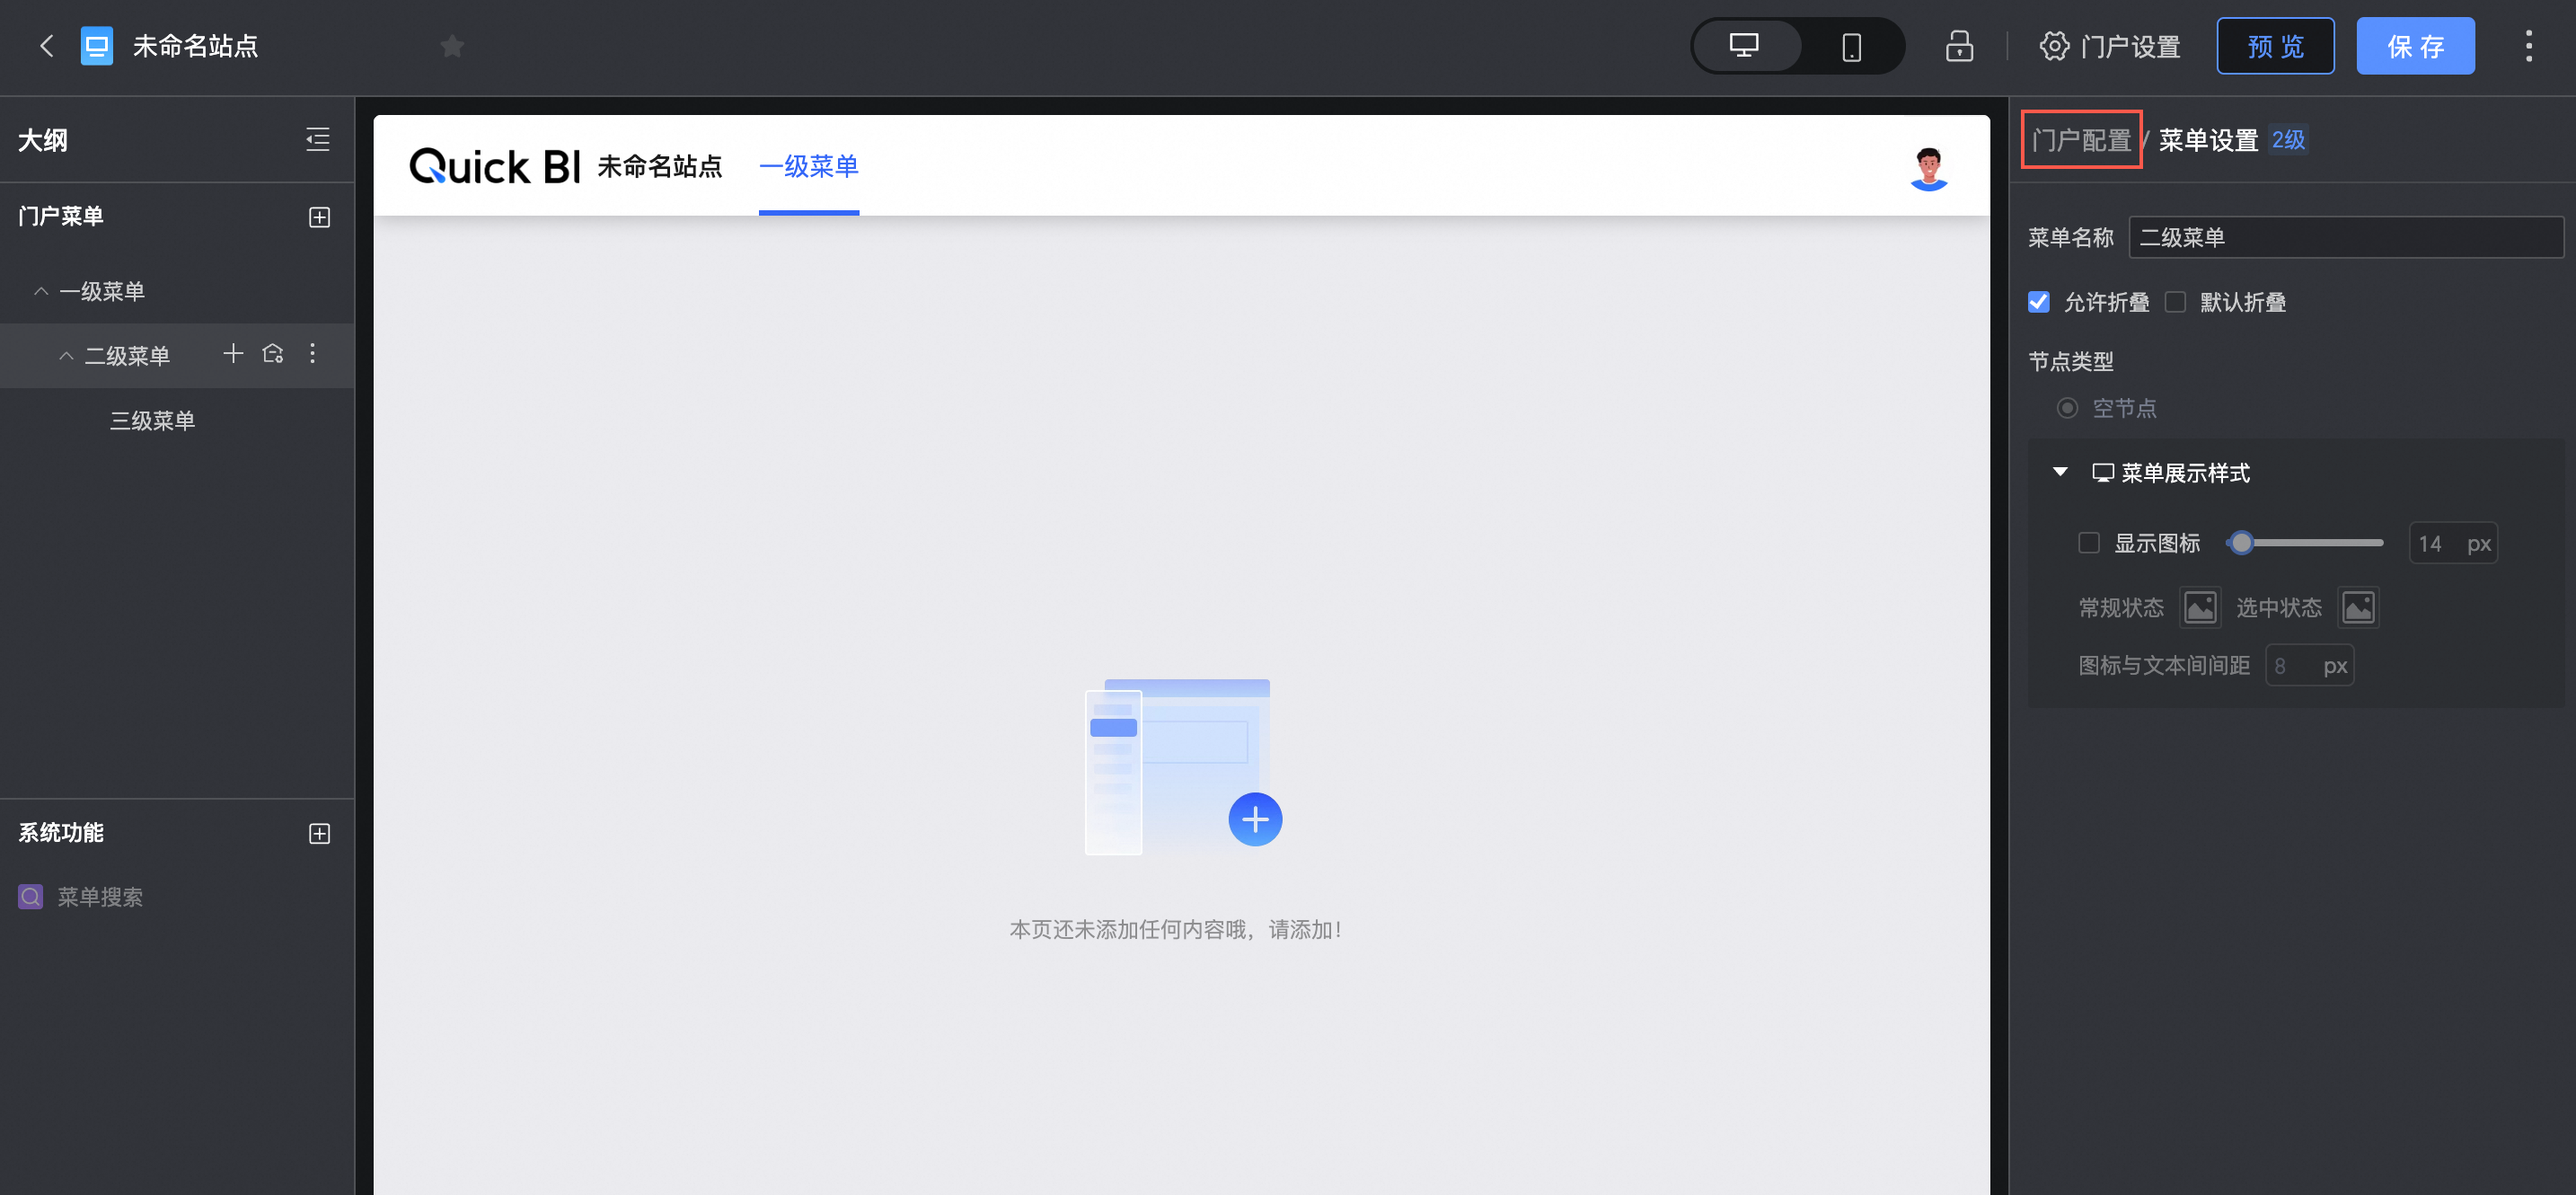
在数据门户编辑页面,单击目标菜单,进入配置菜单页面。
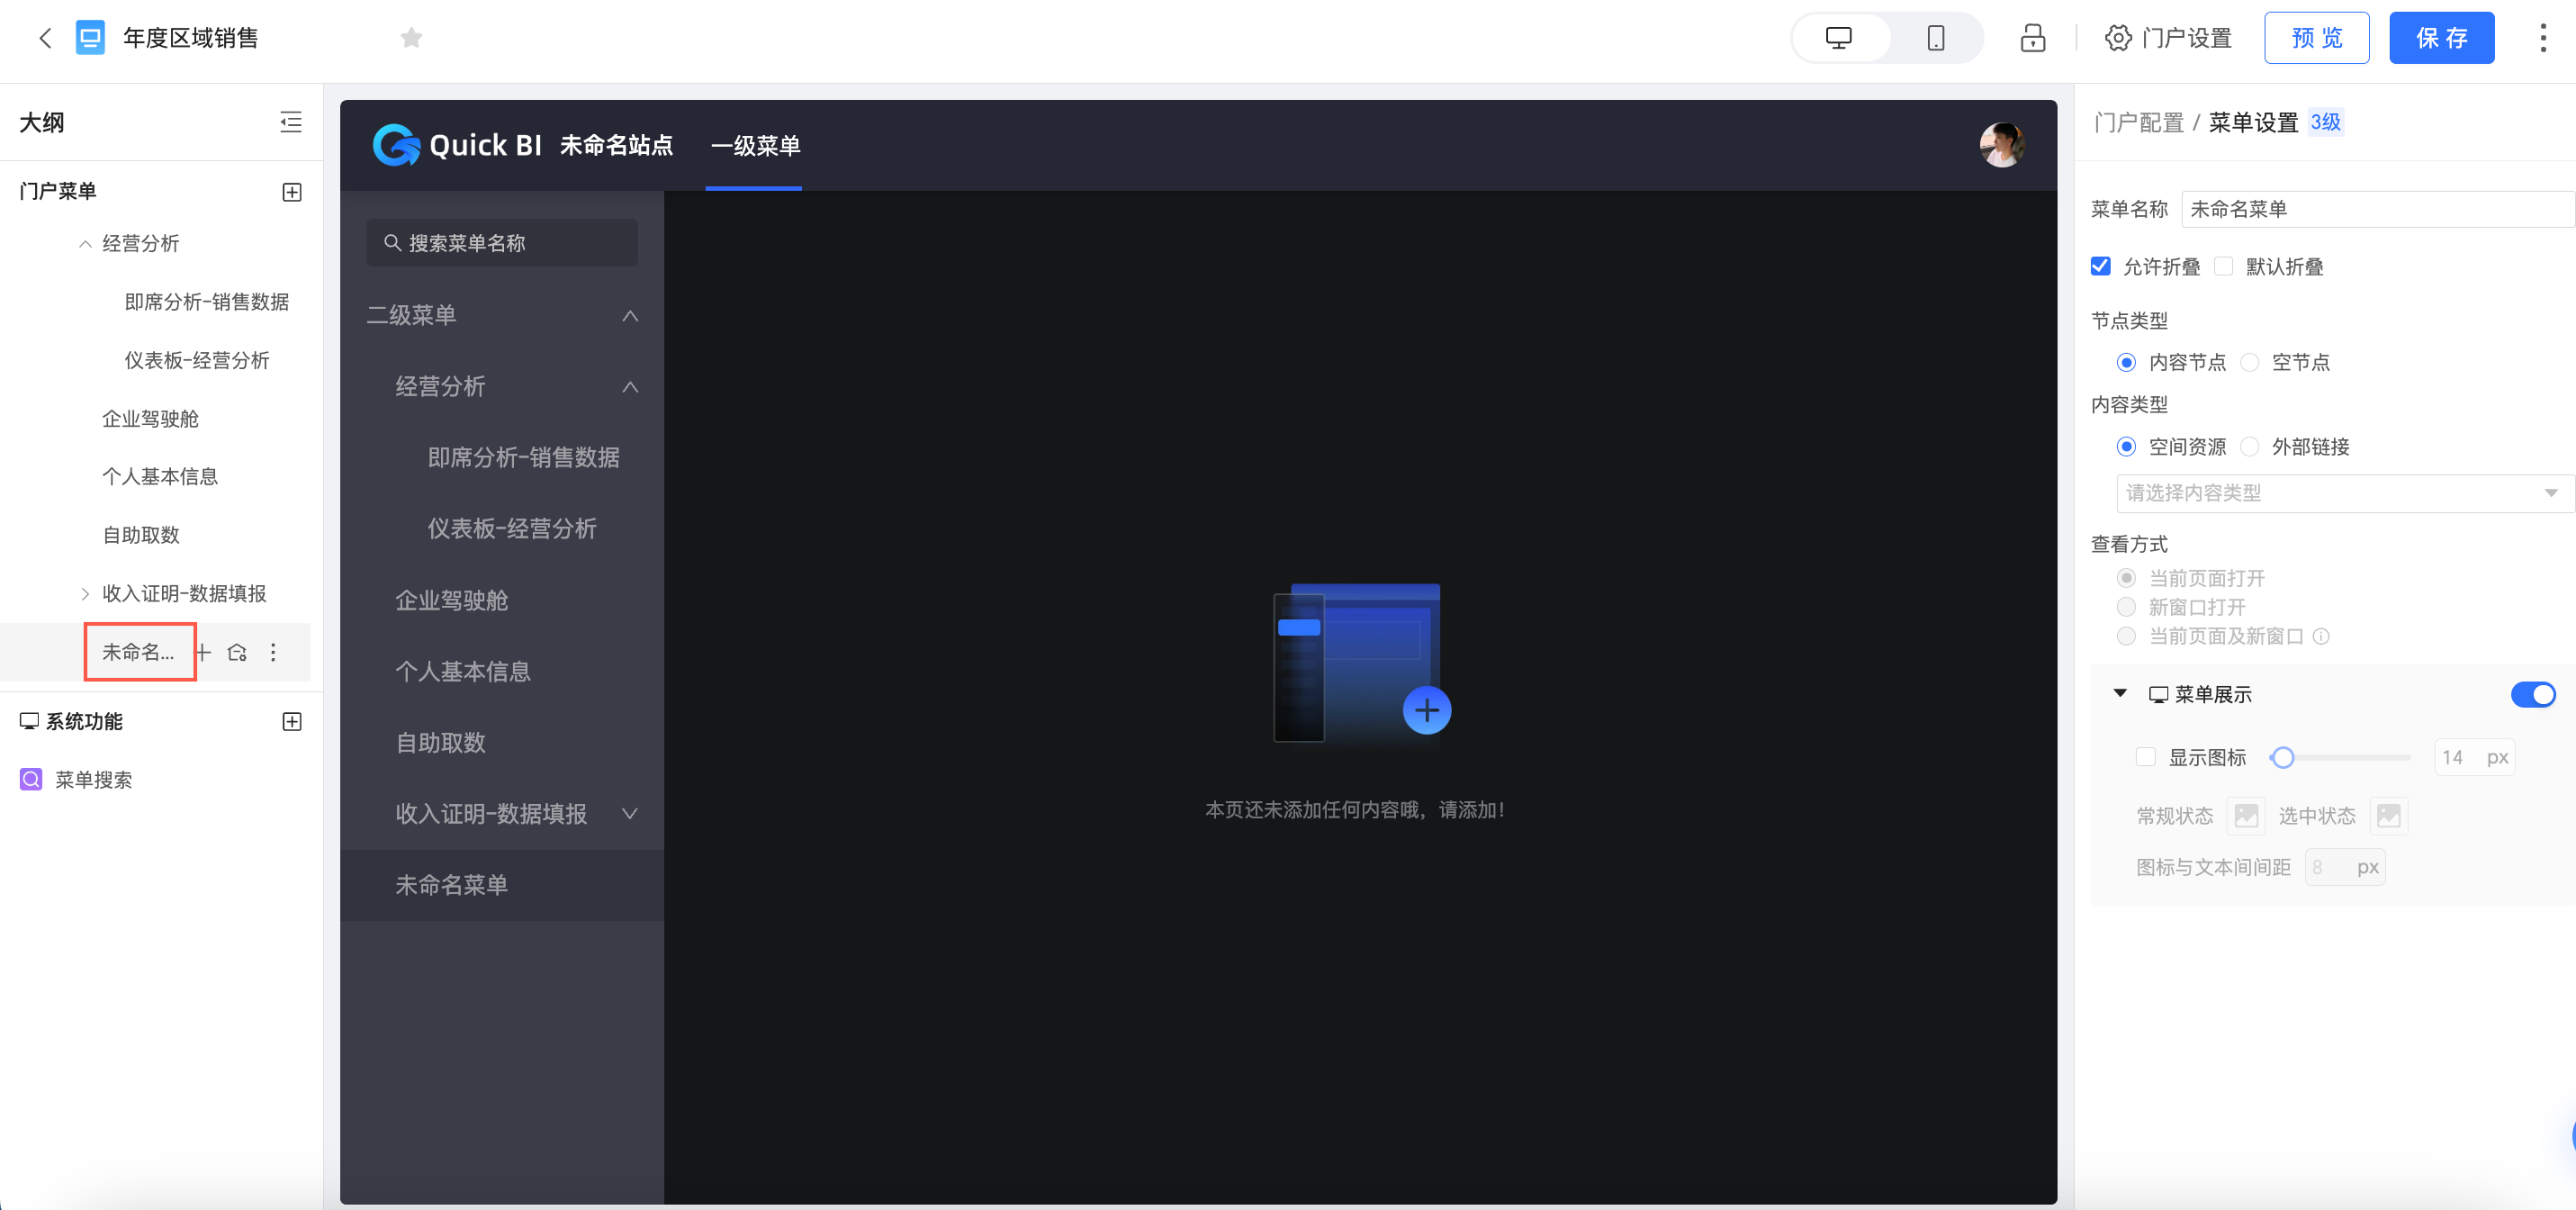
在配置菜单页面,配置门户菜单、系统功能和菜单设置。
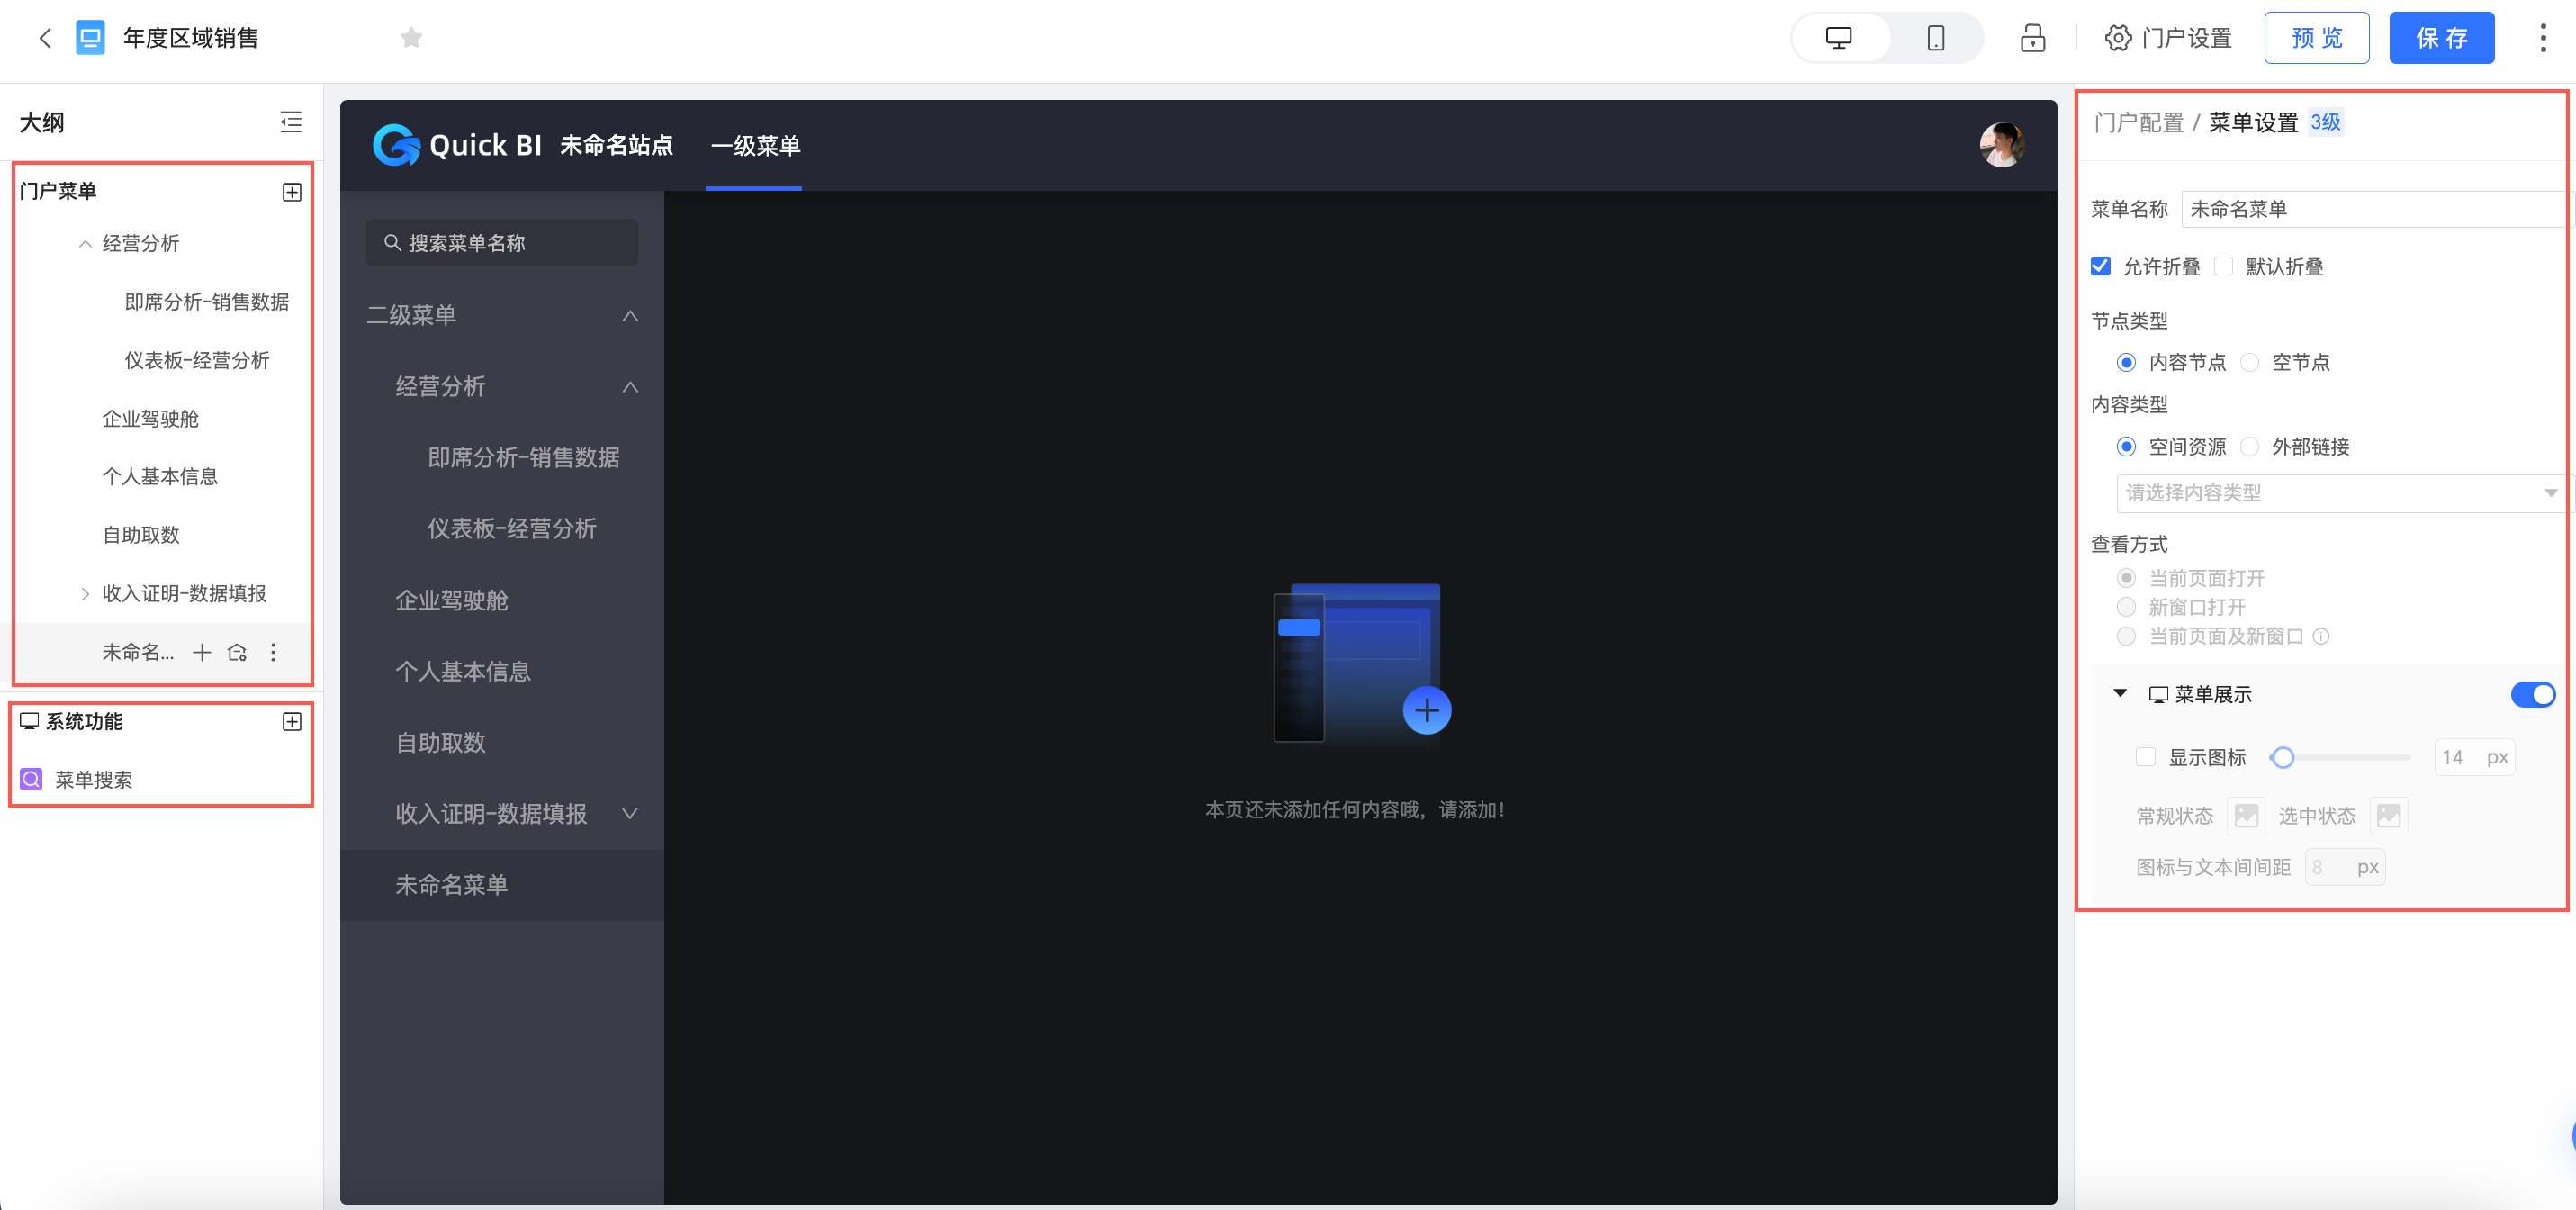
门户菜单配置
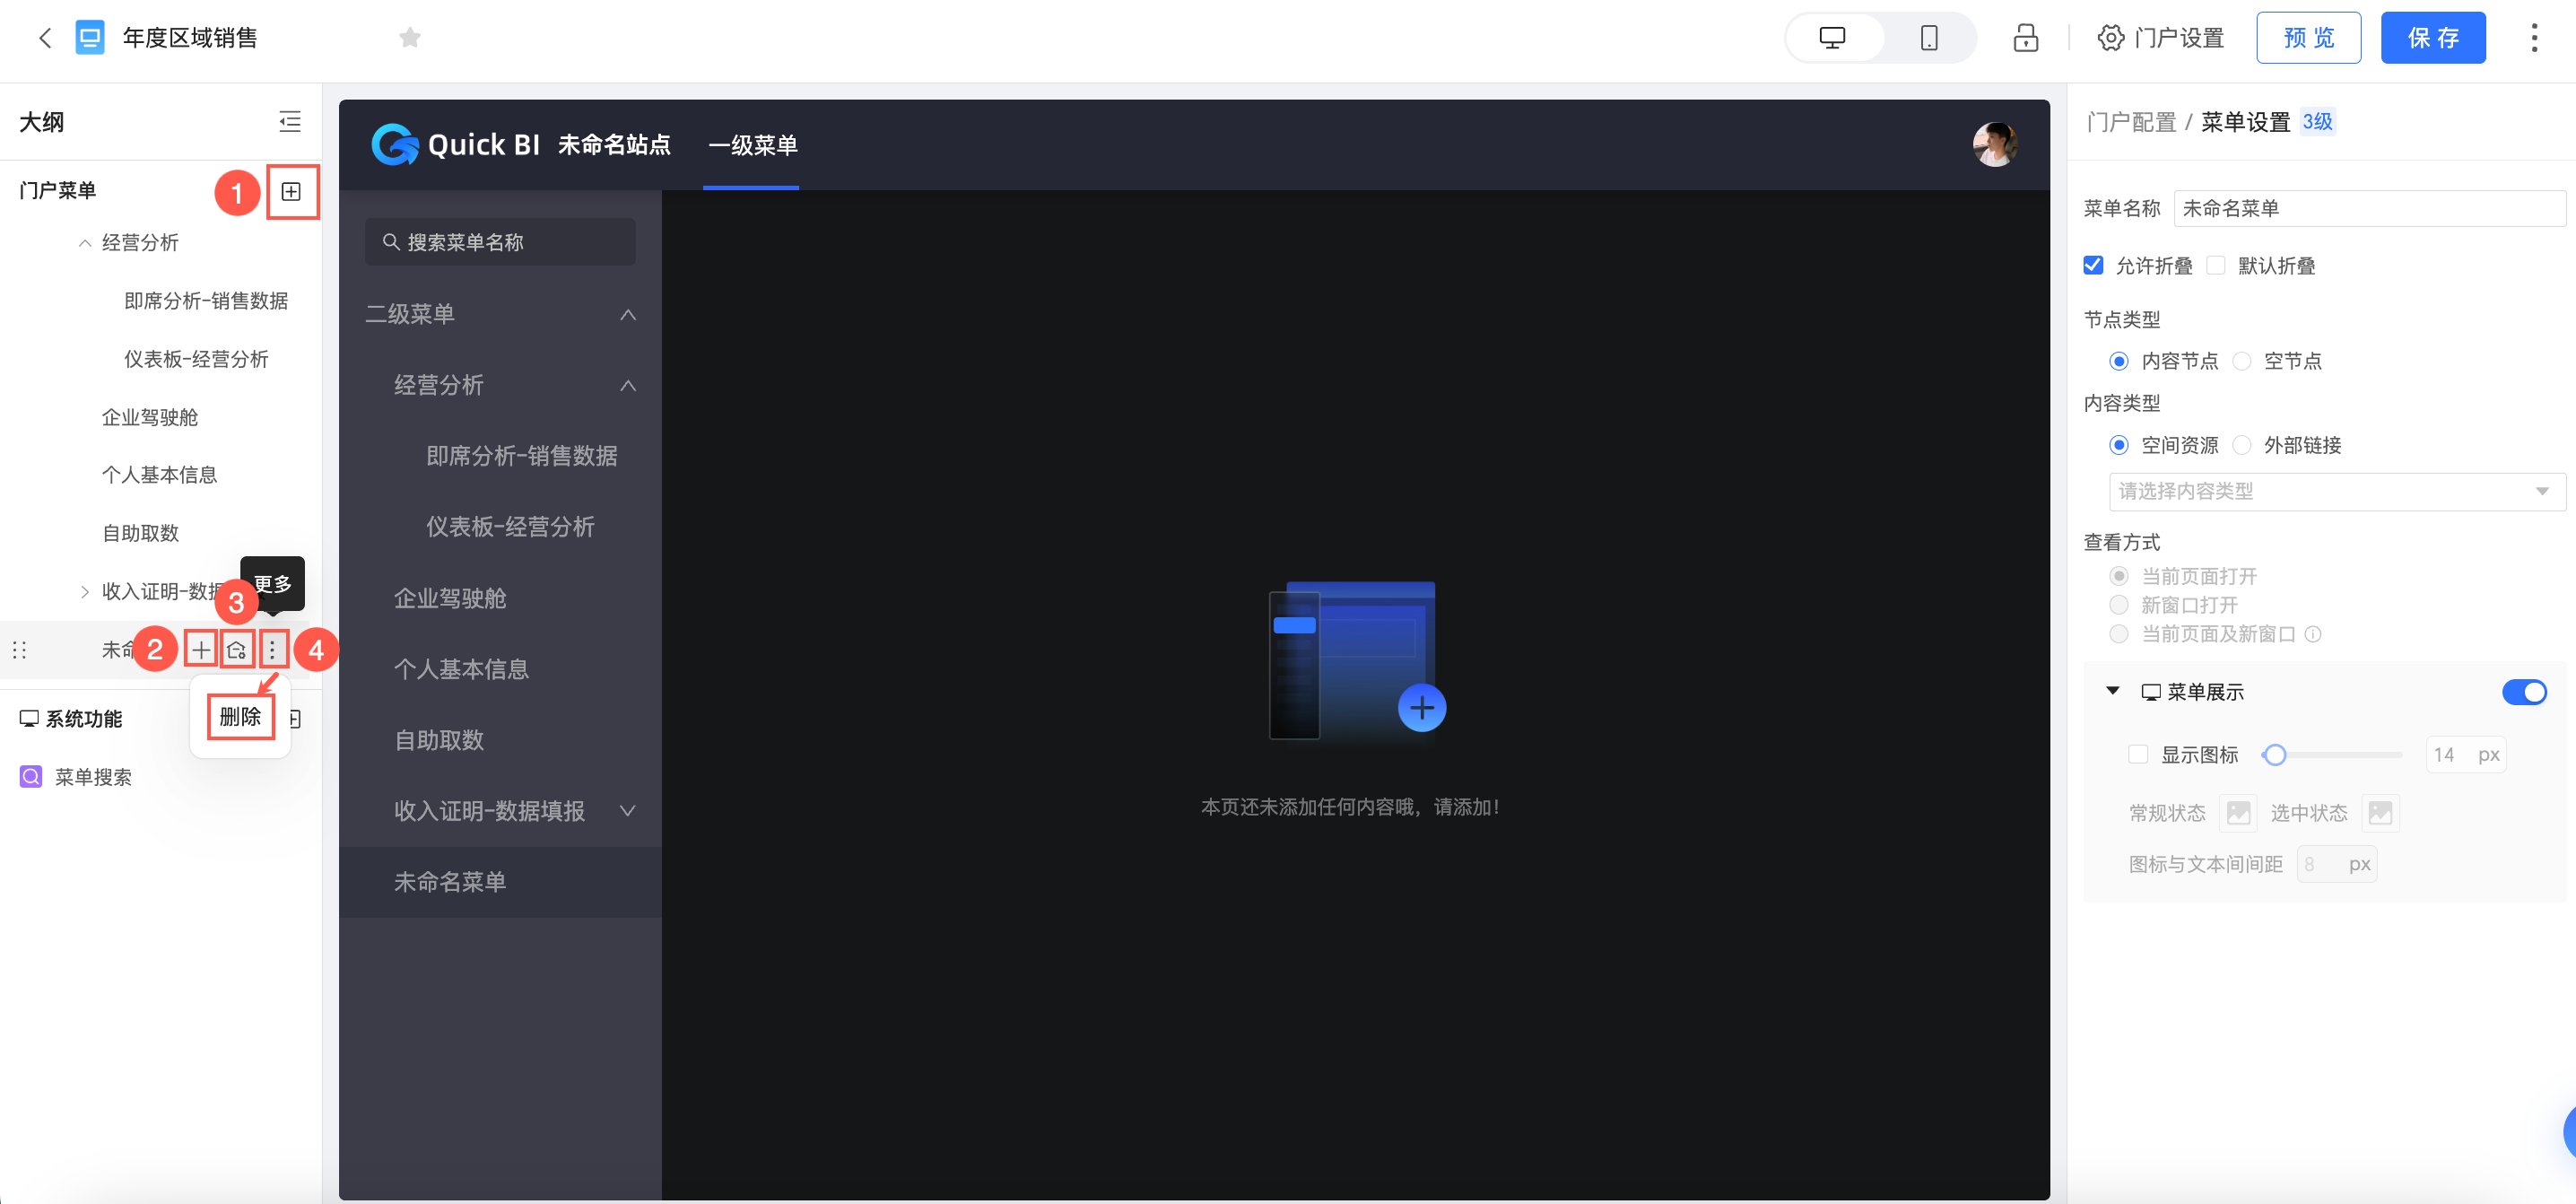
①添加主菜单。即添加一级菜单。
②添加二级及以下的菜单。
③设置某个菜单为主页。设置后打开数据门户默认显示这个主页。
④删除菜单。
系统功能设置
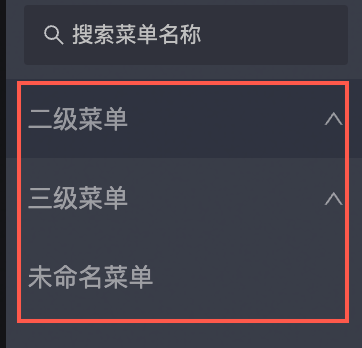
您可以按照图示方式选择菜单搜索和页面全屏功能。
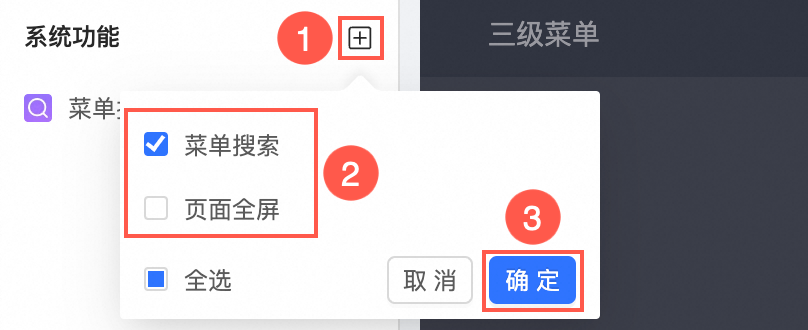
菜单搜索
勾选菜单搜索并显示时,支持搜索菜单名称。
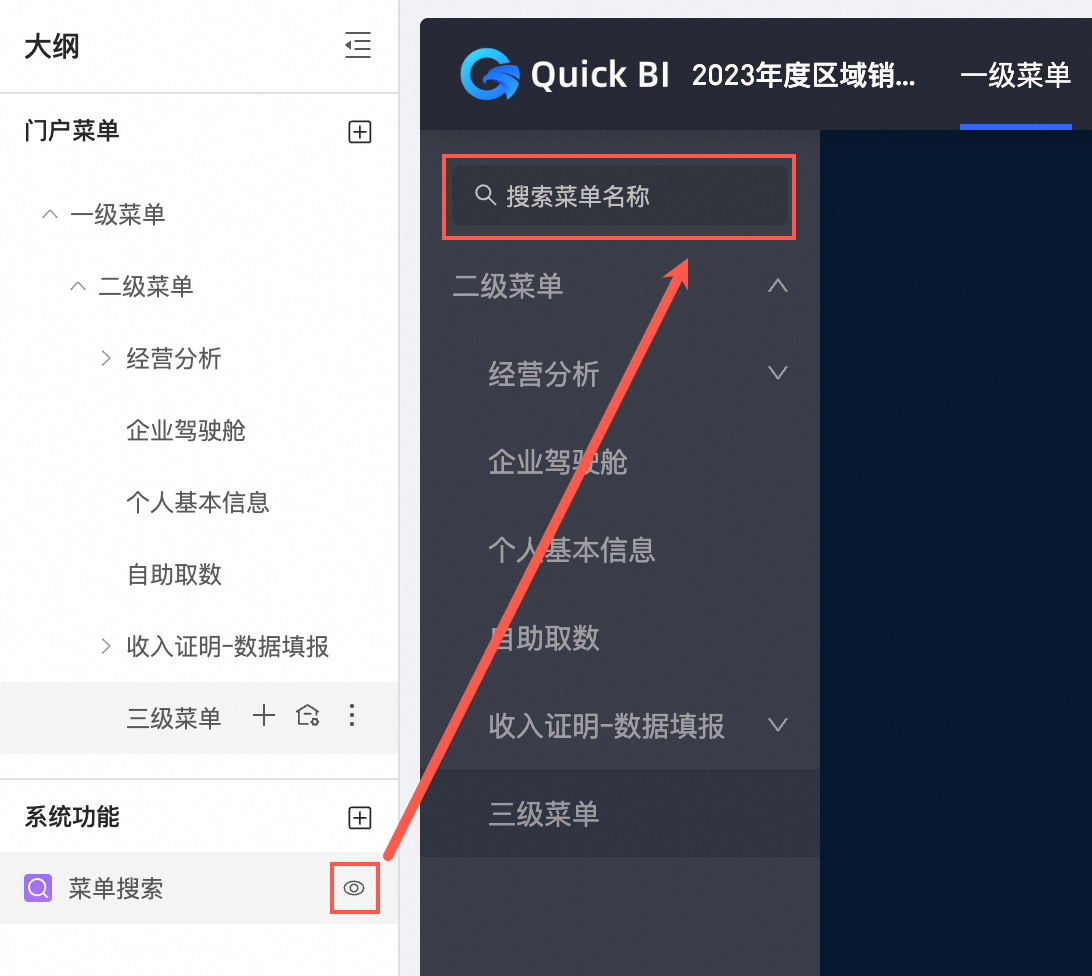
支持配置菜单搜索的背景填充色、图标颜色、线框颜色、搜索框内文字空态状和输入态的文本样式。

页面全屏
勾选页面全屏并显示时,页面将展示全屏按钮并可以进行全屏操作。
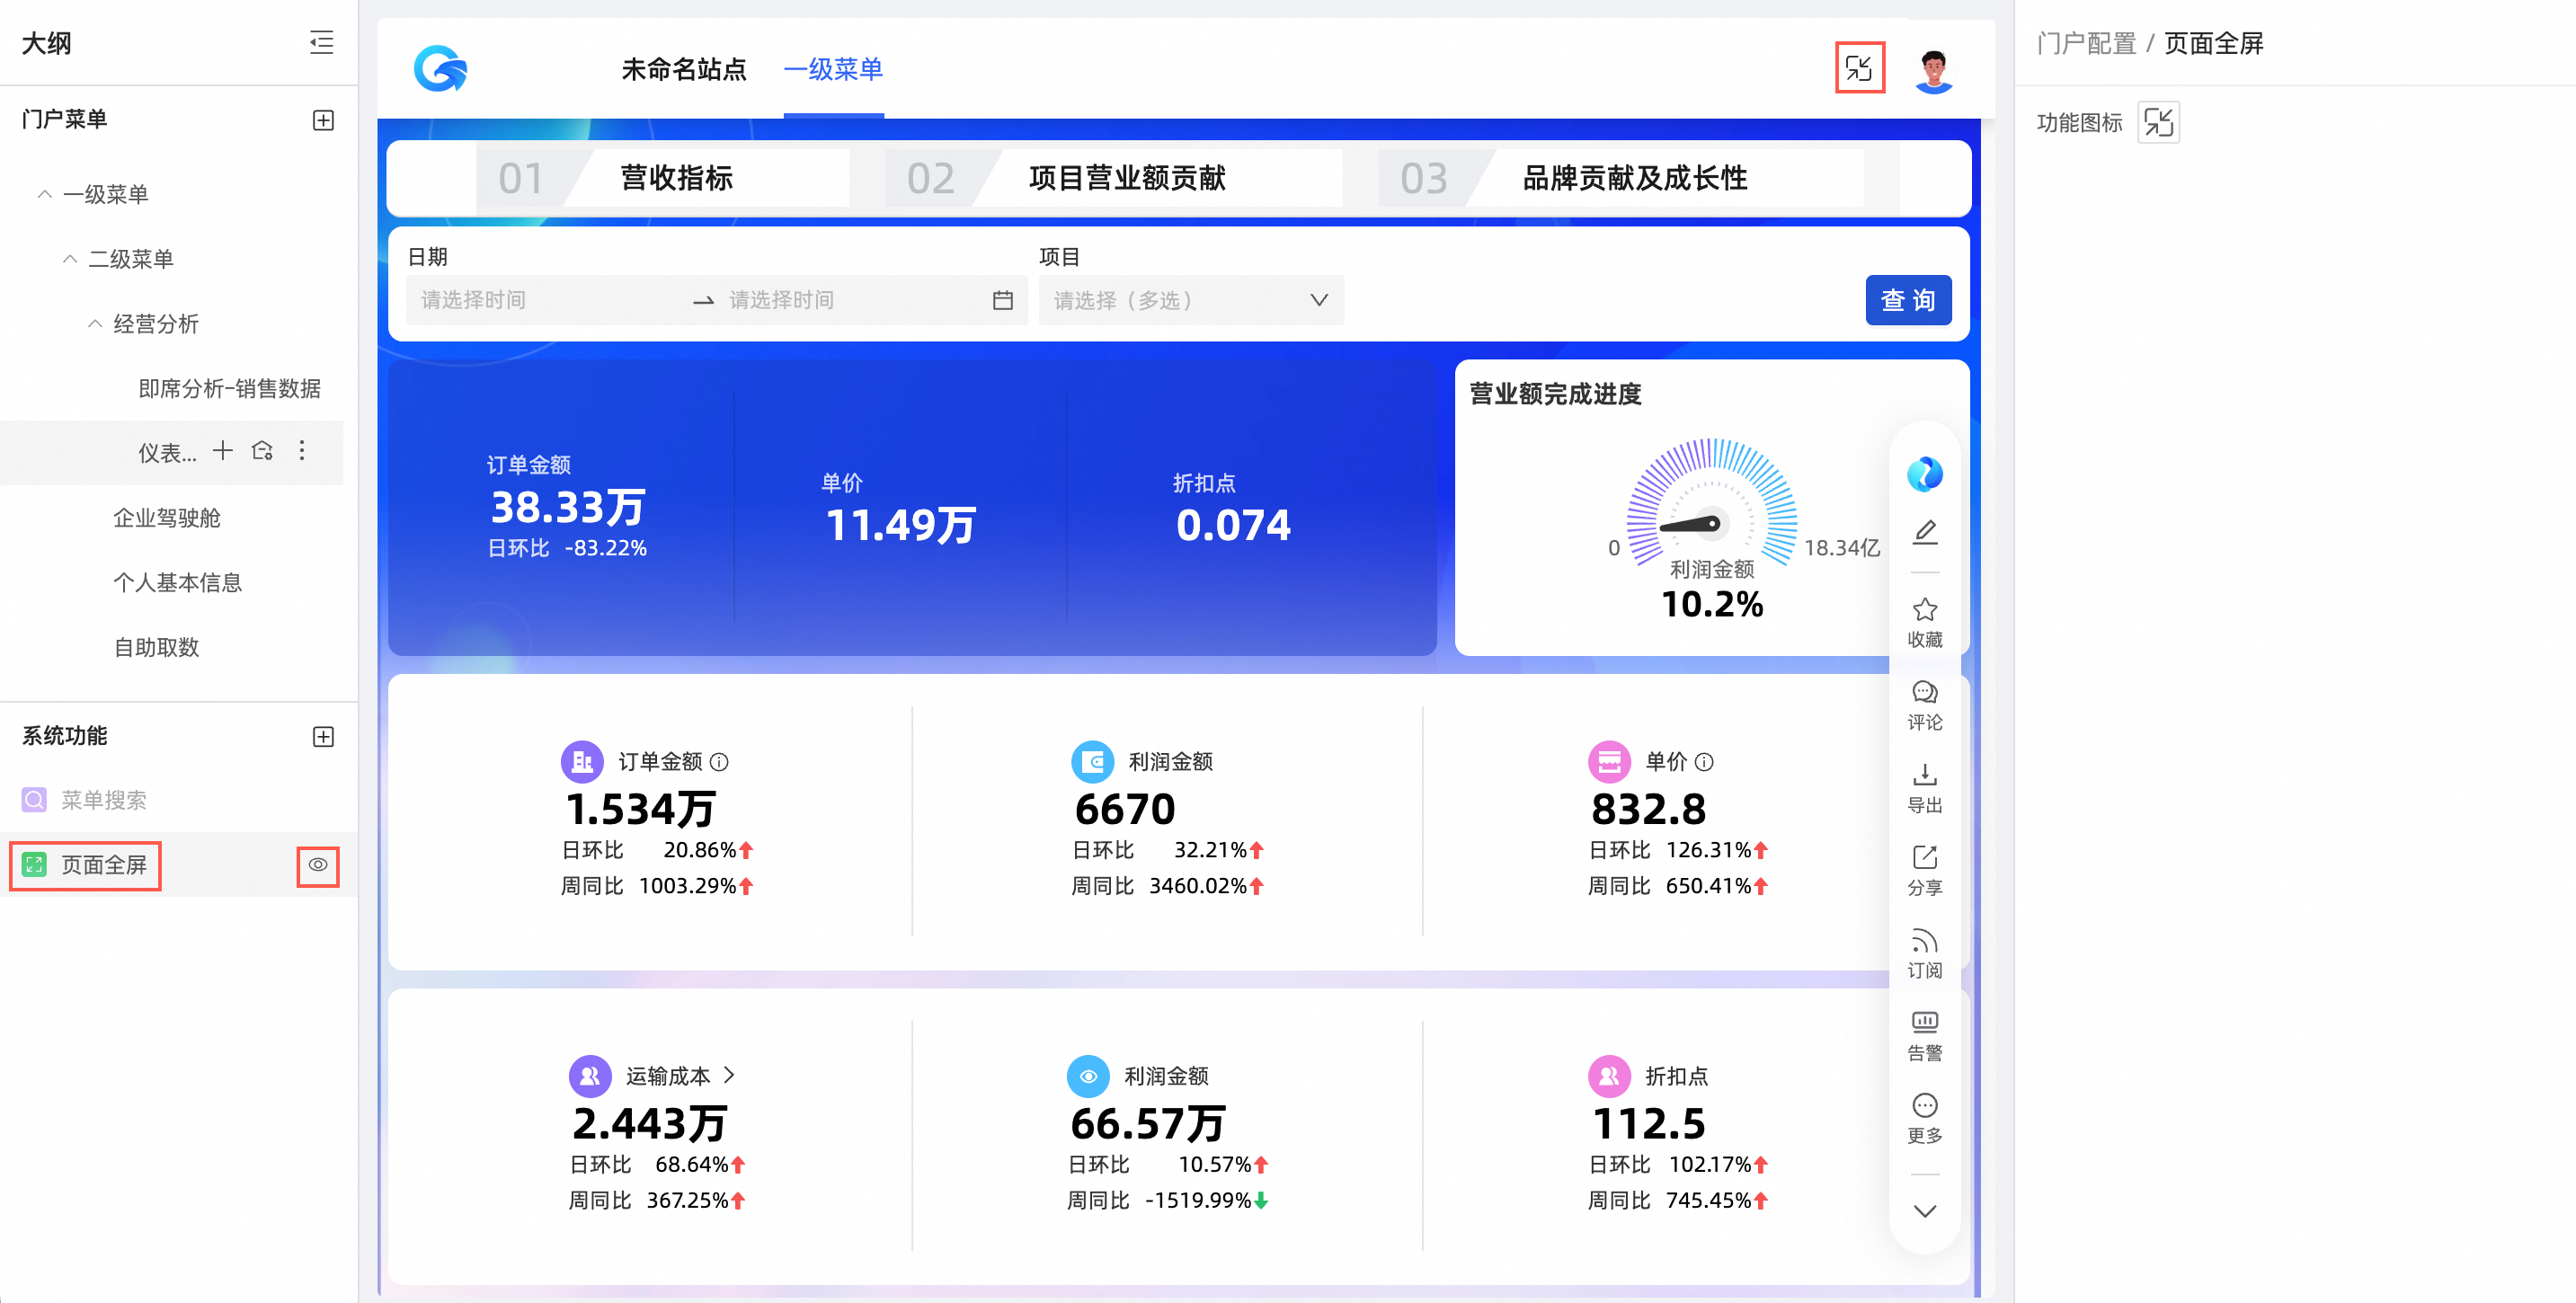
支持配置功能图标为使用素材或自定义图片。
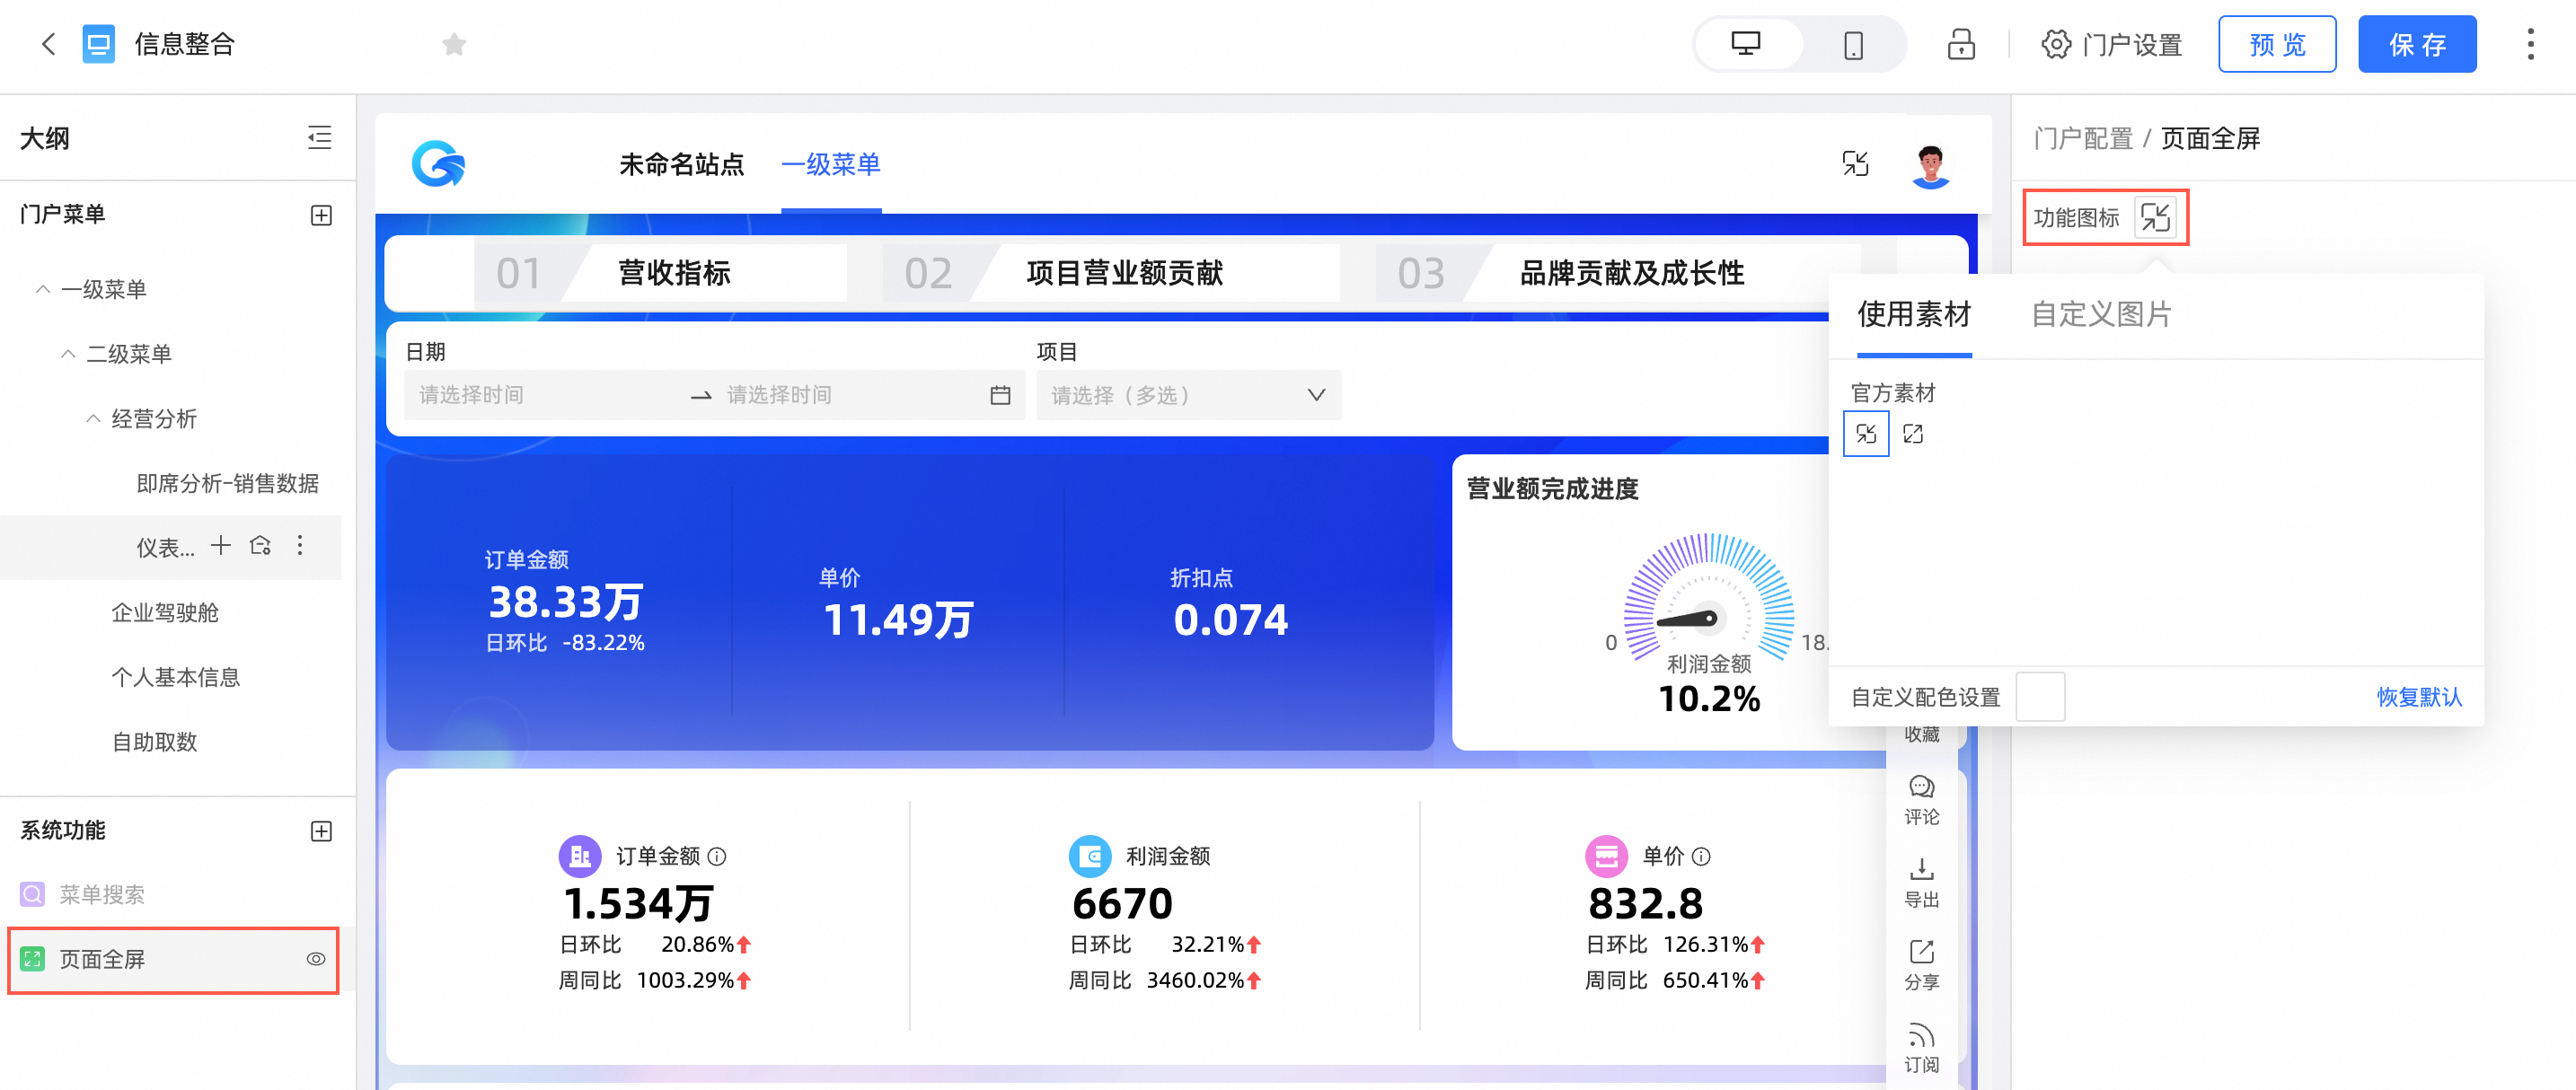
上传本地图片只支持jpg,jpeg,png,gif,svg格式,最大1M。
菜单设置
配置项
配置项说明
菜单名称
用于自定义菜单名称。
允许折叠
用于设置菜单是否可以折叠。
默认折叠
用于设置菜单的默认状态。
说明当且仅当选中菜单允许折叠时,才可以设置该选项。
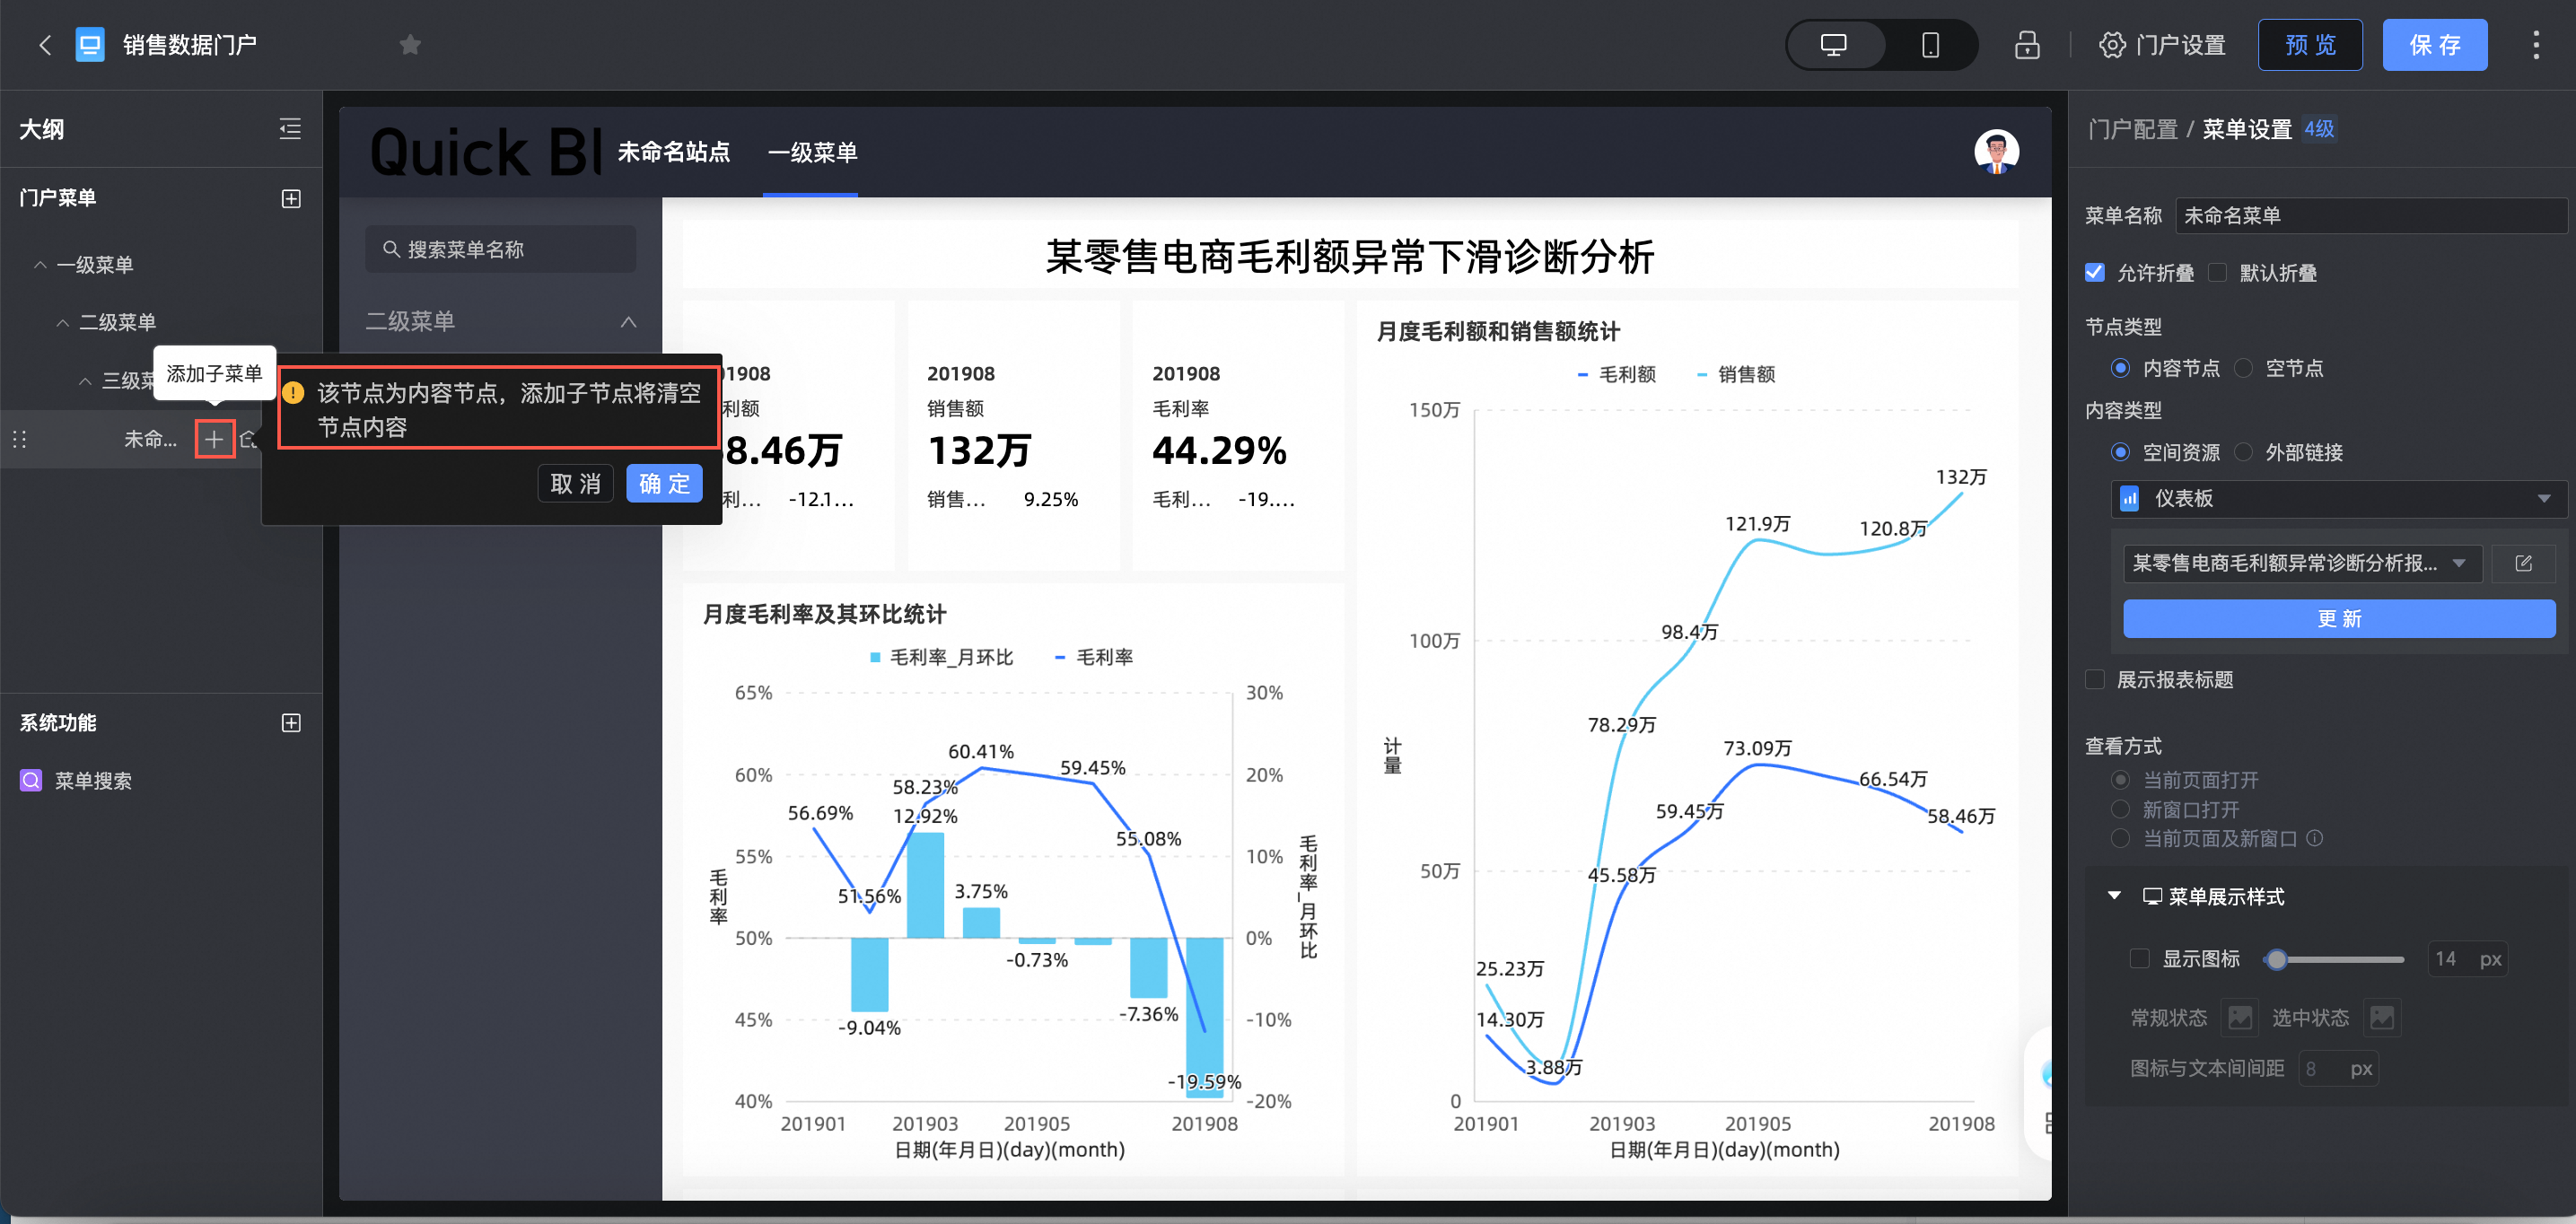
节点类型
设置节点类型为内容节点或空节点。
当该节点需要成为父节点时,可以设置该节点为空节点。
当该节点下面添加子节点时,该节点会自动变成空节点。如果该节点原先为内容节点,添加子节点将清空节点内容。
内容类型
支持设置空间资源或外部链接。其中移动端数据门户支持的空间资源类型如下:
仪表板
数据大屏
电子表格
即席分析
数据填报
自助取数
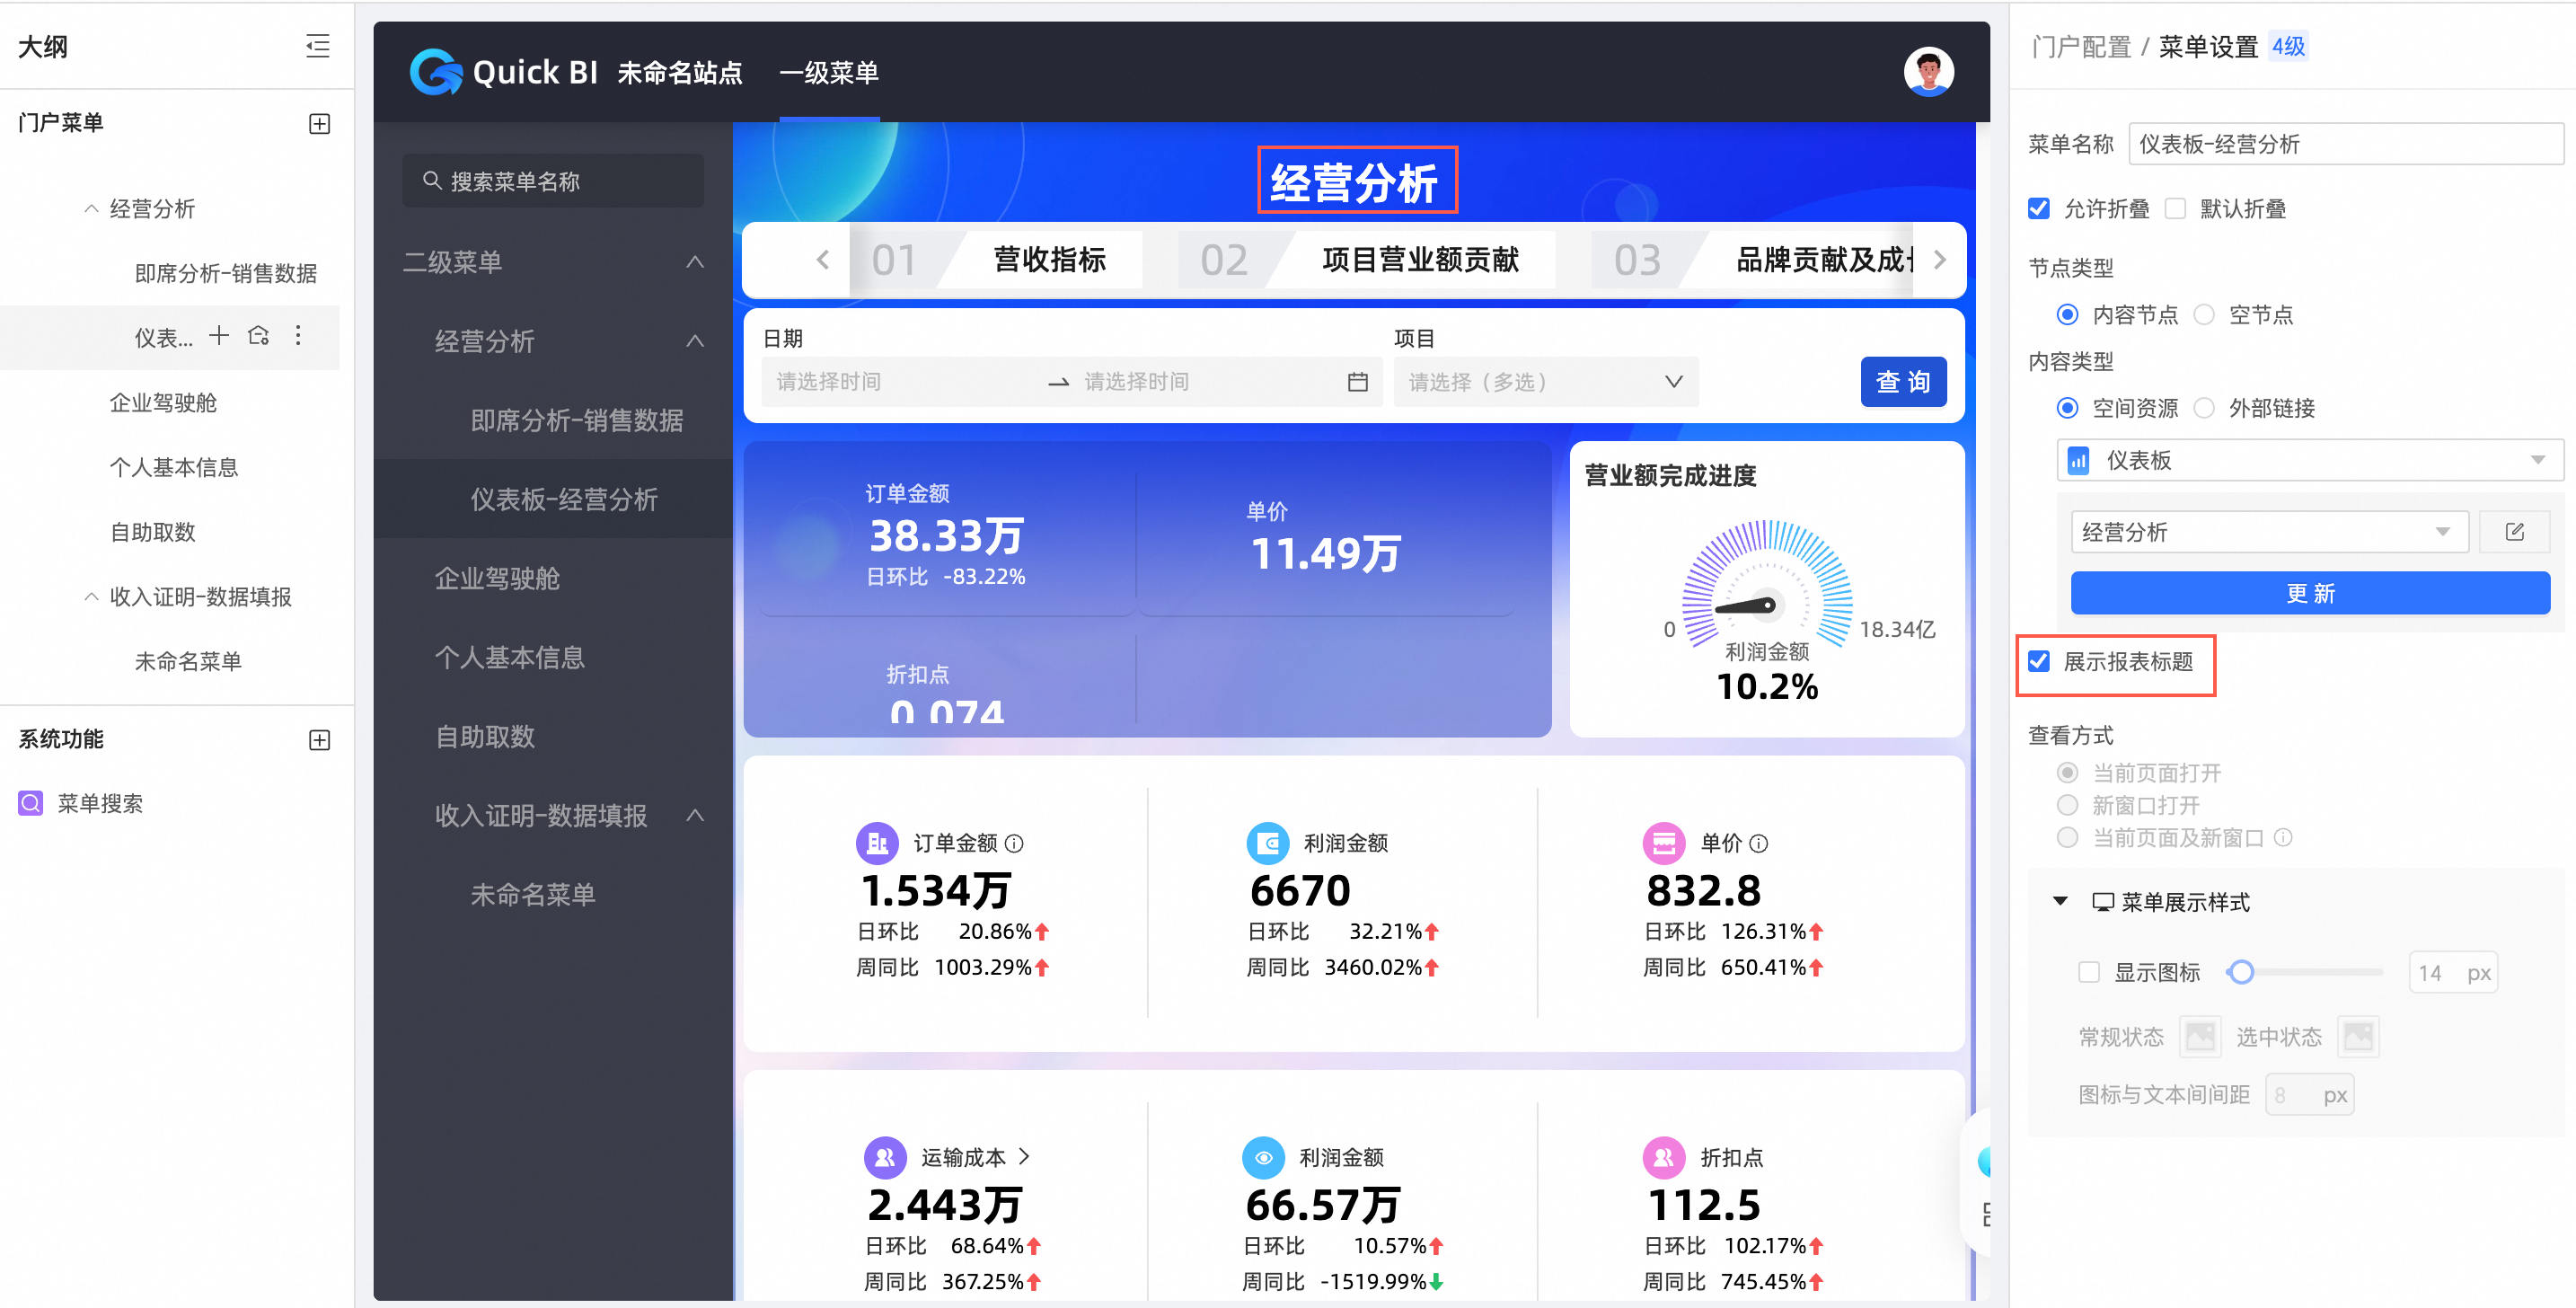
当空间资源为仪表板、电子表格、即席分析、自助取数时,支持是否展示报表标题。
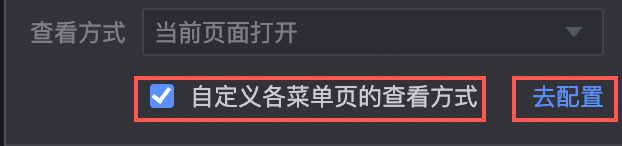
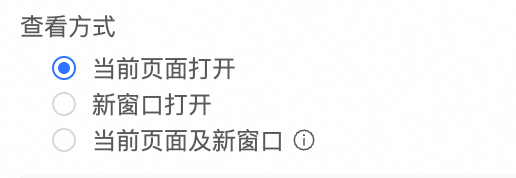
查看方式
支持当前页面打开、新窗口打开和当前页面及新窗口三种方式。
说明当且仅当该菜单未选中设置空节点时,才可以设置该选项。
若您已在配置站点中统一选择页面打开方式,此时不支持自定义单个菜单页。如需自定义单个菜单页的打开方式,请修改为自定义各菜单页的查看方式。
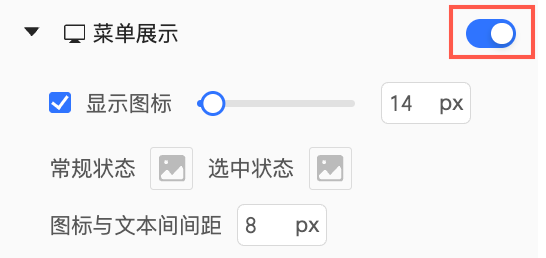
菜单展示样式
支持开启或隐藏菜单展示、勾选显示图标并配置图标的大小、常规状态和选中状态的菜单icon以及图标与文本间间距。
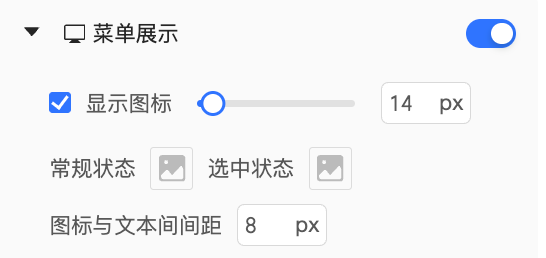
您可以自定义菜单在PC端或移动端的显示状态。若选择在PC端隐藏菜单,则相应的菜单及其子菜单将不再展示,而移动端的菜单展示不受影响。如需配置移动端的菜单展示,请在创建移动端数据门户时进行相应设置。
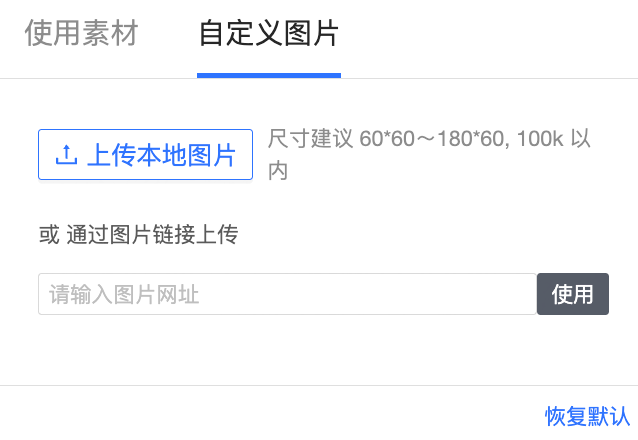
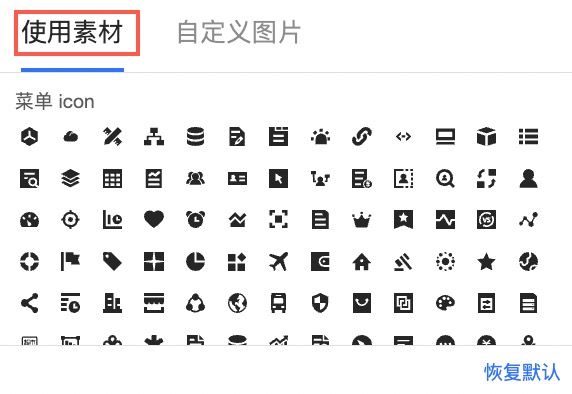
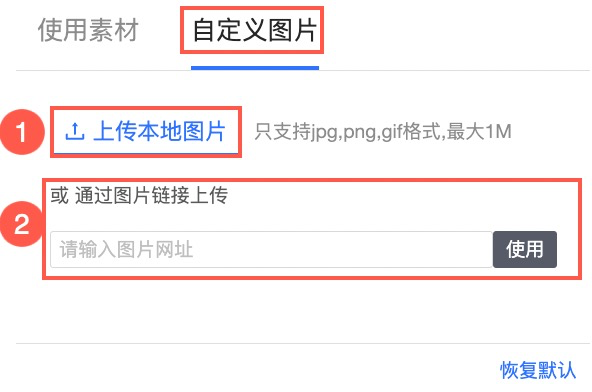
菜单icon支持使用素材或自定义图片。
使用素材
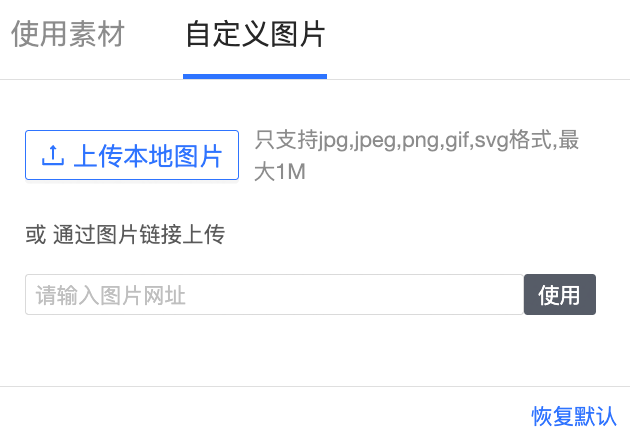
自定义图片
支持上传本地图片(①)或通过图片链接上传(②)。
单击保存。
配置完成后,您可以通过拖动左侧导航栏调整宽度。
主题配置
在数据门户编辑页,单击右上角的
 图标并找到最下方切换模式的图标进行数据门户深浅主题模式切换。
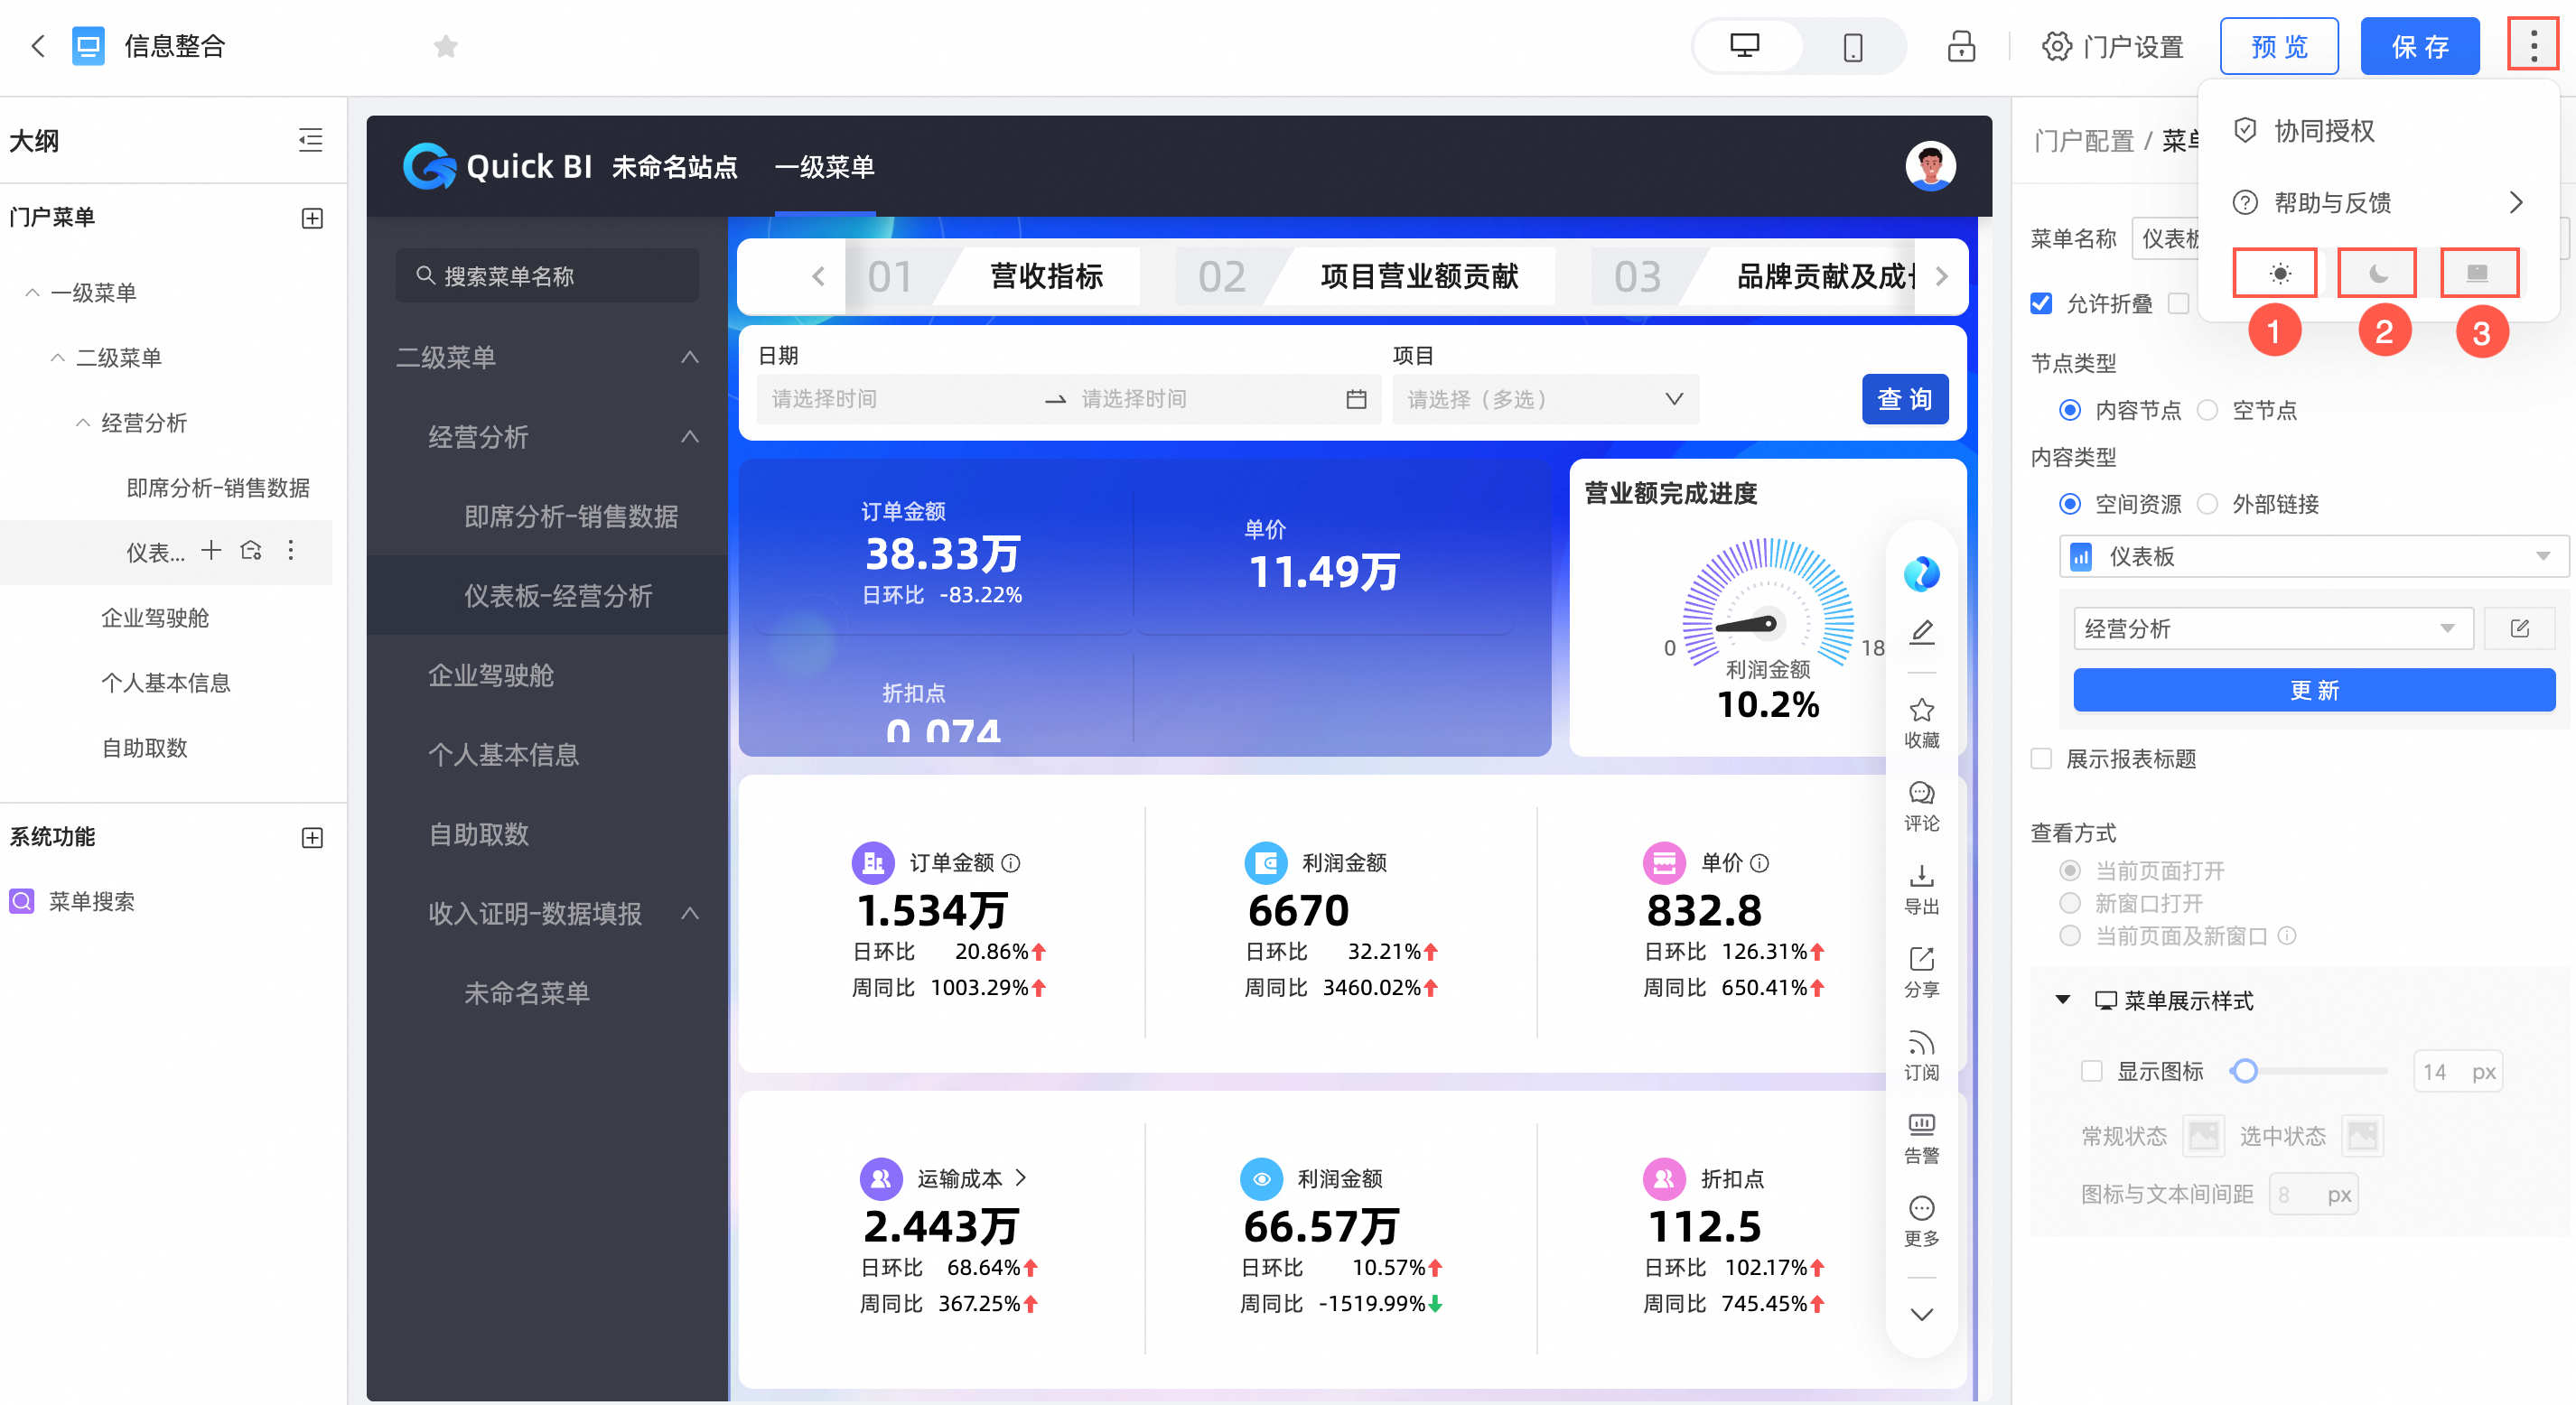 说明
说明深浅主题模式切换是按照账号级别生效的,而不是模块级别生效。比如,电子表格切换为浅色模式后,支持深浅主题模式切换的模块(仪表板、数据填报等)将同时变成浅色模式。
①浅色模式
②深色模式
③跟随系统
跟随自定义配置里的系统风格。
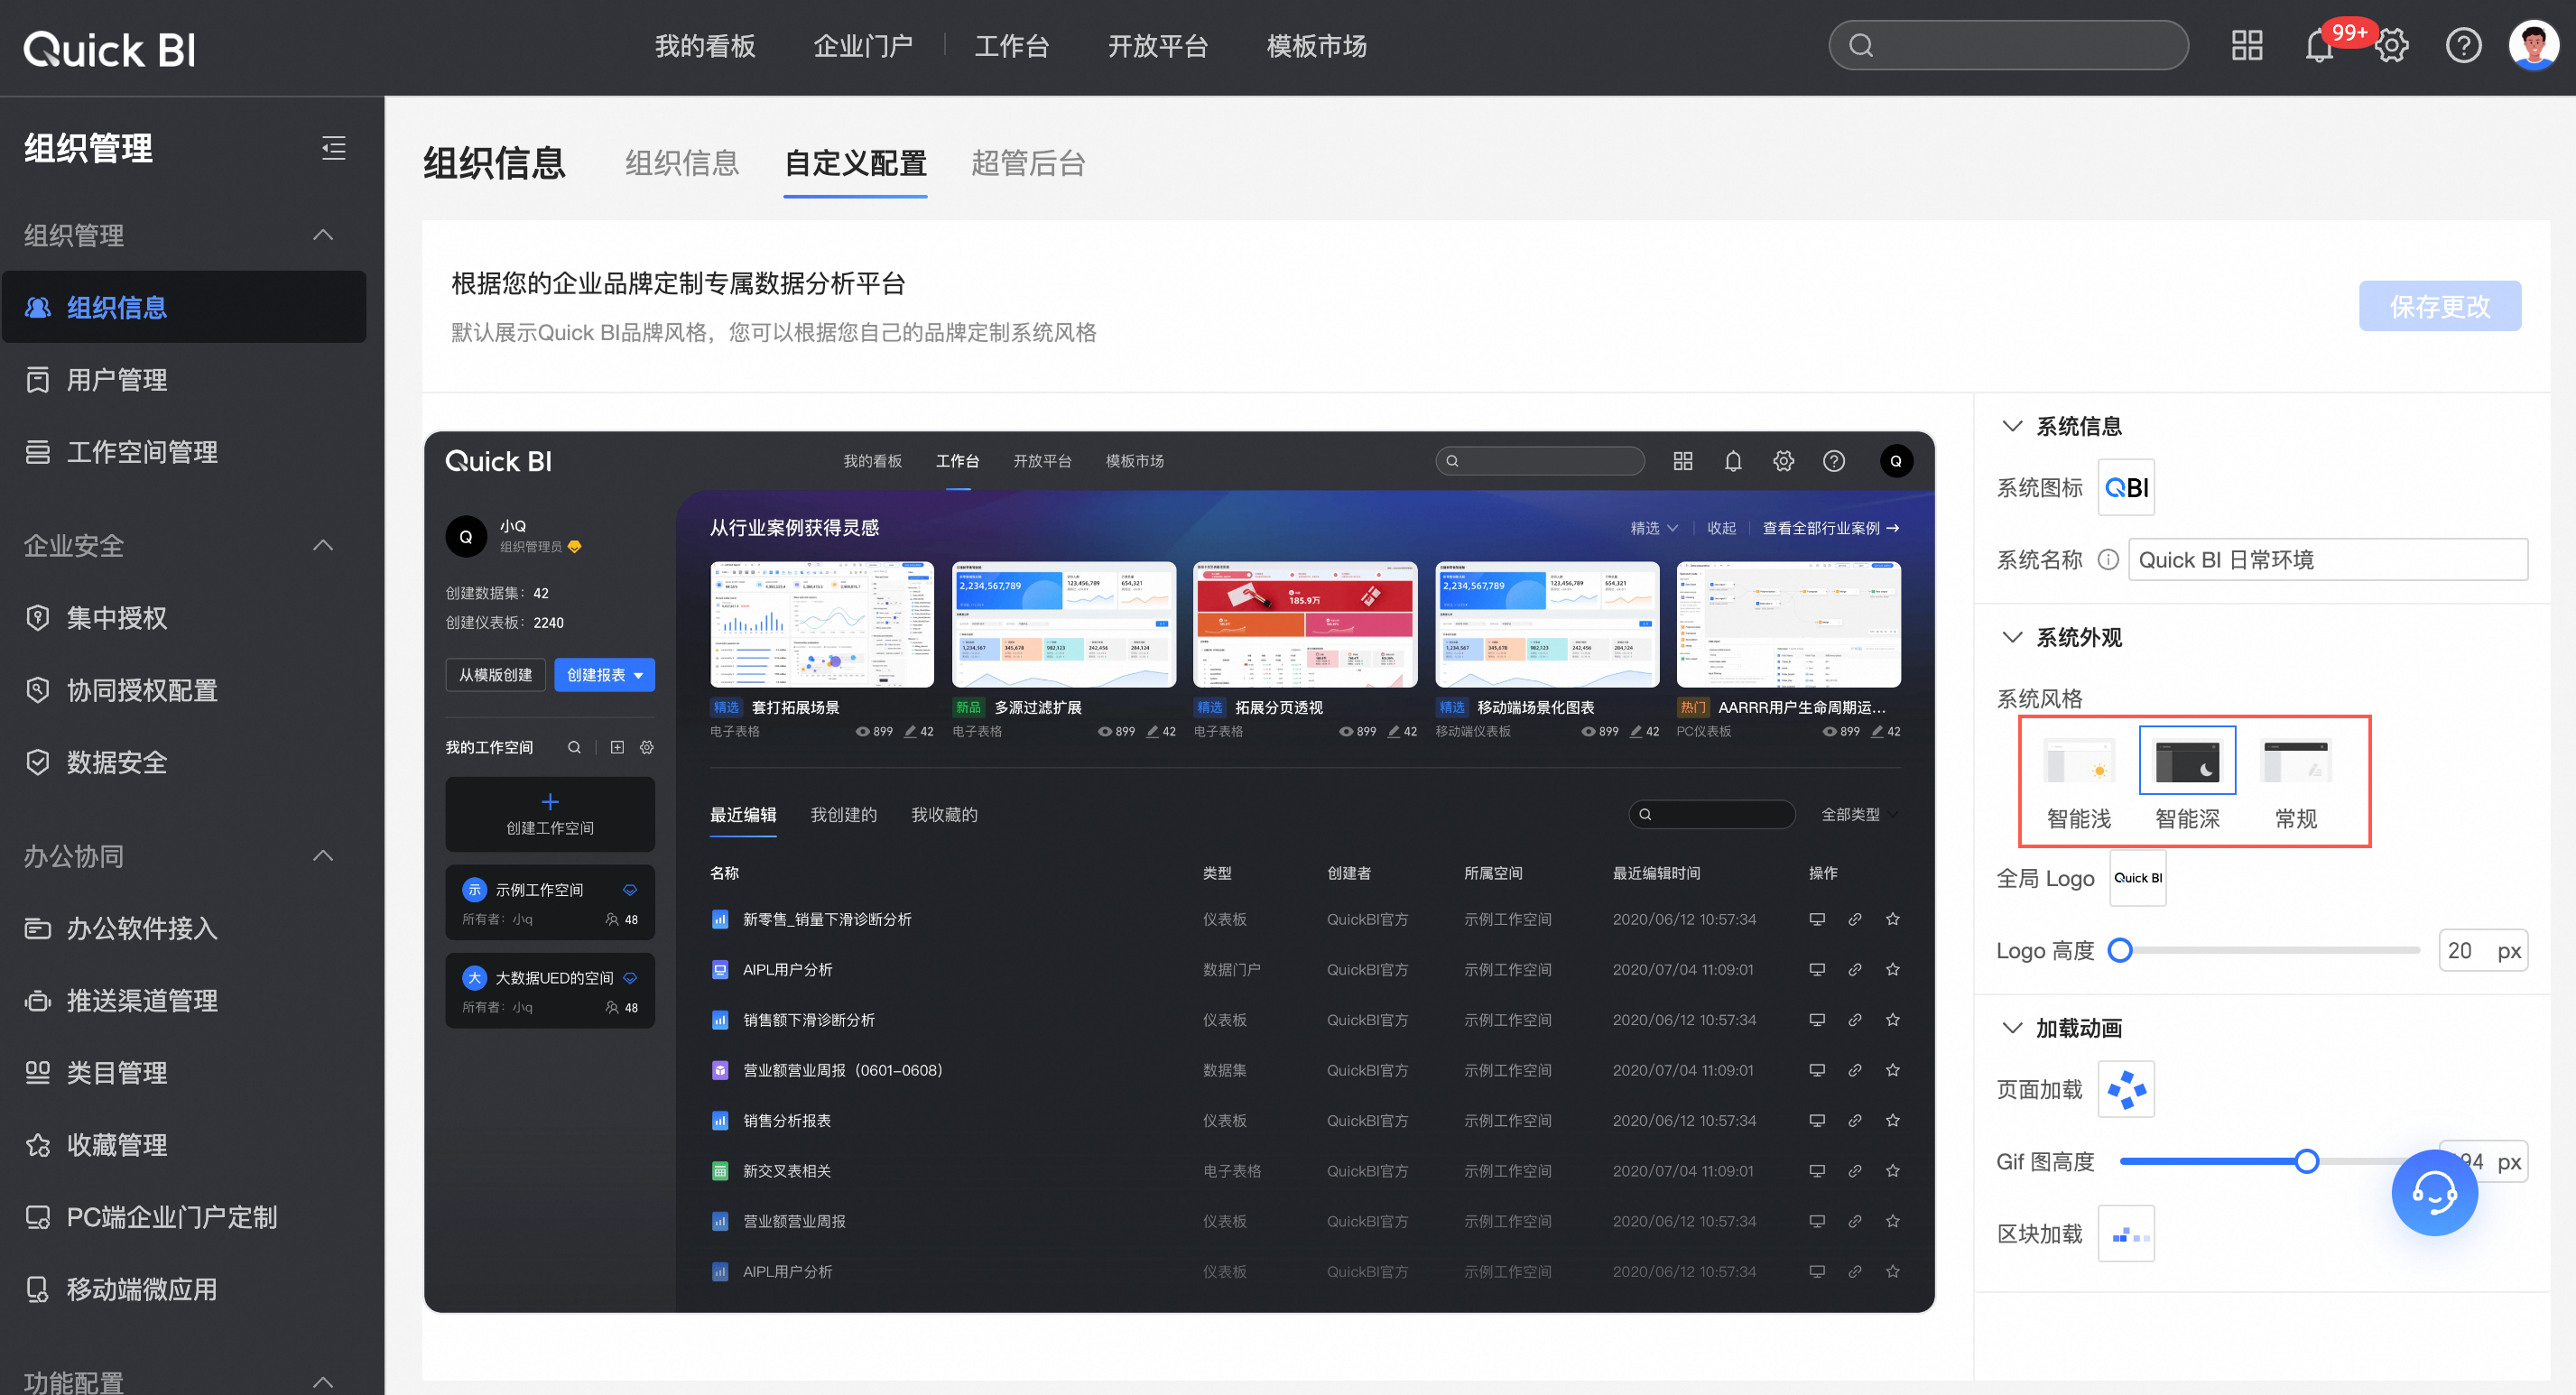
请参见系统主题定制。
说明仅组织管理里可以在自定义配置里设置系统风格,模块级别的模式优先于组织级别生效。