By Martin Tumusiime, Alibaba Cloud Tech Share Author. Tech Share is Alibaba Cloud's incentive program to encourage the sharing of technical knowledge and best practices within the cloud community.
For the past few years, I have always worked my way up when it comes to setting up a web server instance. The trouble that comes with installing the LAMP stack, migrating your existing website to a new host among others is terrible.
For most beginners, this sounds familiar, setting up an instance on Alibaba cloud or any other cloud provider from scratch is nothing easy. You have to do some extra work such as researching "how to do this and this" which in most cases consumes a lot of time.
In this tutorial, I want to share my quick experience on how to set up and configure your Alibaba instance instantly. I normally use cPanel for this.
The beauty with cPanel is you get to interact with your instance from the graphical user perspective which is a lot easier for beginners. There is a lot you can achieve with having a cPanel on your instance but first let's understand how cPanel works.
Some of the cPanel features include:
Before installing cPanel, you'll need to access your instance and make sure it meets the requirements specified in the section above. If you don't follow the instructions below properly, you're most likely to run into trouble.
If you don't have an instance deployed on your server, go to this article how to deploy an instance on alibaba cloud.Otherwise, in this guide i will use my freshly setup CentOS 7 server to demonstrate how to install cPanel.
Step 1: Install cPanel
The first command allows you to set up a standard hostname (Fully Qualified Domain Name -- FQDN), It's important to set up this if your server doesn't have any. (For example, hostpc is my hostname and example.com my domain name -- use your own details)
# hostnamectl set-hostname hostpc.example.comNext, ensure you have Perl installed on your server, otherwise install it using the single command below.
# yum install perlInstall cURL command on your CentOS server. The command is an auto script installer that will help you download and install cPanel. Use the cURL command below.
# yum install curlFirst install screen and wget: It can be useful in case you find out you may have issues with the irregular internet or you want to pause the installation process.
# yum install screen wgetOnce the screen installation is complete, go ahead and start a new session. Use the command shown below.
# screenThen download and install cPanel to home directory using command below.
# wget -N http://httpupdate.cPanel.net/latestThe single line of command above will change the current working directory to /home, then downloads the latest version from cPanel and execute the installation script as well. Enter Y to continue installation.
Then, enter the command below to start the script.
# sh latestNote: The installation process takes approximately 1-2 hours depending on your server resources and internet connection speed.
You can now grab a cup of coffee or do something else as cPanel is installed on your server instance.
Your cPanel installation screen will look like something below after the installation process is complete.
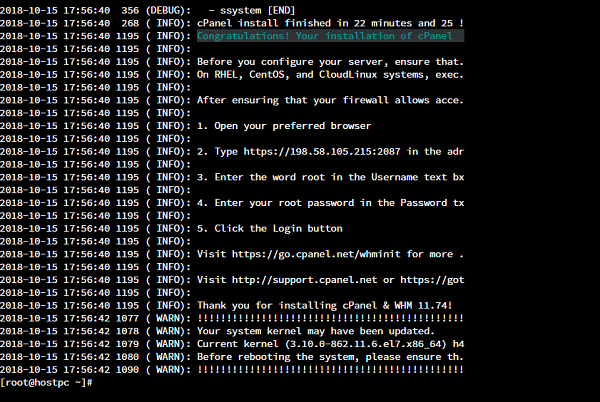
After finishing the above task, the next step requires us to setup and configure the cPanel via web interface or Frontend. To understand this, just go through the step by step instructions below.
Step 2: Setup cPanel via web interface
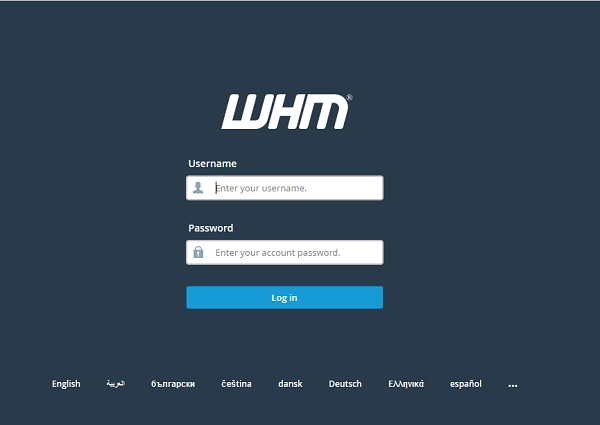
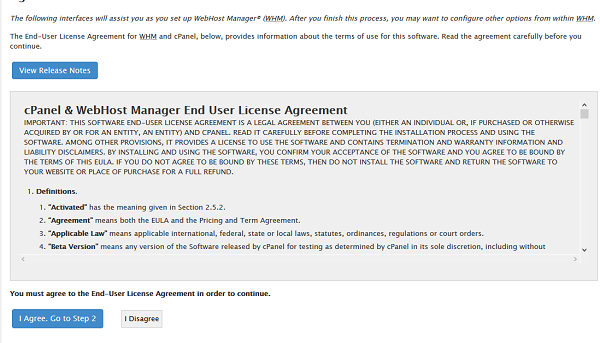
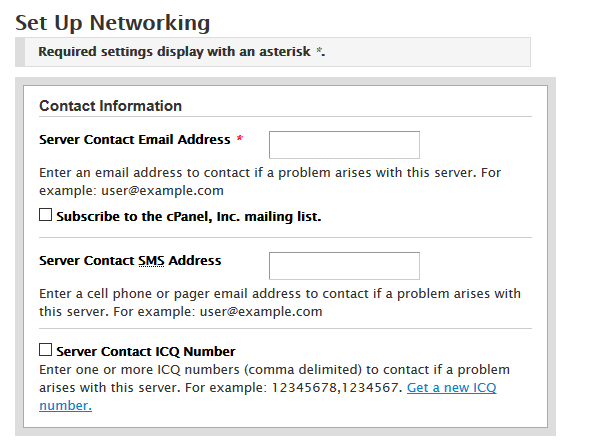
cPanel uses the email address to send important notifications, alerts and other important information. Change the server's hostname to the required name if not auto filled otherwise leave the rest set to default. You can as well use Google resolvers in the hostname section if you don't have ISP's resolvers.
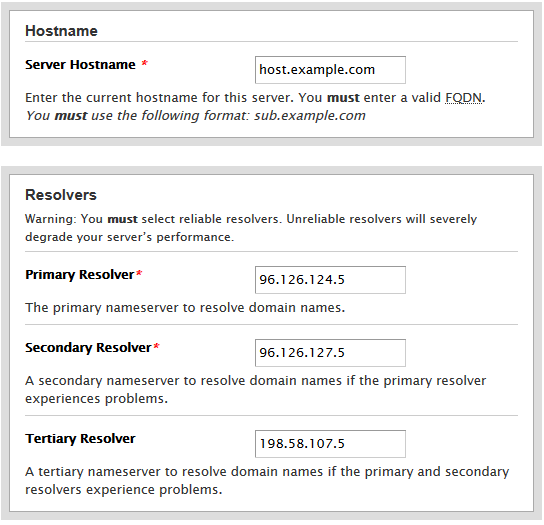
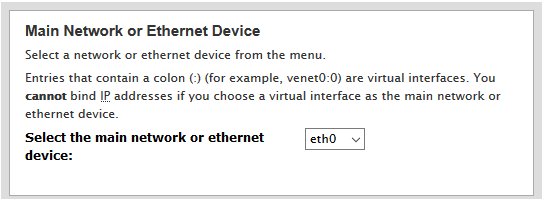
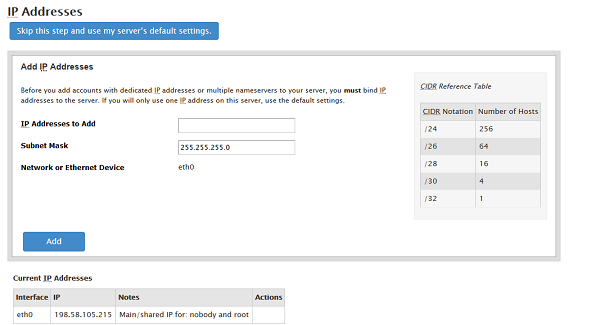
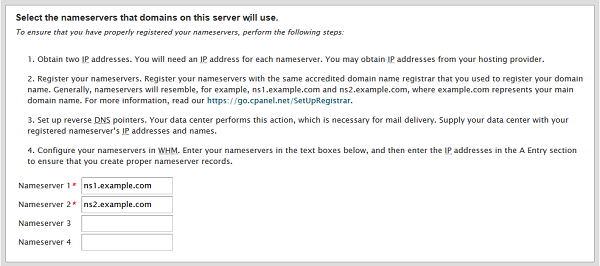
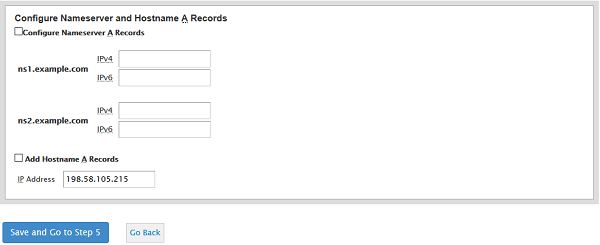
In addition, you may add an entry for your hostname and name server by selecting the check box as shown below. Click "Save & Go to step 5"
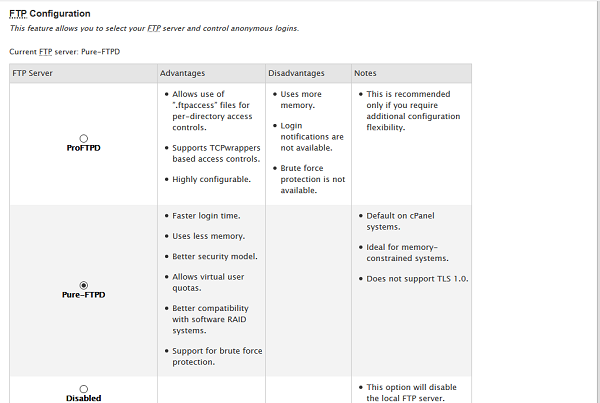
In the same section, I recommend you select your Mail server that will be used for all your mailing activities in the future.
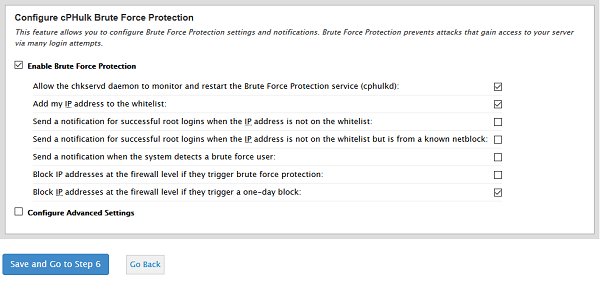

# /usr/local/cpanel/cpkeycltOnce you're done with each and every step in this guide, you can now access your WHM homepage which looks like something below. Remember you'll be required to purchase a license of cPanel since the software is commercial.
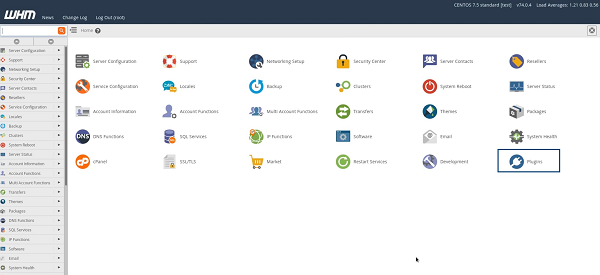
cPanel is made for user level access and WHM is for root level access, as such you may need to create an account option in WHM. For my case I created a cPanel account with username root to show you the cPanel view for the root user.
Meanwhile you can access different features by typing their names in the search bar in the sidebar of the WHM homepage.
So I guess that's all. In this article I have discussed how to install cPanel on your Alibaba instance on a CentOS 7 server and covered some initial steps how to configure your cPanel.

2,605 posts | 747 followers
FollowAlibaba Clouder - July 2, 2019
Alibaba Clouder - July 2, 2019
Dikky Ryan Pratama - May 16, 2023
Alibaba Cloud Community - February 1, 2022
Alibaba Clouder - February 4, 2019
Alibaba Clouder - April 26, 2019

2,605 posts | 747 followers
Follow ECS(Elastic Compute Service)
Elastic and secure virtual cloud servers to cater all your cloud hosting needs.
Learn More Simple Application Server
Cloud-based and lightweight servers that are easy to set up and manage
Learn More Marketplace
Marketplace is an online market for users to search and quickly use the software as image for Alibaba Cloud products.
Learn MoreMore Posts by Alibaba Clouder
5334671101555849 October 15, 2019 at 1:08 am
Great post! is there a blog or documentation for SLB (Server Load Balancer) for cpanel? I have not yet successfully used SLB Cpanel in the Alibaba cloud. Thank you.