This topic guides you through quickly creating and configuring your first pipeline. Through this tutorial, you will learn the fundamental setup process of pipelines and understand how pipelines work.
Prerequisites
An organization is created. For more information, see Create and manage organizations.
Your account has permissions to create pipelines. For more information, see Permission management.
A generic artifact repository and a Maven repository are created. In this example, the generic artifact repository is named pipeline_software_package. For more information, see Create an artifact repository.
Process overview

Step 1: Create a pipeline
Log on to the Flow console.
On the My Pipelines page, click Create Pipeline in the upper-right corner. In the Select a pipeline template dialog box, select the Java · Test, build template and click Create.
Flow provides preset templates for mainstream languages such as Java, PHP, and Node.js. You can complete the CI/CD process setup in a few simple steps without complex configuration. Flow also supports custom organization templates to meet enterprise-specific requirements.

Step 2: Configure the pipeline source
Click Add Pipeline Source in the Pipeline Source stage.
In the Add Pipeline Source panel, select a code source. For this example, use the sample code provided by Flow. Select Sample Code Source under Select Code Source, set Code Type to JAVA, and then click Add.

Step 3: Configure testing
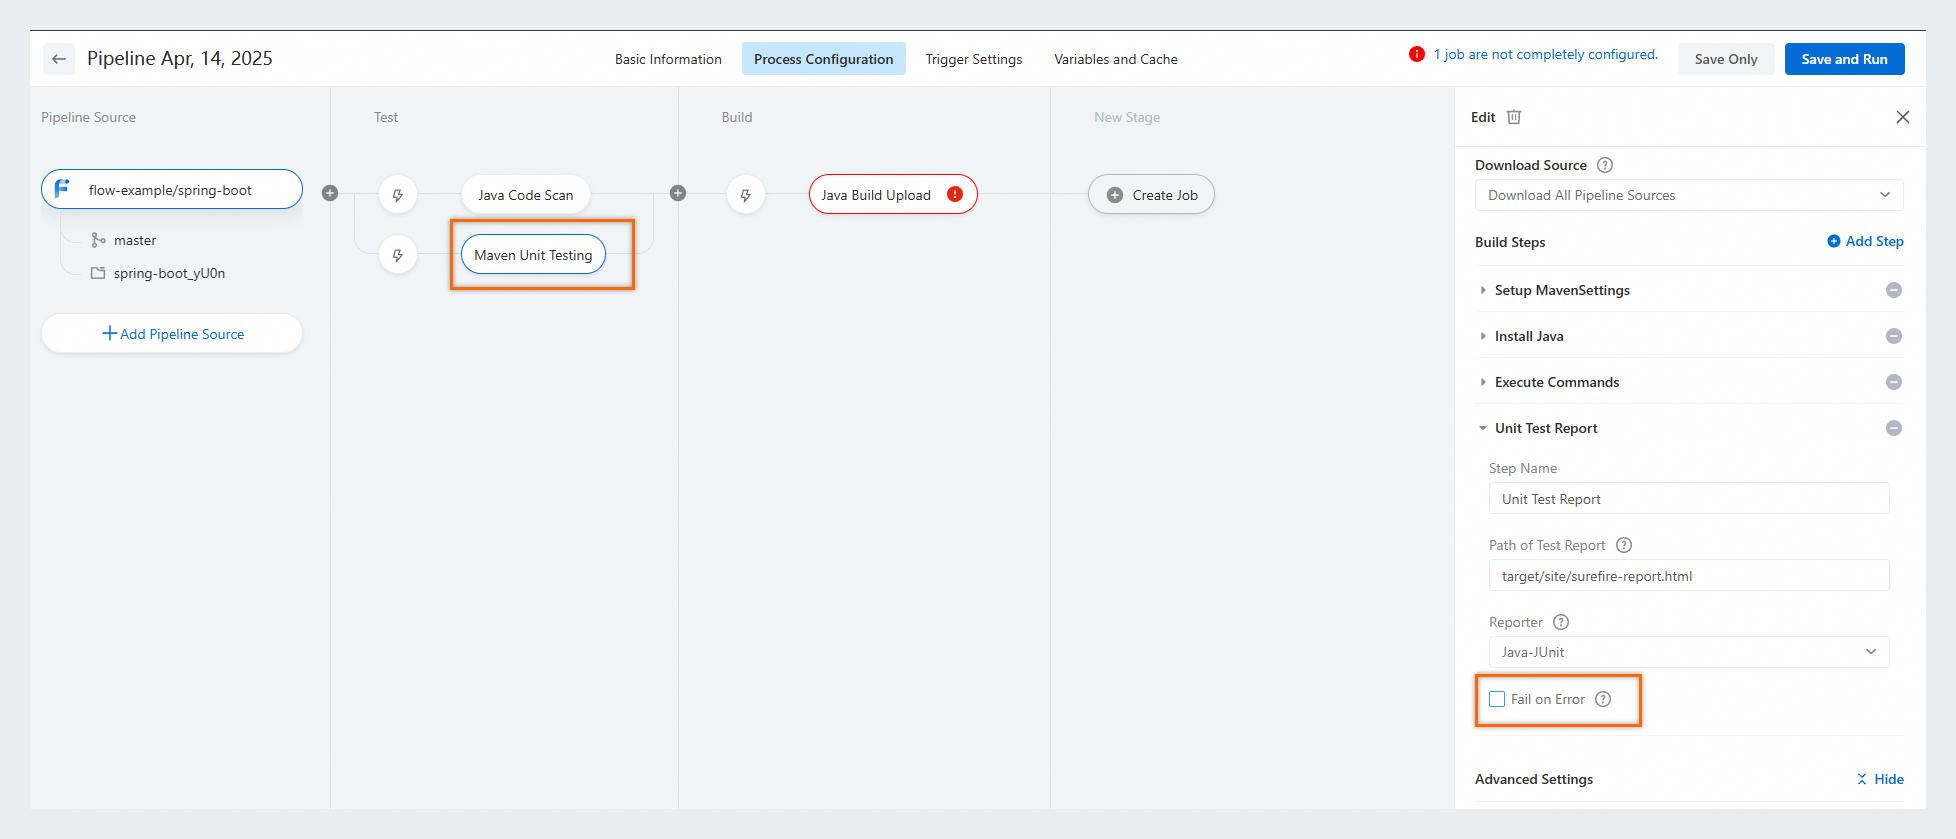
In the testing stage, configure the Java Code Scan and Maven Unit Testing jobs. The configuration details are as follows:
Java Code Scan: Keep the default configuration.
Maven Unit Testing: Clear Fail On Error below Unit Test Report in the Build Steps section. Keep the default settings for other parameters.
Step 4: Configure the build
Configure basic parameters: Keep the default settings for Job Name, Build Cluster, Build Environment, and Download Source.
Configure job steps.
Keep the default configurations for the Setup MavenSettings, Install Java, and Executing command steps.
Configure the Artifact Upload step. Configure key parameters based on the following instructions. Keep the default settings for other parameters.
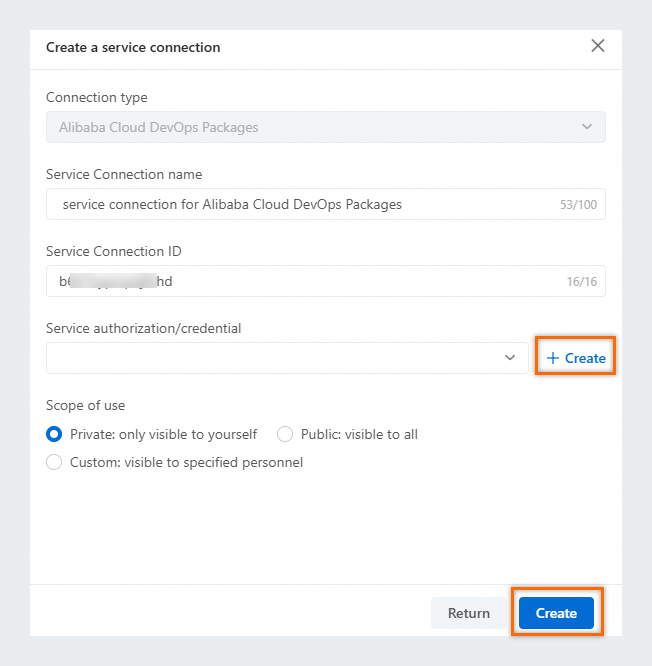
Add a service connection: Click Add a service connection. In the dialog box that appears, click Create in the Service authorization/credential section to generate a credential, and then click Create to create a service connection.
Repository: Select your generic artifact repository. For this example, select the pipeline_software_package repository.
NoteYou can select a generic artifact repository in Packages as the destination repository only after you add a service connection.
Artifact Name: Define the artifact name. Artifact names are used to identify artifacts produced by different builds. After the artifact name is defined, it can be referenced in deployment jobs. We recommend that you use dynamic variables to define artifact names. For this example, use the default value
Artifacts_${PIPELINE_ID}.
Step 5: Run the pipeline and view the build artifact
Click Save And Run in the upper-right corner of the pipeline editing interface, and click Run in the dialog box that appears to confirm pipeline execution.
Flow generates separate logs for each job. Click Logs on each job card to view job execution details.
Example: Click Logs on the Java Build Upload card. In the page that appears, click Artifact Build, and then you can find the artifact name in the log, such as
Artifacts_4089952.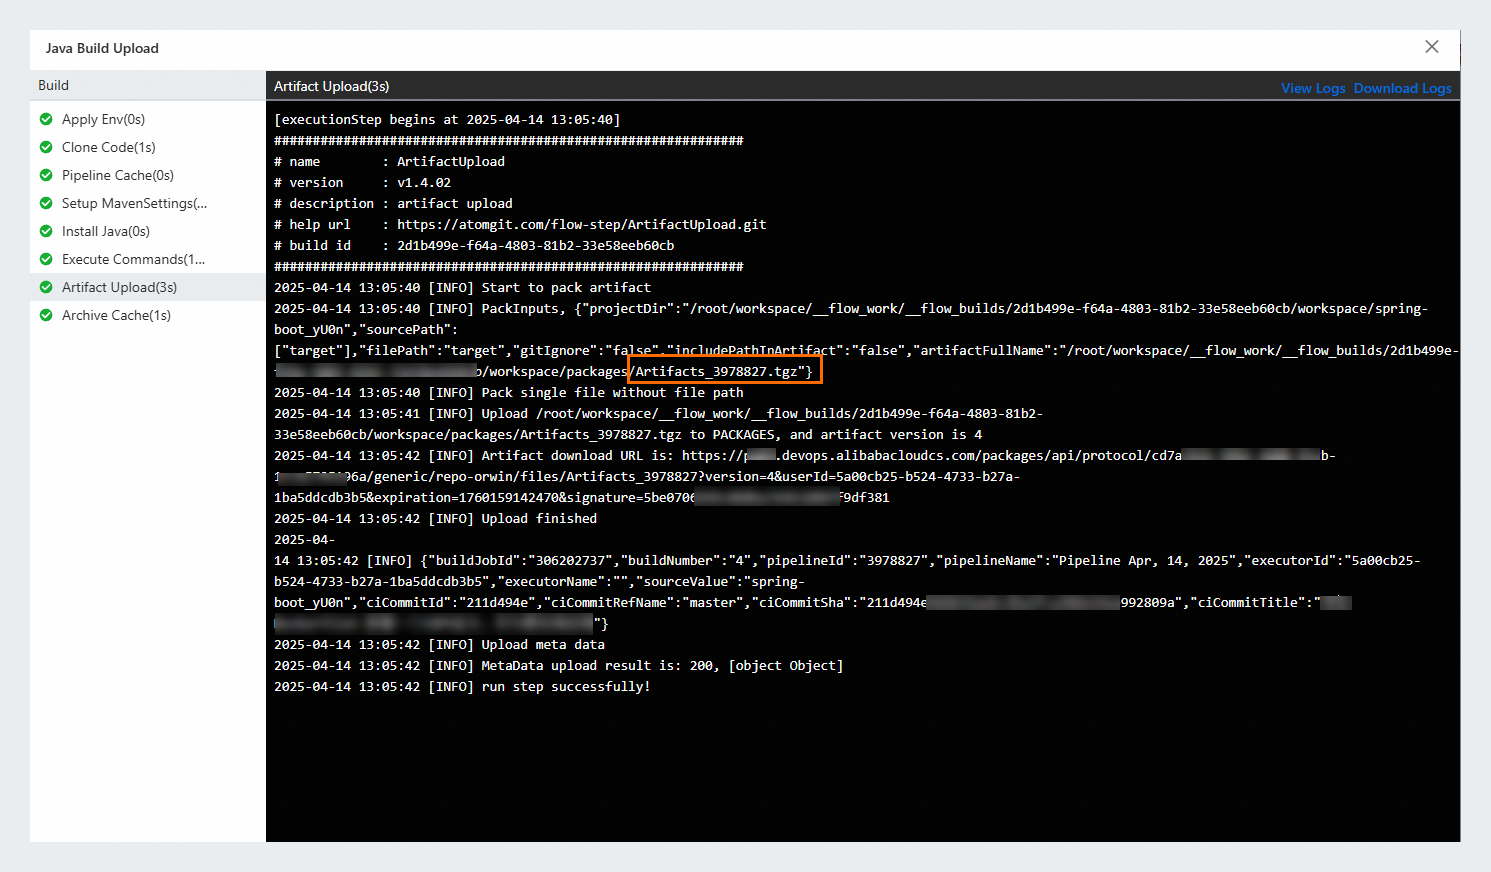
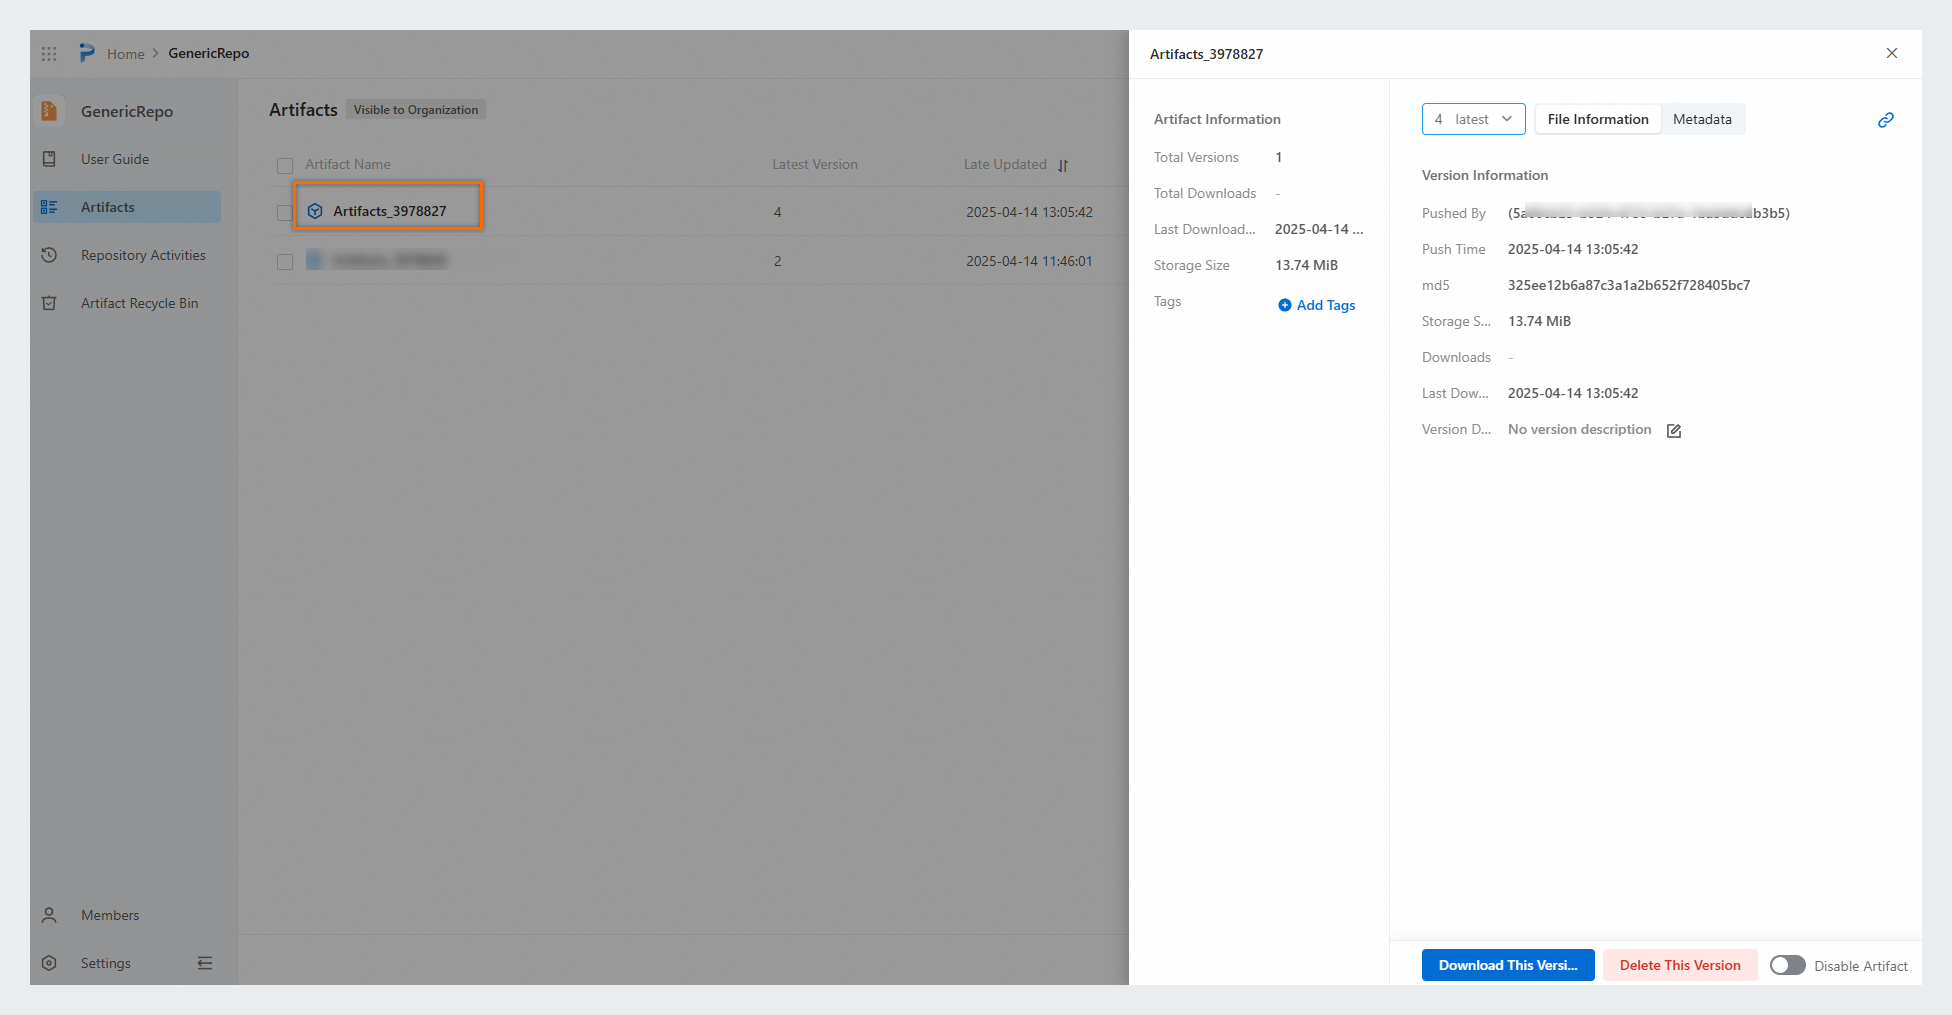
(Optional) View the uploaded artifact in the corresponding Packages repository.
What to do next
To further optimize and extend your pipeline configuration, refer to the following topics for detailed steps: