Overview
When you clone a VM or deploy a VM from a template, you can customize the guest operating system of the VM. You can change the computer name and modify network settings and license settings.
When you customize the guest operating system of a VM, you can configure information such as the hostname, IP address, subnet mask, and gateway.
You can apply a customization specification during or after the VM deployment.
You can specify custom settings or select an existing customization specification when you clone or deploy a VM.
You can create a customization specification on the Policies and Profiles page of vSphere Client and apply the specification to a VM.
Prerequisites
A PrivateCloud instance is created. For more information, see Create a dedicated VMware environment.
You have logged on to the vCenter console by using a browser. For more information, see Log on to a dedicated VMware environment.
Tasks
Create a VM customization specification for Linux
Create a VM customization specification for Windows
Create a VM customization specification for Linux
Procedure
Log on to the vCenter console by using a browser.
In the vCenter console, click LAUNCH VSPHERE CLIENT. Enter the vCenter username and password to log on to vSphere Client.

In vSphere Client, click VM Customization Specifications on the Shortcuts page.

On the VM Customization Specifications page, click New.

In the Name and target OS step, enter a name and description for the VM customization specification, set the Target guest OS parameter to Linux, and then click NEXT.

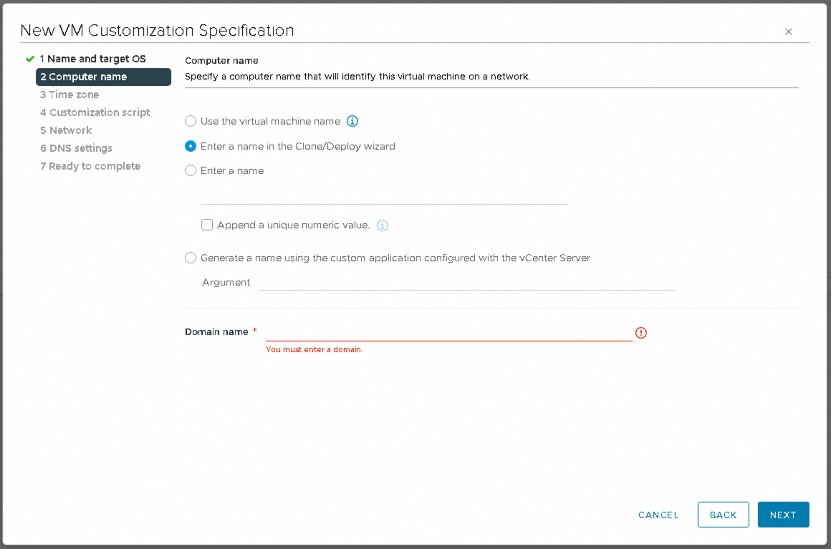
In the Computer name step, enter a computer name for the guest operating system. The guest operating system uses the computer name as the hostname.
Parameter
Description
Use the virtual machine name
Select this option to use the VM name. The computer name that vCenter Server creates is the same as the name of the VM on which the guest operating system is running. If the name exceeds 63 characters, it is truncated.
Enter a name in the Clone/Deploy wizard
If you select this option, the system prompts you to enter a name when you clone or deploy a VM.
Enter a name
Enter a name.
The name can contain letters, digits, and hyphens (-). It cannot contain periods (.), spaces, or special characters, and cannot contain digits only. The name is not case-sensitive.
(Optional) Select Append a unique numeric value to ensure that the name is unique.
If you select this option, the system appends a hyphen followed by a numeric value to the VM name. If the name exceeds 63 characters after the numeric value is appended, the name is truncated.
Generate a name using the custom application configured with vCenter Server
(Optional) Enter a parameter that can be passed to the custom application.
Enter a domain name and click NEXT.
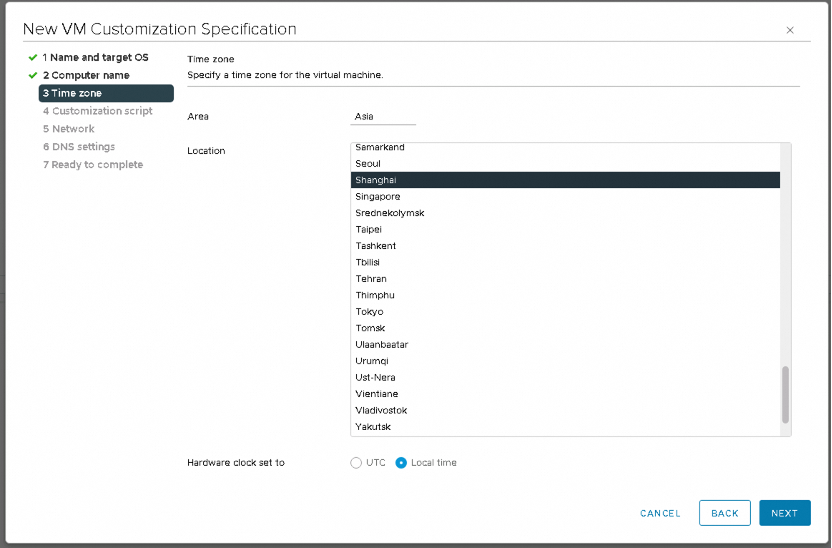
In the Time zone step, select a time zone for the VM, select UTC or Local time, and then click NEXT.
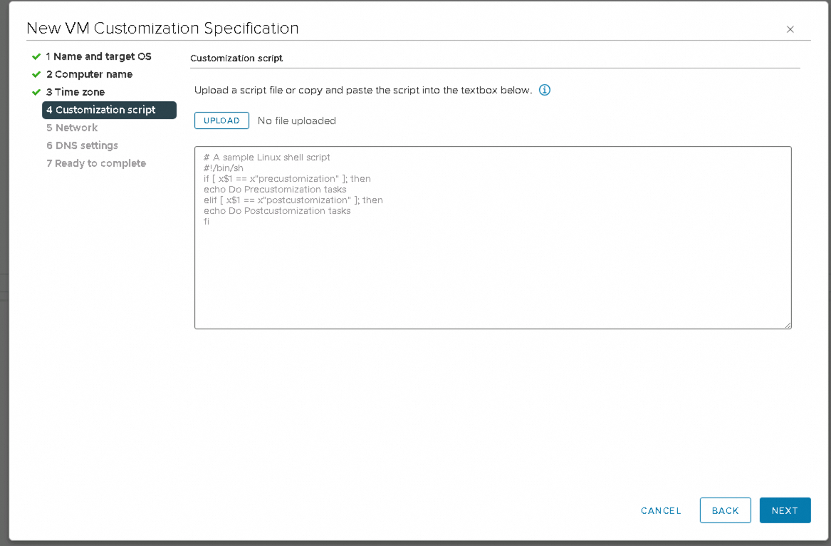
(Optional) In the Customization script step, upload or enter a custom script to be applied to the guest operating system of the VM, and click NEXT.
To upload a custom script, click UPLOAD and navigate to the script file on your local computer. The script content appears in the script text box.
Enter a custom script in the script text box.
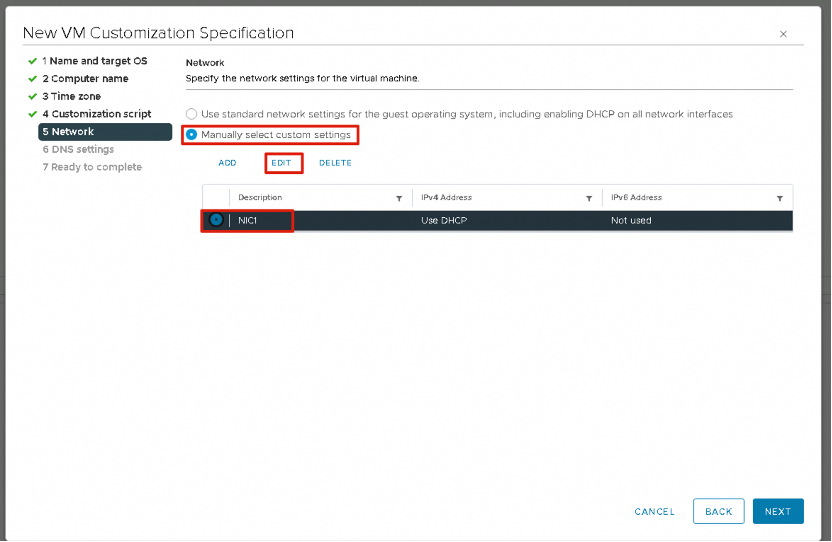
In the Network step, configure the network settings to be applied to the guest operating system, and click NEXT.
Select Use standard network settings for the guest operating system, including enabling DHCP on all network interfaces to use the default settings for the network interface controllers (NICs) of the guest operating system.
Select Manually select custom settings and manually configure all NICs.
Select an NIC from the list or add a new one.
Click EDIT.
The Edit Network dialog box appears.
To configure the VM to use an IPv4 network, click the IPv4 tab.
If you select Prompt the user for an IPv4 address when the specification is used, vCenter Server prompts you to enter an IP address when you apply the customization specification during the cloning or deployment of a VM. You are also prompted to configure the gateway.
To configure the VM to use an IPv6 network, click the IPv6 tab.
If you select Prompt the user for an address when the specification is used, vCenter Server prompts you to enter an IP address when you apply the customization specification during the cloning or deployment of a VM. You are also prompted to configure the gateway.
Click OK.

In the DNS settings step, configure the DNS servers and domain information, and click NEXT.

In the Ready to complete step, check the configurations and click FINISH to save the changes.

Result
The created customization specification is displayed in Customization Specification Manager. You can use the specification to customize guest operating systems for Linux VMs.
Create a VM customization specification for Windows
Procedure
The steps for creating a VM customization specification for Windows are similar to those for Linux. This section describes only the steps that are different from those for Linux.
In the Name and target OS step, enter a name and description for the customization specification and select Windows as the guest operating system. Select Generate a new security identity (SID) if required. Then, click NEXT.
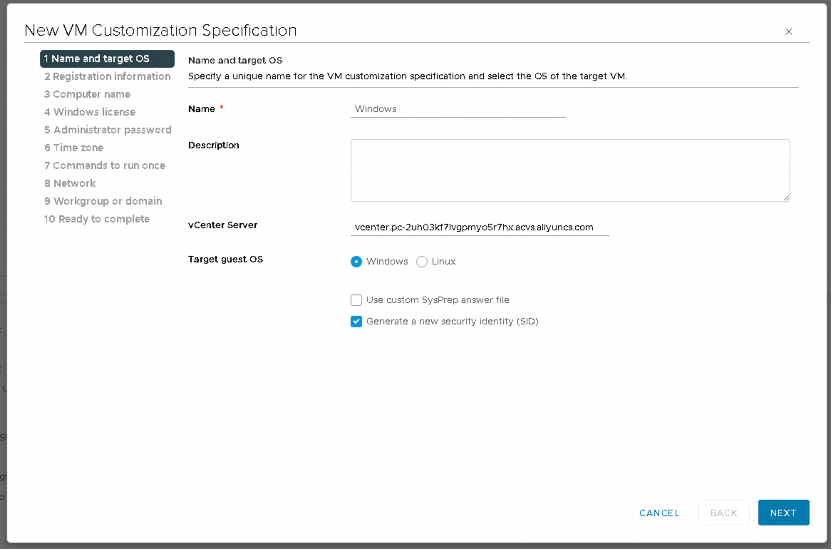
A Security Identifier (SID) is used in some Windows operating systems to uniquely identify systems and users. If you do not select this option, the new VM that you clone or deploy has the same SID as the source VM or template.
Duplicate SIDs do not cause issues if the computers are part of a domain and only domain user accounts are used. However, if the computers are part of a workgroup or local user accounts are used, duplicate SIDs affect file access control. For more information, see the documentation for your Microsoft Windows operating system.
In the Registration Information step, enter the name and organization of the VM owner and click NEXT.

In the Windows license step, enter the license information for the Windows operating system and click NEXT.
Type
Operation
Non-server operating system
Enter the Windows product key for the guest operating system.
Server operating system
Enter the Windows product key for the guest operating system.
Select Include server license information.
Select Per seat or Per server.
If you select Per server, enter the maximum number of concurrent connections allowed for a server.

In the Administrator password step, configure the administrator password for the VM and click NEXT.
Enter the administrator password and confirm password.
(Optional) Select Automatically logon as Administrator to allow users to automatically log on to the guest operating system as an administrator, and enter the number of times that users can automatically log on.

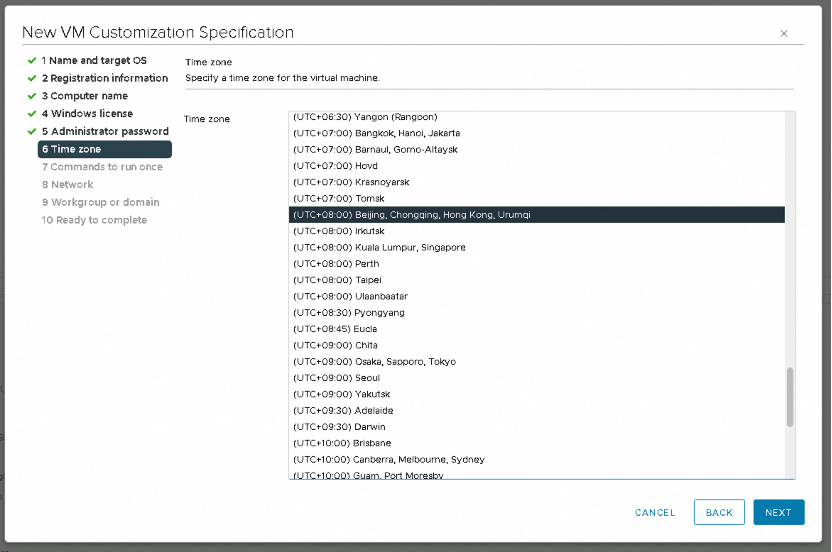
In the Time zone step, select a time zone for the VM and click NEXT.
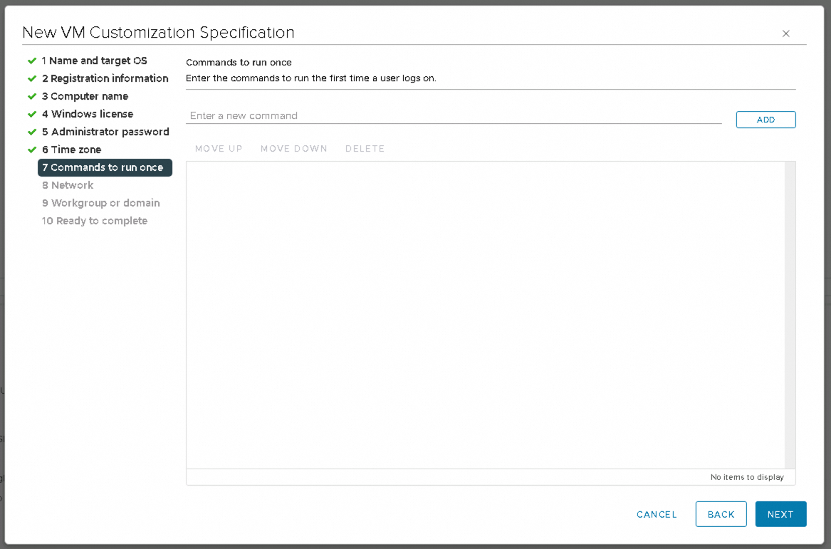
(Optional) In the Commands to run once step, specify the commands to run when a user logs on to the guest operating system for the first time, and click NEXT.
In the Workgroup or domain step, select how the VM joins the network and click NEXT.
Option
Description
Workgroup
Enter a workgroup name. Example: MSHOME.
Windows Server Domain
Enter a domain name.
Enter the username and password of a user account that has the permissions to add the VM to the domain.

In the Ready to complete step, check the configurations and click FINISH to save the changes.
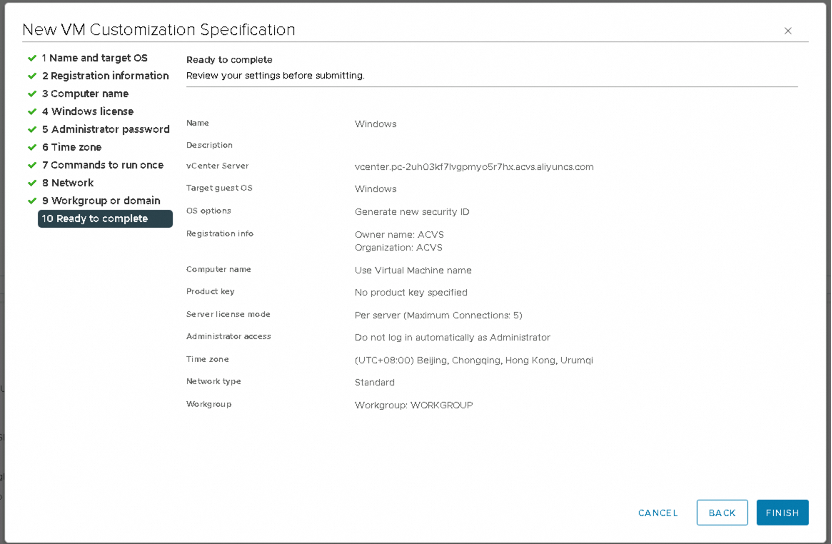
Result
The created customization specification is displayed in Customization Specification Manager. You can use the specification to customize guest operating systems for Windows VMs.