A multi-axis chart allows you to view and compare multiple metrics on a dashboard. You can also set the chart type for each metric to a line, column, or point.
Prerequisites
-
You have collected log data. For more information, see Collect text logs from a host.
-
You have created indexes. For more information, see Create an index.
Overview
In the Field Configurations panel on the right, you can expand each metric to configure its properties. For example, you can set the chart type for A > pv to Column, set the color scheme for A > pv1 to Monochromatic (green), and independently configure A > pv2. Click Add Field to configure additional metrics.
-
Search & Analysis: You can query and analyze logs in the console to perform tasks such as log retrieval, log aggregation, and statistical analysis.
-
Add a chart: Each dashboard consists of multiple charts, and each chart represents the results of one or more query statements.
-
Configure chart types for a multi-axis chart: For a multi-axis chart, you can assign a point, line, or column chart type to each metric on the y-axis.
Step 1: Query and analyze data
Log on to the Simple Log Service console. In the Projects section, click the project you want.

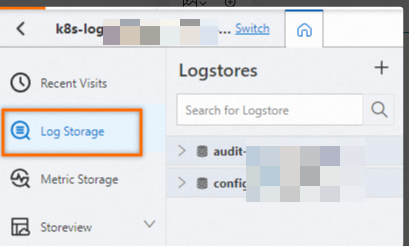
On the tab, click the logstore you want.
-
Enter a query and analysis statement and click Last 15 Minutes to set the time range for the query.
Example:
-
The following is an example of a query and analysis statement:
* | select __time__,count(request_url) as pv,count(request_url)-50 as pv1,count(request_url)+50 as pv2 group by __time__
-
Step 2: Add a chart
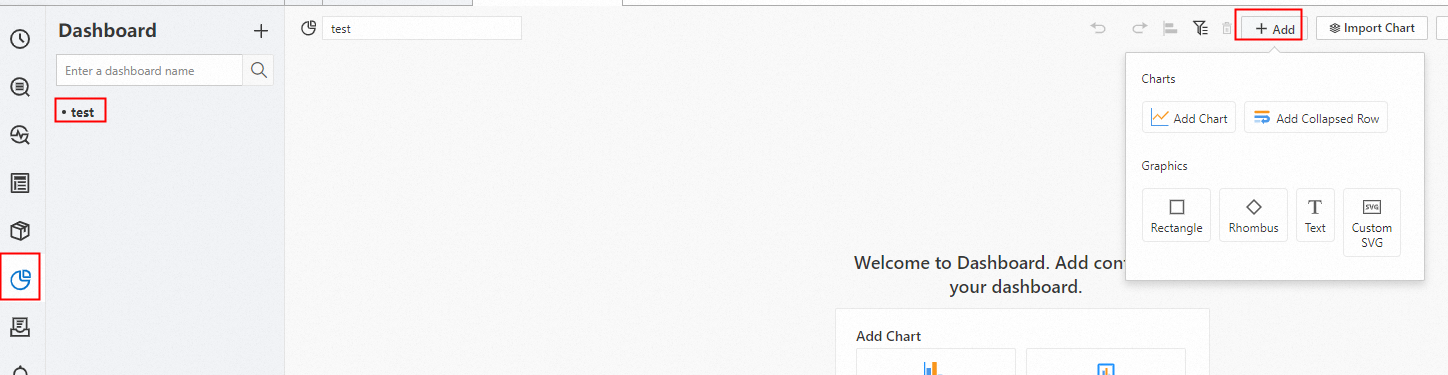
In the left-side navigation pane, choose . In the Dashboard list, click the dashboard you want. In the upper-right corner of the dashboard page, click Edit. In edit mode, choose .
-
Under . On the Query and Analysis tab, select Logstore (SQL) (a Logstore is used in this example), choose the target Logstore, and enter the query statement.
In the upper-right corner, select a time range, such as Last 15 Minutes, from the drop-down list. Click .
-
In the section, set Axis X Field to
__time__and Axis Y Field topv,pv1, andpv2.
-
Step 3: Configure chart types
Configure a column chart
In , select Column to display the pv field as a column chart.
In the Field Configurations panel on the right, you can expand each metric to configure its properties. For example, you can set the chart type for A > pv to Column, set the color scheme for A > pv1 to Monochromatic (green), and independently configure A > pv2. Click Add Field to configure additional metrics.
Configure a point chart
In , select Point to display the pv1 field as a point chart.