Connect Quick BI to an ApsaraDB for SelectDB instance to analyze and visualize your data by adding it as a data source.
Prerequisites
You have applied for a Apply for Public Endpoint for the ApsaraDB for SelectDB instance. For more information, see Apply for or release a public endpoint.
You have the username and password for the ApsaraDB for SelectDB instance.
Procedure
Log on to the Quick BI console.
Select a workspace. In the left-side navigation pane, click Data Source, and then click Create Data Sources.
On the Create Data Source page, add the data source:
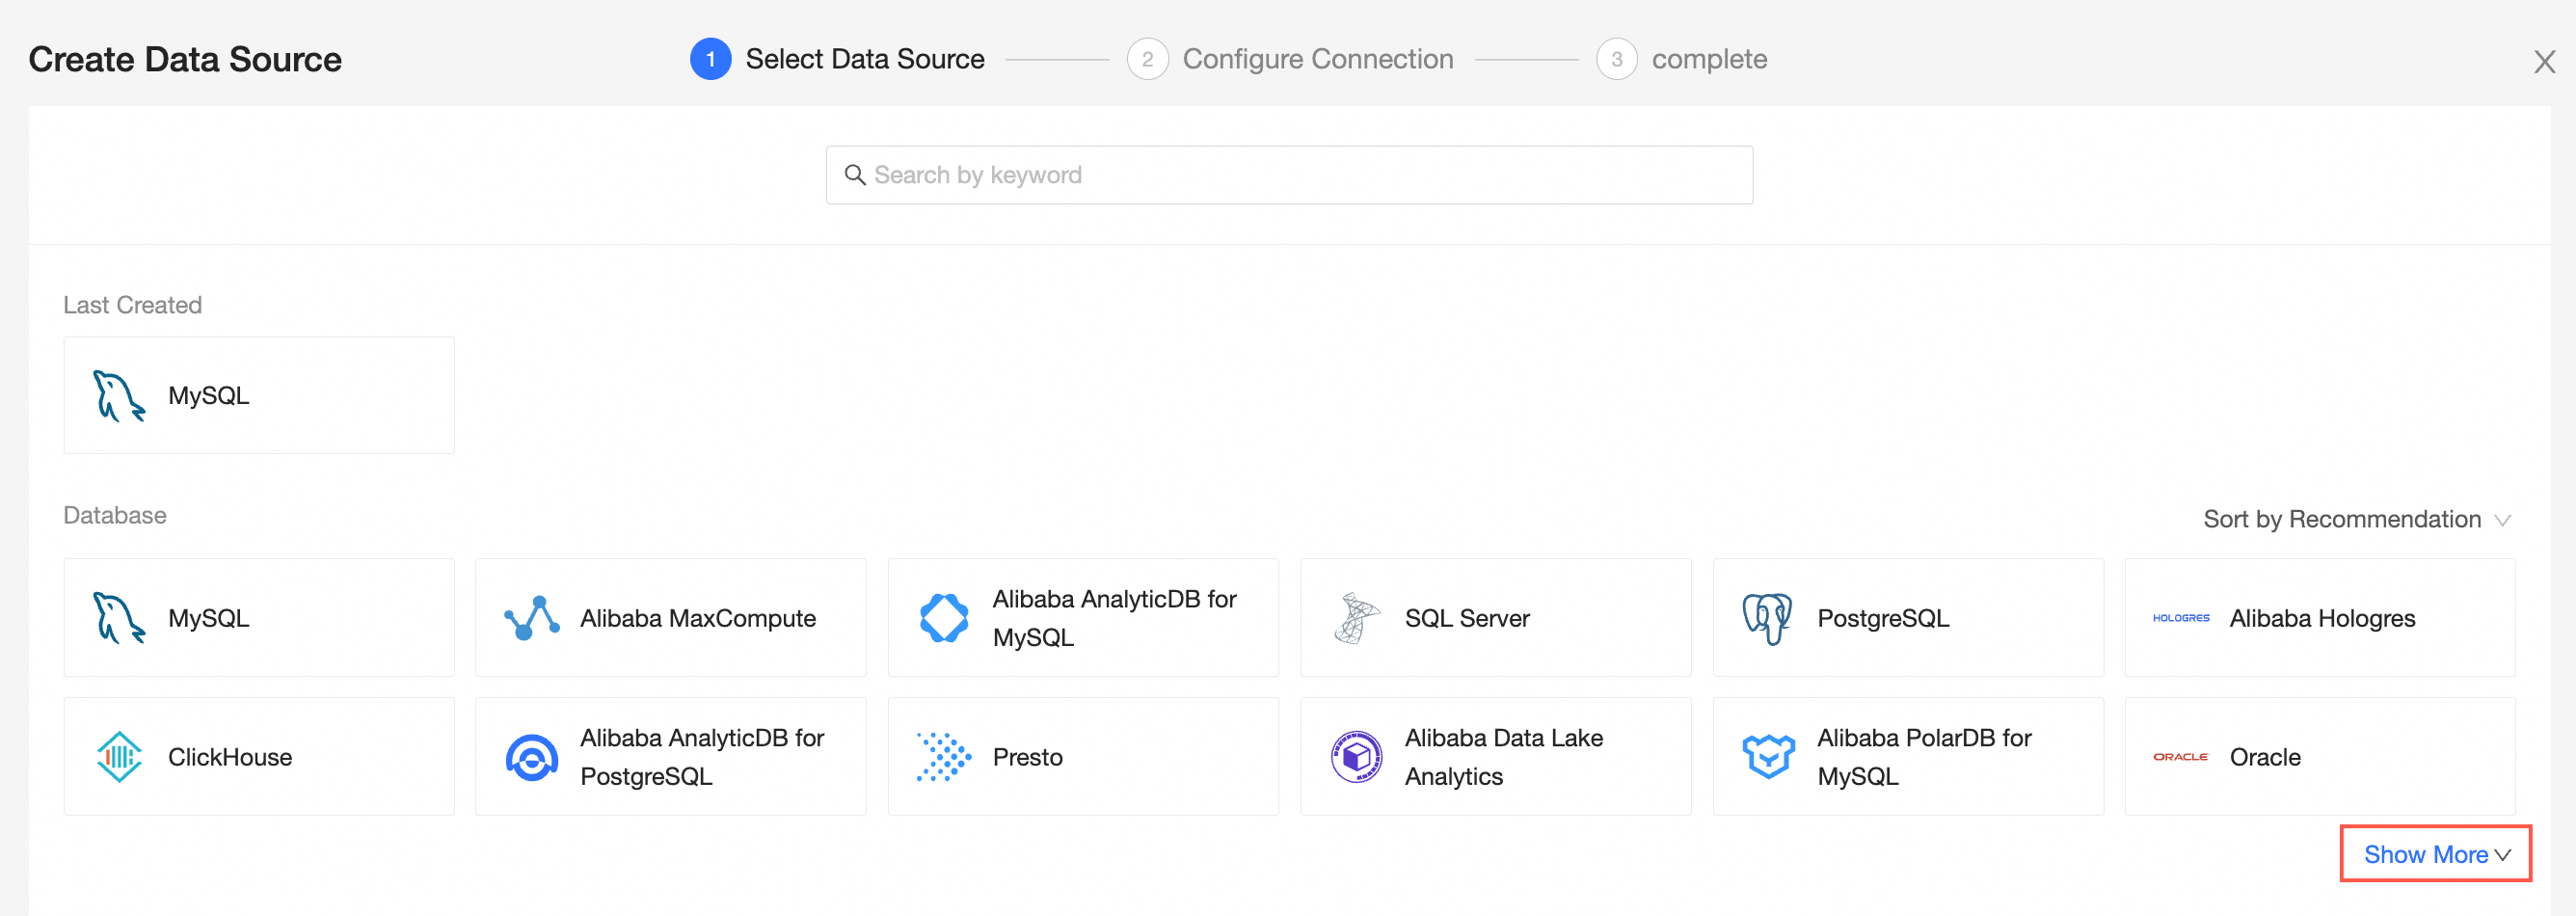
In the Select Data Source step, click Show More.
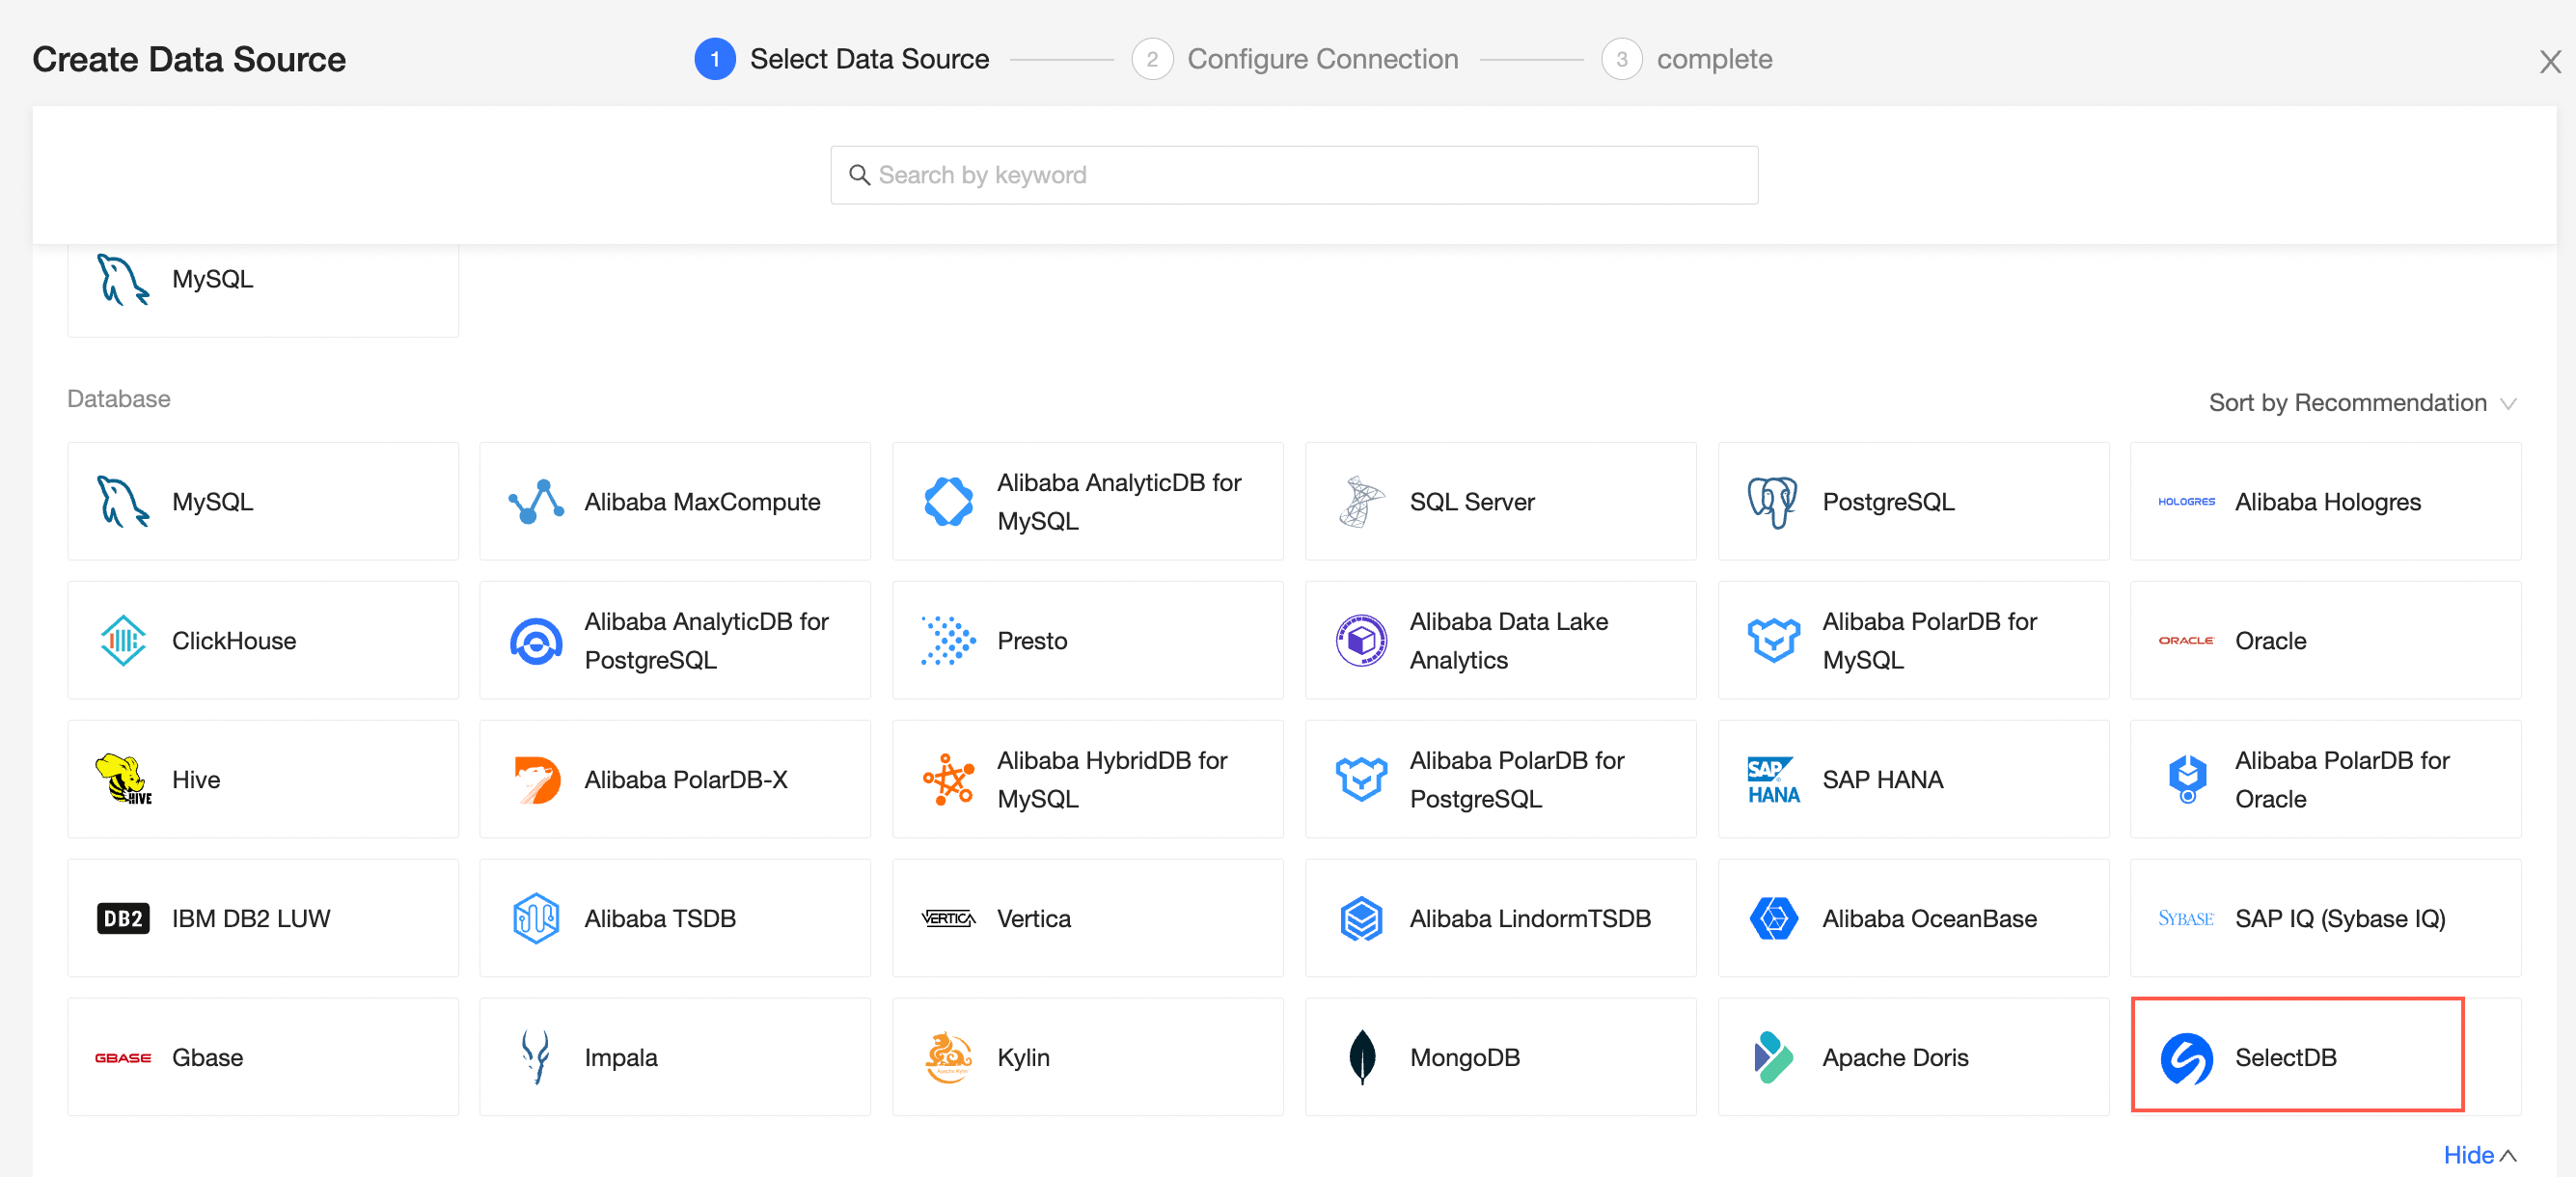
Select the SelectDB data source.
In the Configure Connection step, copy the automatically generated IP addresses and add them to the IP address whitelist of the ApsaraDB for SelectDB instance. For more information, see Configure an IP address whitelist.
Configure the following parameters.
Parameter
Description
Display name
Enter a custom name for the data source.
The name cannot contain special characters or leading or trailing spaces.
Database address
The Public Endpoint of the ApsaraDB for SelectDB instance.
Port
The MySQL protocol port of the ApsaraDB for SelectDB instance.
Database
The database name in the ApsaraDB for SelectDB instance.
Username and password
The Username and Password to log on to the ApsaraDB for SelectDB instance.
The Username is fixed as admin.
If you forget the password, go to the instance details page to reset the password.
VPC data source
No configuration is required.
SSH
No configuration is required.
Click Test Connection to verify the data source connection.

After the connection test is successful, click OK to add the data source.
Next steps
After you create the data source, you can create datasets and analyze data.
To add tables or custom SQL queries from your ApsaraDB for SelectDB database to Quick BI, see Create and manage datasets.
To add visualization charts and analyze data, see Create a dashboard and Overview of visualization charts.
To drill down and analyze data in depth, see Step 3: Configure and display drill-down.