Basic SDK information
SDK | The version number. | md5 | The app package name. |
QuickTracking Hongmeng Next SDK Basic Plug-in | Latest version: 2.1.0 | b5a8c8fd9ac6e3b028a6c8d614884d04 | @quicktracking/common |
QuickTracking Hongmeng Next SDK Reporting Plug-in | Latest version: 2.0.3 | 3f05896ed00d500992355a185c8bc45a | @quicktracking/analytics |
Currently, Hongmeng Next SDK only supports offline access. To obtain the offline package, click .Harmony_QT_SDK2.1.0.zip
If you use the required operations of the HarmonyNext SDK, the integration may fail or data may be lost.
1. Quick integration
In the background of Quick Tracking, dedicated integration code is generated for each application. You can integrate the application based on the guidance within the product.
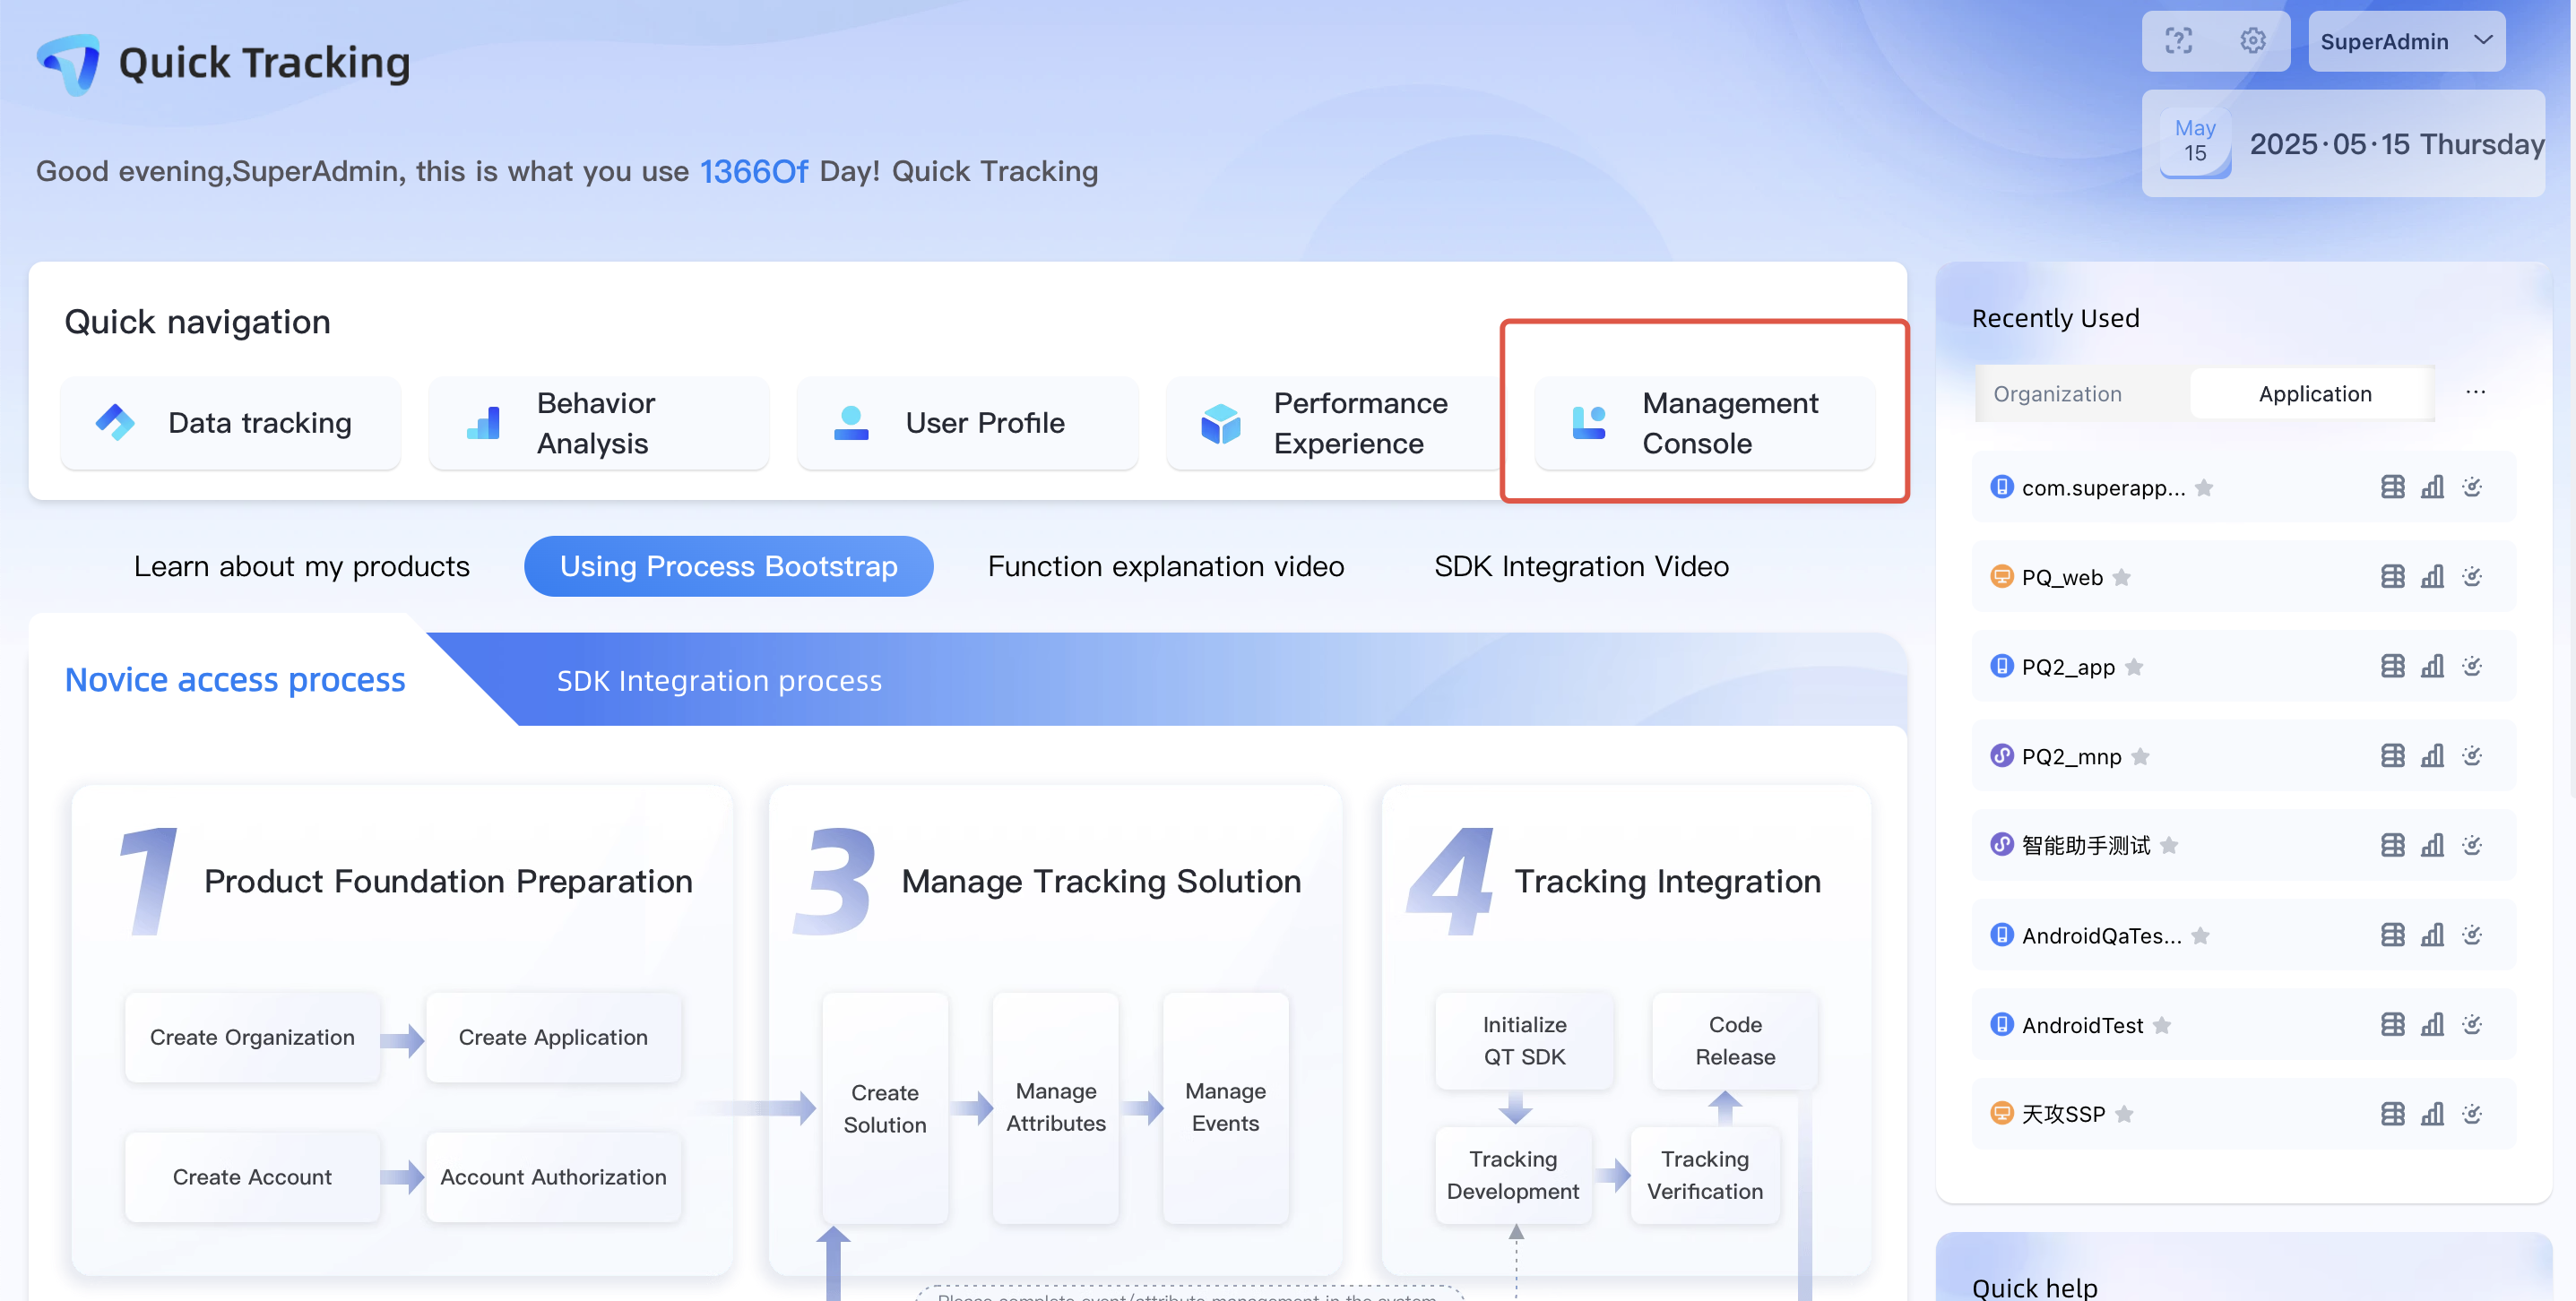
1.1. Go to the product background
QuickTracking [Home Page]-[Management Console]
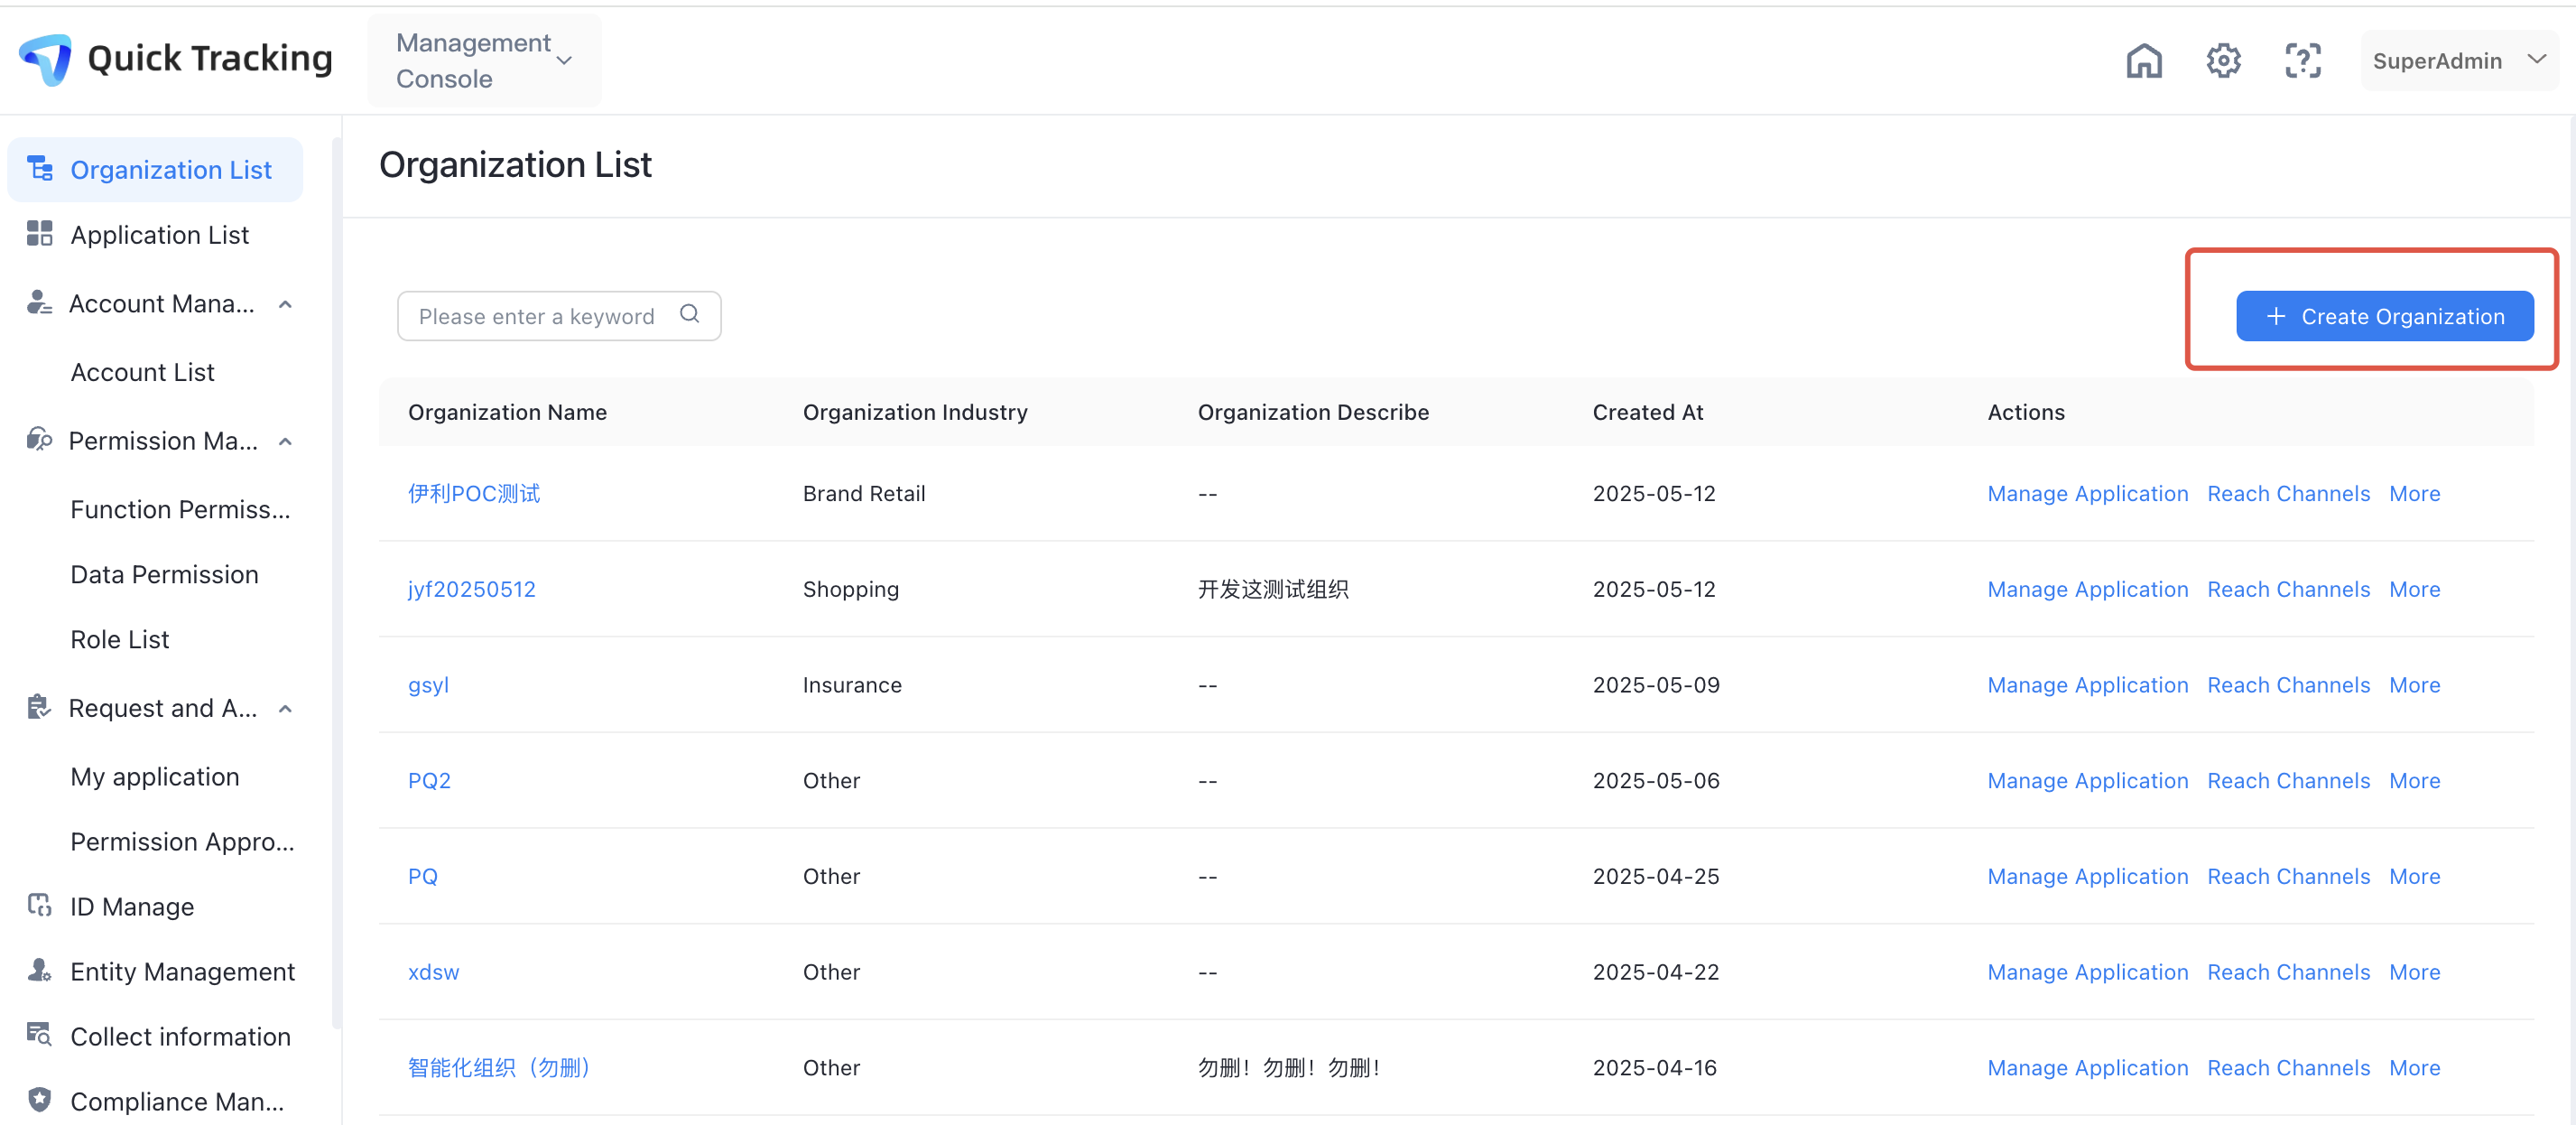
1.2. Find the organization to which the application belongs.
Log on to the Management Console and go to the Organization List page. On the Organization List page, find the organization to which the application belongs.
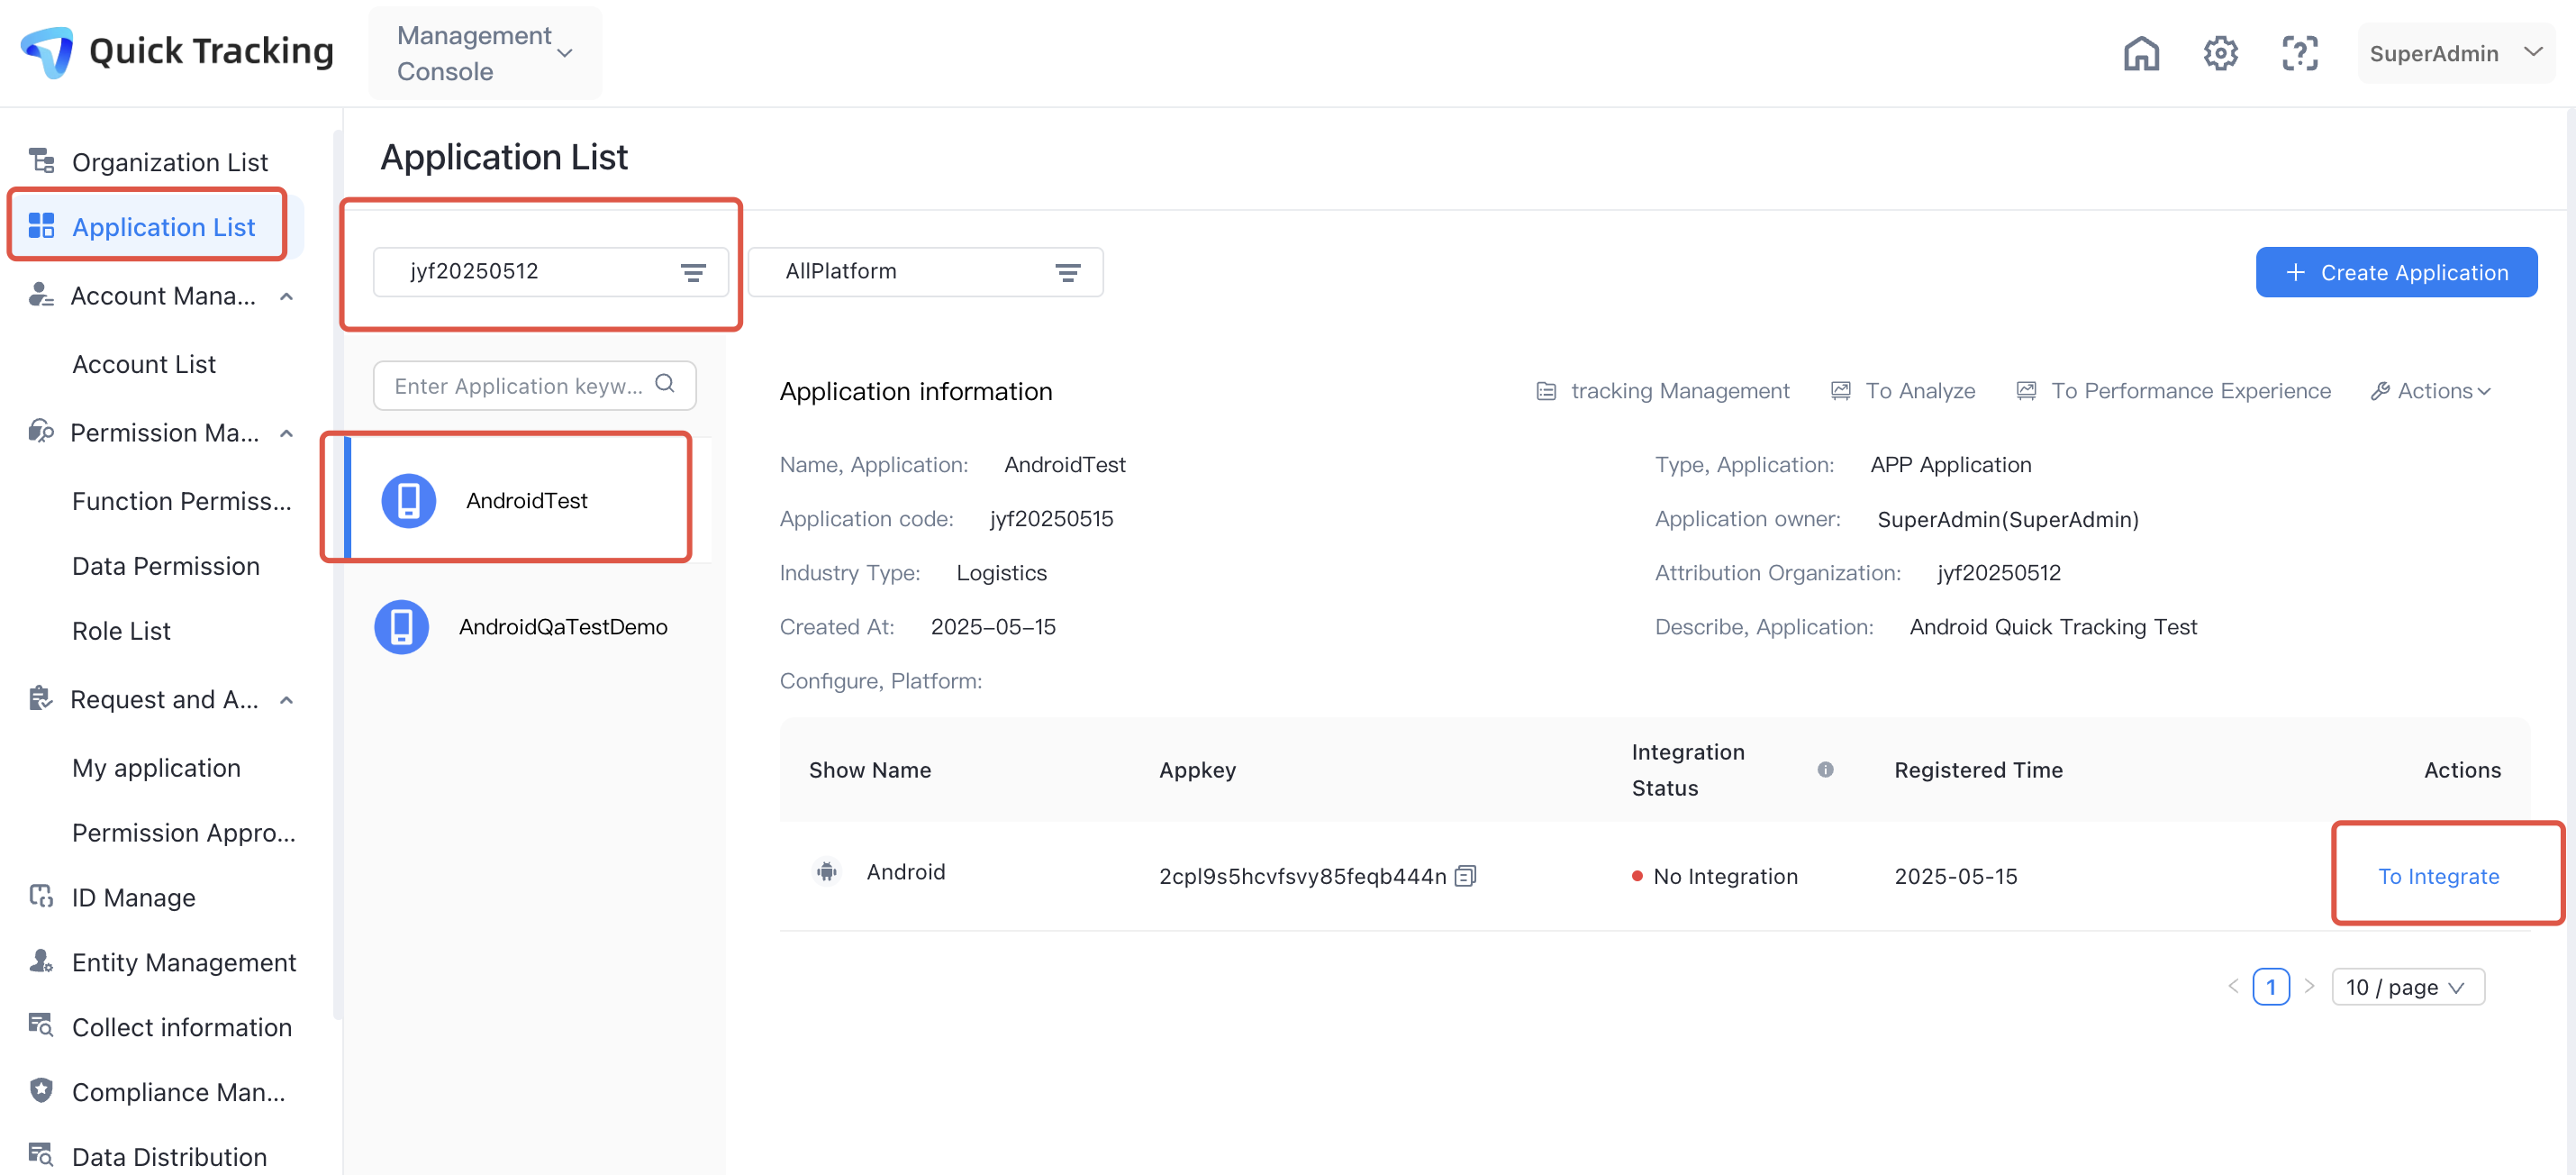
1.3. Find the application to be integrated.
2. Integration code details
If you cannot access the preceding page for specific reasons, you can integrate the SDK by viewing this section.
2.1. Parameter preparation
appKey: obtained from the application list
Collection domain name: obtained in the [Management Console]-[Track Information] module
2.2. Introduce the SDK
System API requirements: HarmonyNext API 12 or higher. Currently, only stage models of common applications are supported. Meta services are not supported.
2.2.1. Install the SDK offline
Introduce the offline version of Hongmeng SDK
{
"modelVersion": "5.0.0",
"description": "Please describe the basic information.",
"dependencies": {
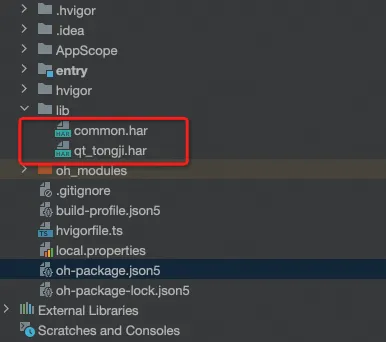
"@quicktracking/common": "file:./lib/common.har",
"@quicktracking/analytics": "file:./lib/qt_tongji.har",
},
"devDependencies": {
"@ohos/hypium": "1.0.18",
"@ohos/hamock": "1.0.0"
}
}
SDK file location
2.2.2. Import configuration (optional)
Add a new configuration file qtconfig.json in the project AppScope/resources/rawfile directory
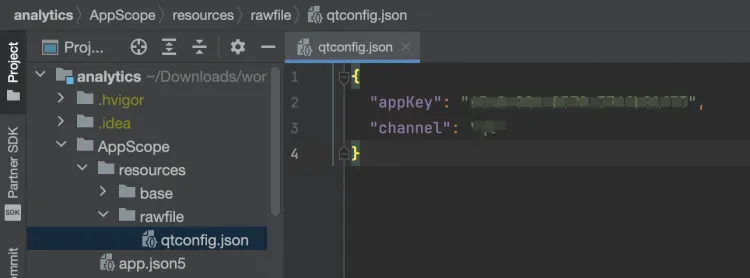
{
  "appKey": "Your application's own appKey", // Optional.
  "channel": "The release channel of your application", // Optional.
}
Note that if the preceding information is passed in when the UMConfig is built during initialization, the value at the time of initialization shall prevail.
2.2.3. Configure permissions
Add the permission declaration to the module.json5 file of the module that needs to use the SDK
"requestPermissions": [
{
"name": "ohos.permission.INTERNET"
},
{
"name": "ohos.permission.GET_NETWORK_INFO"
},
{
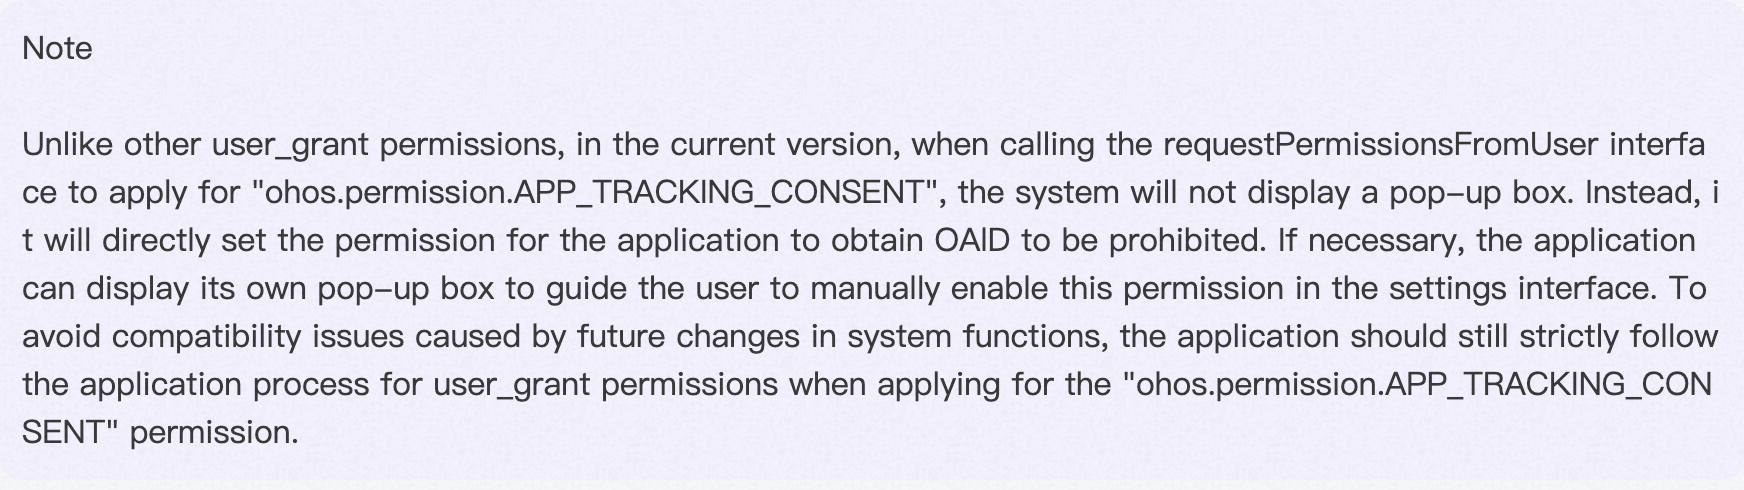
"name": "ohos.permission.APP_TRACKING_CONSENT" // Optional. If you need to collect the Huawei advertising identifier
}
],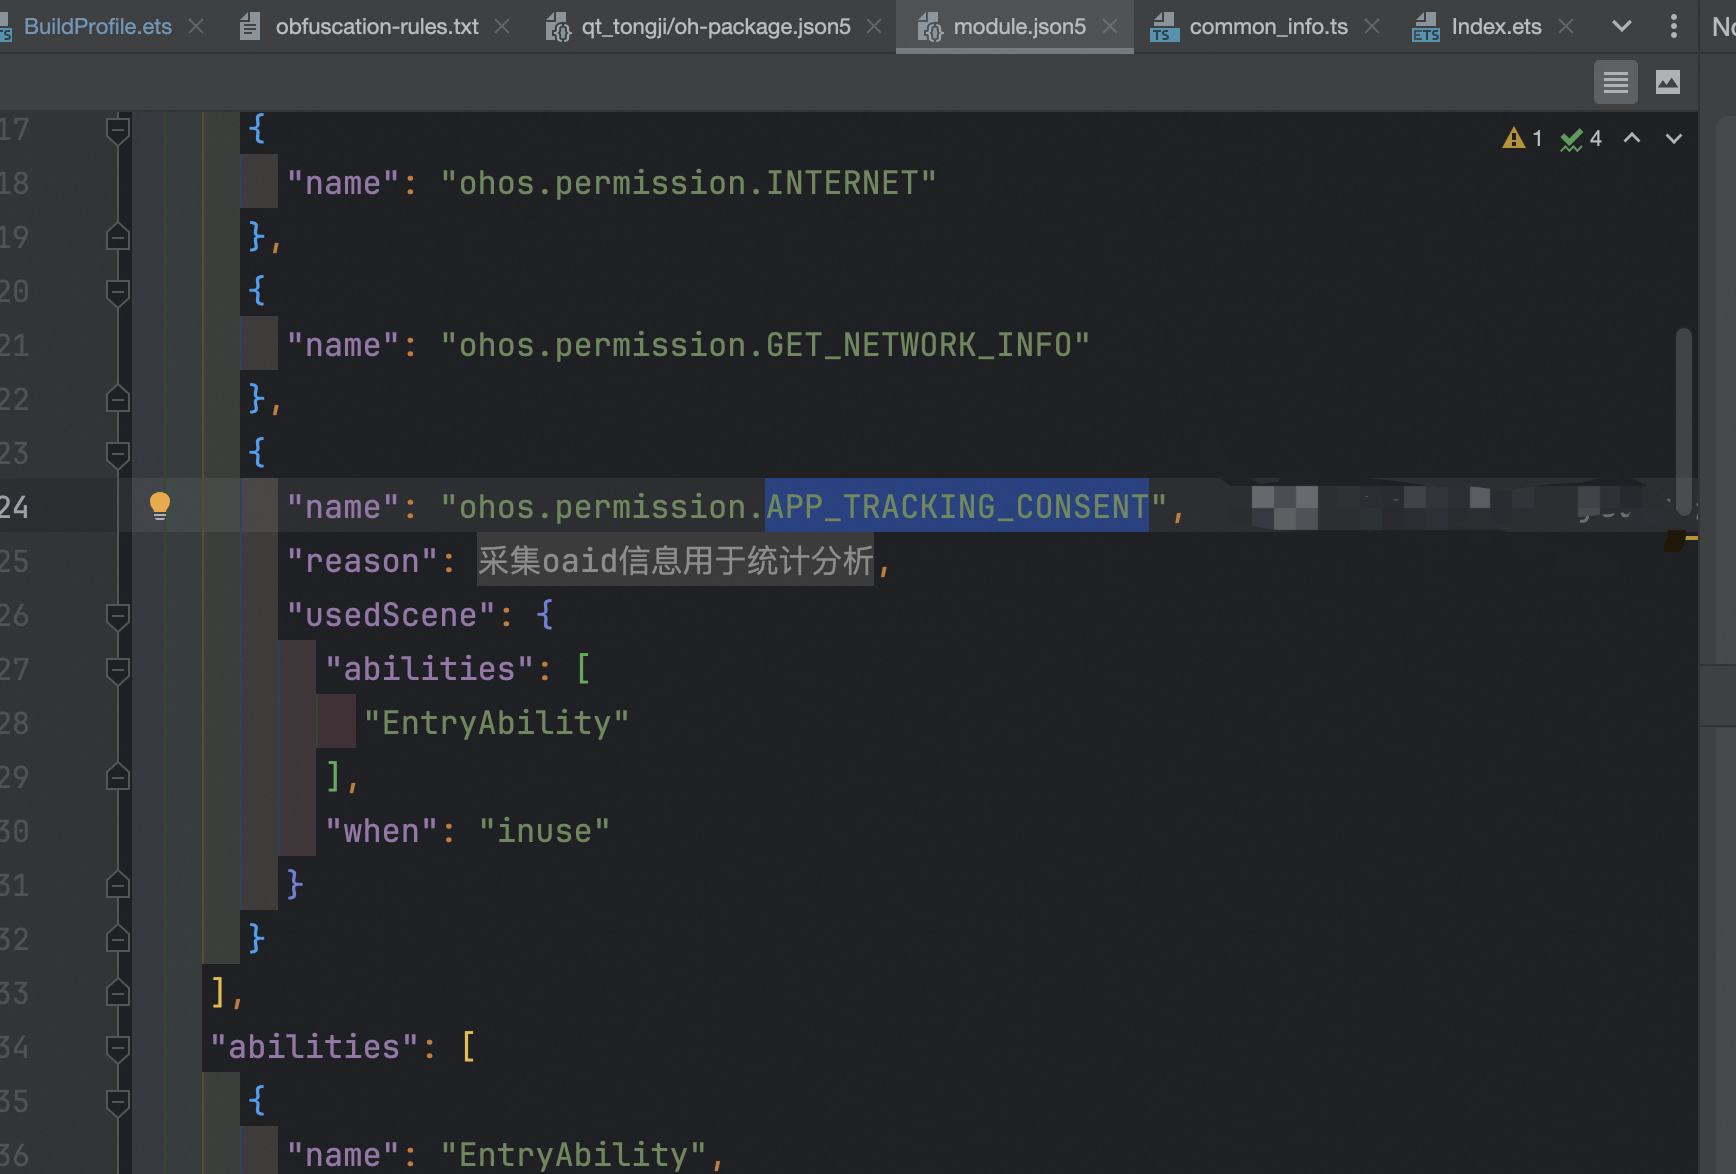
! ! Note: According to the documentation on the official Huawei website, you need to enable OAID tracking on the device settings page. For more information, see Huawei documentation.
2.2.4. Use the standardized OHMUrl format
Set the useNormalizedOHMUrl to true to view engineering-level build-profile.json5:
{
  "app": {
    "signingConfigs": [],
    "products": [
      {
        "name": "default",
        "signingConfig": "default",
        "compatibleSdkVersion": "5.0.0(12)",
        "runtimeOS": "HarmonyOS",
        "buildOption": {
          "strictMode": {
            "useNormalizedOHMUrl": true
          }
        }
      }
    ],

  }
}