Complex table data entry includes cell data entry, table data entry, and dataset data entry. You can create and manage cell data entry to collect values in individual cells through configurable controls.
Example
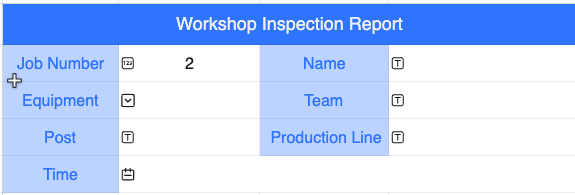
In the following workshop inspection form, fields such as Work ID, Name, Equipment, Team, Position, Production Line, and Time use cell data entry.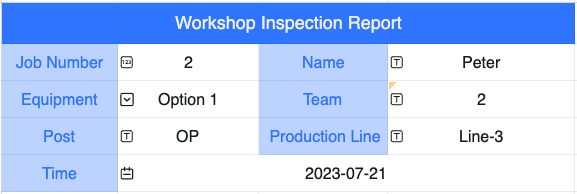
Create cell data entry
A cell is the most basic data entry object. To enable data entry in a cell, configure a data entry control for it.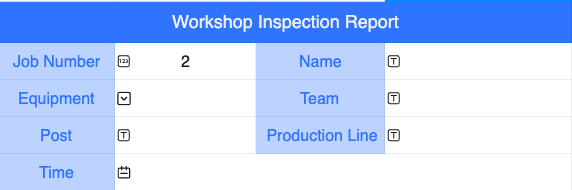
If you select multiple cells and click Convert to Data Entry Control, only one cell is converted because settings such as field names require individual configuration.
Insert a control
-
Entry points
-
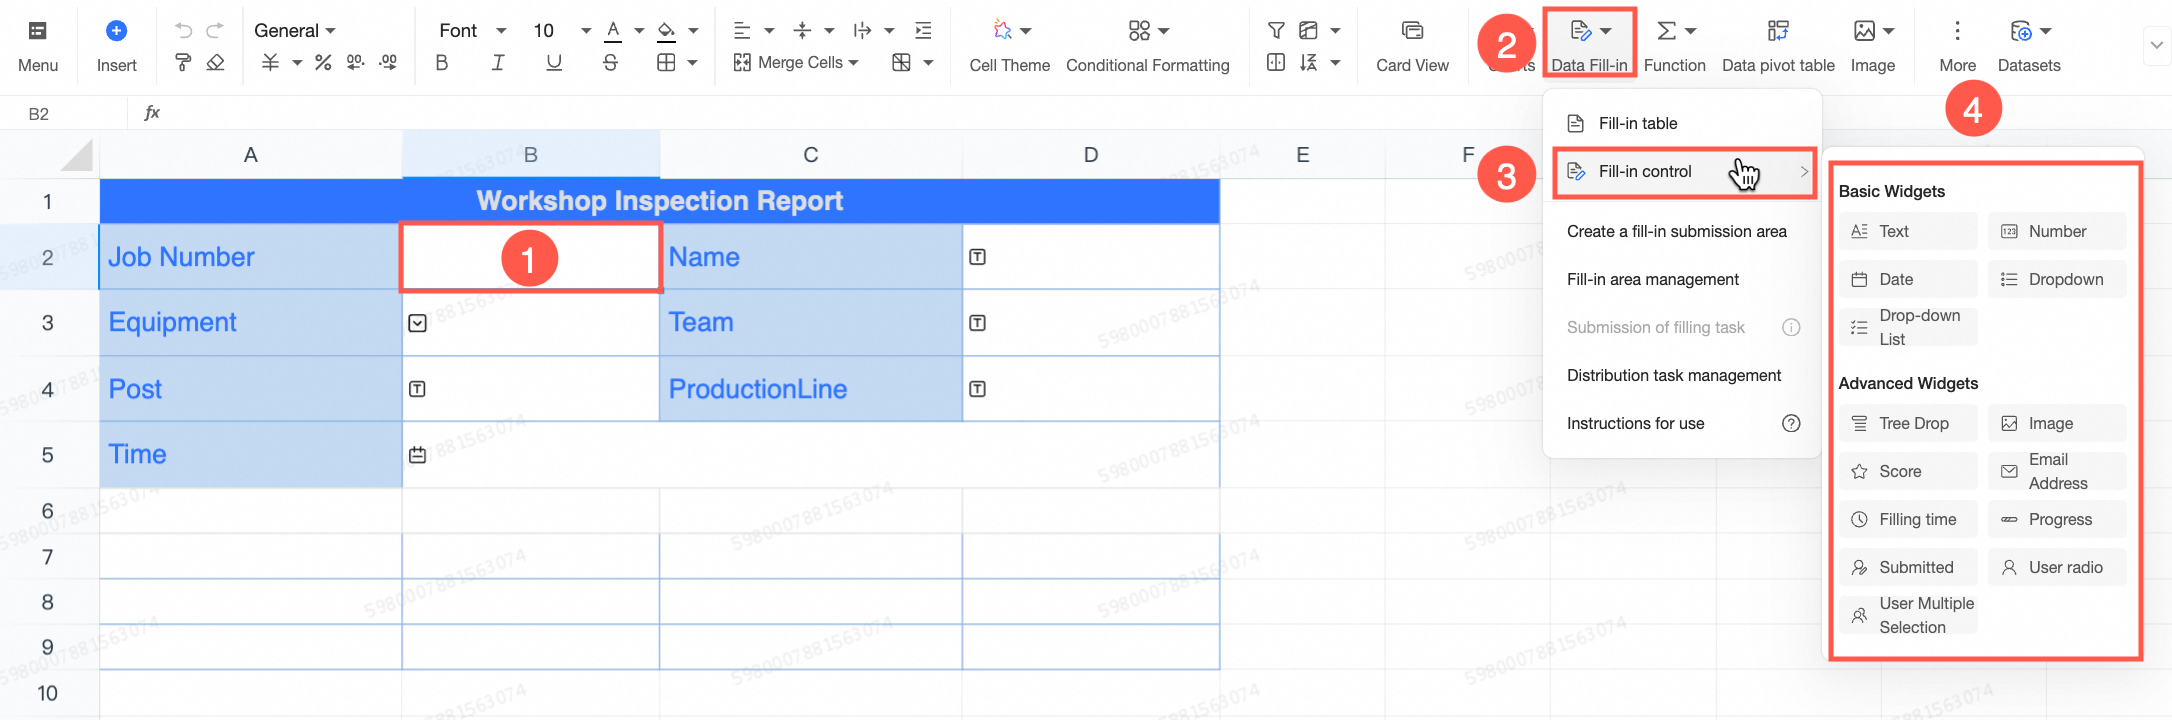
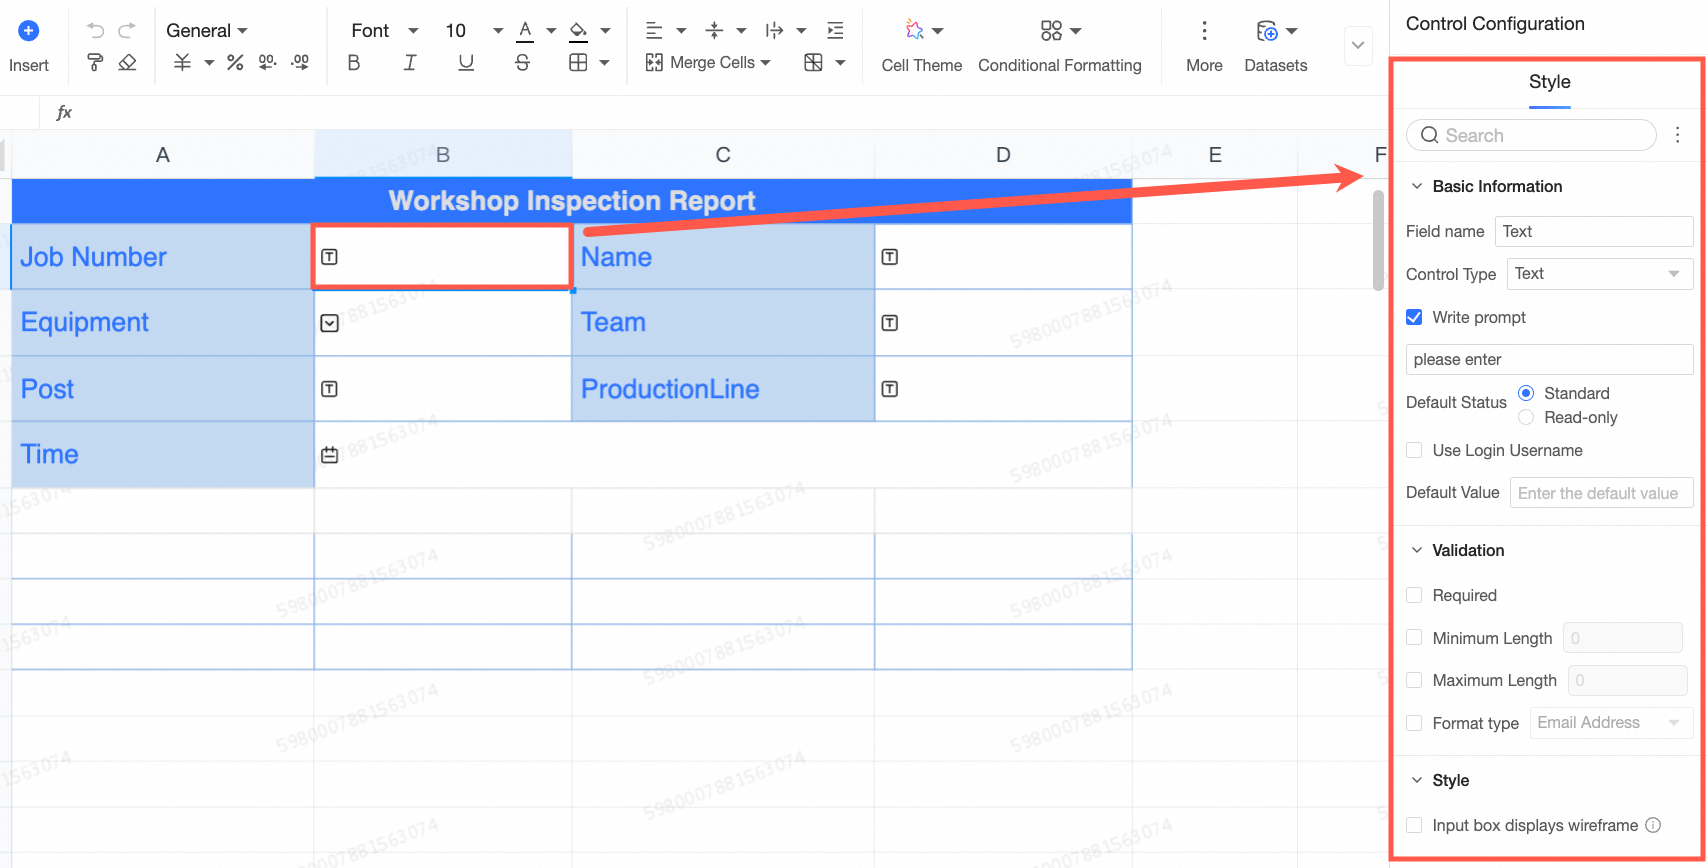
Entry point 1: Select a cell, click Data Entry in the upper-right corner of the toolbar, and then select a data entry control that matches the type of data to collect. The cell becomes a data entry cell. Configure its parameters in the panel on the right.
-
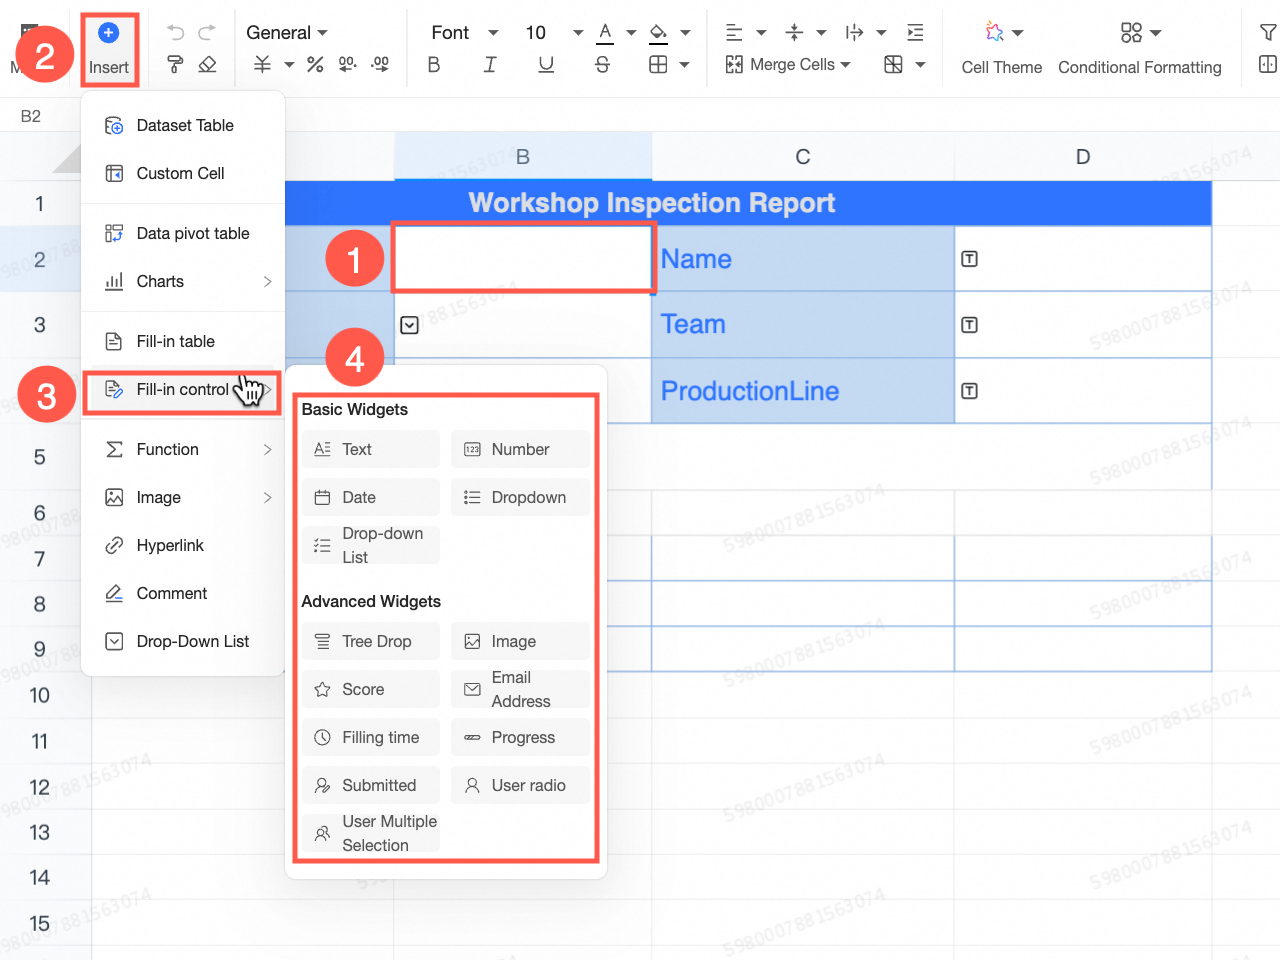
Entry point 2: Select a cell, click Insert in the upper-left corner of the menu bar, and then select a data entry control that matches the type of data to collect. The cell becomes a data entry cell. Configure its parameters in the panel on the right.
-
-
After configuring a number control for the Work ID field, insert data entry controls, such as text, drop-down, and time, for the Name, Equipment, Team, Position, Production Line, and Time fields.
Control configuration
-
Configure the parameters in the configuration window. For details, see Data entry controls.
-
After configuring the control, click the
 icon to reopen the parameter editing page, or click the
  icon to delete the control.
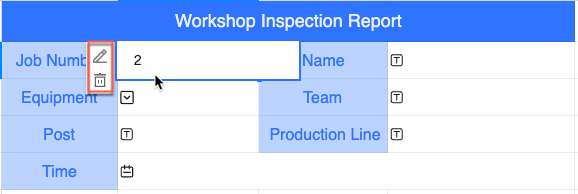
Next steps
-
After creating the cell data entry, set the data entry submission area to map entered data to the corresponding fields in the base table. For details, see Set the data entry submission area.