Query billing details in the console
To view your billing details, go to the Expenses and Costs billing details page.
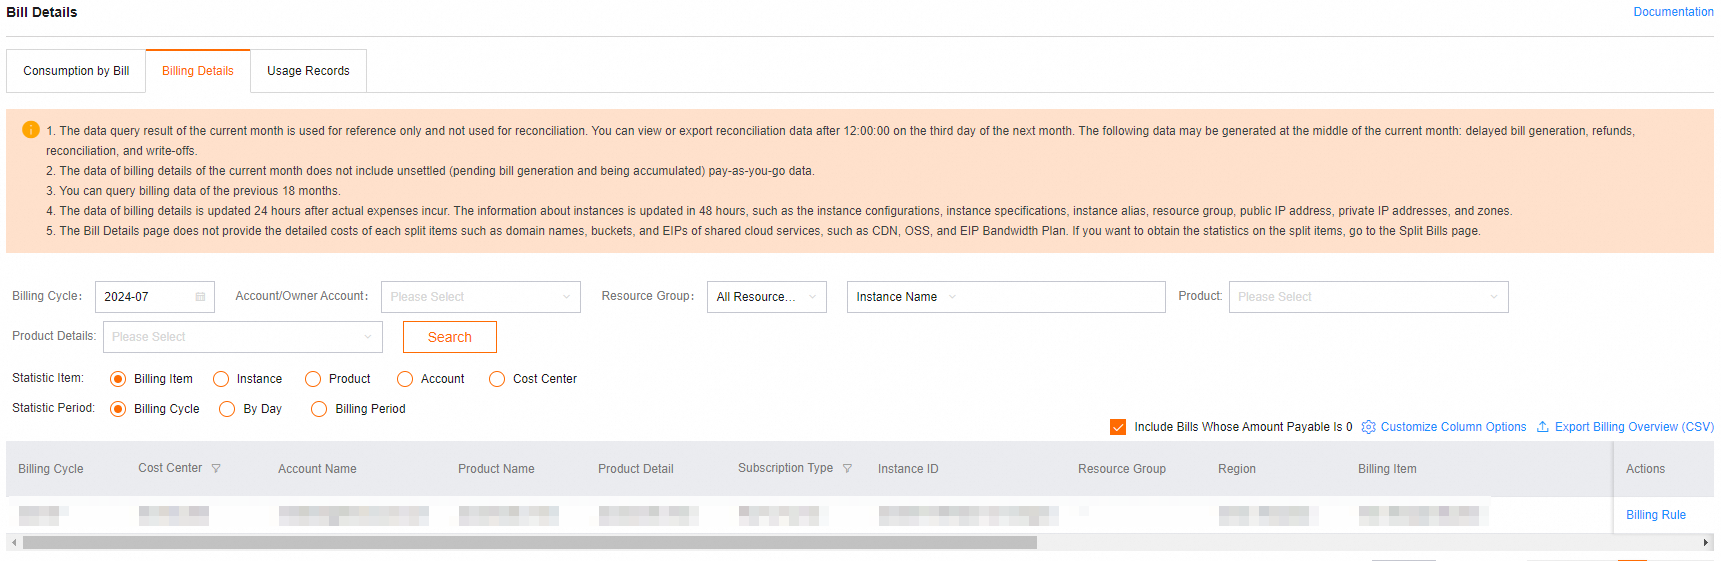
Note
To access Expenses and Costs, Resource Access Management (RAM) users need the AliyunBSSFullAccess permission from their Alibaba Cloud account. For instructions, see Manage RAM user permissions.
Billing details are delayed by one day.
When you export usage details, set Product to
learn. The metering specifications for each service module are:Machine Learning Designer:
PAI_ALGOData Science Workshop:
PAI_DSW_PAY_FULLY_MANAGEDElastic Algorithm Service:
PAI_EAS