Before mounting a bucket, you must first configure the required mounting environment. ossfs 1.0 supports configuration via configuration files or ECS RAM roles.
Configuration file
You can create an ossfs 1.0 configuration file for mounting a bucket by using the AccessKey ID and AccessKey Secret of an Alibaba Cloud account or RAM user. While this method is simple and efficient, it presents a lower level of security due to the storage of the Access Key pair on the server.
An Alibaba Cloud account has full permissions on its resources, and leaks of its AccessKey pair pose significant security risks. We recommend that you use the AccessKey pair of a RAM user that is granted the minimum required permissions.
Default configuration file
When using the default configuration file, you do not need to specify the configuration file when mounting a bucket. You can configure multiple bucket information entries at the same time for use when mounting buckets.
Path: The default configuration file is
/etc/passwd-ossfs.Format:
$bucket_name:$access_key_id:$access_key_secret.
Execute the following commands to write the bucket and corresponding AccessKey information to /etc/passwd-ossfs, and set the file permissions to 640 to complete the default configuration file creation.
echo bucket-test-1:AAAI************:AAA8x************************* > /etc/passwd-ossfs
echo bucket-test-2:BBBI************:BBB8x************************* >> /etc/passwd-ossfs
chmod 640 /etc/passwd-ossfs
Custom configuration file
You need to specify the configuration file when mounting a bucket if you use this approach.
Path: You can customize the configuration file path, such as
/etc/passwd-ossfs-3or/etc/passwd-ossfs-4.Format:
$bucket_name:$access_key_id:$access_key_secret.
Execute the following commands to create configuration files for different buckets, write the bucket and corresponding AccessKey information to /etc/passwd-ossfs-3 and /etc/passwd-ossfs-4, then set the configuration file permissions to 600 to complete the custom configuration file creation.
echo bucket-test-3:CCCIbZcdVCmQ****:CCC8x0y9hxQ31coh7A5e2MZEUz**** > /etc/passwd-ossfs-3
echo bucket-test-4:DDDIbZcdVCmQ****:DDD8x0y9hxQ31coh7A5e2MZEUz**** > /etc/passwd-ossfs-4
chmod 600 /etc/passwd-ossfs-3 /etc/passwd-ossfs-4
ECSRAMRole
An ECS instance can be configured to assume a RAM role with permissions to access OSS. In the mounting process via ossfs 1.0, temporary access credentials from STS are retrieved from the ECS metadata server. This method has higher security because it uses temporary STS access credentials and does not expose the AccessKey pair.
The following example uses a RAM role named EcsRamRoleOssTest. After assigning this role to the target ECS instance, verify that the ECS instance environment required for mounting the bucket is functioning properly.
Attach the RAM role to the ECS instance.
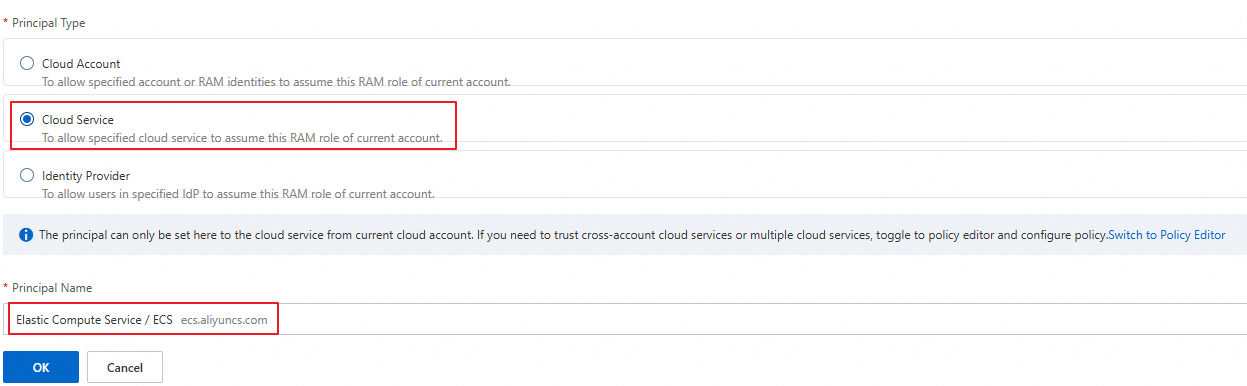
Go to the Create Role page in the RAM console.
On the Create Role page, set Principal Type to Cloud Service, select Elastic Compute Service/ECS for the Principal Name field, then click OK.
In the Create Role dialog box, enter the role name, then click OK.

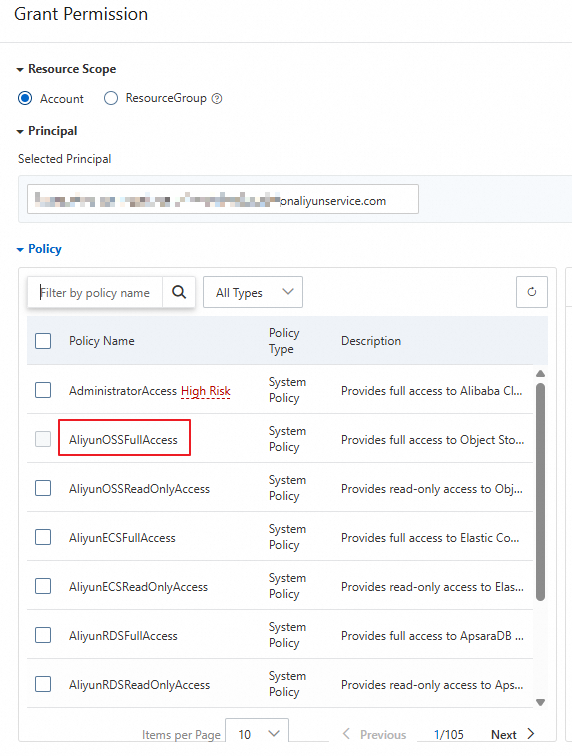
After the role is created, click , select the
AliyunOSSFullAccesspermission, then click Grant Permissions.NoteIf you are familiar with Resource Access Management permissions, you can go directly to the Create Policy page for more precise custom authorization, then grant it to the RAM role to prevent permission redundancy.
Go to the Instances page in the ECS console, select the region where the ECS instance is located at the top of the page, then click the
 button to the right of the target instance, and click Attach/Detach RAM Role.
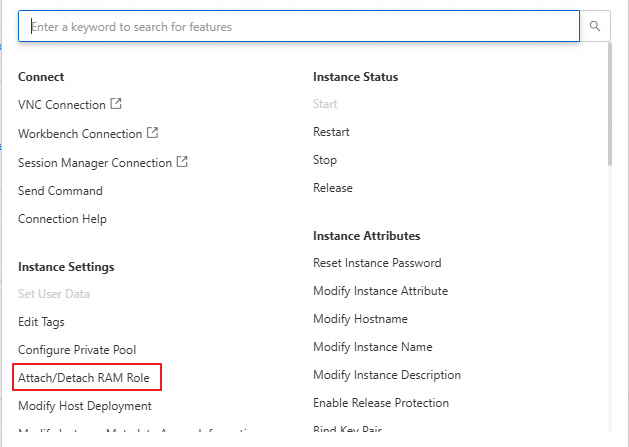
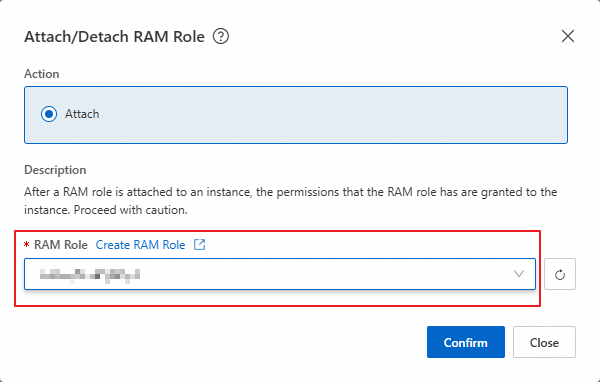
In the Attach/Detach RAM Role dialog box, select the target RAM Role to complete attaching the RAM role to the ECS instance.
Verify that the RAM role is properly attached to the ECS instance.
Execute the following command to verify if the attachment succeeded. Note that EcsRamRoleOssTest is the RAM role name. Make sure it is consistent with the created RAM role name, and keep the rest of the information unchanged.
curl -o /dev/null -s -w "%{http_code}\n" http://100.100.100.200/latest/meta-data/ram/security-credentials/EcsRamRoleOssTestThe following response indicates that the attachment succeeded.

What to do next
After configuring the environment required for mounting a bucket, you can proceed to mount the target bucket to a local directory using a default configuration file, a custom configuration file, or a RAM role of an ECS instance.