The RPC-related modules are APMobileNetwork.framework and MPMgsAdapter. Use the interfaces in MPMgsAdapter to make gateway calls.
This topic covers the complete workflow for integrating the Mobile Gateway Service software development kit (SDK) on iOS:
Initialize the gateway service
Call the following method to initialize the gateway service before making any RPC calls:
[MPRpcInterface initRpc];Notes on upgrading from an earlier version
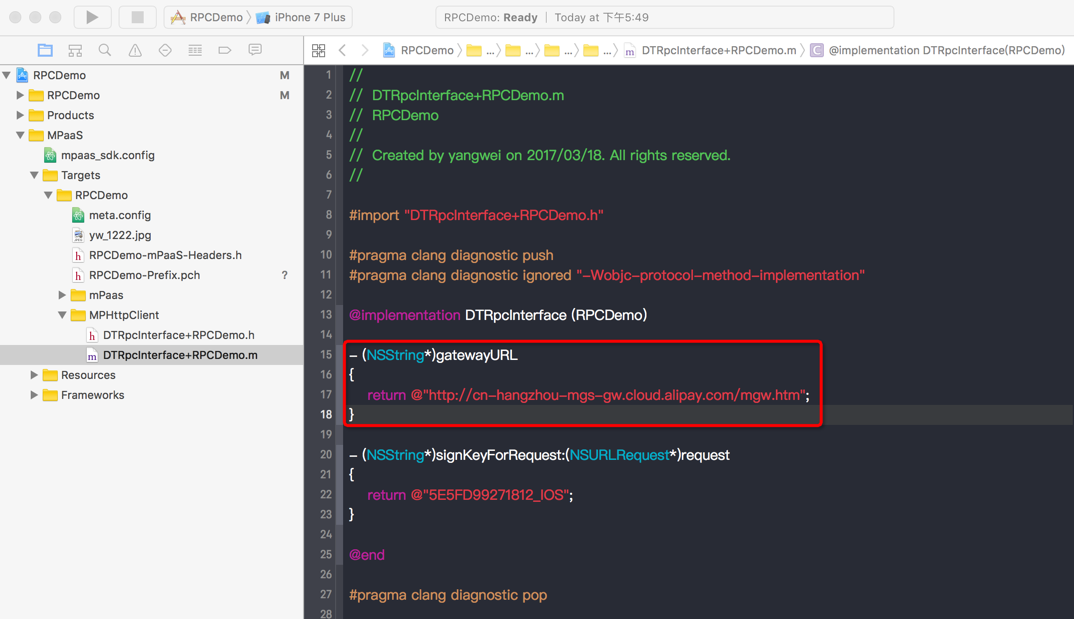
Starting from version 10.1.32, you no longer need to add the Category file for the DTRpcInterface class. The middle layer now reads configuration from meta.config automatically. After upgrading, remove any Category files for DTRpcInterface from your project. The following image shows the file to remove.
Generate RPC code
After connecting your app to the backend service in the Mobile Gateway Service console, download the client-side RPC code. For more information, see Generate code.
The downloaded package generates three files per service:
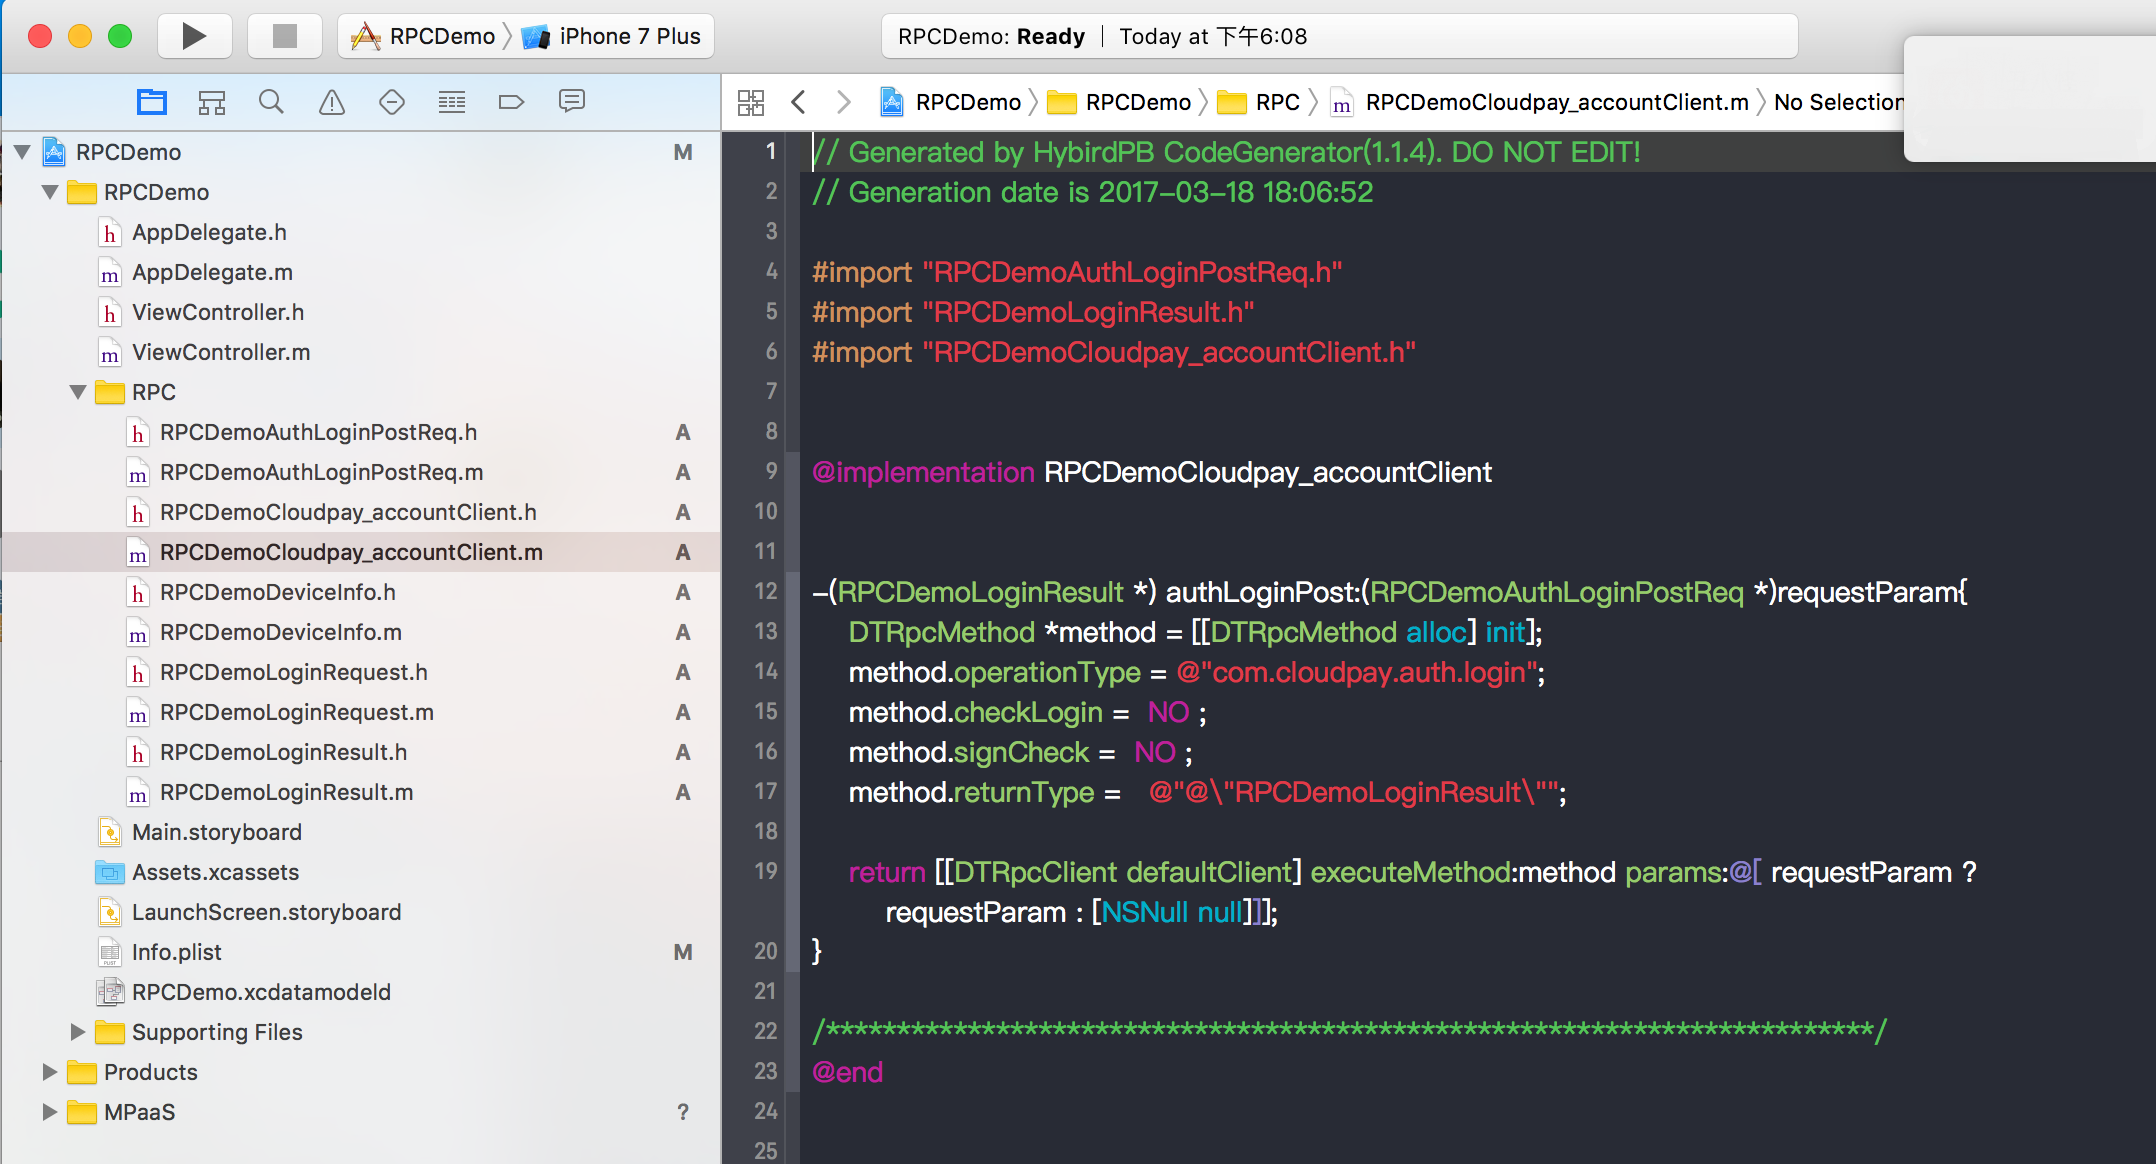
RPCDemoCloudpay_accountClient— the RPC client. Instantiate this class to call service methods.RPCDemoAuthLoginPostReq— the request model. Populate its properties and pass it to the client method.RPCDemoLoginResult— the response model. Cast the return value to this type to access response fields.
Send a request
Use the MPRpcInterface async block interface to run RPC requests on a background thread. The completion callback runs on the main thread automatically, so you can update the UI directly from it.
The following Objective-C example logs in and shows the result in an alert:
- (void)sendRpc
{
    __block RPCDemoLoginResult *result = nil;
    [MPRpcInterface callAsyncBlock:^{
        @try
        {
            RPCDemoLoginRequest *req = [[RPCDemoLoginRequest alloc] init];
            req.loginId = @"alipayAdmin";
            req.loginPassword = @"123456";
            RPCDemoAuthLoginPostReq *loginPostReq = [[RPCDemoAuthLoginPostReq alloc] init];
            loginPostReq._requestBody = req;
            RPCDemoCloudpay_accountClient *service = [[RPCDemoCloudpay_accountClient alloc] init];
            result = [service authLoginPost:loginPostReq];
        }
        @catch (NSException *exception) {
            NSLog(@"%@", exception);
            NSError *error = [userInfo objectForKey:@"kDTRpcErrorCauseError"];        // Get detailed exception information
            NSInteger code = error.code;        // Get the error code from the detailed exception information
        }
    } completion:^{
        NSString *str = @"";
        if (result && result.success) {
            str = @"Logon successful";
        } else {
            str = @"Logon failed";
        }

        UIAlertView *alert = [[UIAlertView alloc] initWithTitle:str message:nil delegate:nil
                                              cancelButtonTitle:nil otherButtonTitles:@"ok", nil];
        [alert show];
    }];
}Wrap RPC calls in
try catchto handle gateway errors. When an exception is thrown, cast the cause fromkDTRpcErrorCauseErrorin the exception'suserInfotoNSErrorto read the error code. See Gateway result codes for a full list.Swift cannot catch Objective-C
NSExceptionwithdo-catch. See Safely handle Objective-C exceptions in Swift for the Swift-safe approach.
Safely handle Objective-C exceptions in Swift
Background
Swift's do-catch and Objective-C's @try-@catch operate at different runtime levels. Swift code cannot directly catch an NSException thrown by Objective-C code, which causes an unhandled crash in mixed-language projects.
Solution
Use the APRpcExceptionCatch utility. Its safeExecuteTry method wraps the Objective-C @try-@catch block so you can safely call RPC from Swift.
If Objective-C throws during execution, safeExecuteTry catches it and returns a DTRpcException. If execution succeeds, it returns nil.
When handling the exception, check DTRpcException.code to determine the error type. When code.rawValue == 0, cast userInfo["kDTRpcErrorCauseError"] to NSError to retrieve the underlying domain, code, and description.
Version
Supported in baseline version 10.2.3.66 and later.
Sample code
import MBProgressHUD
import APMobileNetwork

private func performGetIdRpcCall() {

    // 1. Display the loading indicator (original start of executeRpc).
    MBProgressHUD.showAdded(to: self.view, animated: true)

    // 2. Define variables to receive the result and error.
    var response: MPDemoUserInfo? // Replace the generic type T with the specific type MPDemoUserInfo.
    var rpcError: DTRpcException?

    // 3. Asynchronously execute the RPC call (original DTRpcAsyncCaller.callAsyncBlock).
    DTRpcAsyncCaller.callAsyncBlock({

        // 3.1. Safely execute the actual RPC call in a background thread.
        rpcError = APRpcExceptionCatch.safeExecuteTry {
            // This is the content of the original 'call' closure.
            let client = MPDemoRpcDemoClient()
            // Assign the result to the response variable.
            response = client.getIdGet(self.getRequest())
        }

    }, completion: {

        // 4. Handle the completion logic on the main thread.
        DispatchQueue.main.async {

            // 4.1. Hide the loading indicator.
            MBProgressHUD.hide(for: self.view, animated: true)

            // 4.2. Check if the RPC call has an error.
            if let exception = rpcError {
                // If there is an error, construct and display the error message.
                var errorMsg: String
                if exception.code.rawValue == 0 {
                    if let realError = exception.userInfo?["kDTRpcErrorCauseError"] as? NSError {
                        let errorString = "Error: [Domain: \(realError.domain), Code: \(realError.code), Description: \(realError.localizedDescription)]"
                        errorMsg = "Rpc Exception: \(errorString)"
                    } else {
                        let cause = exception.userInfo?["kDTRpcErrorCauseError"]
                        errorMsg = "Rpc Exception code: \(exception.code), no real error: \(cause ?? "nil")"
                    }
                } else {
                    errorMsg = "Rpc Exception code: \(exception.code)"
                }

                // Display the error toast.
                self.showErrorToast(message: errorMsg)

            } else {
                // 4.3. If the call is successful, process the returned data.
                // This is the content of the original 'success' closure.
                self.showAlert(title: "Returned Data", message: response?.description)
            }
        }
    })
}
Customize request configurations
DTRpcMethod describes an RPC request. It holds the method name, parameters, return type, and per-request settings that override global defaults.
The following properties control common per-request behavior:
Property | Type | Default | Description |
| BOOL | YES | Set to NO to skip request signing. |
| NSTimeInterval | 20s | Client-side timeout in seconds. Values less than 1 are ignored and the default applies. |
| BOOL | NO | Set to YES to require session verification. Requires configuration in the gateway console. |
Disable request signing — set
signCheckto NO on theDTRpcMethodinstance:-(MPDemoUserInfo *) dataPostSetTimeout:(MPDemoPostPostReq *)requestParam { DTRpcMethod *method = [[DTRpcMethod alloc] init]; method.operationType = @"com.antcloud.request.post"; method.checkLogin = NO ; method.signCheck = NO ; method.returnType = @"@\"MPDemoUserInfo\""; return [[DTRpcClient defaultClient] executeMethod:method params:@[ ]]; }Set a timeout — configure
timeoutIntervalon theDTRpcMethodinstance:-(MPDemoUserInfo *) dataPostSetTimeout:(MPDemoPostPostReq *)requestParam { DTRpcMethod *method = [[DTRpcMethod alloc] init]; method.operationType = @"com.antcloud.request.post"; method.checkLogin = NO ; method.signCheck = YES ; method.timeoutInterval = 1; // Client-side timeout: time until the gateway returns a response. Default is 20s. Values less than 1 are ignored. method.returnType = @"@\"MPDemoUserInfo\""; return [[DTRpcClient defaultClient] executeMethod:method params:@[ ]]; }Add a request header to a single interface — use the extension method on
DTRpcClient:-(MPDemoUserInfo *) dataPostAddHeader:(MPDemoPostPostReq *)requestParam { DTRpcMethod *method = [[DTRpcMethod alloc] init]; method.operationType = @"com.antcloud.request.postAddHeader"; method.checkLogin = NO ; method.signCheck = YES ; method.returnType = @"@\"MPDemoUserInfo\""; // Add a request header for the interface NSDictionary *customHeader = @{@"testKey": @"testValue"}; return [[DTRpcClient defaultClient] executeMethod:method params:@[ ] requestHeaderField:customHeader responseHeaderFields:nil]; }Add a request header to all interfaces — use an interceptor instead. See the Mobile Gateway Service code sample for a complete example.
The
checkLoginproperty enablessessionverification on the interface. This requires prior configuration in the gateway console. By default, it is set to NO.
Customize RPC interceptors
The RPC module's interceptor mechanism lets you run custom logic before a request is sent and after it completes — for example, to inject request headers globally, log requests, or modify responses.
Implement an interceptor
Create a class that conforms to the <DTRpcInterceptor> protocol and implement its two lifecycle methods:
beforeRpcOperation:— called before the request is sent. Modify the operation or return it unchanged.afterRpcOperation:— called after the response is received. Process the result or return the operation unchanged.@interface HXRpcInterceptor : NSObject<DTRpcInterceptor> @end @implementation HXRpcInterceptor - (DTRpcOperation *)beforeRpcOperation:(DTRpcOperation *)operation{ // TODO return operation; } - (DTRpcOperation *)afterRpcOperation:(DTRpcOperation *)operation{ // TODO return operation; } @end
Register the interceptor
Register the interceptor with the middle layer's interceptor container. Call this once during app initialization, after [MPRpcInterface initRpc]:
    HXRpcInterceptor *mpTestIntercaptor = [[HXRpcInterceptor alloc] init];    // Custom sub-interceptor
    [MPRpcInterface addRpcInterceptor:mpTestIntercaptor];
Encrypt data
RPC provides multiple data encryption configuration options. For more information, see Data encryption.