Logview is a tool that you can use to view and debug jobs after you submit jobs to MaxCompute.
- Task status
- Task results
- Details of each task and the progress of each step
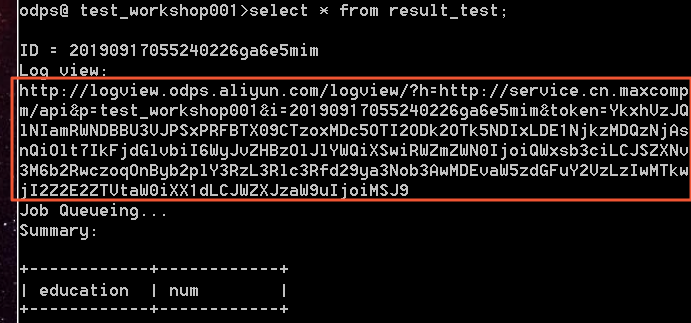
UI elements

- ODPS Instance
- ODPS Tasks
ODPS Instance
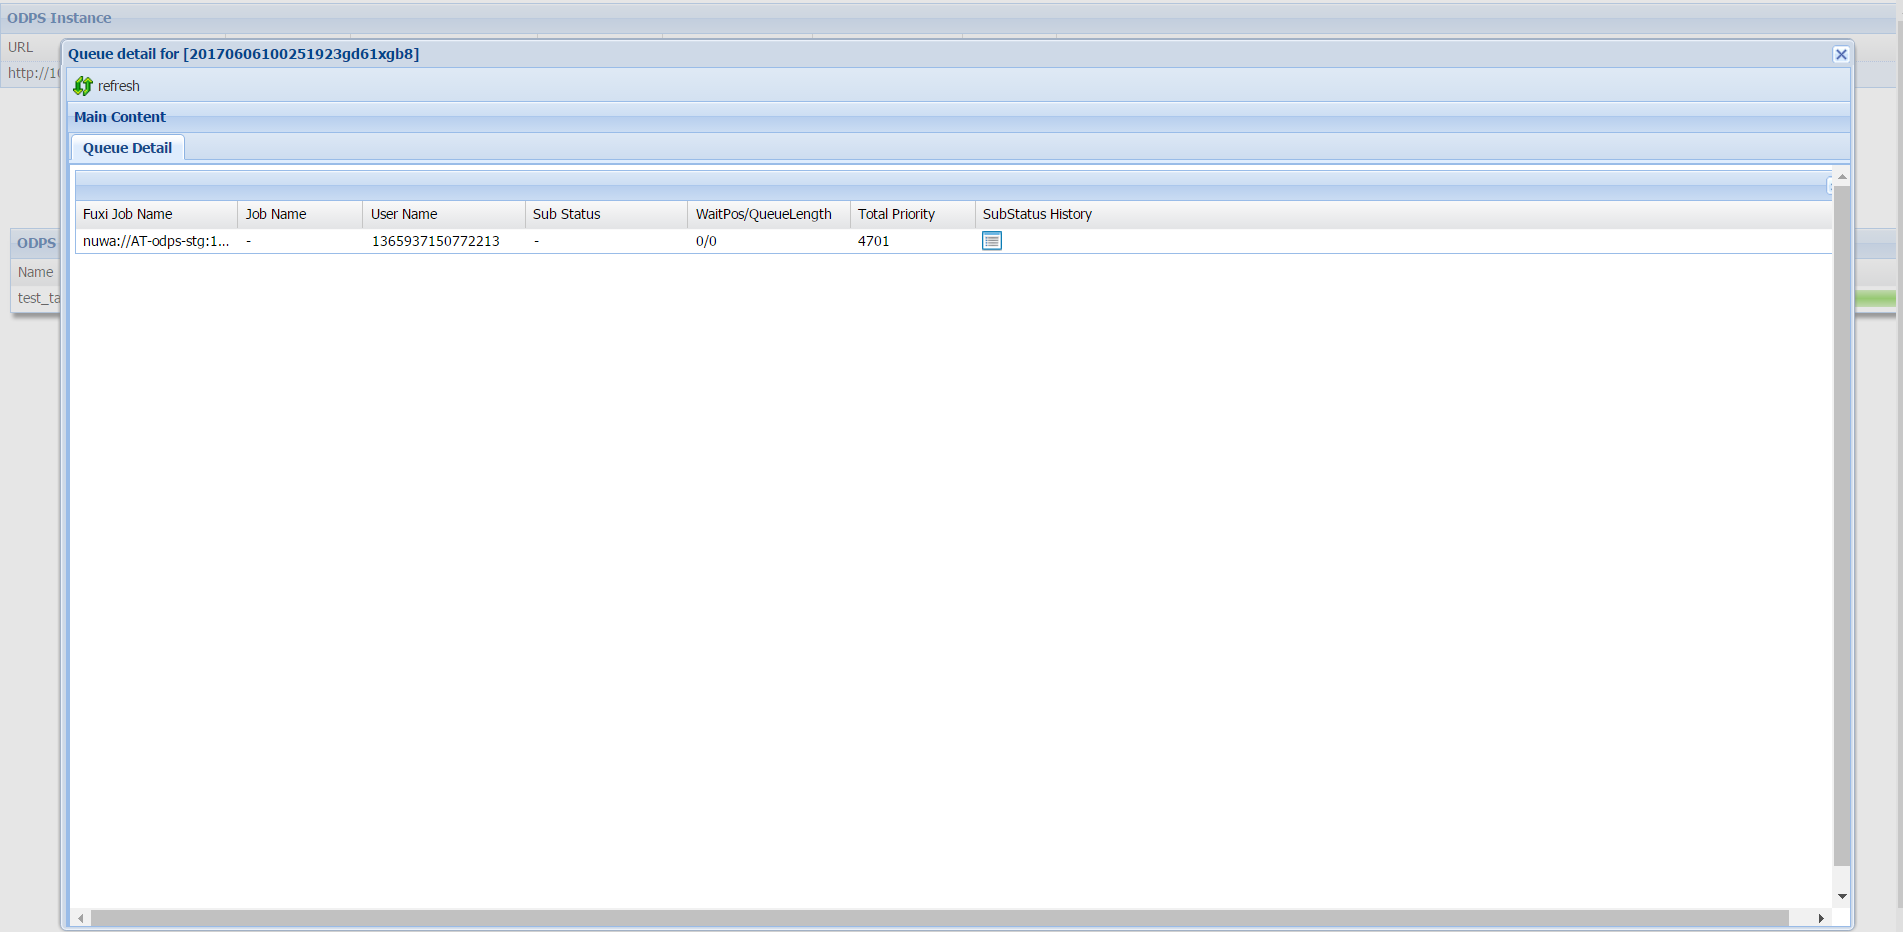
- You can click the value in the Status column to view queue information. Valid values
of Status:
- Waiting: The job is being processed in MaxCompute and is not submitted to Job Scheduler.
- Waiting List: n: The job is submitted to Job Scheduler and is queued. n indicates the order number of the job in the queue.
- Running: The job is running in Job Scheduler.
Note If the value of Status is Terminated, the job is terminated and no queue information is available. - After you click the value of Status, the following queue information is displayed:
- Sub Status: the current sub-status information.
- WaitPos: the position of the job in the queue. The value
0indicates that the job is running. The value-indicates that the job is not submitted to Job Scheduler. - QueueLength: the total queue length in Job Scheduler.
- Total Priority: the running priority assigned by the system.
- SubStatus History: You can click the icon in this column to view the status history.
The status history includes the status code, status description, start time, and duration
of the state of a job. The information is unavailable in some versions.
ODPS Tasks
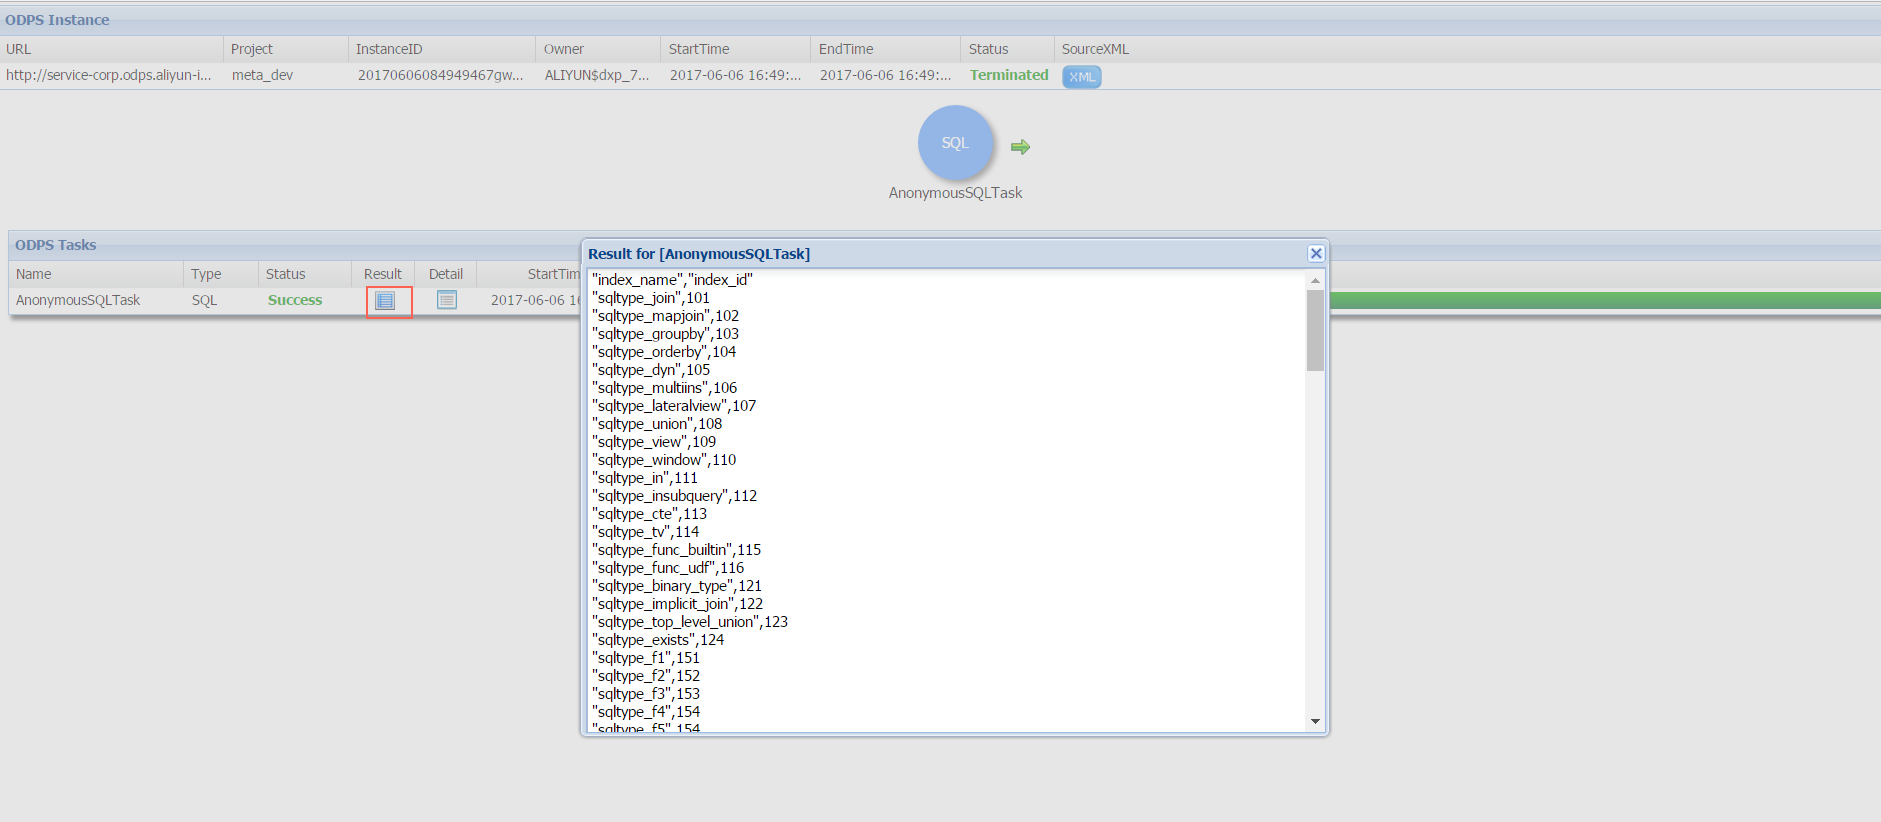
The ODPS Tasks section shows the information about the task that corresponds to the instance. The information includes Name, Type, Status, Result, Detail, StartTime, EndTime, Latency (s), and TimeLine. Latency (s) in the ODPS Tasks section indicates the total running duration.
Result:
Detail:
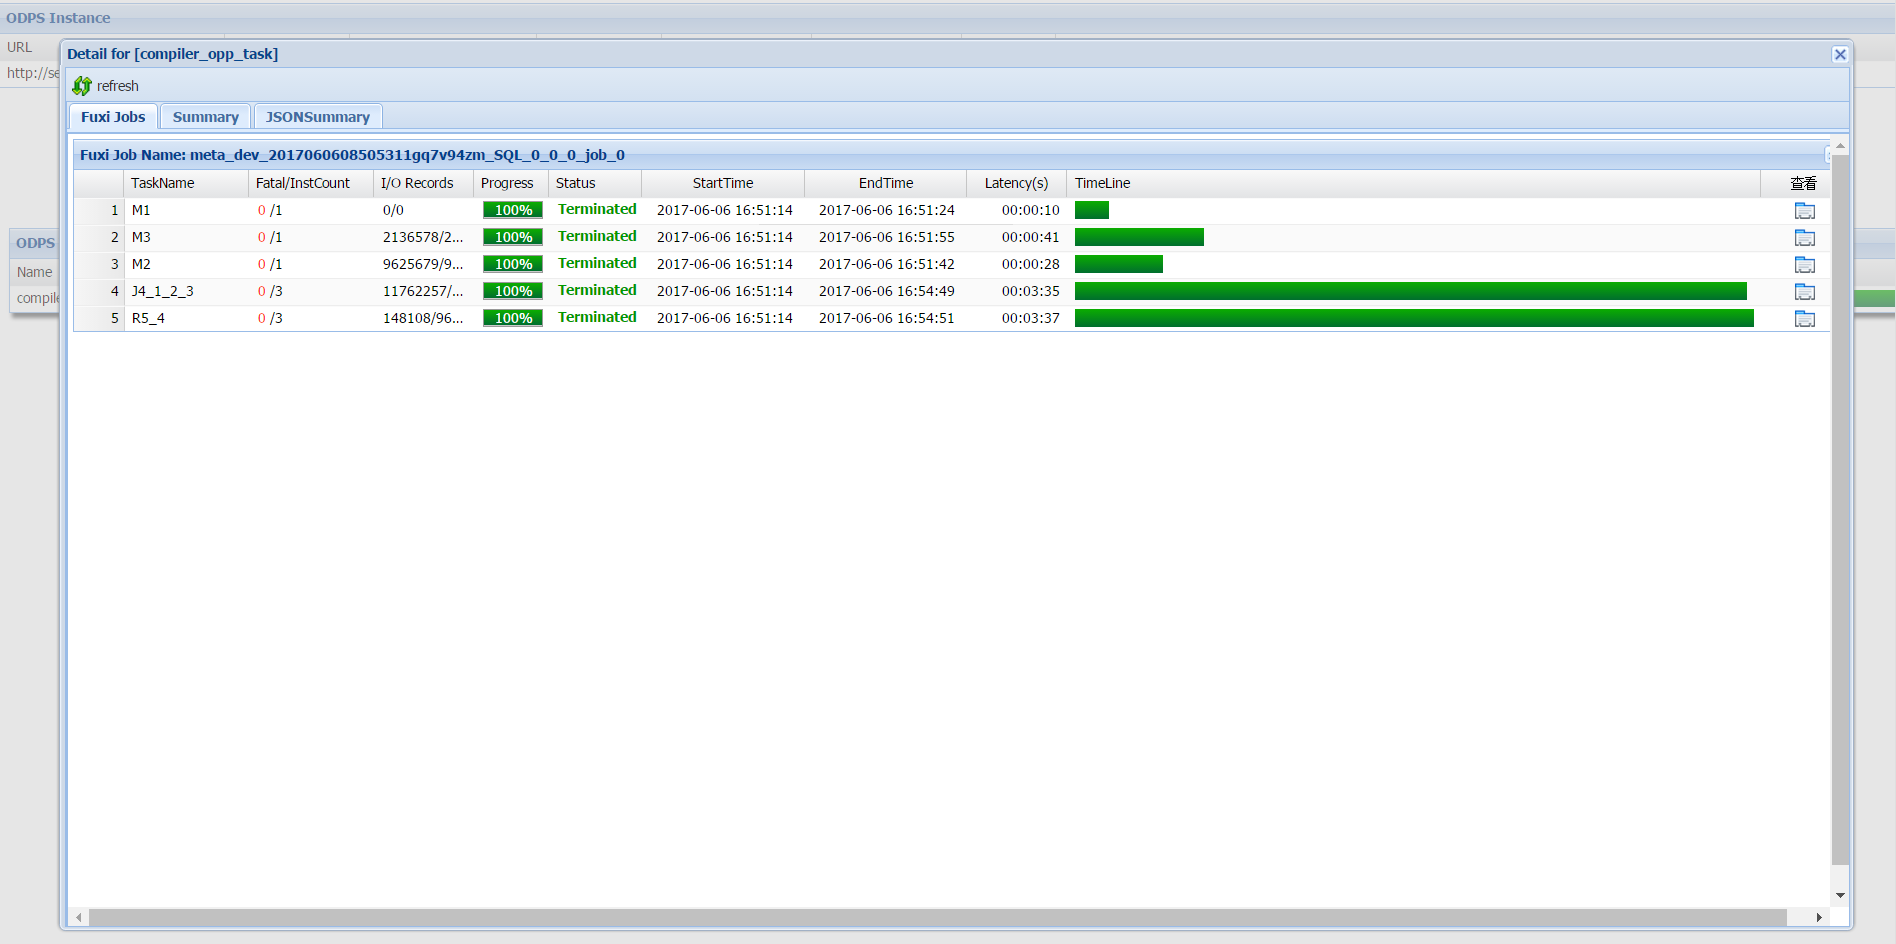 In the dialog box that shows the details of a MaxCompute task, you can view the following
information:
- A MaxCompute job consists of one or more Fuxi jobs. For example, if a complex SQL job is submitted, MaxCompute automatically submits multiple Fuxi jobs to Job Scheduler.
- Each Fuxi job consists of one or more Fuxi tasks. For example, a simple MapReduce job generates two Fuxi tasks: map task (M1) and reduce task (R2). If an SQL job is complex, multiple Fuxi tasks may be generated.
- The name of a Fuxi task. In most cases, a task name consists of letters and digits.
A letter represents the type of a task. For example, M indicates a map task. The digits
that follow the letter represents the ID and dependencies of a task. For example,
R5_4 indicates that the reduce task can be executed only after the J4 task is completed.
J4_1_2_3 indicates that the join task can be executed only after the M1, M2, and M3
tasks are completed.
Note I/O Records indicates the numbers of the input and output records of a Fuxi task.
- I/O Records indicates the numbers of the input and output records of this task.
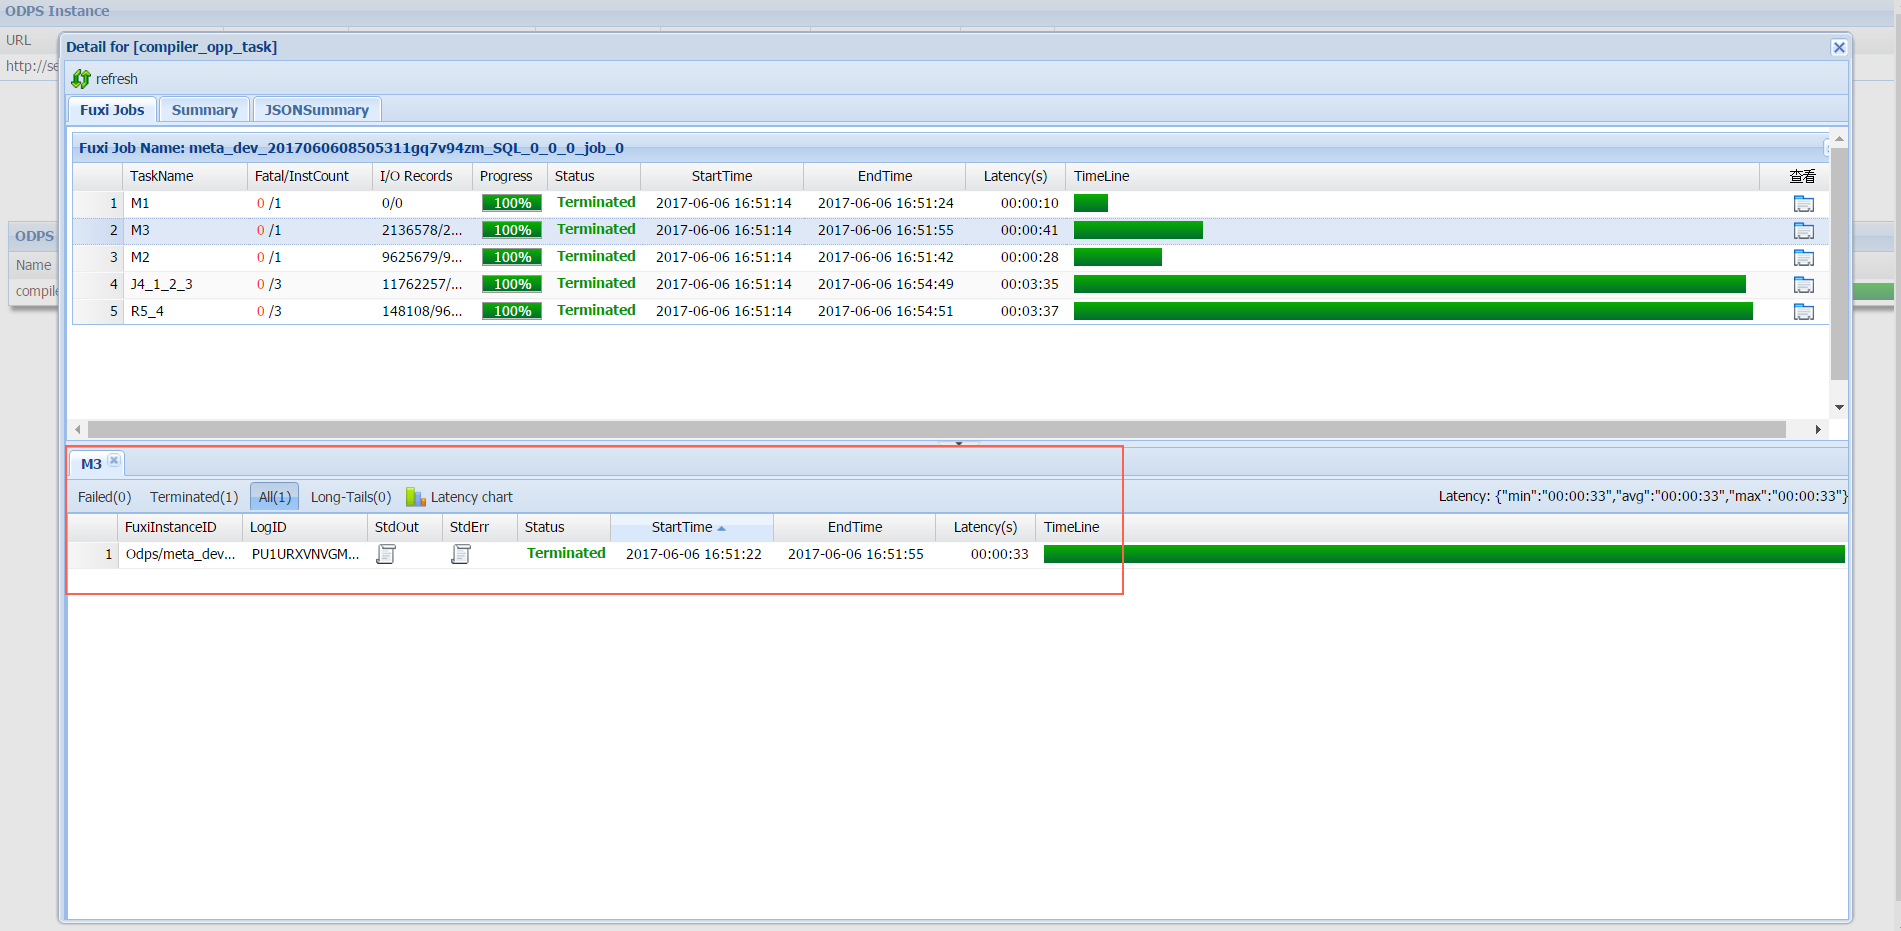
Use Logview to handle issues
- Tasks with errors
If an error occurs during a task, find the task and click the icon in the Result column in the lower part of the Logview page to view the error information. You can also click the icon in the StdErr column of a Fuxi instance in the details dialog box to view the error information of the instance.
- Data skewThe long tail of one or more Fuxi instances may decelerate the execution of a Fuxi task. The long tail is caused by uneven data distribution in a task. After a task is completed, you can view the running results on the Summary tab of the details dialog box. The following output provides an example of the running results.
output records:
R2_1_Stg1: 199998999  (min: 22552459, max: 177446540, avg: 99999499)
If a large difference exists between the min and max values, data skew occurs. For example, if a specific value appears more often than other values in a column, data skew occurs when you execute a JOIN operation based on this column.