Write a PySpark script with your business logic and submit it to EMR Serverless Spark to run as a batch job. This tutorial walks you through the full process using a provided sample script that uses the Apache Spark framework to process data in OSS.
In this tutorial, you:
Download the sample Python file and data file.
Upload the Python file to EMR Serverless Spark and the data file to OSS.
Create a PySpark job, configure it, and run it.
View the execution logs to verify the job completed successfully.
Publish the job so it can be used in a workflow.
Check the job details in the Spark UI.
Prerequisites
Before you begin, ensure that you have:
An Alibaba Cloud account. See Account registration.
The required roles granted to your account. See Role authorization for an Alibaba Cloud account.
A workspace created in EMR Serverless Spark. See Create a workspace.
Step 1: download the sample files
This tutorial uses two sample files:
DataFrame.py — A PySpark script that uses the Apache Spark framework to process data in OSS.
employee.csv — A sample dataset containing employee names, departments, and salaries.
Download both files before proceeding:
Step 2: upload the files
Upload the Python file to EMR Serverless Spark and the data file to OSS separately.
Upload the Python file to EMR Serverless Spark
Log on to the EMR console.
In the left navigation pane, choose EMR Serverless > Spark.
On the Spark page, click the name of your workspace.
In the left navigation pane, click Artifacts.
On the Artifacts page, click Upload File.
In the Upload File dialog box, click the upload area to select DataFrame.py, or drag the file into the area.
Upload the data file to OSS
Upload employee.csv to an OSS bucket. For detailed steps, see Upload files.
Note the OSS path after the upload completes — you'll use it when configuring the job in the next step. The path follows this format: oss://<yourBucketName>/employee.csv.
Step 3: create and run the job
On the EMR Serverless Spark page, click Development in the left navigation pane.
On the Development tab, click the
 icon to create a job.
In the dialog box, enter a name, select Application(Batch) > PySpark for the type, and click OK.
In the upper-right corner, select a queue.
To add or manage queues, see Manage resource queues.
Configure the following parameters, then click Run. Keep the default settings for all other parameters.
Parameter Description Main Python Resource Select DataFrame.py — the file you uploaded to the Artifacts page. Execution Parameters Enter the OSS path to employee.csv. For example: oss://<yourBucketName>/employee.csv.After the job runs, scroll to the Execution Records section below the editor. Click Logs in the Actions column.
On the Log Exploration tab, confirm the job completed without errors.

Step 4: publish the job
Publishing a job makes it available as a node in a workflow for scheduling.
Click Publish in the upper-right corner of the job tab.
In the Publish Job dialog box, enter the release information and click OK.
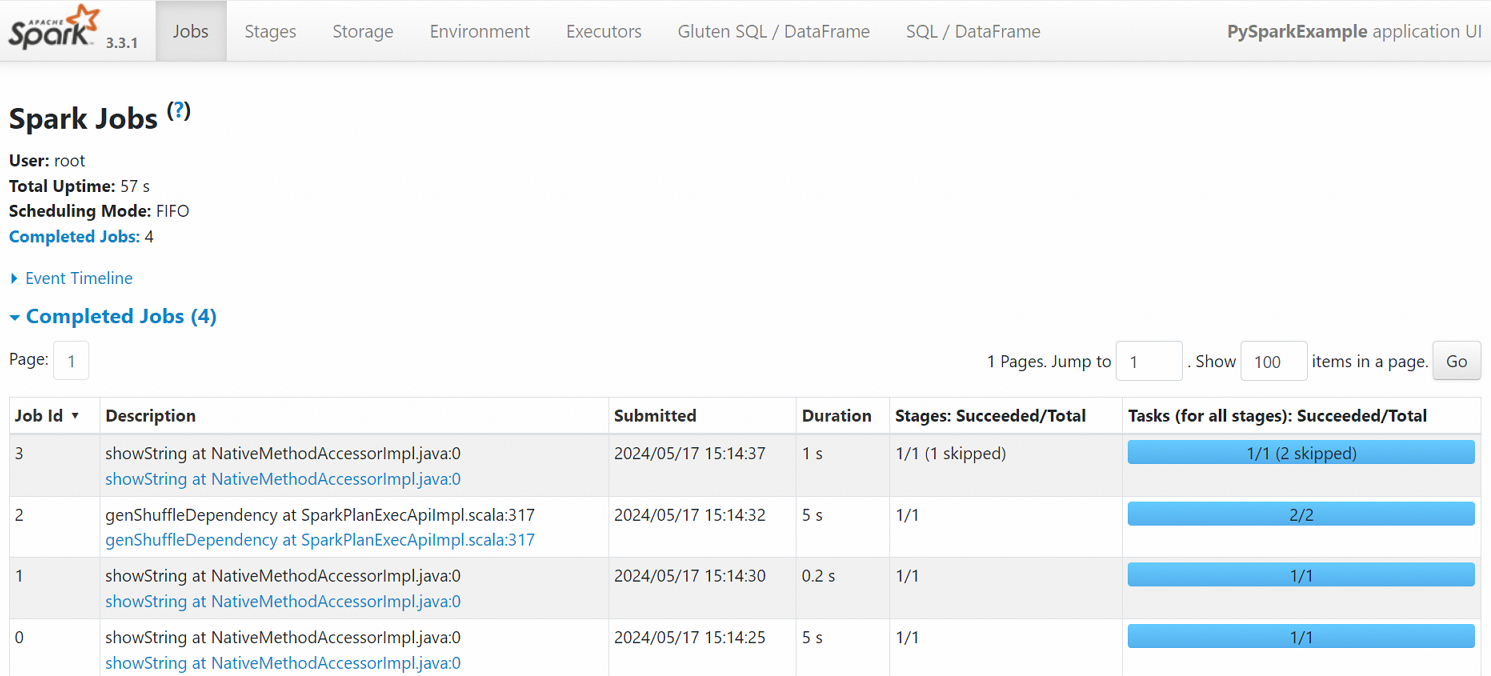
Step 5: view the Spark UI
After the job completes successfully, you can view its status on the Spark UI.
In the left navigation pane, click Job History.
On the Application page, click Spark UI in the Actions column for the job.
On the Spark Jobs page, review the job details.
What's next
Schedule the published job as part of a workflow. See Manage workflows. For a complete walkthrough of job development and orchestration, see Get started with Spark SQL development.
Submit a PySpark streaming job. See Submit a PySpark streaming job using Serverless Spark.