Submit a Flink job to a Dataflow cluster and monitor its status using the Flink CLI or the Flink web UI.
Deployment modes
In a Dataflow cluster, Flink runs on YARN. To submit jobs, log on to the master node over SSH and run Flink CLI commands.
Flink on YARN supports three deployment modes. Each mode controls how YARN allocates cluster resources for your jobs.
| Mode | How it works | Best for |
|---|---|---|
| Session mode | Starts a shared Flink cluster upfront. All jobs run in this cluster, which stays alive after jobs finish. | Short-lived jobs where fast startup matters |
| Per-Job Cluster mode | Starts a dedicated Flink cluster per job. The cluster is released when the job finishes or is canceled. | Long-running jobs that need resource isolation |
| Application mode | Starts a dedicated Flink cluster per application. One application can contain multiple jobs. The main() method runs on the JobManager instead of the client. | Production workloads; reducing client-side load |
Session mode trade-offs: All jobs compete for resources in the same cluster. If a TaskManager crashes, all jobs running on it fail. A single JobManager handles all jobs, so load increases as job count grows.
Per-Job Cluster and Application mode trade-offs: Each job or application gets an isolated cluster, so failures are contained. The cost is a longer startup time per submission.
Prerequisites
Before you begin, ensure that you have:
A Dataflow cluster running in Flink mode. For details, see Create a cluster
Submit a job and view its status
The following examples use the TopSpeedWindowing sample job from the Flink distribution — a streaming job that runs continuously.
Choose the section that matches your deployment mode.
Session mode
Log on to the master node over SSH. For details, see Log on to the master node of a cluster.
Start a YARN session.
yarn-session.sh --detachedThe
--detachedflag runs the session in the background, so the client exits after the session starts. Without this flag, the client stays attached and the session shuts down when you close the terminal. After the command succeeds, the output includes an Application ID, for exampleapplication_1750137174986_0001. In subsequent commands, replace<application_XXXX_YY>with this value.
Submit the job.
flink run --detached /opt/apps/FLINK/flink-current/examples/streaming/TopSpeedWindowing.jarAfter submission, the output includes a job ID, for example
3785db18d371326758d7843dd2a1****. In subsequent commands, replace<jobId>with this value.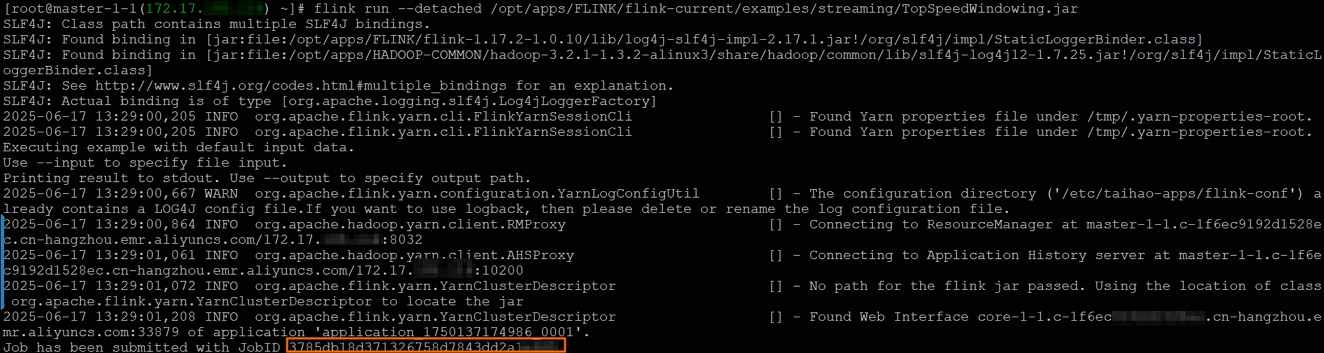
Check the job status.
flink list -t yarn-session -Dyarn.application.id=<application_XXXX_YY>The output is similar to:
------------------ Running/Restarting Jobs -------------------
16.06.2025 18:20:55 : 3785db18d371326758d7843dd2a1**** : CarTopSpeedWindowingExample (RUNNING)
You can also check the job status on the Flink web UI. For details, see View job status on the Flink web UI.
Stop the job.
flink cancel -t yarn-session -Dyarn.application.id=<application_XXXX_YY> <jobId>
Per-Job Cluster mode
Log on to the master node over SSH. For details, see Log on to the master node of a cluster.
Submit the job.
flink run -t yarn-per-job --detached /opt/apps/FLINK/flink-current/examples/streaming/TopSpeedWindowing.jarAfter submission, the output includes an Application ID (for example
application_1750125819948_****) and a job ID (for examplef5f980ac631192b02548235f1bbe****). In subsequent commands, replace<application_XXXX_YY>and<jobId>with these values.
Check the job status.
flink list -t yarn-per-job -Dyarn.application.id=<application_XXXX_YY>You can also check the job status on the Flink web UI. For details, see View job status on the Flink web UI.
Stop the job.
flink cancel -t yarn-per-job -Dyarn.application.id=<application_XXXX_YY> <jobId>
Application mode
Log on to the master node over SSH. For details, see Log on to the master node of a cluster.
Submit the job.
flink run-application -t yarn-application /opt/apps/FLINK/flink-current/examples/streaming/TopSpeedWindowing.jarAfter submission, the output includes a YARN Application ID, for example
application_1750125819948_0004. In subsequent commands, replace<application_XXXX_YY>with this value.
Check the job status.
flink list -t yarn-application -Dyarn.application.id=<application_XXXX_YY>The output is similar to the following. The job ID (for example
4db32b5339e6d64de2a1096c4762****) appears in the output. In subsequent commands, replace<jobId>with this value.------------------ Running/Restarting Jobs ------------------- 16.06.2025 18:20:55 : 4db32b5339e6d64de2a1096c4762**** : CarTopSpeedWindowingExample (RUNNING)You can also check the job status on the Flink web UI. For details, see View job status on the Flink web UI.
Stop the job.
flink cancel -t yarn-application -Dyarn.application.id=<application_XXXX_YY> <jobId>
Configure a job
Three methods are available for setting Flink job parameters:
In code — set parameters directly in the job source code. See Configuration.
At submission time — pass the
-Dflag when runningflink run. For example:flink run-application -t yarn-application -Dstate.backend=rocksdb ...In the configuration file — set defaults in
/etc/taihao-apps/flink-conf/flink-conf.yaml.
If a parameter is not set by any of these methods, Flink uses its built-in default value. For the full parameter reference, see Apache Flink configuration.
View job status on the Flink web UI
Log on to the EMR console.
In the left-side navigation pane, choose EMR on ECS.
In the top navigation bar, select the region where your cluster resides and select a resource group.
On the EMR on ECS page, click the Cluster ID of your cluster.
Click the Access Links and Ports tab.
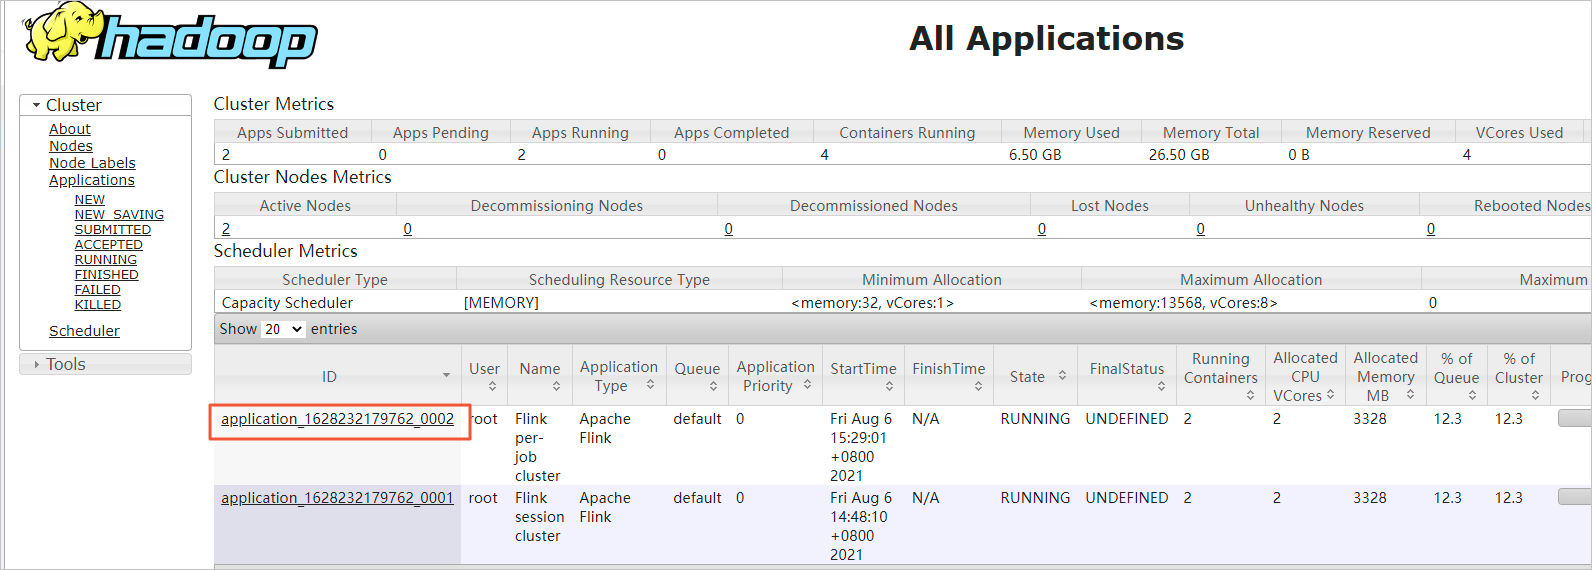
Click the link for YARN UI. For more information about accessing component web UIs, see Access the web UIs of open source components.
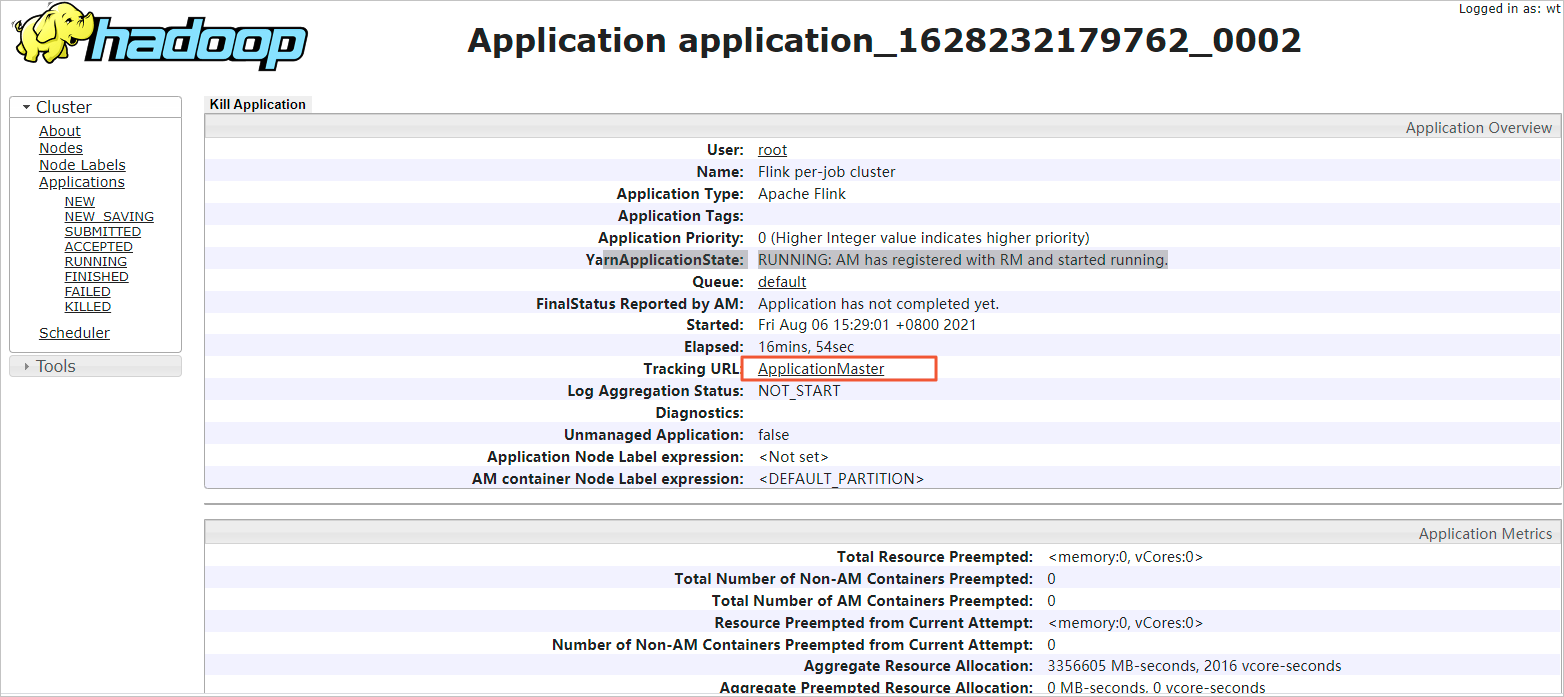
Click the Application ID for your job.
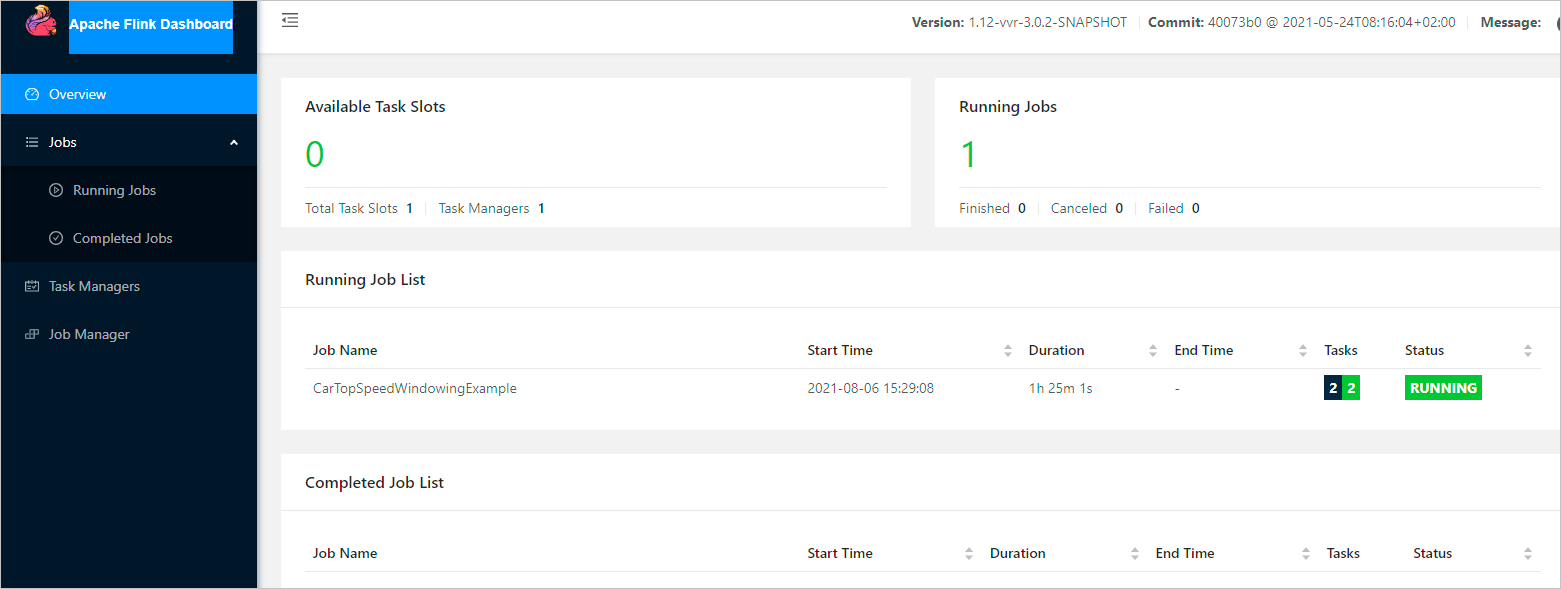
Click the Tracking URL link. The Apache Flink Dashboard opens, showing the status of all running jobs.
What's next
Learn how Flink on YARN manages resources: Apache Hadoop YARN