You can create a scheduled event to temporarily adjust a waiting room's settings, such as the queuing method or total active users, for a specific period like a planned promotion.
Prerequisites
This feature is available only for users on the Enterprise plan and must be enabled for your account. You can upgrade to Enterprise and apply for the feature.
Create a scheduled event
Creating a scheduled event is similar to creating a waiting room. The waiting room's URL matching rule is automatically inherited, but you must specify a name and duration for the event.
In the ESA console, select Websites, and in the Website column, click the target site.
In the left navigation pane, choose .
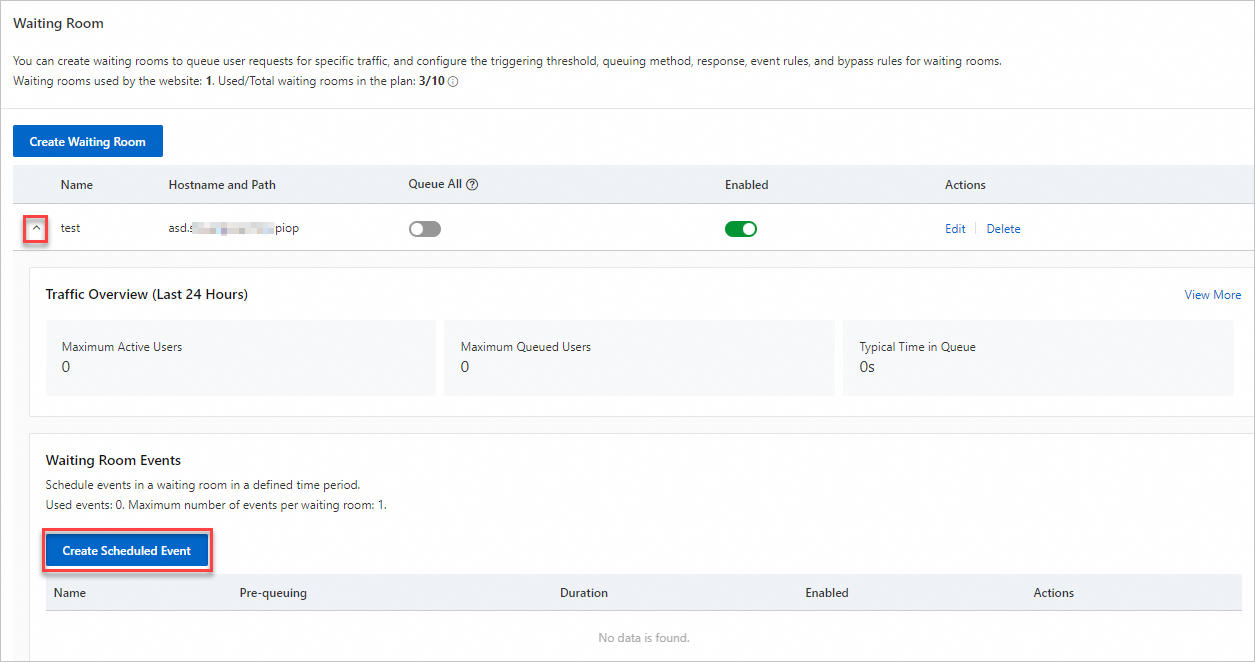
Click the arrow button next to the waiting room name. In the expanded Waiting Room Events area, click Create Scheduled Event.
Configure the basic information for the event.

Parameter
Description
Event Name
Enter a custom name for the event.
Description
Enter a description of the event.
Duration
Select the start and end times for the event.
NoteDuring the event, the scheduled event's settings override the waiting room's default settings.
The time periods for different scheduled events cannot overlap.
Pre-queuing
If you enable pre-queuing, requests to the origin between the pre-queue start time and the event start time are placed in a queue. When the event starts, these users enter the waiting room according to the configured queuing method.
Pre-queue Time: Select the time to start pre-queuing. This time must be at least 5 minutes earlier than the waiting room event start time. Only new visitors are pre-queued. If you want to pre-queue existing visitors, you can set the pre-queuing period to be longer than the session duration and disable session renewal.
Random Queuing: Specifies whether to randomize the queue order.
Disabled (Default): When the event starts, pre-queued users are admitted to the waiting room in their order of arrival.
Enabled: When the event starts, the system randomizes the order of pre-queued users and admits them to the waiting room accordingly.
The remaining parameters are the same as when creating a waiting room. Follow the UI prompts to complete the setup. For more information, see Get started.