Scenarios
Your application service is deployed in two data centers. Each data center uses a public IP address as a traffic entry point. You want to direct traffic to data center A during normal operations and automatically switch to data center B during a failure.
Prerequisites
The domain name
cloud-example.comis managed by Alibaba Cloud DNS. The service domain name to be added to Global Traffic Manager (GTM) iswww.cloud-example.com.NoteIf your service domain name is not managed by Alibaba Cloud DNS, add a CNAME record with your current DNS provider. Point the record to the GTM access domain name.
You have purchased a GTM instance. If you have not purchased an instance, you must first purchase a subscription instance.
The desired traffic rerouting is as follows:
Source of DNS query
Application service address
Failover address
Global Default
1.1.XX.XX
2.2.XX.XX
Procedure
Go to the Alibaba Cloud DNS - Global Traffic Manager console.
On the Access Domain tab, click Create Access Domain.
In the Select Scenario dialog box, select Primary/Secondary Disaster Recovery.
On the Create Access Domain page, click the access domain name icon and select Basic Configuration.
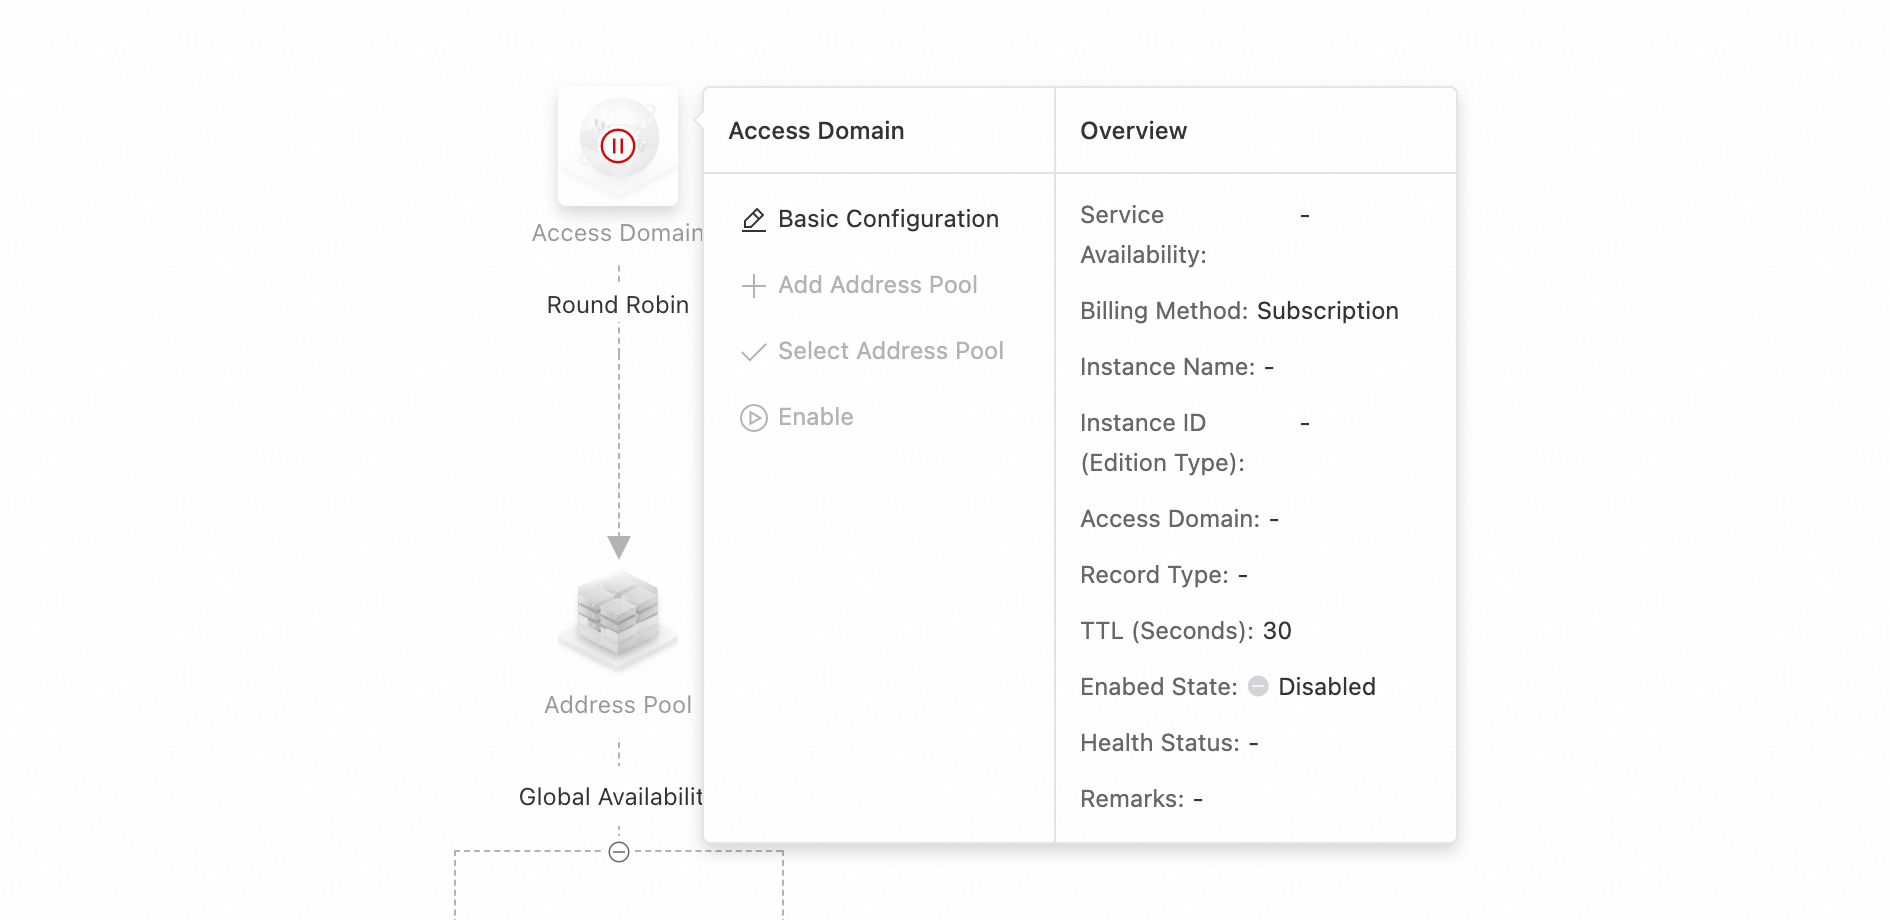
On the Basic Configuration page, configure the parameters and click Submit. For more information, see 1. Configure an access domain name.
On the current page, click the address pool icon and select Basic Configuration.

On the Access Domain page, click the address icon and select Basic Configuration. On the configuration page, add an address, configure a health check template, and then create the address. This example uses the TCP protocol to probe port 80 on the server. Use this method to add the address and associate it with a health check template.
NoteIf you have not created a health check template, click Add Health Check Template. For more information, see 4. Probe templates.
ImportantThis example demonstrates the configuration process. If you see red or orange alert metrics during configuration, check the health status of the address immediately.
You do not usually need to configure a load balancing policy because the application scenario template automatically generates one.
ImportantIf application data between your primary and standby addresses uses one-way synchronization, data generated on the standby site during a failover cannot be synchronized to the primary site. Set the load balancing policy between the addresses to Non-Preemptive Mode. For more information, see 2. Configure an address pool.
Configure monitoring and alerting for the instance. For more information, see Alert configuration.
On the Access Domain page, click the access domain name icon and select Enable.

After you confirm the operation in the dialog box, the Access Domain is enabled.
ImportantIf a DNS record with the same name and type exists in the Alibaba Cloud DNS authoritative zone, the system prioritizes GTM policies for intelligent scheduling and resolution. This allows GTM to handle queries for that record type and implement advanced features such as load balancing or failover.
If you disable or delete the GTM domain name instance, the domain name is resolved using the Public Zone.