Setting up Dify typically requires provisioning and connecting multiple backend services — a relational database, a cache, and a vector database — then registering each one separately. DMS removes this overhead by provisioning all three resources with a single click, registering them with DMS under security hosting automatically.
This guide covers the Dify account logon version, where users sign in with an email and password. For the DMS account logon version, see Purchase and configure resources required for Dify.
Prerequisites
Before you begin, make sure you have:
An Alibaba Cloud account with the following RAM permissions:
AliyunDMSFullAccessAliyunRAMReadOnlyAccessAliyunECSReadOnlyAccessAliyunVPCReadOnlyAccessAliyunComputeNestUserReadOnlyAccessAliyunROSReadOnlyAccessAliyunGPDBReadOnlyAccessAliyunRDSReadOnlyAccessAliyunKvstoreReadOnlyAccess
Access to one of the supported regions: China (Hangzhou), China (Hong Kong), or Singapore
If any permissions are missing, click Grant Permission on the deployment page.
Additional requirements for importing existing instances
Verify all of the following conditions before selecting Import an existing instance. Skipping any requirement will cause the deployment to fail.
Your account has the administrator or database administrator (DBA) role in DMS.
The relational database, Redis, and vector database instances you want to import are already added to DMS.
Security hosting is enabled for all instances.
For more information, see Preparations for creating a Dify instance based on existing databases.
Deploy Dify
Step 1: Open the deployment page
Log in to the Alibaba Cloud Management Console and go to the Dify on DMS deployment page.
Step 2: Configure basic settings
| Field | Description |
|---|---|
| Billing method | The billing method for the service. Affects resource costs and settlement. |
| Region | Where the service is deployed. All Dify on DMS resources must be in the same region. |
| Deployment version | The Dify version type. Dify Enterprise Edition is a paid version for medium to large organizations and requires a separate license. |
| Logon method | Select Dify account logon. Users sign in with an email and password, and manage their own accounts. They can log on through a private network, public endpoint, or IP address. |
| SR role authorization | Grants the service role (SR) permissions for this service. Click Grant Permission if not yet authorized. |
| SLR role authorization | Grants the service-linked role (SLR) to delegate operations on other service resources. Click Grant Permission if not yet authorized. |
| Associated service activation | Indicates whether dependent services are activated. Click Grant Permission to activate if needed. |
| Workspace creation method | How the workspace is created. |
| Workspace name | A unique name to identify the workspace. |
| Network type | The network type. Default is Virtual Private Cloud (VPC). |
| VPC | The VPC where the service runs. |
| Zone and vSwitch | The primary zone and subnet. The primary node is deployed here. |
| Secondary zone and vSwitch | The secondary zone and vSwitch for disaster recovery and failover. |
| Internet NAT | Whether to configure a NAT gateway, giving private network resources internet access. |
| Private and public endpoints | Enabling this activates PrivateZone, elastic IP address (EIP), and Application Load Balancer (ALB) on a pay-as-you-go basis. See PrivateZone billing, EIP billing, and ALB billing rules for pricing. |
Step 3: Configure Dify storage
Select the data storage method for the Dify application.
| Field | Description |
|---|---|
| DIFY version | The currently deployed Dify version. Determines available features and API operations. |
| Storage configuration | Select enterprise SSD (ESSD) or Object Storage Service (OSS). |
| Number of replicas | How many times data is replicated to ensure reliability. |
| Deployment resource specification | The compute resources for the deployment instance. Affects performance and concurrent processing. |
If you select OSS, configure the additional fields:
| Field | Description |
|---|---|
| Path | The file storage path in OSS. |
| OSS bucket | The bucket to store unstructured data such as static resources, attachments, and backups. |
Step 4: Configure databases
Configure a metadatabase, cache, and vector database for Dify. For each, either create a new instance or import an existing one.
| Database | Create new | Import existing |
|---|---|---|
| Metadatabase | Select specifications, storage class, and storage size based on your workload. | Select a PostgreSQL instance with security hosting enabled. |
| Redis | Select an appropriate Redis configuration. | Select a Redis instance with security hosting enabled. |
| Vector database | Select an appropriate AnalyticDB configuration. | Select a vector database instance with security hosting enabled. |
Step 5: Configure security settings
| Field | Description |
|---|---|
| Database account | A unified account created for all newly purchased databases. |
| Password | The password for the database account. |
| Security group | A virtual firewall that controls network traffic for associated cloud resources. |
Step 6: Review and purchase
After completing all configuration sections, the estimated cost appears on the right side of the page. Review the configuration and click Buy Now.
Make sure your Alibaba Cloud account has a sufficient balance before purchasing. Fees are deducted directly from your account balance.
After payment, the page redirects to the deployment details page where you can track real-time progress. Deployment takes approximately 15 to 30 minutes.
After deployment, the system automatically registers all Dify resources with DMS, enables security hosting, and sets the control mode to Flexible Management.
Configure and use Dify
Configure a whitelist
Before accessing Dify Studio, add your IP address to the whitelist.
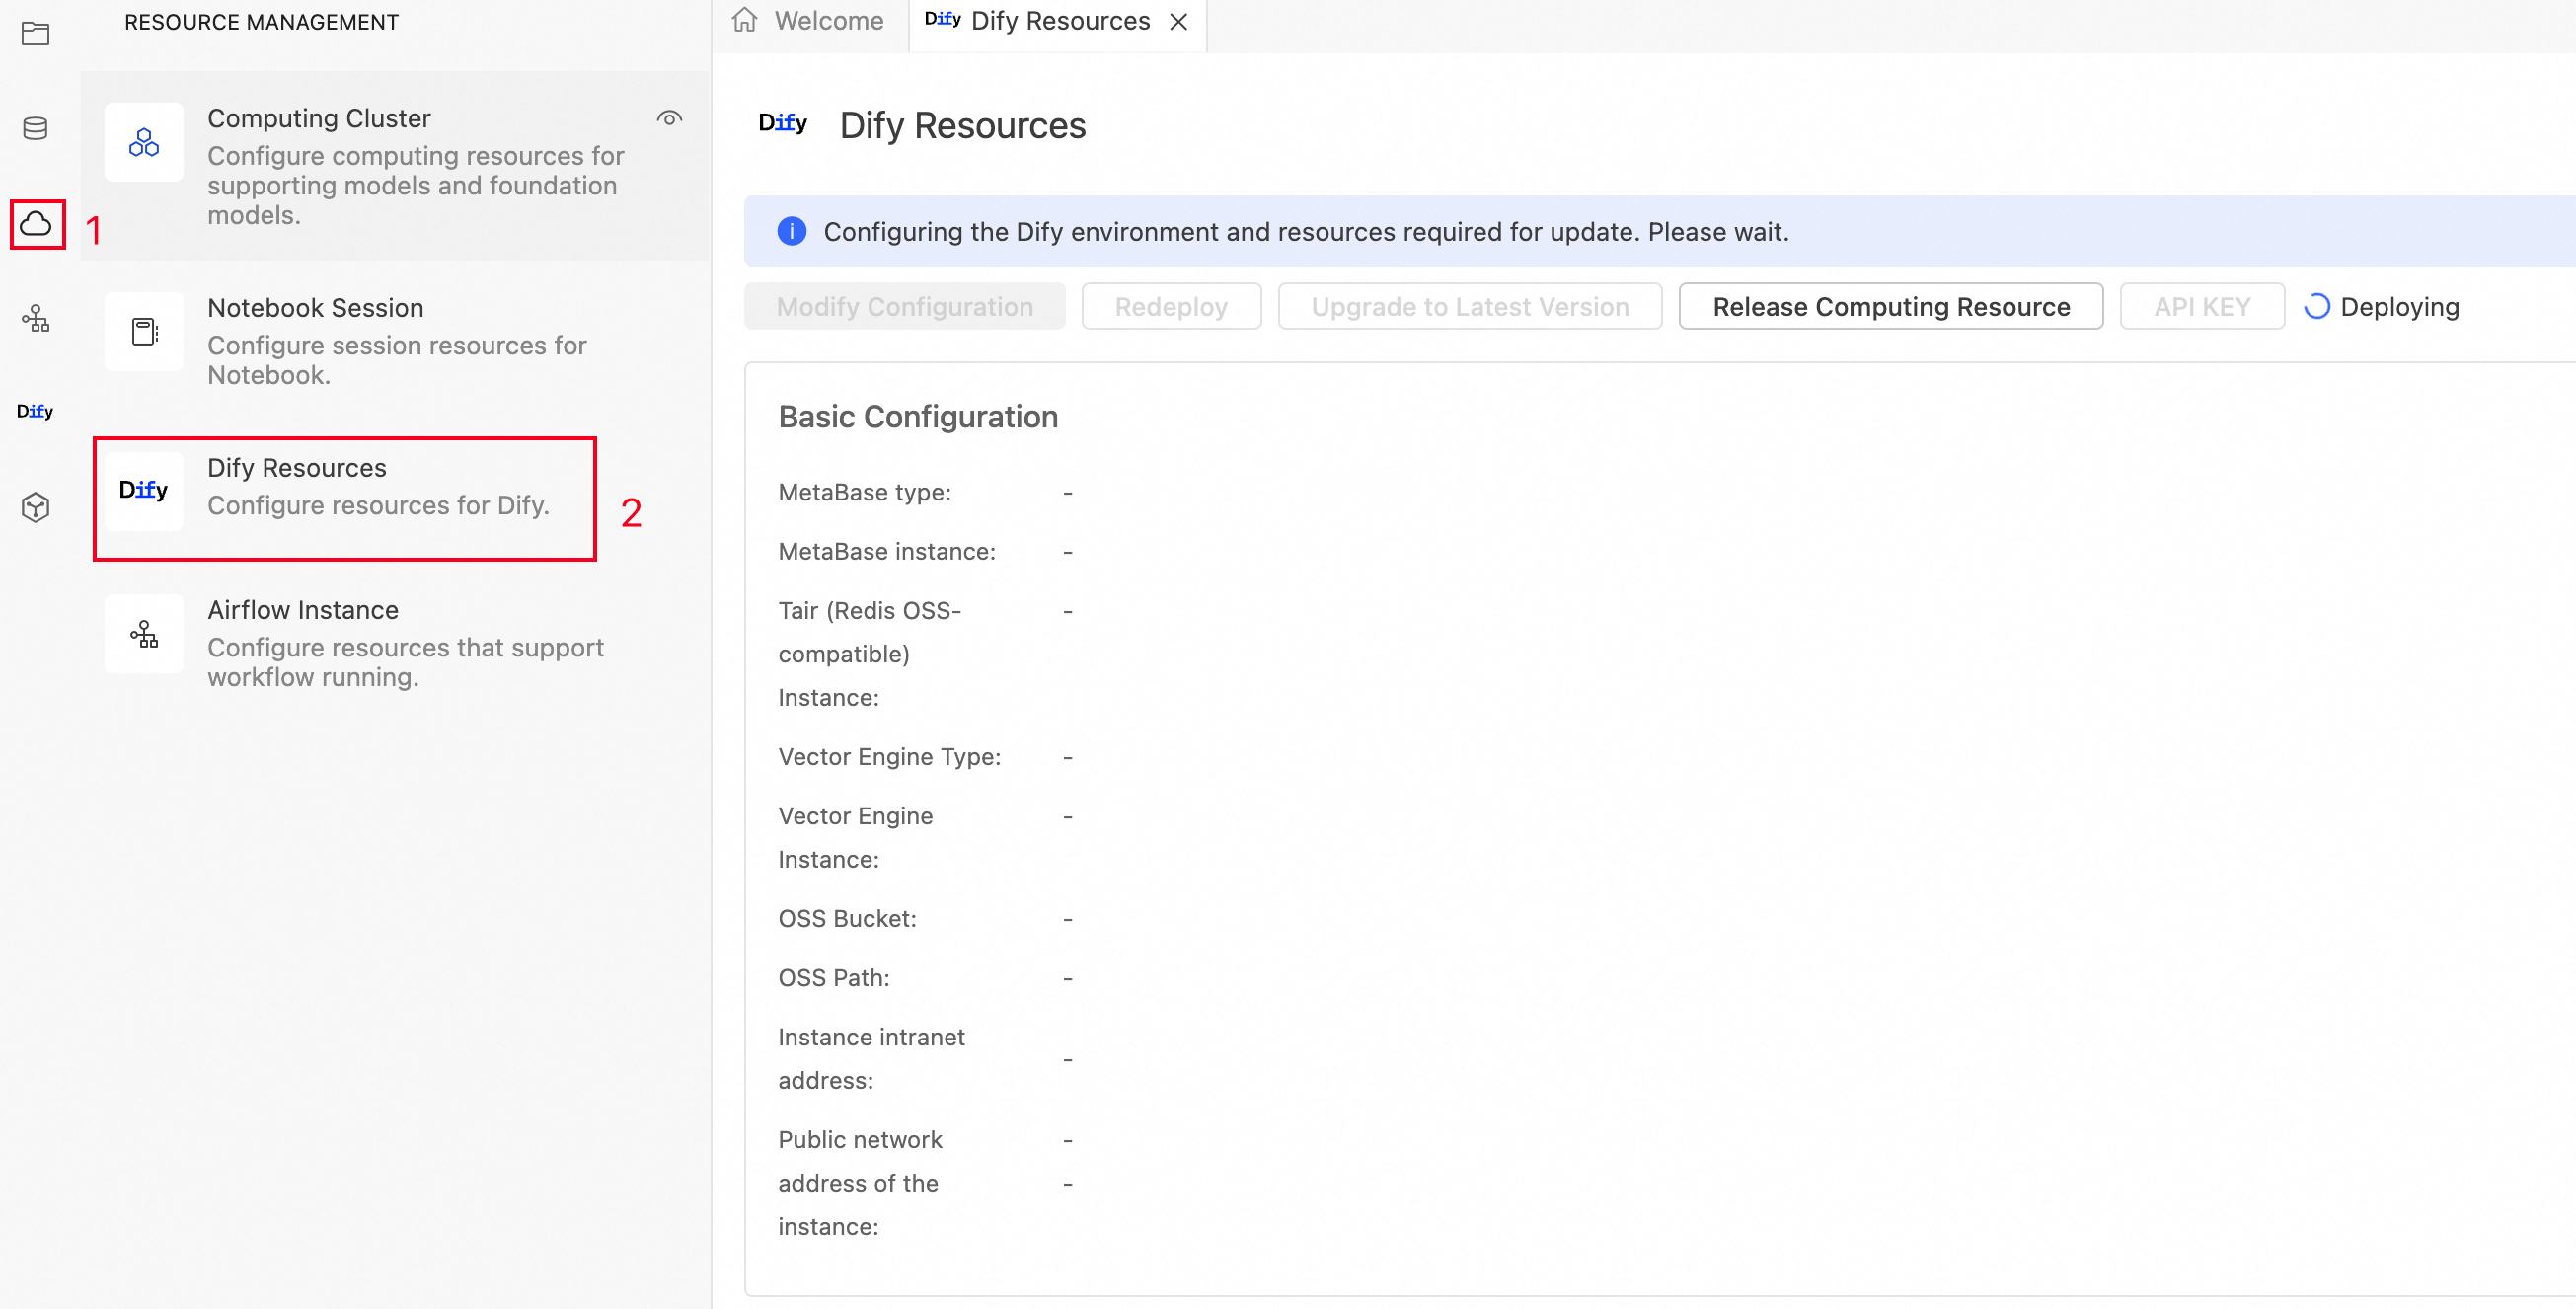
On the Dify workspace page, in the left navigation pane, click ☁️ > Dify Resources.
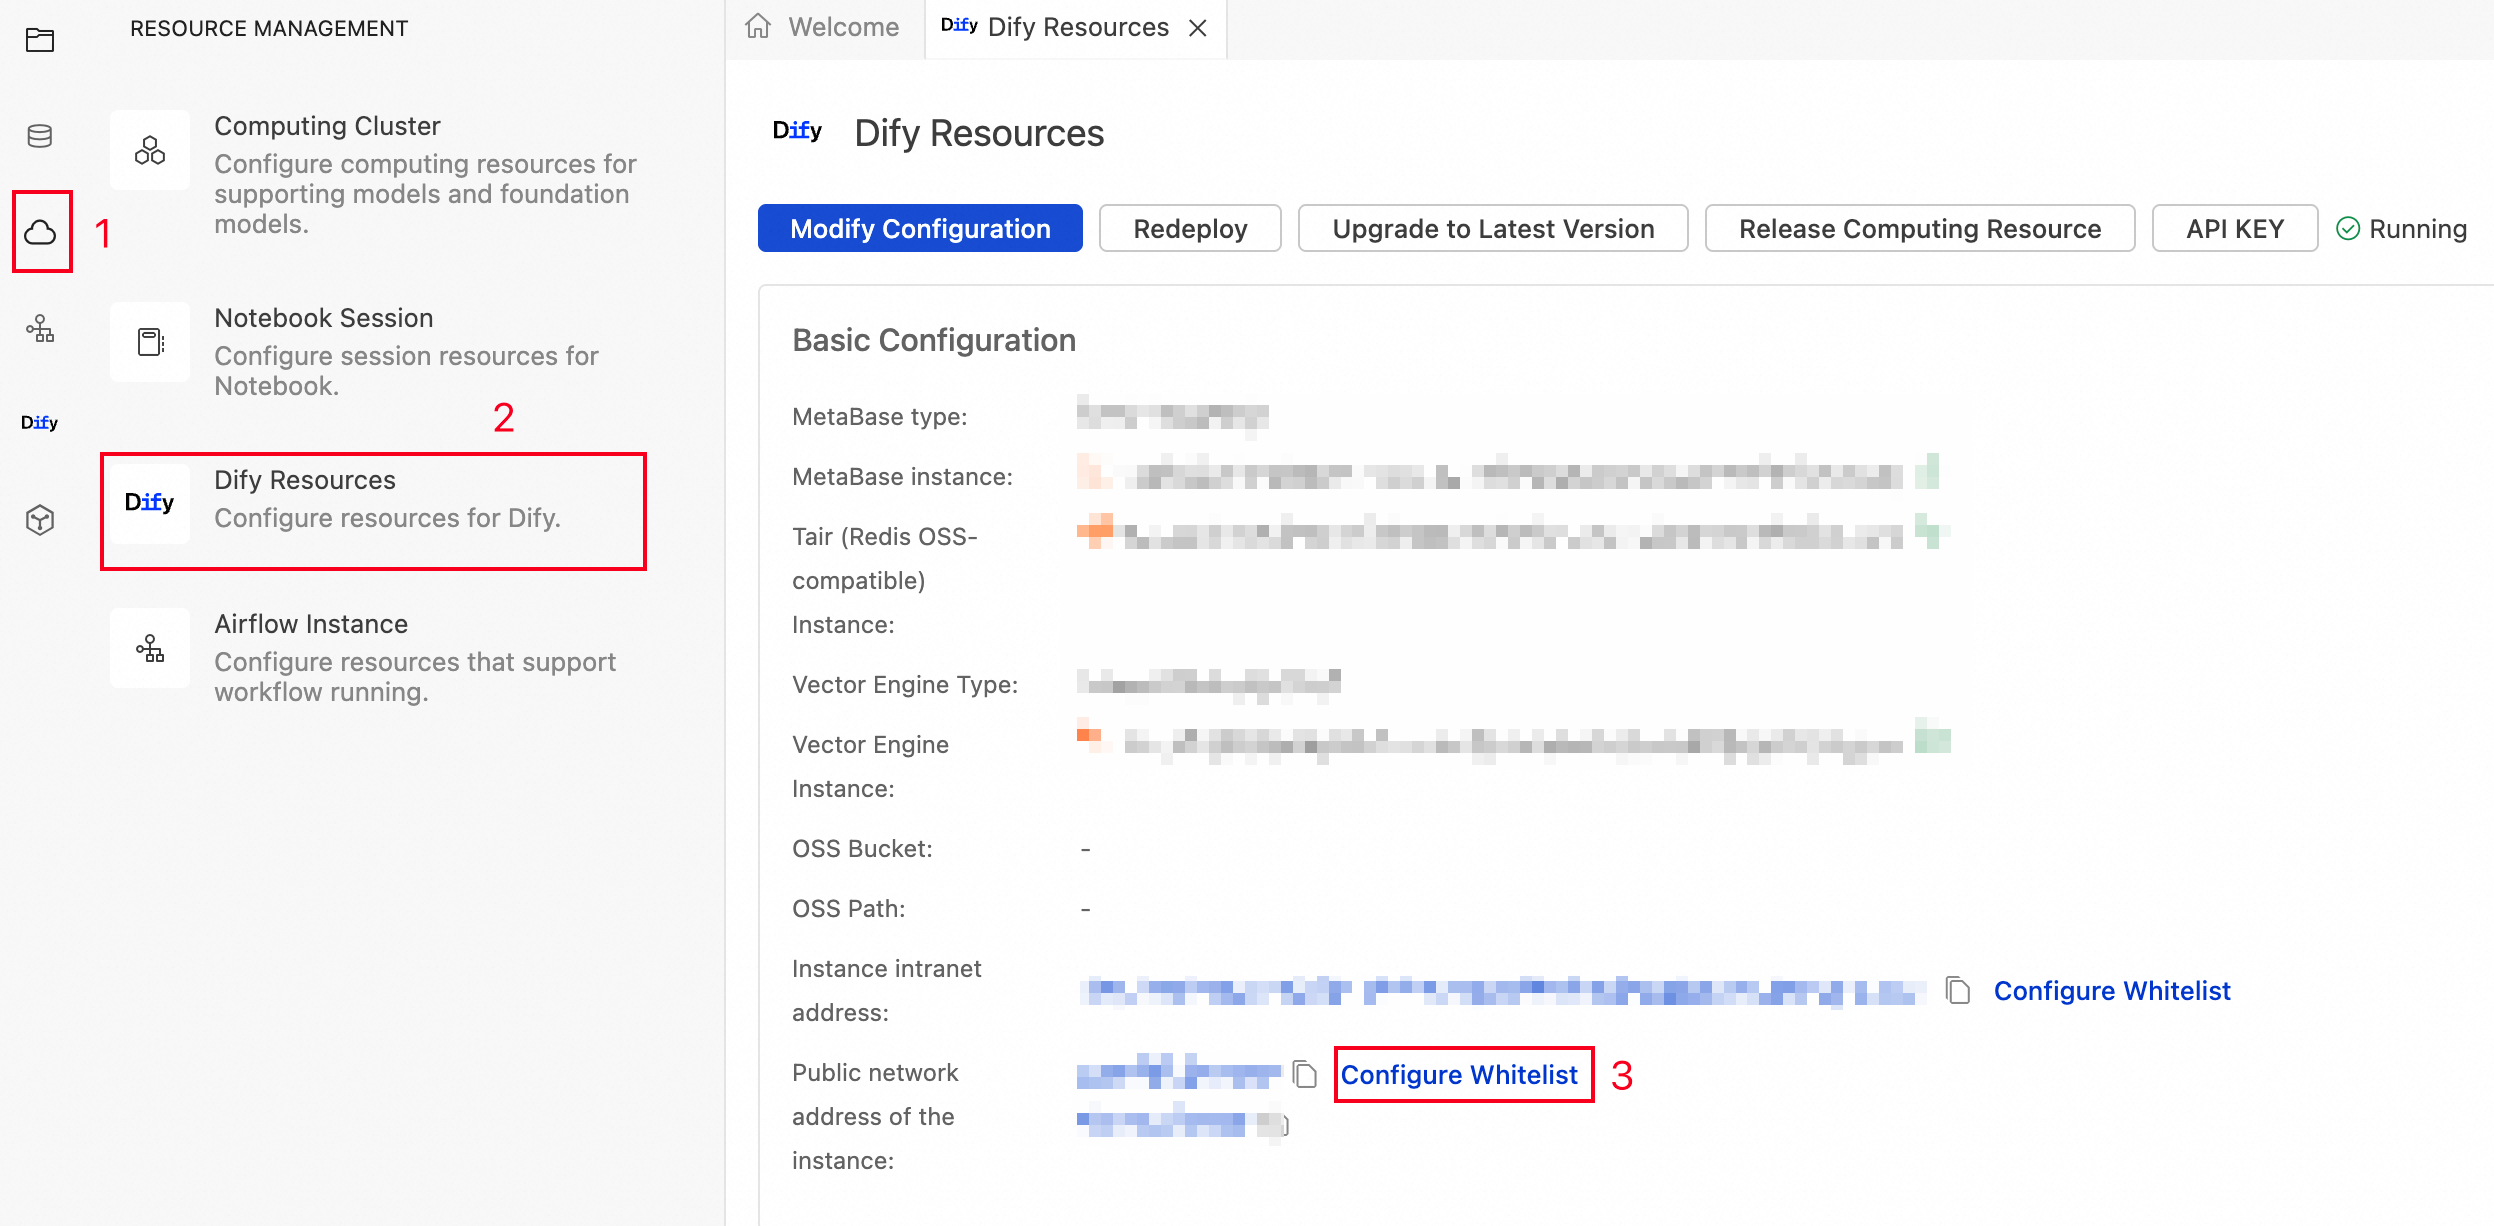
In the Basic Configurations section, click Configure Whitelist next to Instance Public Endpoint.
On the Entries tab, click Add Entry.
In the Add Policy Group Entry dialog box, enter your local machine's IP address and any other addresses to allow.
Click Add to save the whitelist.
Set up the administrator account
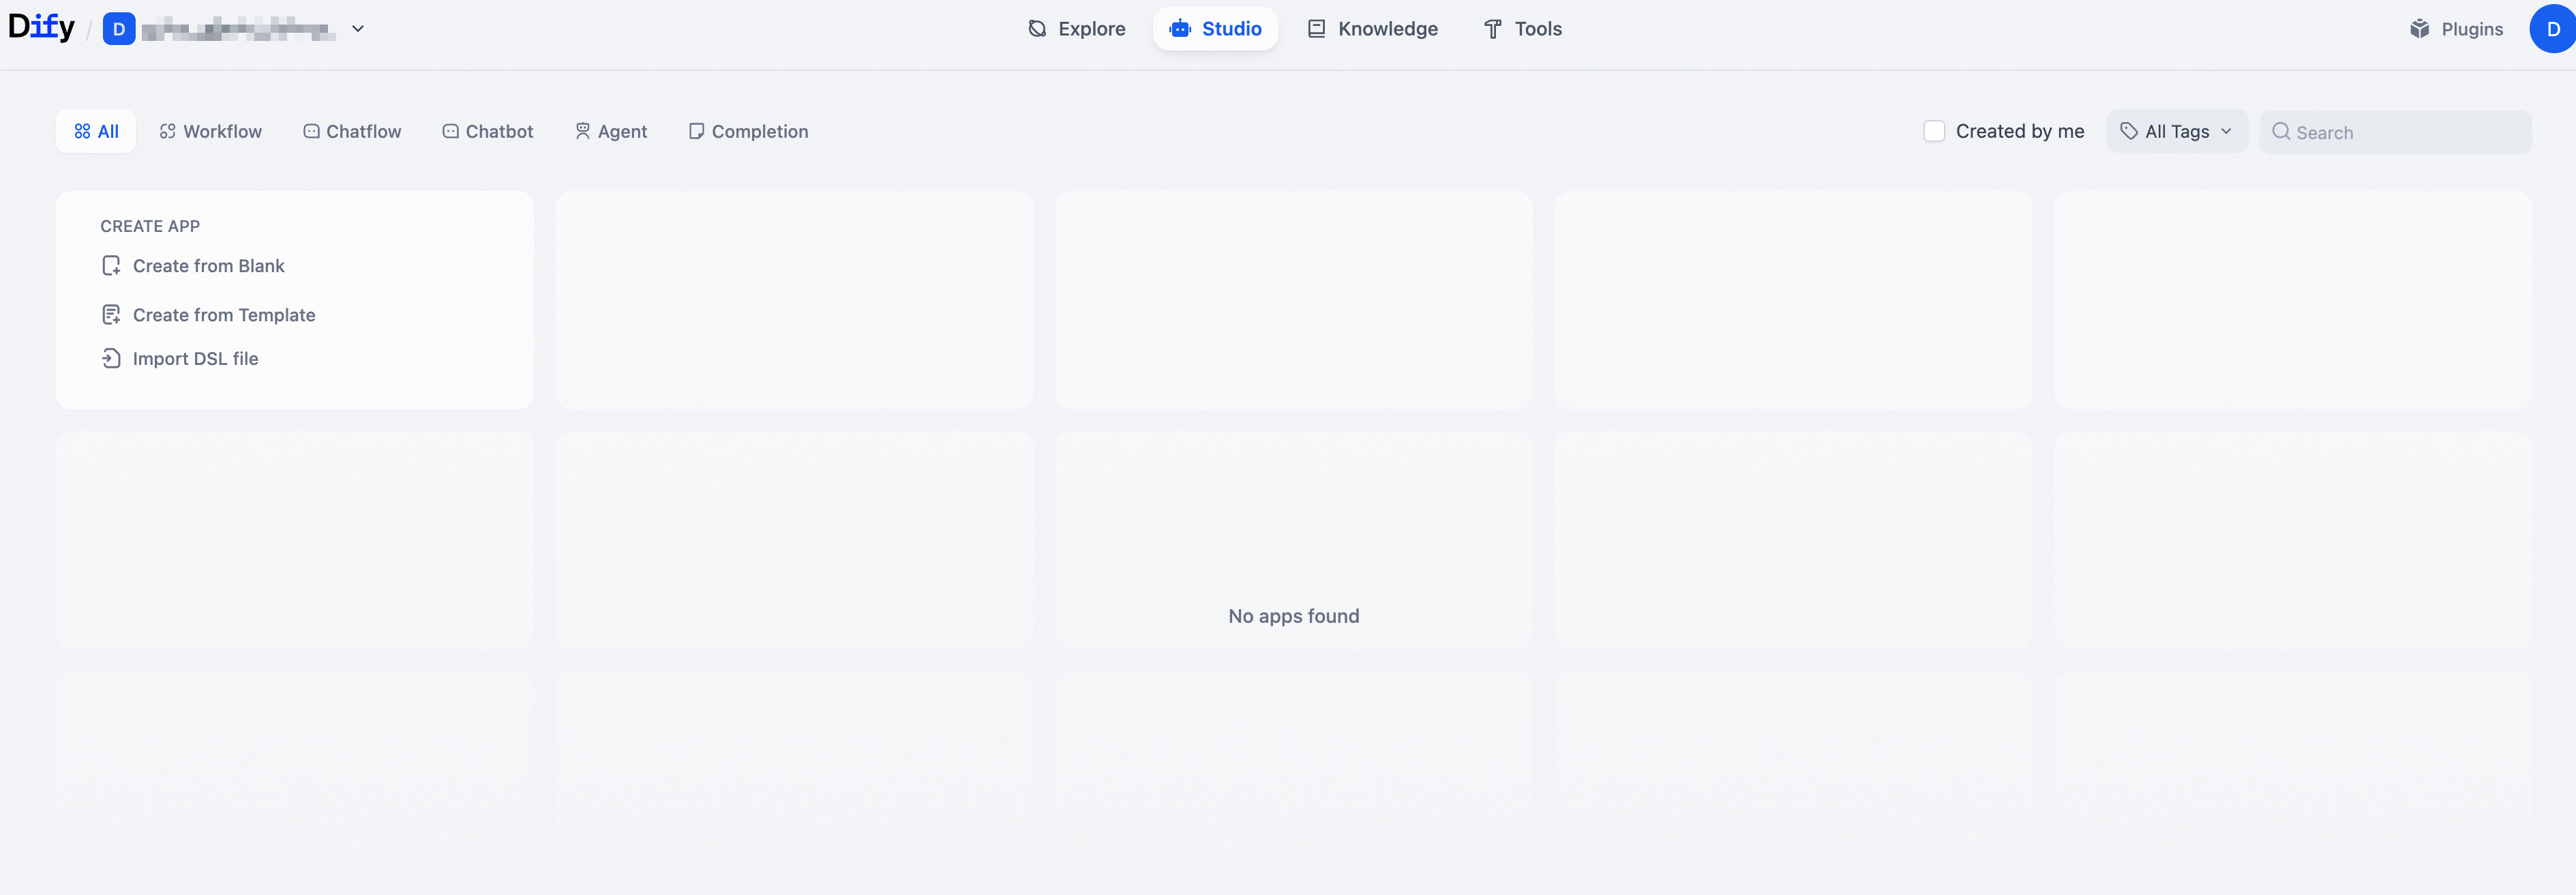
In the left navigation pane, click Dify > Studio.
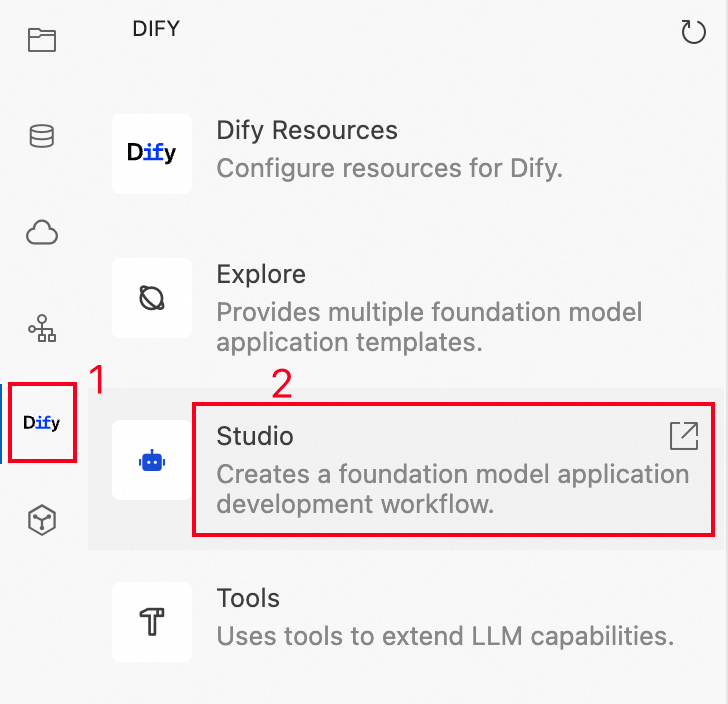
The first time you open Dify Studio, the Set Administrator Account page appears. Enter the administrator's email, username, and password.
After setup is complete, log in to start using Dify.
Add team members
Click your profile picture in the upper-right corner and select Settings.
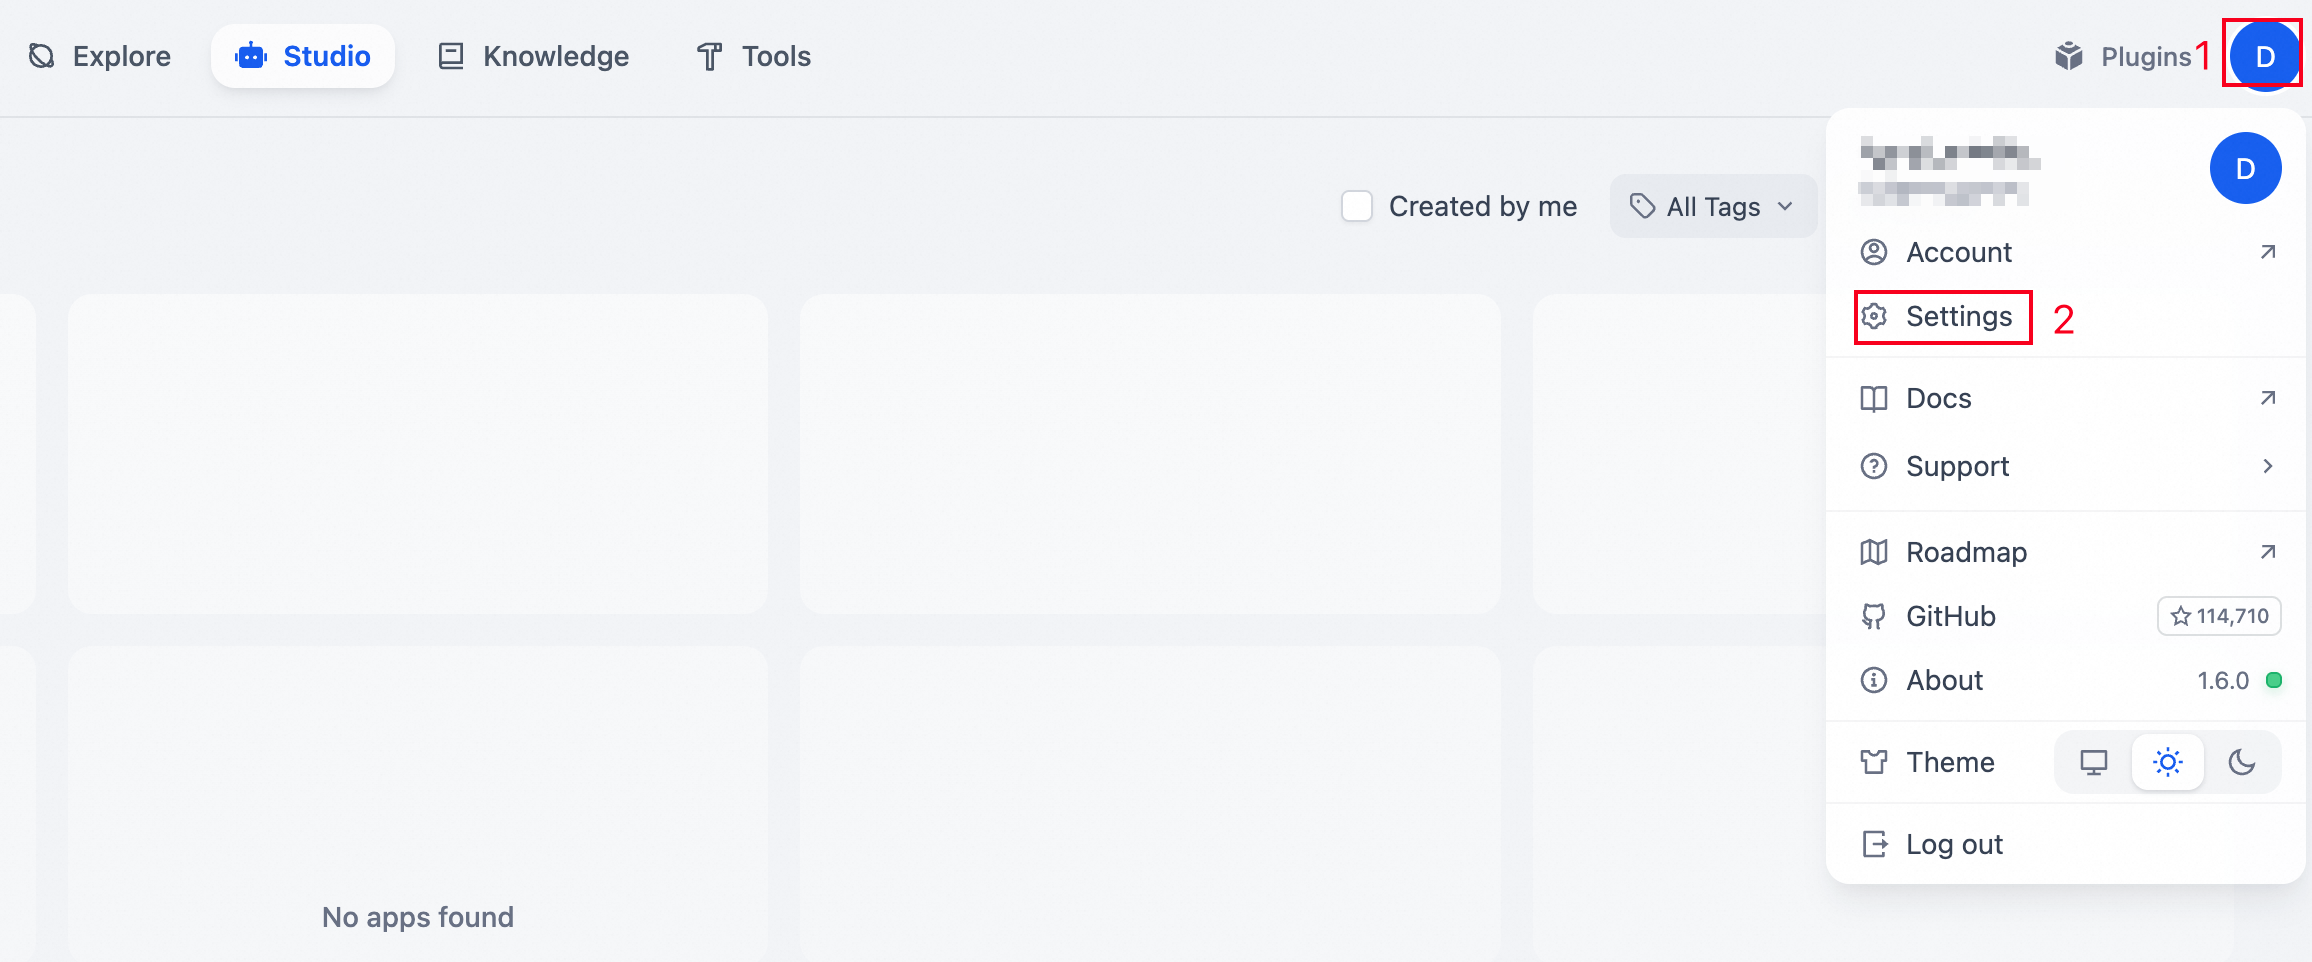
On the Settings page, click Members in the left navigation pane.
Click Add.
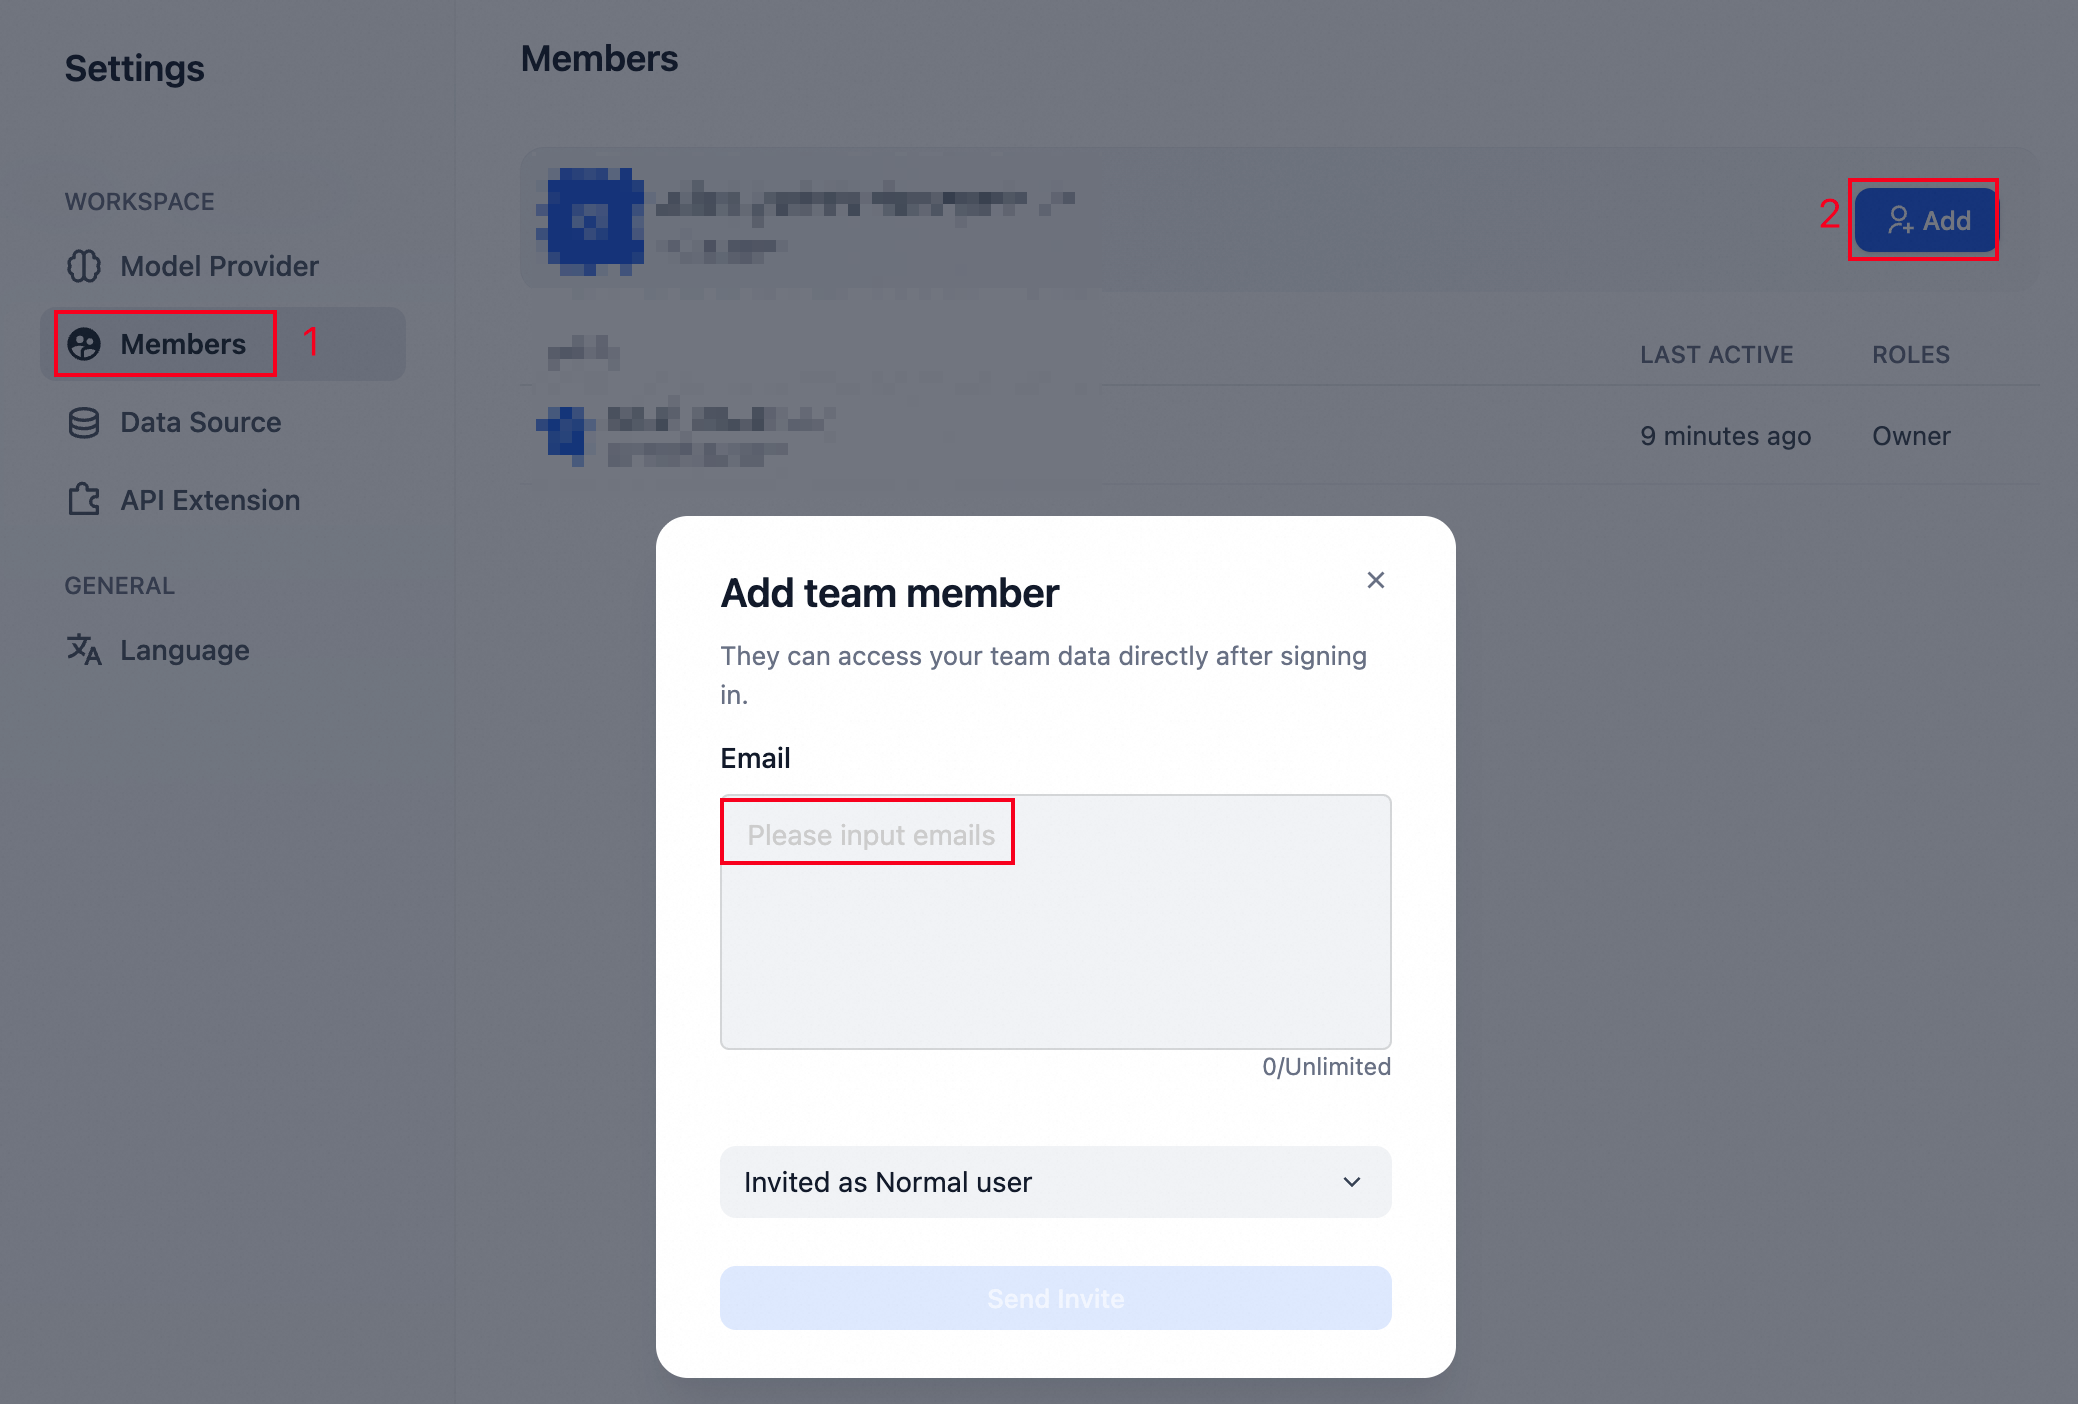
Enter the new member's email, select a role, and click Send Invitation.
Copy the invitation link and share it with the new member.
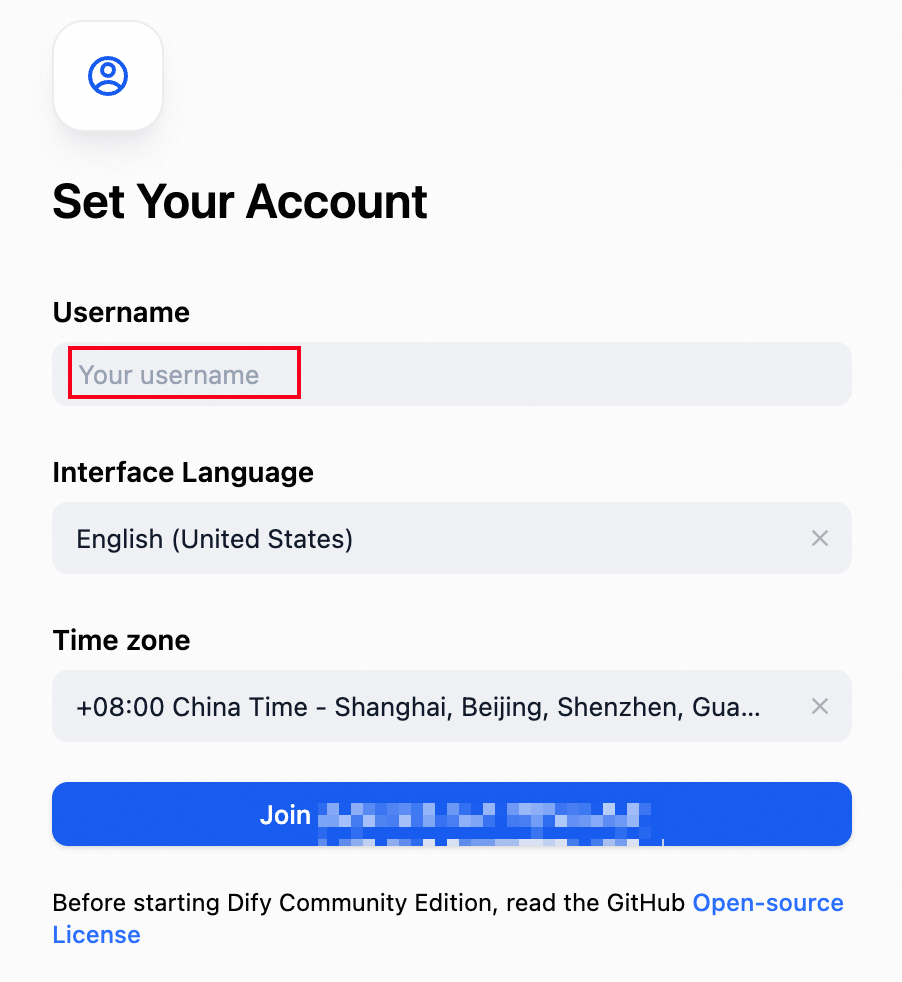
The new member opens the link, sets a password, and clicks Log On.
The member sets a username and clicks Join to complete registration.
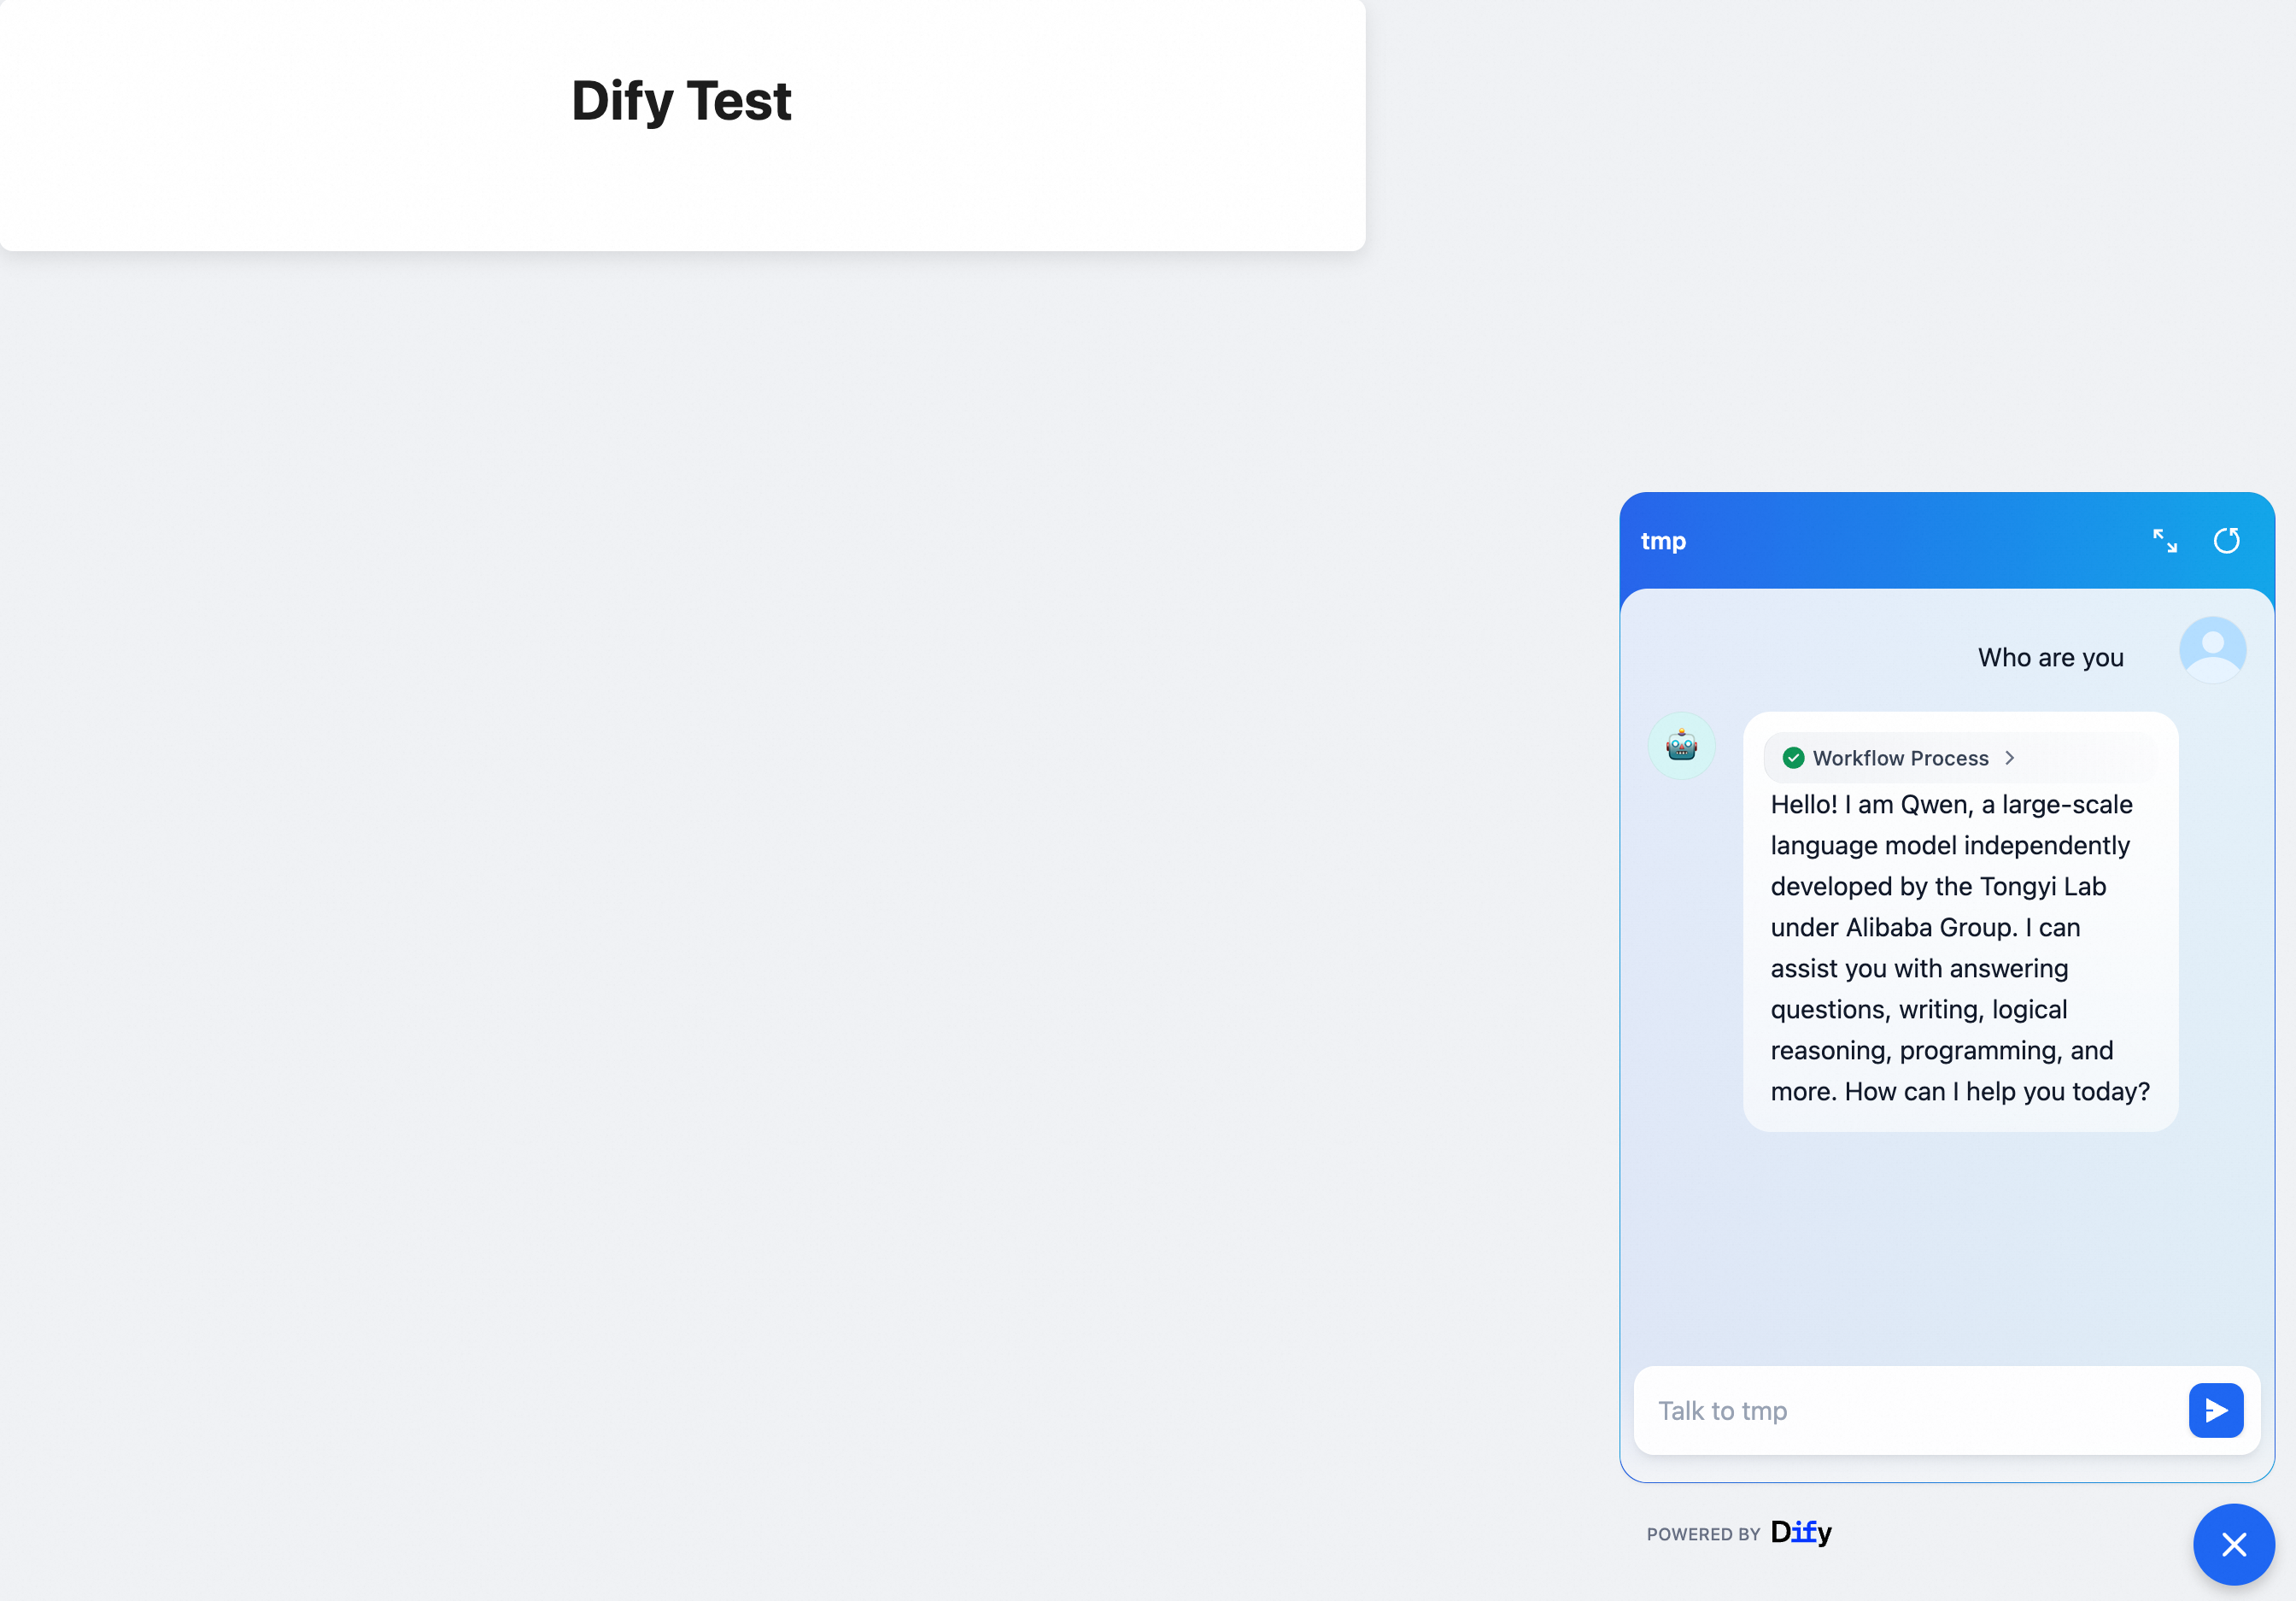
Embed an application in a website
This feature applies only to Chatflow applications, not Workflow applications.
After developing your application, click Publish > Publish Update in the upper-right corner.
Once published, click Embed in Website.
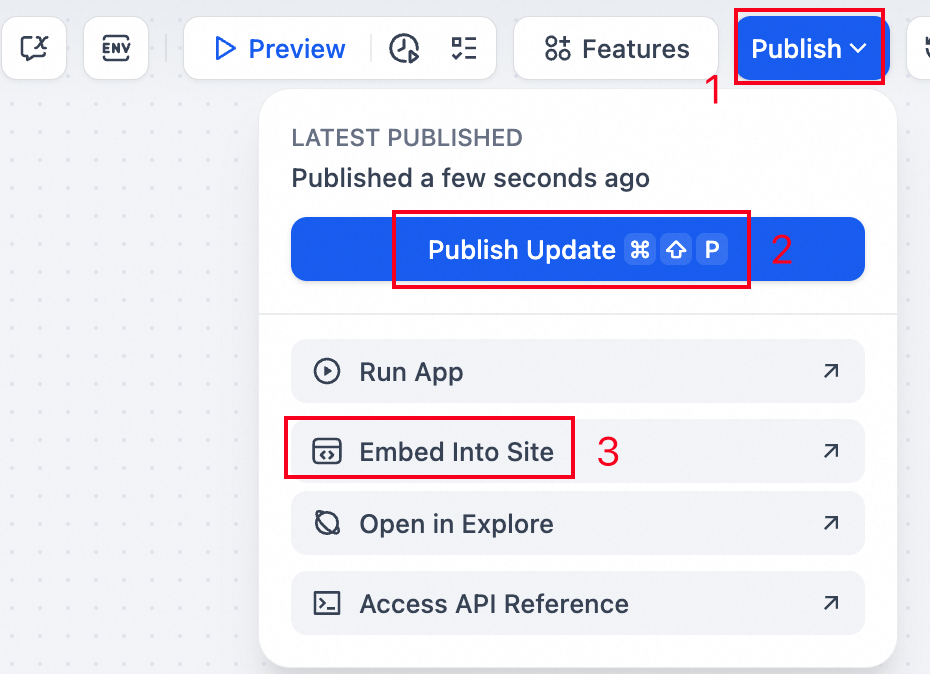
In the Embed in your website dialog box, select an embedding format and click
 to copy the code.
Paste the code into your website's source. Open the webpage to verify the embedded interface appears.