Create manually triggered nodes for on-demand tasks in the production environment that do not require a recurring schedule. This topic describes how to create a manually triggered node and publish it to the production environment.
Usage notes
If a node does not need to be published to the production environment, you can create and run it in your personal directory.
Manually triggered nodes support only manual execution, not automatic scheduling.
You can create manually triggered nodes only for the following node types: Offline synchronization, MaxCompute SQL, MaxCompute Script, PyODPS 2, MaxCompute MR, Hologres SQL, Python node, and Shell node.
Create and publish a manual node
Go to the Workspaces page in the DataWorks console. In the top navigation bar, select a desired region. Find the desired workspace and choose in the Actions column.
In the left navigation pane, find the
 icon. Next to Manually Triggered Task, click
  > New Node and select a node type. For a list of supported node types, see Usage notes.
Enter a name for the node and press
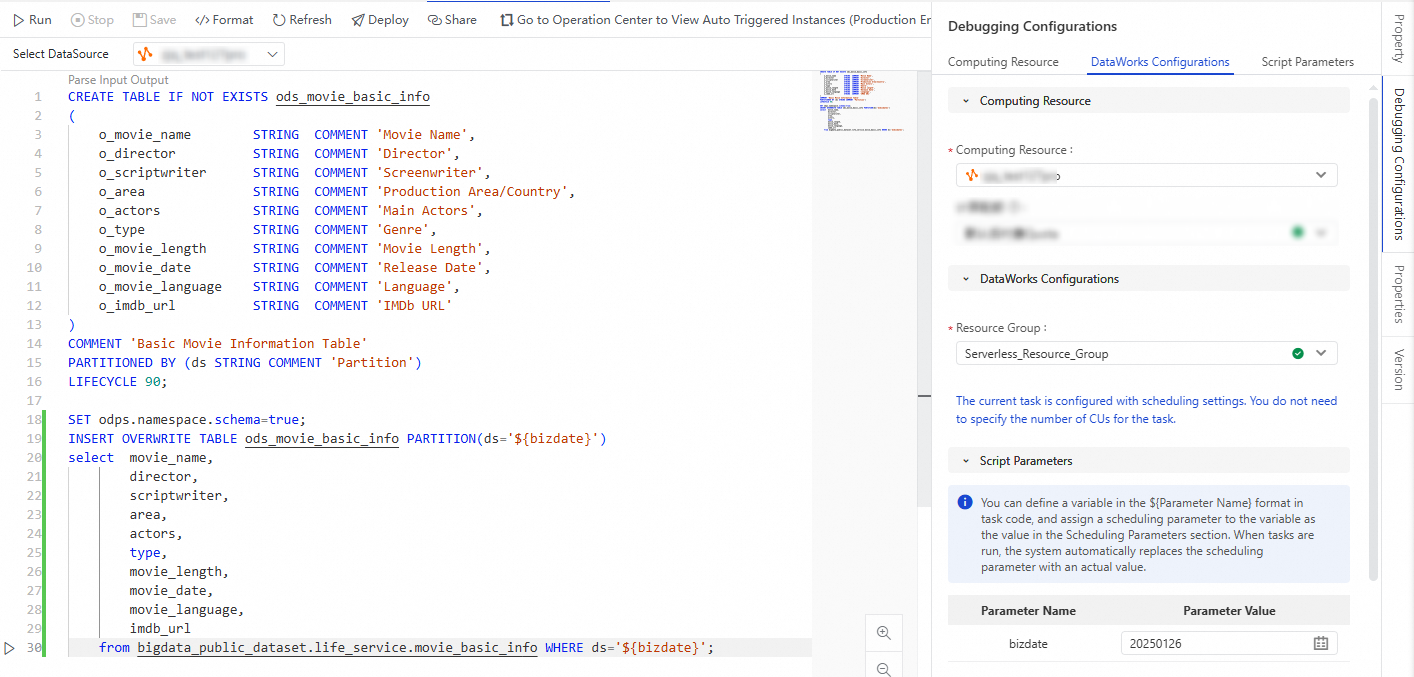
Enterto open the node editor.After writing the node's code, click Run Configuration in the left pane and configure the Compute Resource and Resource Group for the task. If your code includes script parameters, you must also assign values to the Script Parameters.
NoteThe Select a data source option above the code editor enables metadata autocompletion for your code.
Click Run at the top of the tab to run the current node and view the results.
After the manual task runs, you can configure a schedule for it, then click Deploy to deploy the manual task to the production environment for execution.
Follow the on-screen instructions to complete the publishing process.

Run a manual node in production
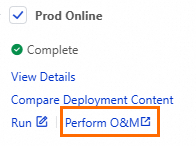
After publishing, click Go to operation and maintenance to view the node.
 Note
NoteAlternatively, go to the DataWorks Workspaces page. In the top navigation bar, select the target region, find your workspace, and click in the Operation column. Then, in the left navigation pane, click Manually Triggered Task O&M.
Run the manually triggered node.

More operations
Clone a manual node
The clone feature lets you quickly create a new manually triggered node from an existing one. This process clones the node's Scheduling Settings, including its Scheduling Parameters and Scheduling Policy.
In the Manually Triggered Task pane on the left, right-click the node that you want to clone and select Cloning from the shortcut menu.
In the dialog box, modify the Name and Path (or keep the default values), and then click Confirm to start cloning.
After the cloning is complete, you can find the new manually triggered node in the Manually Triggered Task section.
Version management
Version management lets you revert a manually triggered node to a previous version. You can also view and compare versions to analyze differences.
In the Manually Triggered Task section on the left, double-click the node you want to manage to open its editor.
Click Version on the right side of the node editor. On the Version page, you can view and manage the Developer Record and Publish Record.
View a version:
On the Developer Record or Publish Record tab, find the node version you want to view.
Click View in the Operation column to view the code content and Scheduling Settings of the node.
NoteYou can view the Scheduling Settings in Code Editor mode or Visualization mode. You can switch between these modes in the upper-right corner of the Scheduling Settings tab.
Compare versions:
You can compare different versions of a manually triggered node on the Developer Record or Publish Record tab. This example shows how to perform this operation on the Developer Record tab.
Compare versions within the same environment: On the Developer Record tab, select two versions and click Select Comparison to compare their code content and scheduling configuration.
Compare versions across different environments:
On the Developer Record tab, locate a specific version of the manually triggered node.
In the Operation column, click Compare. On the details page, select a version from the Publish Record or Build Records tab to compare with.
Restore to a version:
You can only revert manually triggered nodes listed in Developer Record to a previous version. On the Developer Record tab, find the target version and click Restore in the Operation column. This reverts the code and Scheduling Settings of the node to the target version.