Lindorm table data
When you work with Lindorm data in DataWorks, you need visibility into what tables exist, their schema, ownership, and how data flows between them. After attaching a Lindorm instance to DataWorks, you can use Data Map to collect Lindorm table metadata and then search tables, inspect field-level details, trace data lineage, and annotate tables with business context.
Prerequisites
Before you begin, ensure that you have:
-
A Lindorm instance attached to DataWorks
-
Spark parameters configured on the computing resource attachment page to enable metadata collection. For details, see Set Spark parameters for a Lindorm computing resource
Navigate to Data Map
Log on to the DataWorks console. In the top navigation bar, select the region where your instance is deployed. In the left-side navigation pane, choose Data Governance > Data Map, then click Go to Data Map.
Collect Lindorm table metadata
-
In the left navigation pane of Data Map, click the
 icon to open the Database Collector management page.
 -
In the Data Source Perspective section, locate the Lindorm collector.
-
Configure a metadata collection plan to collect metadata from your Lindorm tables.
For details, see Metadata acquisition.
Search for a Lindorm table
After a metadata collection plan for Lindorm runs successfully, follow these steps to find a specific table.
-
In the left navigation pane of Data Map, click the
 icon to open the search page.
 -
In the Type directory tree on the left, select Table. Under Data Source, click Lindorm to view the Lindorm table list.
NoteIf multiple data sources are configured, the list may not show all of them. Click More to the right of Data Lake Formation to find the Lindorm data source.
-
In the search box above the table list, enter a keyword from the table name to filter results.
View table details
On the Lindorm table list page, click a table name to open its details page.
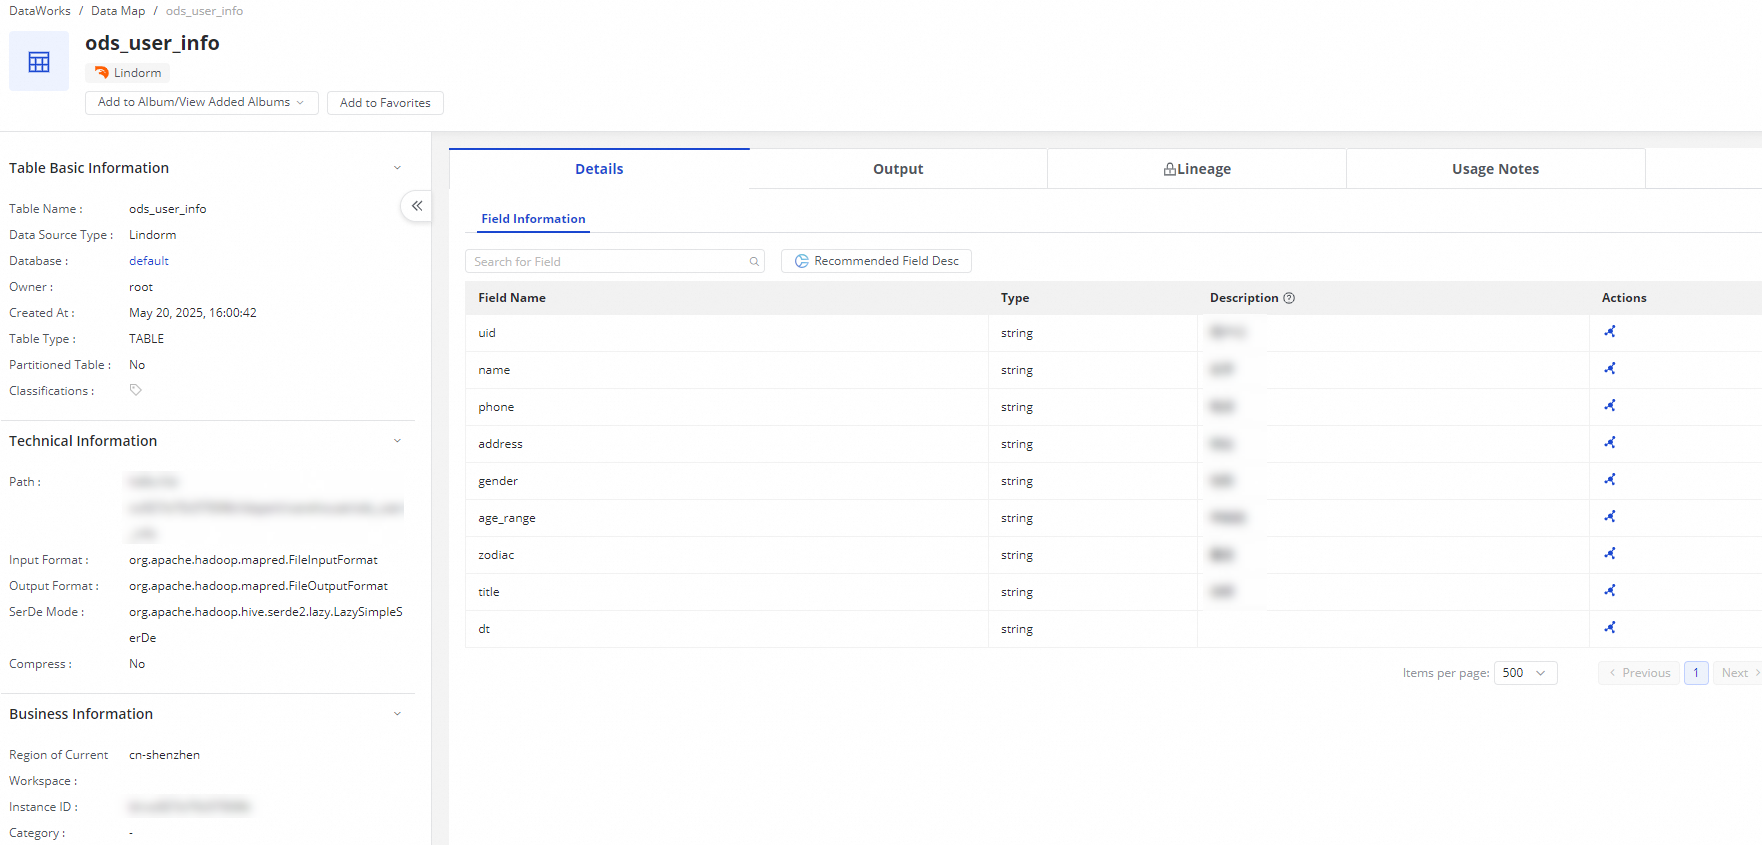
The details page provides the following sections:
| Section | Description |
|---|---|
| Shortcut operations | Add To Album, View Added Albums, or Add To Favorites from the top of the page |
| Table Basic Information | Database, table type, owner, creation time, and whether the table is partitioned |
| Table Technical Information | Storage path, Input Format, and Output Format |
| Details | Field information and field lineage |
| Lineage | Data lineage between Lindorm tables |
| Usage Notes | Business-context annotations, with full version history |
View basic information
The left panel of the table details page shows three sections:
-
Table Basic Information: Table name, creation time, and whether the table is partitioned
-
Technical Information: Storage path and input/output formats
-
Business Information: The workspace region and the associated Lindorm instance
Inspect fields
Click the Details tab to view field-level information.
-
View field names and types: The Field Information section lists every field in the table along with its data type.
-
Search for a field: Enter a field name in the search box under Field Information to quickly locate a field when the table has many fields.
-
Generate field descriptions with Copilot: Click Recommended Field Desc under Field Information. Copilot generates descriptions for each field based on its name and context—particularly useful when field names are abbreviated or unclear.
-
View field lineage: Click the
 icon in the Actions column for a field to open its lineage graph.
View data lineage
Data lineage shows how data flows between tables and fields. It is derived from actual data flow—parsed scheduling jobs and data synchronization tasks—and is computed in real time.
The data lineage feature is available only in DataWorks Standard Edition and later.
Lineage is generated when the following SQL statement types run in a Lindorm Spark SQL node: insert into, insert overwrite table, create as select from table, create table, and create table like.
If Data Map does not display lineage generated by a Lindorm Spark SQL node, manually set the relevant DataWorks scheduling parameters in the job code. For details, see Attach a Lindorm computing resource.
Click the Lineage tab on the table details page to view Table Lineage and Field Lineage.
Table lineage
The table lineage graph shows upstream and downstream relationships for the current table.
| Action | How |
|---|---|
| View node details | Hover over a table or node |
| Check upstream and downstream counts | Counts are shown directly in the graph for each table |
| Expand nodes | Click the  icon icon |
| Collapse nodes | Click the |
Field lineage
The field lineage graph shows how a specific field's data flows to and from other fields.
| Action | How |
|---|---|
| Switch fields | Use the Switch Field area to select a different field from the current table |
| View node details | Hover over a field or node |
| Check upstream and downstream counts | Counts are shown directly in the graph for the selected field |
| Expand nodes | Click the icon |
| Collapse nodes | Click the |
Edit usage notes
Usage notes store business-context information about a table, such as its purpose and relevant application scenarios.
-
Click the Usage Notes tab on the table details page.
-
Click Edit. In the dialog box, enter usage notes for the table and click Save.
-
To review earlier versions, click View Versions. All version records are listed. Click View in the Actions column to read the notes from a specific version.
Add tables to favorites
Use favorites to bookmark tables for quick access.
-
On the table details page, click Add To Favorites below the table name to add the table, or click Remove From Favorites to remove it.
-
To view all favorited tables, click the
 icon in the navigation pane. In the directory tree, choose My Data > My Favorites. Set Data Type to Lindorm to filter your favorited Lindorm tables.
For details on data albums, see Add a table to a data album.