You can use the multi-staging building of Dockerfile and the image building service of Alibaba Cloud Container Registry to securely and quickly build small-sized images for Java applications.
Prerequisites
The Container Registry service is activated.
Docker is installed. For more information, see Install Docker.
A Java application is created, and its source code is hosted in a repository on GitHub, GitLab, or Bitbucket.
NoteYou can use a Maven-based Java project that is hosted on GitHub to experience multi-stage building.
Background information
Common issues in Docker image building
The image building feature of Container Registry uses a Dockerfile to build the final image of an application. During this process, you may encounter the following issues:
Writing a Dockerfile is difficult.
When you are familiar with using the powerful frameworks of programming languages, especially Java, to build applications, you may find it difficult to write Dockerfiles to build application images.
The final image may be large in size.
When you build an image, you may include the compilation, test, and packaging processes of the application in the same Dockerfile. Each command in the Dockerfile creates a layer of the image, which complicates the structure of the image and enlarges the image size.
The source code may be leaked.
You may package the source code of your application in the final image, which may lead to code leakage.
Benefits of multi-stage buildings
When you use multi-stage buildings in a Dockerfile to build images for applications that are developed by using compilation languages such as Java, you can obtain the following benefits:
The final image is built in a secure way.
In the first stage of image building, you must specify an appropriate base image. Then, you need to copy source code to the base image, download application dependencies, compile the source code, test the application, and package the application. In the second stage, you must specify another appropriate base image and copy runtime dependency files generated in the first stage to the base image. This way, the final image does not contain the source code.
The final image has fewer layers and a smaller size.
The final image contains only a base image and compiled artifacts. As a result, the final image consists of few layers and requires a small storage size.
The final image is built at a fast speed.
You can use building tools such as Docker and Buildkit to concurrently run multiple building processes, which accelerates the building of the image.
Step 1: Bind a source code repository to the Container Registry instance
Log on to the Container Registry console and authorize Container Registry to access the source code repository. In this example, Container Registry is authorized to access source code repositories on GitHub.
Log on to the Container Registry console.
In the top navigation bar, select a region.
On the Instances page, click the Personal Edition instance that you want to manage.
In the left-side navigation pane of the management page of the Container Registry Personal Edition instance, choose .
In the Actions column corresponding to GitHub, click Bind Account. In the GitHub dialog box, click Go to the source code repository to bind account. On the page that appears, enter your username and password to log on to GitHub.
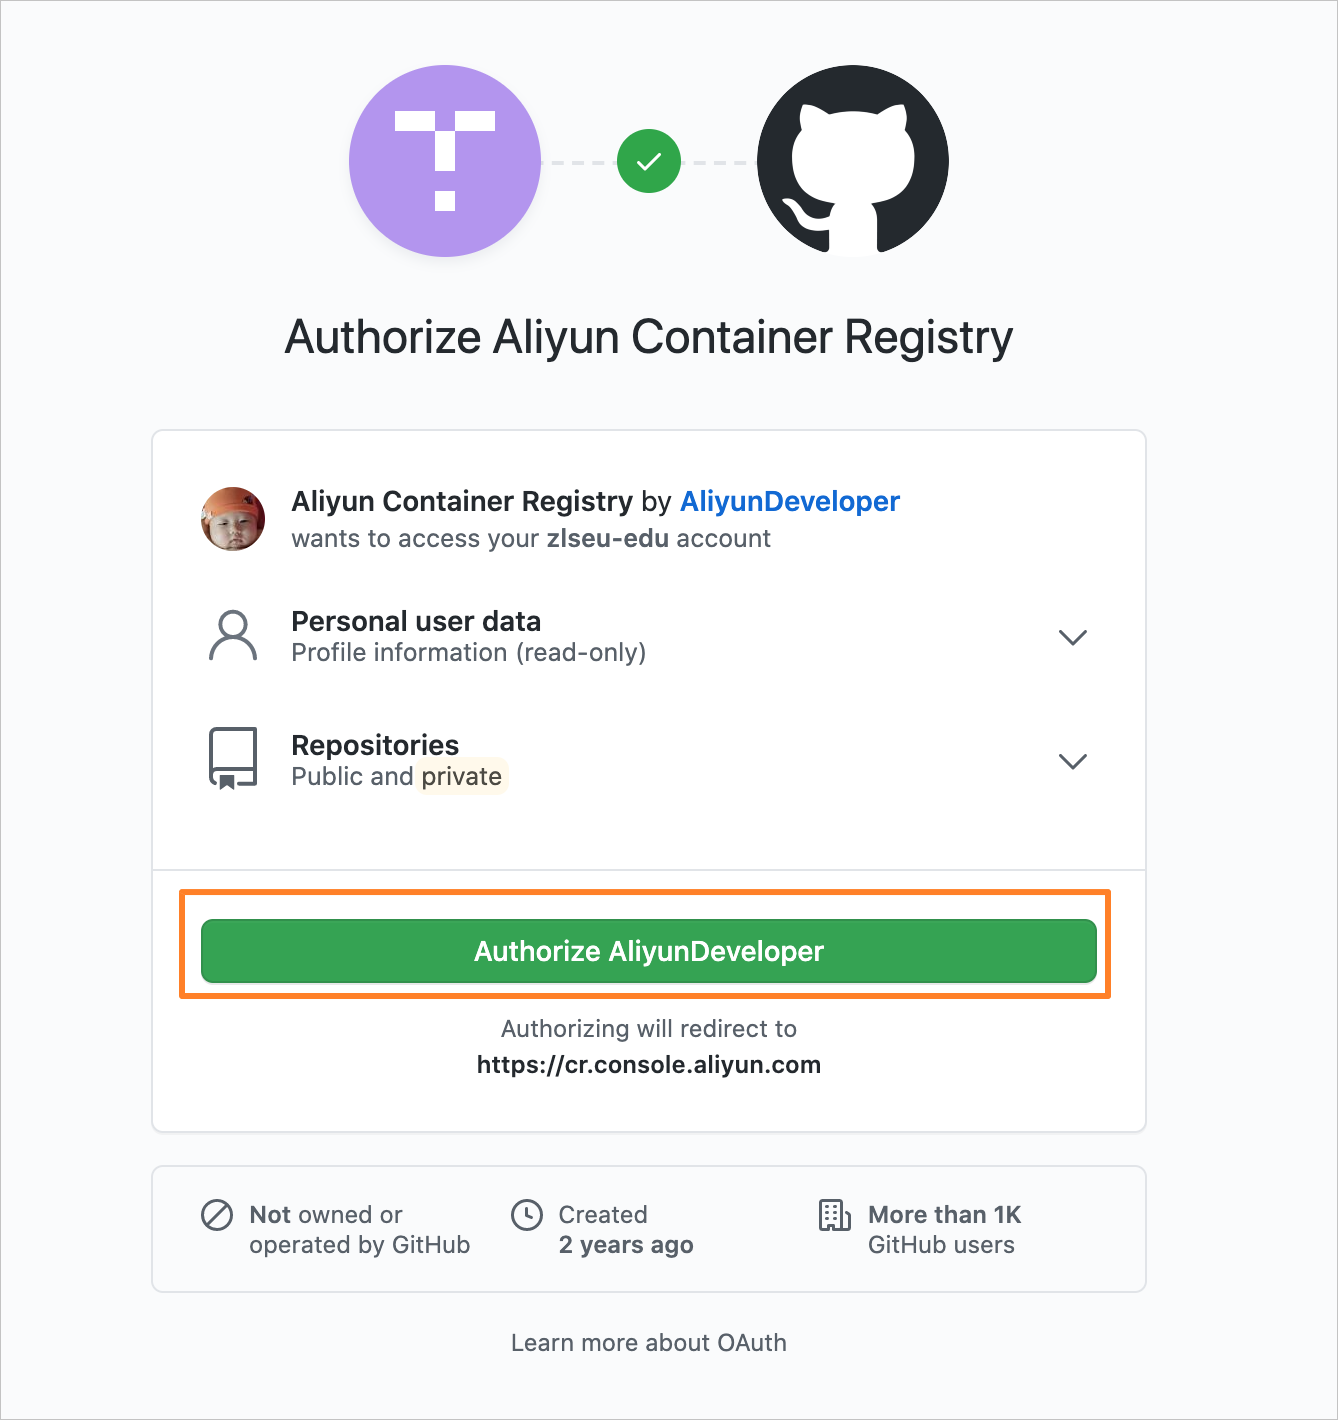
On the authorization page, click Authorize AliyunDeveloper. If the account is bound, a message appears to indicate that your account is bound to GitHub. Go to the Code Source page. Check whether the status of the GitHub service appears as Bound.
Step 2: Create an image repository
Log on to the Container Registry console.
In the top navigation bar, select a region.
On the Instances page, click the Personal Edition instance that you want to manage.
In the left-side navigation pane of the management page of the Container Registry Personal Edition instance, choose . On the Repositories page, click Create Repository.
Configure parameters of the image repository.
Parameter
Description
Example
Region
The region in which the image repository resides.
China (Hangzhou)
Namespace
The namespace to which the image repository belongs. An image repository belongs to only one namespace, but a namespace can contain multiple image repositories.
test23432
Repository Name
The name of the image repository.
test
Repository Type
The type of the image repository. Valid values: Public and Private. You can push images to an image repository only after you log on to the image repository, regardless of the repository type. Public repositories are accessible to anyone on the Internet. To prevent data loss, we recommend that you select Private.
Public: You can pull images from the image repository without the need to log on to the image repository.
Private: You can pull images from the image repository only after you log on to the image repository on the Docker client.
Private
Summary
The brief description of the image repository.
-
Description
The detailed description of the image repository. Markdown format is supported.
Use the created Dockerfile and the image building feature of Container Registry to build, package, and run the image.
Click Next. In the Code Source step, specify the code source and configure building settings.
Parameter
Description
Code Source
On the GitHub tab of the Code Source section, click Bind Account and then bind the source code repository that you bound in "Step 2: Authorize Container Registry to access the source code repository".
Build Settings
In this example, select Automatically Build Images When Code Changes and Build With Servers Deployed Outside Chinese Mainland.
Automatically Build Images When Code Changes: The building rule is automatically triggered when code is committed from a branch.
Build With Servers Deployed Outside Chinese Mainland: Images are built in a data center outside the Chinese mainland and then pushed to an image repository in the specified region.
Build Without Cache: The system pulls the base image each time an image is to be built. This may slow down the building process.
Click Create Repository.
After the image repository is created, you are redirected to the details page of the image repository. You can view the basic information about the image repository on the details page.
In the left-side navigation pane of the details page of the image repository, click the
 icon next to the repository name. On the Repositories page, you can view the image repository that you created. If Normal is displayed in the Status column of the image repository, the image repository is created.
Step 3: Build an image
In the left-side navigation pane, choose . On the Repositories page, find the image repository. Click the repository name or click Manage in the Actions column to go to the details page of the repository.
In the left-side navigation pane, click Build. On the page that appears, click Add Build Rule in the Build Rules section.
In the Add Build Rule dialog box, set the parameters as required.
Parameter
Description
Example
Type
The type of the content that is pushed to the source code repository to trigger the building rule. Valid values: Branch and Tag.
Branch
Branch/Tag
The code branch or tag that triggers the building rule.
master
Build Context Directory
The directory of the Dockerfile. The specified directory is a relative directory, and the root directory of the code branch serves as the parent directory. In this example, the directory of the Dockerfile is /Dockerfile. Enter /.
/
Dockerfile Filename
The name of the Dockerfile. Default value: Dockerfile. For example, if the path of the Dockerfile is /Dockerfile, specify Dockerfile as the value of this parameter.
Dockerfile
Image Tag
The tag of the image to be built.
V1.0.0
Click Confirm.
In the Build Rules section, find the rule that you created and click Build in the Actions column that corresponds to the rule.
After you start the building, a building record is generated in the Build Log section. When the status of the building record becomes Successful, the image is built.
Results
Check whether the image is built
In the left-side navigation pane of the management page of the Container Registry Personal Edition instance, choose Repository > Repositories. Click the name of the repository or click Manage in the Actions column that corresponds to the repository. In the left-side navigation pane of the details page of the repository, click Tags to view the image that you created.
Run the image in Docker
Beginning September 9, 2024, the endpoints for new personal edition instances will be adjusted. For more information, see Limits on new personal edition instances. Depending on your needs, you can select various methods to push and pull images.
Personal Edition instance of the new version
Run the following command in Docker and use the password that you set when you prepare the environment and resources to log on to Alibaba Cloud Docker Registry. Replace
acr_e2******@test.aliyunid.comin the command with the full name of your Alibaba Cloud account. Replacecn-hangzhouwith the region in which your Personal Edition instance resides. Replacecrpi-xxxxwith the ID of your Personal Edition instance. Log on to the Container Registry console and click the card of the Personal Edition instance. On the Overview page, click the Instance Information tab to obtain the ID of the Personal Edition instance.docker login --username=acr_e2******@test.aliyunid.com crpi-xxxx.cn-hangzhou.personal.cr.aliyuncs.comRun the following command to pull the image:
docker pull crpi-xxxx.cn-hangzhou.personal.cr.aliyuncs.com/test23432/test:V1.0.0Run the following command to view the Docker image:
docker imagesRun the following command to run the image:
docker run -ti crpi-xxxx.cn-hangzhou.personal.cr.aliyuncs.com/test23432/test:V1.0.0
Hello World!
Personal Edition instance of the old version
Run the following command in Docker and use the password that you set when you prepare the environment and resources to log on to Alibaba Cloud Docker Registry. Replace
acr_e2******@test.aliyunid.comin the command with the full name of your Alibaba Cloud account. Replacecn-hangzhouwith the region in which your Personal Edition instance resides.docker login --username=acr_e2******@test.aliyunid.com registry.cn-hangzhou.cr.aliyuncs.comRun the following command to pull the image. Replace
cn-hangzhouin the command with the region in which your Personal Edition instance resides. Replacetest23432with the namespace that you use. Replacetest:V1.0.0with the repository name and image tag that you use.docker pull registry.cn-hangzhou.cr.aliyuncs.com/test23432/test:V1.0.0Run the following command to view the Docker image:
docker imagesRun the following command to run the image. Replace
cn-hangzhouin the command with the region in which your Personal Edition instance resides. Replacetest23432with the namespace that you use. Replacetest:V1.0.0with the repository name and image tag that you use.docker run -ti registry.cn-hangzhou.cr.aliyuncs.com/test23432/test:V1.0.0 Hello World!