Real User Monitoring (RUM) supports the collection and reporting of JavaScript error stacks, along with the parsing of these error stacks by uploading source maps. This feature allows you to quickly locate errors in your JavaScript code. With the help of a build tool plug-in, you can assign universally unique identifiers (UUIDs) and associate JavaScript files with corresponding source maps. Then, the error stacks can be automatically parsed and displayed for the application in the RUM interface, eliminating the need to manually select the source maps.
Prerequisites
Your web or HTML application has been integrated with RUM.
A build tool, either Webpack or Vite, is available, and its plug-in is V0.0.5 or later.
Step 1: Use a build tool to generate source maps
Webpack
In the Webpack terminal, use the following code to install the node package manager (NPM) package of the Webpack plug-in for RUM:
npm install @arms/rum-webpack-plugin --saveIn the Webpack configuration file, change the settings by referring to the following code and save the file to apply the plug-in:
import { RumWebpackPlugin } from '@arms/rum-webpack-plugin'

const config = {
  plugins: [new RumWebpackPlugin()],
  devtool: 'source-map',
};

export default config
The devtool attribute is used to generate source maps in Webpack.
Vite
In the Vite terminal, use the following code to install the NPM package of the Vite plug-in for RUM:
npm install @arms/rum-vite-plugin --saveIn the Vite configuration file, change the settings by referring to the following code and save the file to apply the plug-in:
import { rumVitePlugin } from '@arms/rum-vite-plugin'

export default defineConfig({
  plugins: [rumVitePlugin()],
  build: {
    sourcemap: true,
  },
});
The build.sourcemap attribute is used to generate source maps.
Step 2: Upload the source maps
You can use either of the following methods to upload the source maps to RUM.
Method 1: Automatic upload
To simplify the operations, you can configure the RUM build tool to automatically upload source maps to an Object Storage Service (OSS) bucket of RUM after UUIDs are assigned.
The automatic upload method requires the AccessKey ID and AccessKey Secret of your Alibaba Cloud account. For security purposes, take the following steps as a Resource Access Management (RAM) user and keep the AccessKey confidential.
Turn on the batch upload switch.
Log on to the Cloud Monitor 2.0 console as a RAM user and select the target workspace.
In the navigation pane on the left, select All Features > Real User Monitoring > Application List, click the target application, and click File Management on the Application Settings page to turn on the Enable OSS Batch File Upload switch.
Create an AccessKey ID and AccessKey Secret for the RAM user that you log on as.
For information about how to create the AccessKey, see Create an AccessKey pair.
NoteSelect Local code to use the AccessKey in a local development environment.
In the configuration file of the build tool plug-in, enter the following information:
RUM application ID.
AccessKey ID and AccessKey Secret of the RAM user.
Version number that you specify. The default value is 1.0.0. This is used to manage source maps uploaded to RUM by group.
Region where your RUM application resides. The default value is cn-hangzhou.
Webpack
To avoid duplicate uploads during debugging, source maps are automatically uploaded only in production mode when they are bundled with Webpack.
import { RumWebpackPlugin } from '@arms/rum-webpack-plugin'

const config = {
  plugins: [new RumWebpackPlugin({
    pid: '',  // The ID of the RUM application.
    accessKeyId: '',
    accessKeySecret: '',
    version: '',
    region: ''
  })],
  devtool: 'source-map',
};

export default config
Vite
import { rumVitePlugin } from '@arms/rum-vite-plugin'

export default defineConfig({
  plugins: [rumVitePlugin({
    pid: '',  // The ID of the RUM application.
    accessKeyId: '',
    accessKeySecret: '',
    version: '',
    region: ''
  })],
  build: {
    sourcemap: true,
  },
});
Method 2: Manual upload
Build a project in the RUM build tool and use the build command provided by the build tool to construct project code. Then, the RUM build tool assigns UUIDs for the JavaScript files and corresponding source maps.
Source maps: The addition of the
debugIdfield indicates that the UUIDs are injected into the source map files.{ "version": 3, "file": "index.js", "mappings": "AAAAA,QAAQC,IAAI", "sources": [ "webpack://examples/./src/index.js" ], "sourcesContent": [ "console.log('Hello World!');\n" ], "names": [ "console", "log" ], "sourceRoot": "", "debugId": "e4f083d6-b8d8-4cae-a0ea-16f2e83a6be1" }JavaScript files: The
_armsRumDebugIdsattribute in the global object window of a web browser indicates that the UUIDs are injected into the JavaScript files.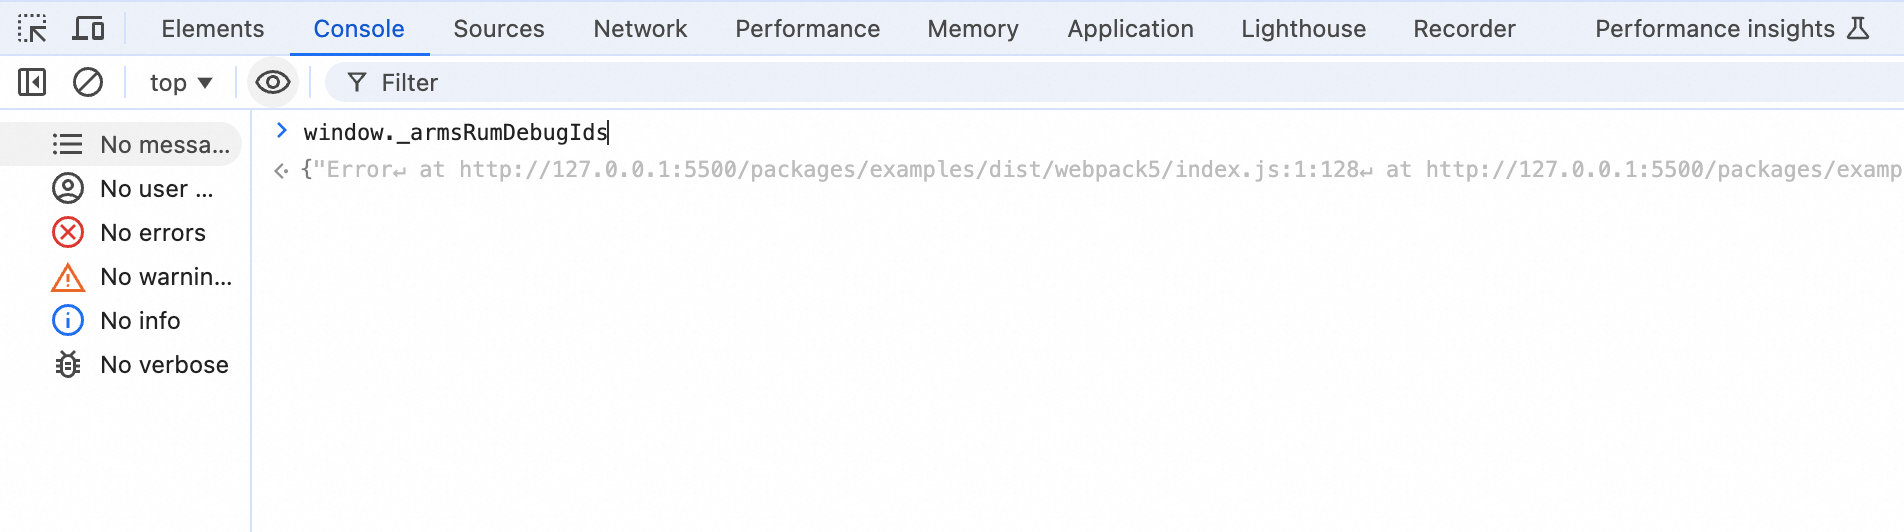
Manually upload the source maps to RUM.
Log on to the Cloud Monitor 2.0 console and select the target workspace.
In the navigation pane on the left, choose All Features > Real User Monitoring > Application List. Click the target application. On the Application Settings page, go to the File Management tab and click Upload File. Upload the source map with the injected UUID. The file is parsed successfully when the corresponding UUID appears in the UUID column.
View the automatic parsing results for the source maps.
On the application details page, click the Abnormal statistics tab.
On the tab page that appears, click an exception to enter the exception details page.
On the Stack Information page, check the UUIDs assigned by the RUM build tool, the source code where any errors may have occurred, and the automatic parsing results.
If a UUID appears in each line of the stack information, the UUIDs are reported. If not, the reporting failed.
If the source maps with UUIDs have been uploaded, the first line of the stack information displays the source code where an error occurred. You can click other lines to expand the automatic parsing results.
