Background
OceanBase Developer Center (ODC) allows you to change the data in your database. You can create a database change task to run time-consuming SQL statements to avoid an execution timeout.
Considerations
A rollback statement can be automatically generated only for the UPDATE and DELETE statements.
A change task is allowed to affect a maximum of 1 million rows. If the number of affected rows exceeds 1 million, a rollback statement cannot be automatically generated for this change task.
If the table contains large object (LOB) fields, a rollback statement cannot be automatically generated.
If the table does not have a primary or unique key when the data source is an OceanBase MySQL-compatible or a MySQL data source, a rollback statement cannot be automatically generated.
If the SET and WHERE clauses in an UPDATE statement are the same, a rollback statement cannot be automatically generated.
The maximum size of a rollback script that is automatically generated is 256 MB.
Create a database change task
Example: Change the value of name from xiaoguo to xiaofeng in the employee table in the odc_test database.
Parameter | Example value |
Project name | odc_4.2.0 |
Data source | mysql420 |
Database name | odc_test |
Table name | employee |
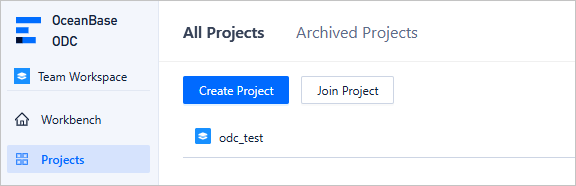
Choose Projects > All Projects. On the tab that appears, click the project name odc_test.
On the Tickets tab, choose Database Change > Create New.

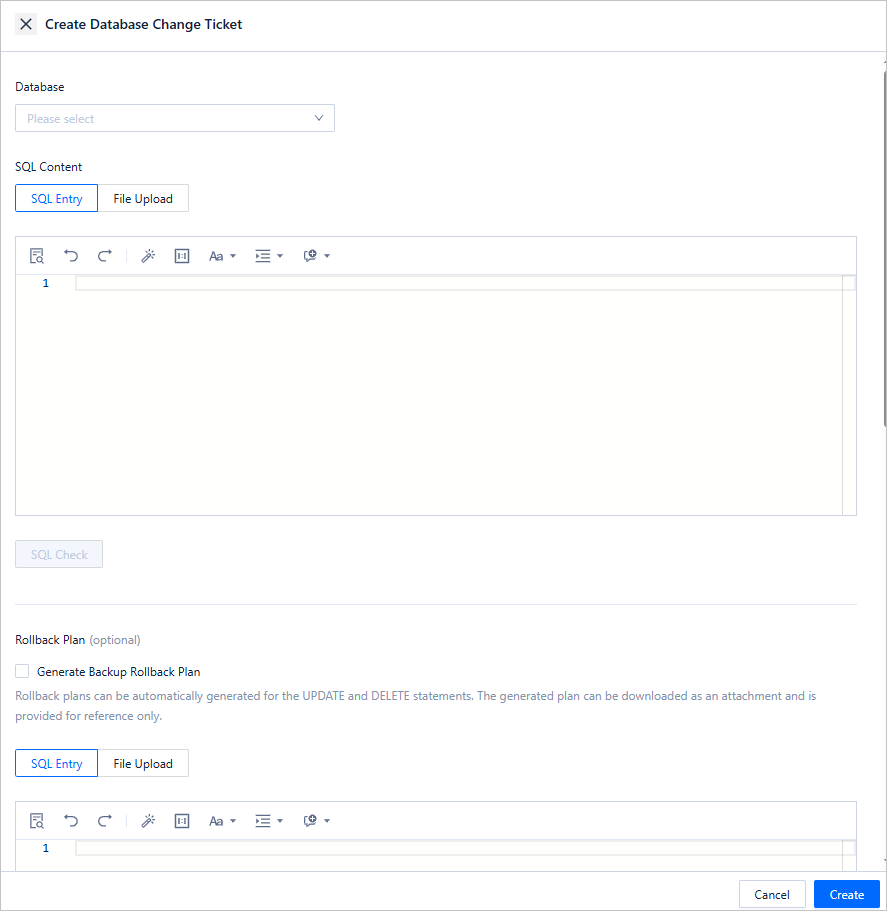
On the Create Database Change Ticket page, configure the following parameters.
Parameter
Description
Database
Select the database to which the database change task belongs.
SQL Content
Select SQL Entry or Upload File.
SQL Entry: This is the default way to specify SQL content. You can directly write the SQL script in the editing area.
NoteThe maximum size of the SQL statements that can be entered in the SQL window is limited to 500,000 characters. If the SQL script to be executed has more than 500,000 characters, you can directly upload the script file.
You can click IN Value Conversion to convert the batch copied data into the in('A','B') format.
Column values are separated with line breaks.
Row values are separated with spaces or tabs.
Upload File: Click the file pool to go to the file explorer and select the file to be imported. You can also directly drag the file to the file pool to upload it.
NoteYou can upload up to 500 files. The total file size cannot exceed 256 MB.
By default, files are sorted by the order in which they were uploaded. You can drag and drop them to change the order. Tasks are executed in the file order.
Only SQL files suffixed with .sql are supported.
SQL Check
Click this icon to check the syntax of the SQL statement.
Rollback Plan
Specify Rollback Plan. You can write an SQL script or upload a file to specify the rollback plan. For more information, see the description of SQL Content.
NoteYou can select Generate Backup Rollback Plan so that backup rollback SQL statements will be automatically generated for UPDATE and DELETE statements.
For OceanBase Database in MySQL-compatible mode, a rollback SQL statement can be generated only for an UPDATE or DELETE statement executed on a table with a primary or unique key.
A backup rollback SQL statement can be generated only when a database change statement affects no more than 100,000 rows and the database change task affects no more than 1 million rows.
Delimiter
Delimiters are supported.
Query Result Limit
You can set the maximum number of rows allowed in the query result. Value range: 1 to 1,000,000.
Task Settings
SQL Retry Attempts: If you specify a value greater than 1, when the execution of an SQL statement fails, ODC will re-execute the statement in 3 minutes.
The database change tool provides two error handling methods:
Abort Task: This is the default option. When you select this option, the task is aborted if an error occurs when you run the script.
Ignore Error and Continue: When you select this option, the system skips the erroneous statement where an error occurs and continues to execute other statements in the script.
Select Execute Now or Scheduled Execution.
Execution Timeout Value
Specify the value in the Execution Timeout Value field in hours. Default value: 48. Maximum value: 480.
Description
You can enter a description of no more than 200 characters in Task Description. This field is optional.
Click Create.
On the Tickets tab, view the task information in the database change task list.
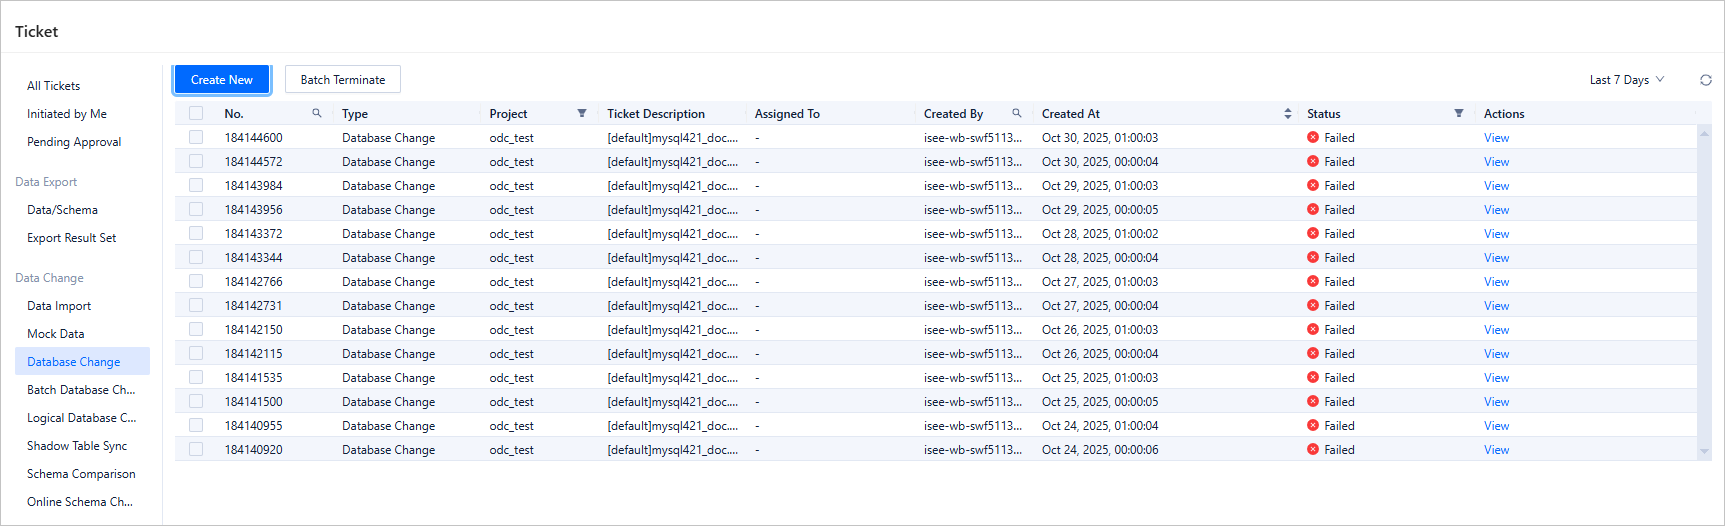
View a database change task
Task information
In the database change task list on the Tickets tab shown in the preceding figure, click View in the Actions column of the target task.
In the ticket details panel, click the Basic Information tab to view the database, type, risk level, SQL content, and rollback statement of the task.
You can click Download Backup Rollback Plan to download the rollback plan file automatically generated by ODC for UPDATE and DELETE statements.
For a query task, after the task is successfully executed, you can view and download the query result below the ticket.
NoteYou can specify whether to support viewing and downloading the query result in system settings. For more information, see System settings.
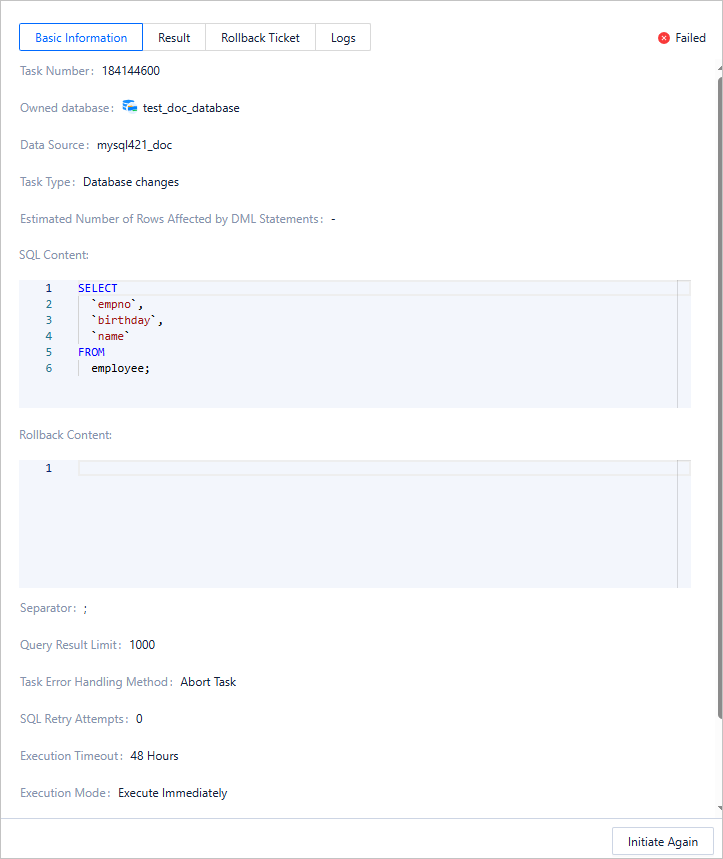
Click Initiate Again to initiate the database change task again, or click Roll Back to roll back the task.
Task process
 In the ticket details panel, click the Workflow tab and view information such as the task initiation status, approval status, execution status, and execution result.
Execution result
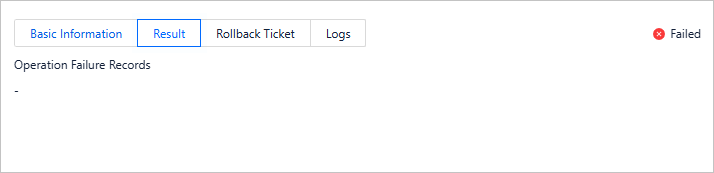
In the ticket details panel, click the Result tab to view the execution success and failure records.
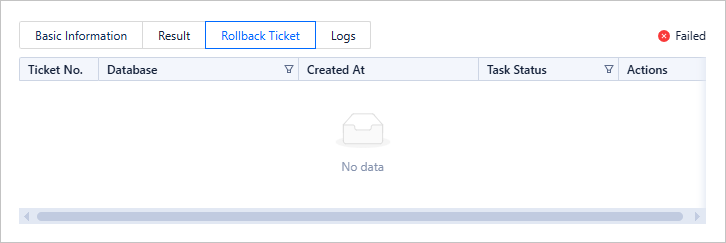
Rollback ticket
In the ticket details panel, click Rollback Ticket to view the rollback task.
Task logs

In the ticket details panel, click the Logs tab to view all logs and alert logs of the task.
Tab | Description |
All Logs | Displays the complete information of all task logs, including INFO, ERROR, and WARN logs. You can click Search, Download, or Copy to search for, download, or copy all logs. |
Alert Logs | Displays the ERROR and WARN logs of the task. When a task fails, you can view the error message in the alert logs. You can click Search, Download, or Copy to search for, download, or copy alert logs. |