Quick BI is a next-generation self-service business intelligence (BI) platform for cloud users and enterprises. It supports flexible multidimensional analysis through a GUI, helping you build data-driven insights. Add AnalyticDB for MySQL as a data source in Quick BI to query and visualize your data warehouse data directly from dashboards.
Before proceeding, review the compatibility between Quick BI and AnalyticDB for MySQL. See Compatibility overview.
Prerequisites
Before you begin, ensure that you have:
A Quick BI subscription. For details, see Purchases, upgrades, downgrades, renewals, and overdue payments
Quick BI workspace administrator or developer permissions — only these roles can add data sources
The public or internal endpoint and port of your AnalyticDB for MySQL V3.0 instance. Find this in the connection information section of the AnalyticDB for MySQL console. Example:
am-xxxxxxxxxxxxxxxxxxxx.ads.aliyuncs.comA database account with create, insert, update, or delete permissions on the target database
(Required for Virtual Private Cloud (VPC) connections) Your AccessKey ID and AccessKey secret. Retrieve these from the RAM console. The account must have Read permission on the target instance
(Spark engine only) The resource group name. Find this in the AnalyticDB for MySQL console under Cluster Management > Resource Management > Resource Group Management
Add AnalyticDB for MySQL as a data source
Step 1: Add the Quick BI IP address to the whitelist
Add the IP address of Quick BI to the whitelist of your AnalyticDB for MySQL V3.0 cluster. See Set a whitelist.
Step 2: Log on to Quick BI
Log on to the Quick BI console.
Step 3: Go to the data source creation page
In the Quick BI console, go to the data source creation page from the data source entry.
Step 4: Select AnalyticDB for MySQL
Select Alibaba AnalyticDB for MySQL as the data source type.
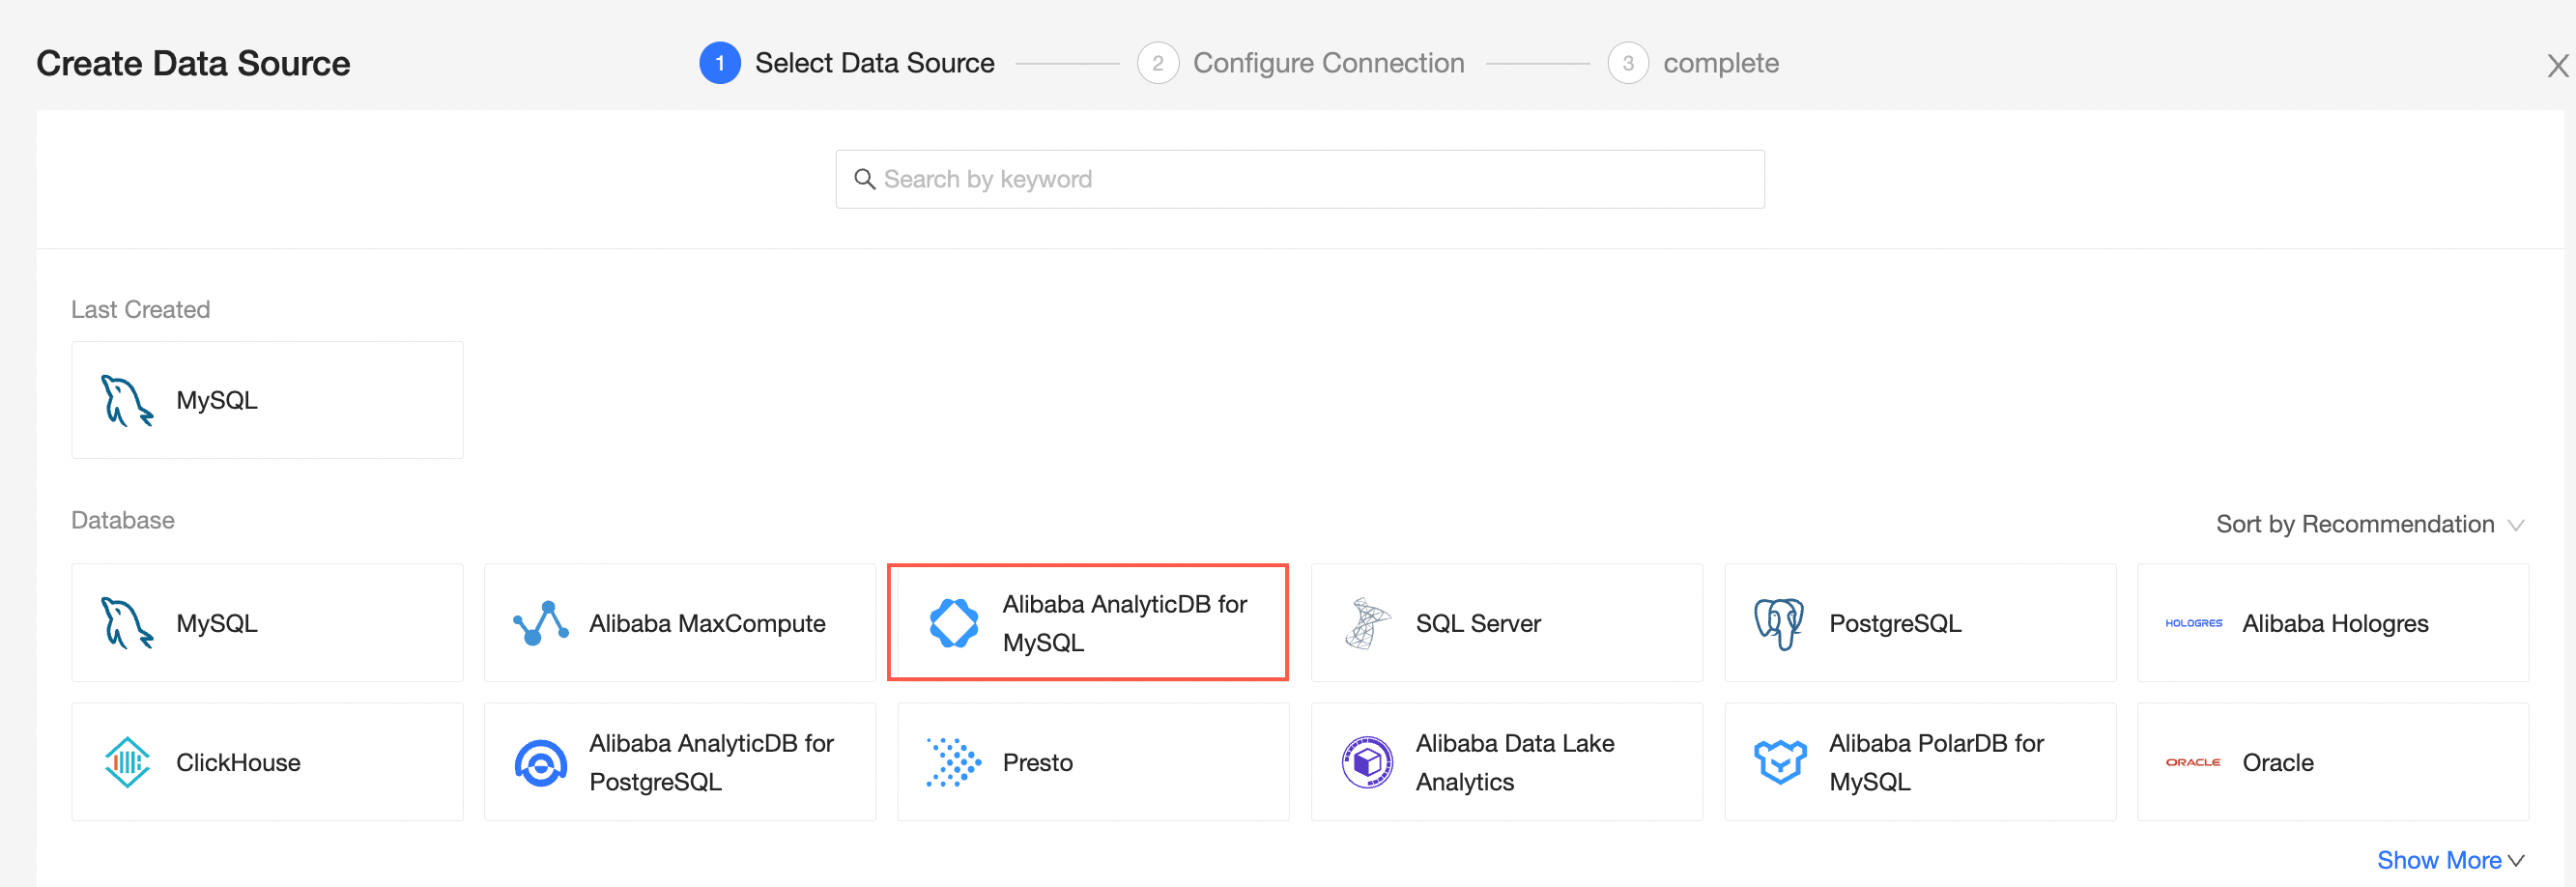
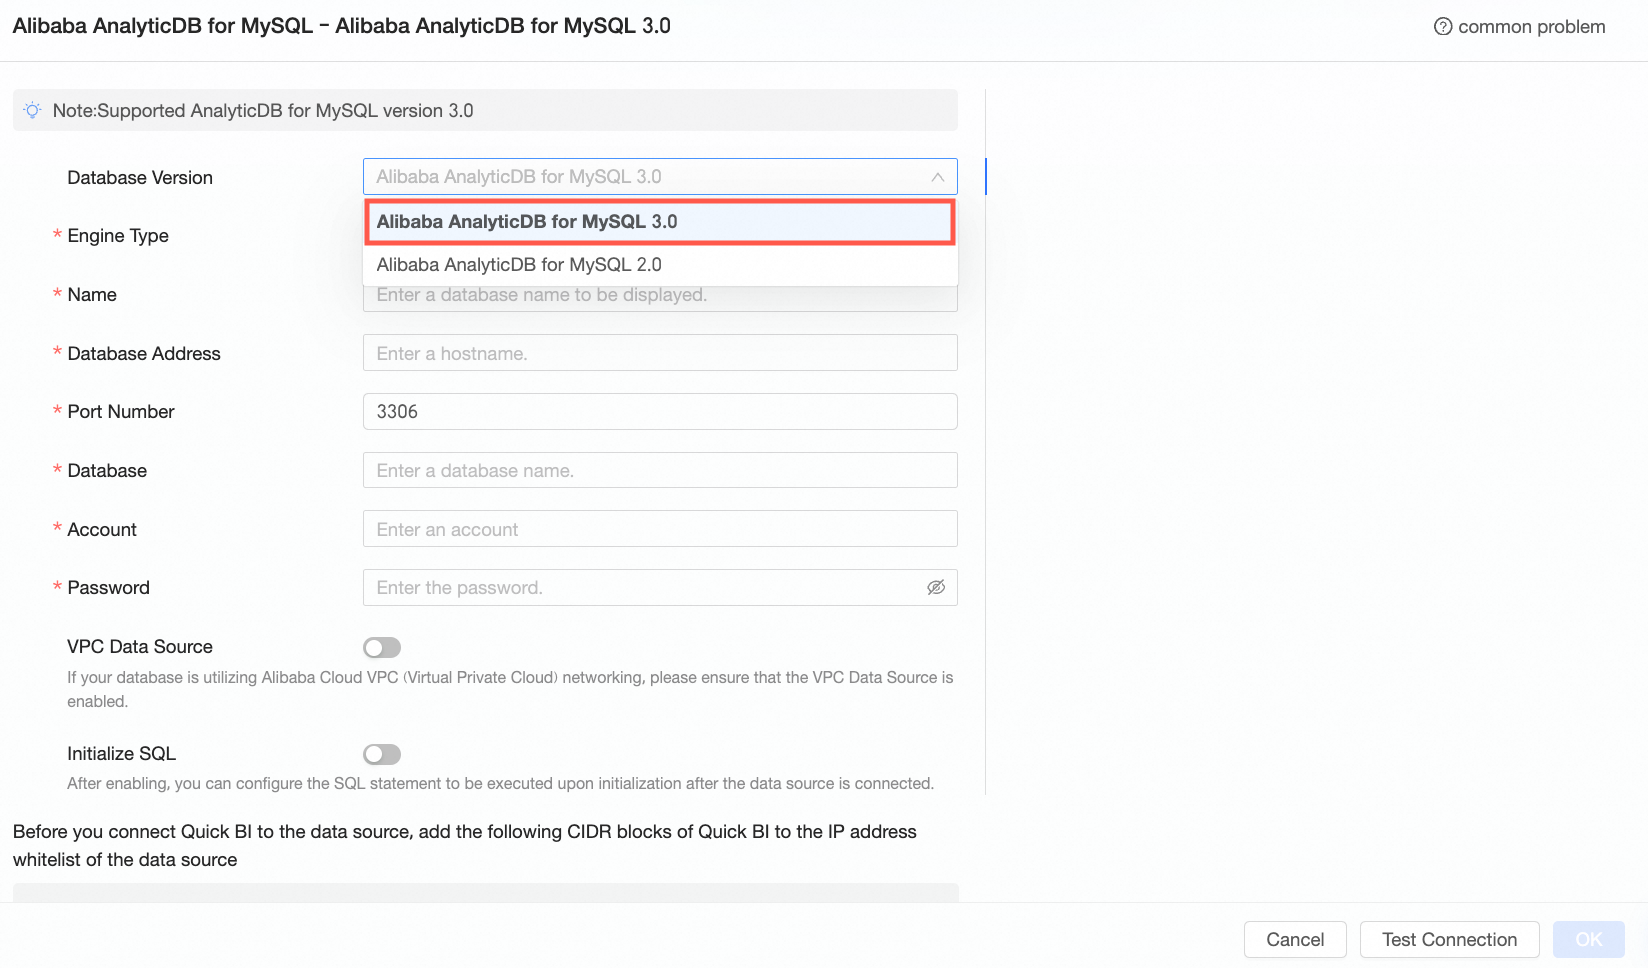
Select Alibaba AnalyticDB for MySQL V3.0 as the database version.
Step 5: Configure the data source
In the Add AnalyticDB for MySQL V3.0 Data Source dialog box, select your engine type and fill in the configuration.
Choose your engine type, then follow the corresponding steps:
XIHE engine (MPP)
Enter a Display name for this data source. The name cannot contain special characters or start or end with spaces.
Enter the Database address — the public endpoint of your AnalyticDB for MySQL V3.0 instance. If connecting over VPC, use the internal address instead.
Enter the Port. The default is
3306.Enter the Database name.
Enter the Account and password for a database account that has create, insert, update, or delete permissions on the target tables.
(Optional) If your database uses an Alibaba Cloud VPC network, enable VPC data source and configure the following:
Purchaser AccessId and Purchaser AccessKey: The AccessKey ID and AccessKey secret for an account with Read permission on the target instance. If the account also has Write permission, the system adds the whitelist automatically; otherwise, add it manually. See Create a custom policy.
Instance ID and region: The instance ID and region of your database. Find these in the AnalyticDB for MySQL console.
When using a VPC data source, enter the internal address and internal port of the database.
(Optional) Enable Initial SQL to run SQL statements each time the data source connects. Only
SETstatements are supported; separate multiple statements with a semicolon.
Spark engine
Enter a Display name for this data source. The name cannot contain special characters or start or end with spaces.
Enter the Database address — the public endpoint of your AnalyticDB for MySQL V3.0 instance. If connecting over VPC, use the internal address instead.
Enter the Port. The default is
3306.Enter the Database name.
Enter the Resource group name. Find this in the AnalyticDB for MySQL console under Cluster Management > Resource Management > Resource Group Management.
Enter the Account and password for a database account that has create, insert, update, or delete permissions on the target tables.
(Optional) If your database uses an Alibaba Cloud VPC network, enable VPC data source and configure the following:
Purchaser AccessId and Purchaser AccessKey: The AccessKey ID and AccessKey secret for an account with Read permission on the target instance. If the account also has Write permission, the system adds the whitelist automatically; otherwise, add it manually. See Create a custom policy.
Instance ID and region: The instance ID and region of your database. Find these in the AnalyticDB for MySQL console.
When using a VPC data source, enter the internal address and internal port of the database.
(Optional) Enable Initial SQL to run SQL statements each time the data source connects. Only
SETstatements are supported; separate multiple statements with a semicolon.
Step 6: Test and save the connection
Click Connection Test to verify connectivity.

After the test succeeds, click OK to save the data source.
What's next
With AnalyticDB for MySQL connected as a data source, you can:
| Task | Description |
|---|---|
| Create and manage datasets | Add data tables from the AnalyticDB for MySQL V3.0 data source, or use custom SQL to define a dataset. |
| Create a dashboard | Build visualization charts and analyze your data interactively. |
| Overview of visualization charts | Explore available chart types for visualizing your data. |
| Drill-down settings and display | Configure drill-down analysis for deeper data exploration. |